
Part 3 of Silent Hill Townfall drops Zoe into an operating room at St. Amelia Medical Centre with a dying man on the table and Dr. Glenn barking instructions through a wall intercom. It is the longest puzzle chain in the game, and almost every stage punishes guessing — wrong vitals drain Zoe’s health, and the infusion pumps happily accept any number you type without telling you it is wrong.
Quick answer: Report blood pressure 70/40, pulse 162 and 80% SpO2, then open the X-ray room with code 7103. Every remaining code, dial setting and pump rate is listed below.
All answers, codes and settings for The Patient
None of these values reroll between playthroughs. If you only need to unstick yourself, grab the number you are missing and skip ahead.
| Stage | Answer |
|---|---|
| Blood pressure | 70 systolic / 40 diastolic |
| Pulse | 162 |
| Blood oxygen | 80% SpO2 |
| X-Ray room door | 7103 |
| Skull X-ray (kV / mA / Time) | 3 / 7 / 1 |
| Chest X-ray (kV / mA / Time) | 7 / 3 / 1.2 |
| Records Room door | 2605 |
| Dextracylate rate | 15 |
| Tensobromide rate | 8 |
| Hydroxalene rate | 7 |
| Hospital Storage phone | 5353 |
Patient Room C setup: the map, the computer and the faulty monitors
Before you touch the intercom, take the St. Amelia Medical Centre map off the wall. The medication hunt later sends Zoe across three separate parts of the building, and none of those rooms are flagged by an objective marker, so the map is the difference between a quick loop and a long wander through corridors that have since filled with monsters.
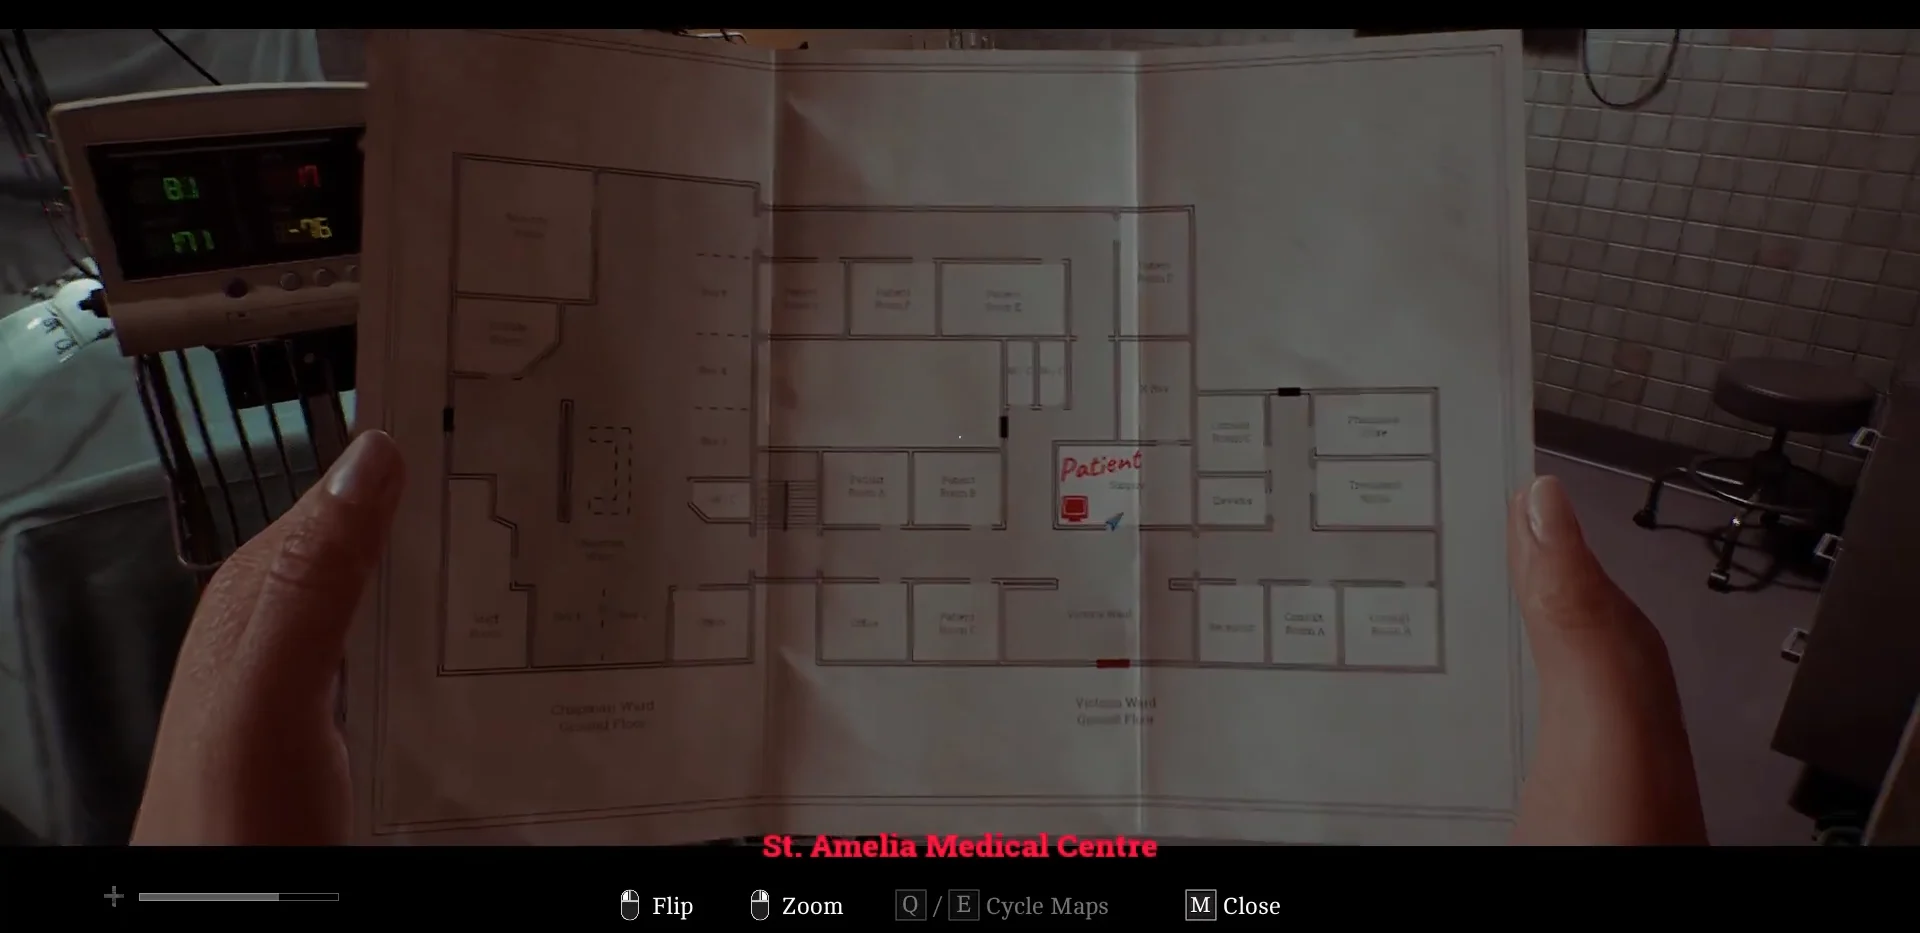
The second thing worth doing is reading the computer on the counter. Its main menu holds an Equipment Overview, an X-Ray Dosage Table and a Medication Dosage Table, and you will need all three before the chapter ends. The Equipment Overview is the one that matters right now, because most of the monitors ringed around the bed are broken and it tells you which ranges to throw out.
- Blood pressure: ignore anything outside 70 / 110 mmHg (green digits).
- Pulse: readings outside 40–160 BPM are flagged as often inaccurate (yellow digits).
- Blood oxygen: anything under 75% is unreliable (red digits).
The whiteboard beside the bed is also worth a look. It lists the patient as pulmonary edema, chest trauma, 3rd degree, and — critically for the final stage — 88kg.
Blood pressure, pulse and blood oxygen answers
Activate the intercom on the wall to the patient’s right to start the conversation with Dr. Glenn. He asks for three vitals in a fixed order, and each one is answered by walking up to the correct monitor, examining it and choosing Respond.
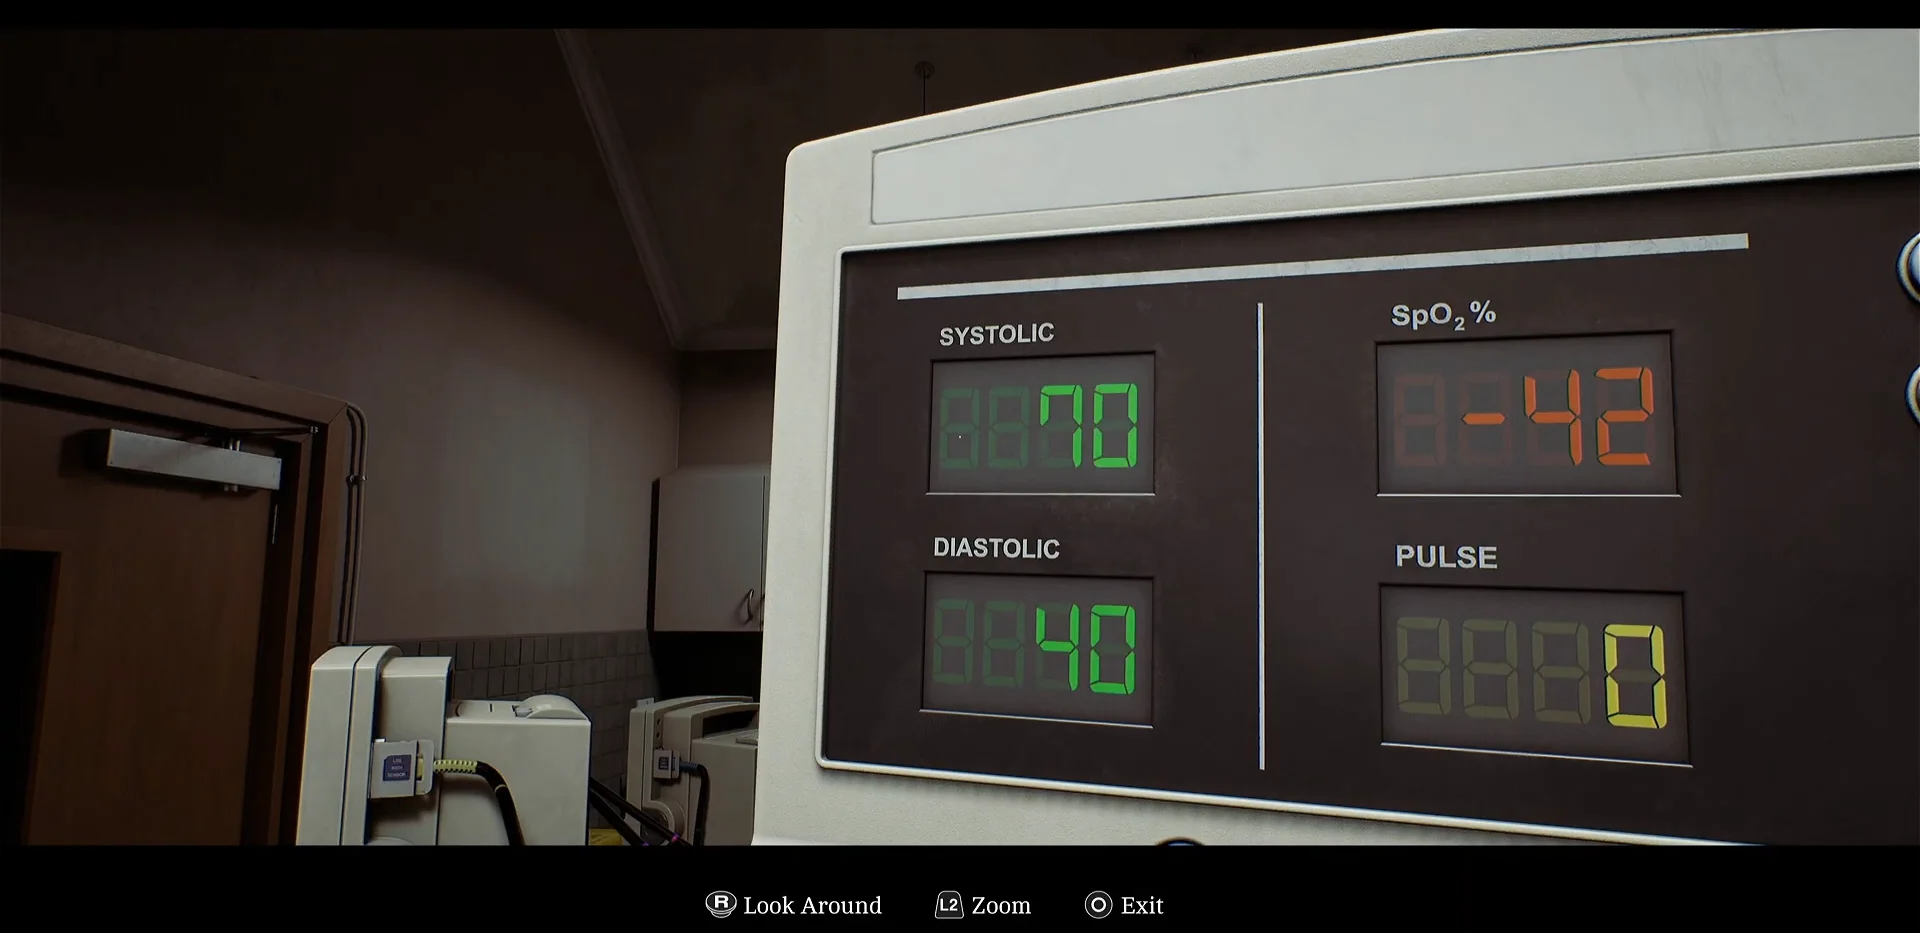
The digits drift by a point or two while you watch, so you may see 39 rather than 40 on the diastolic line. It is still the right screen — it is the only monitor in the room whose systolic value sits inside the 70 / 110 window, and Dr. Glenn accepts the reading either way.
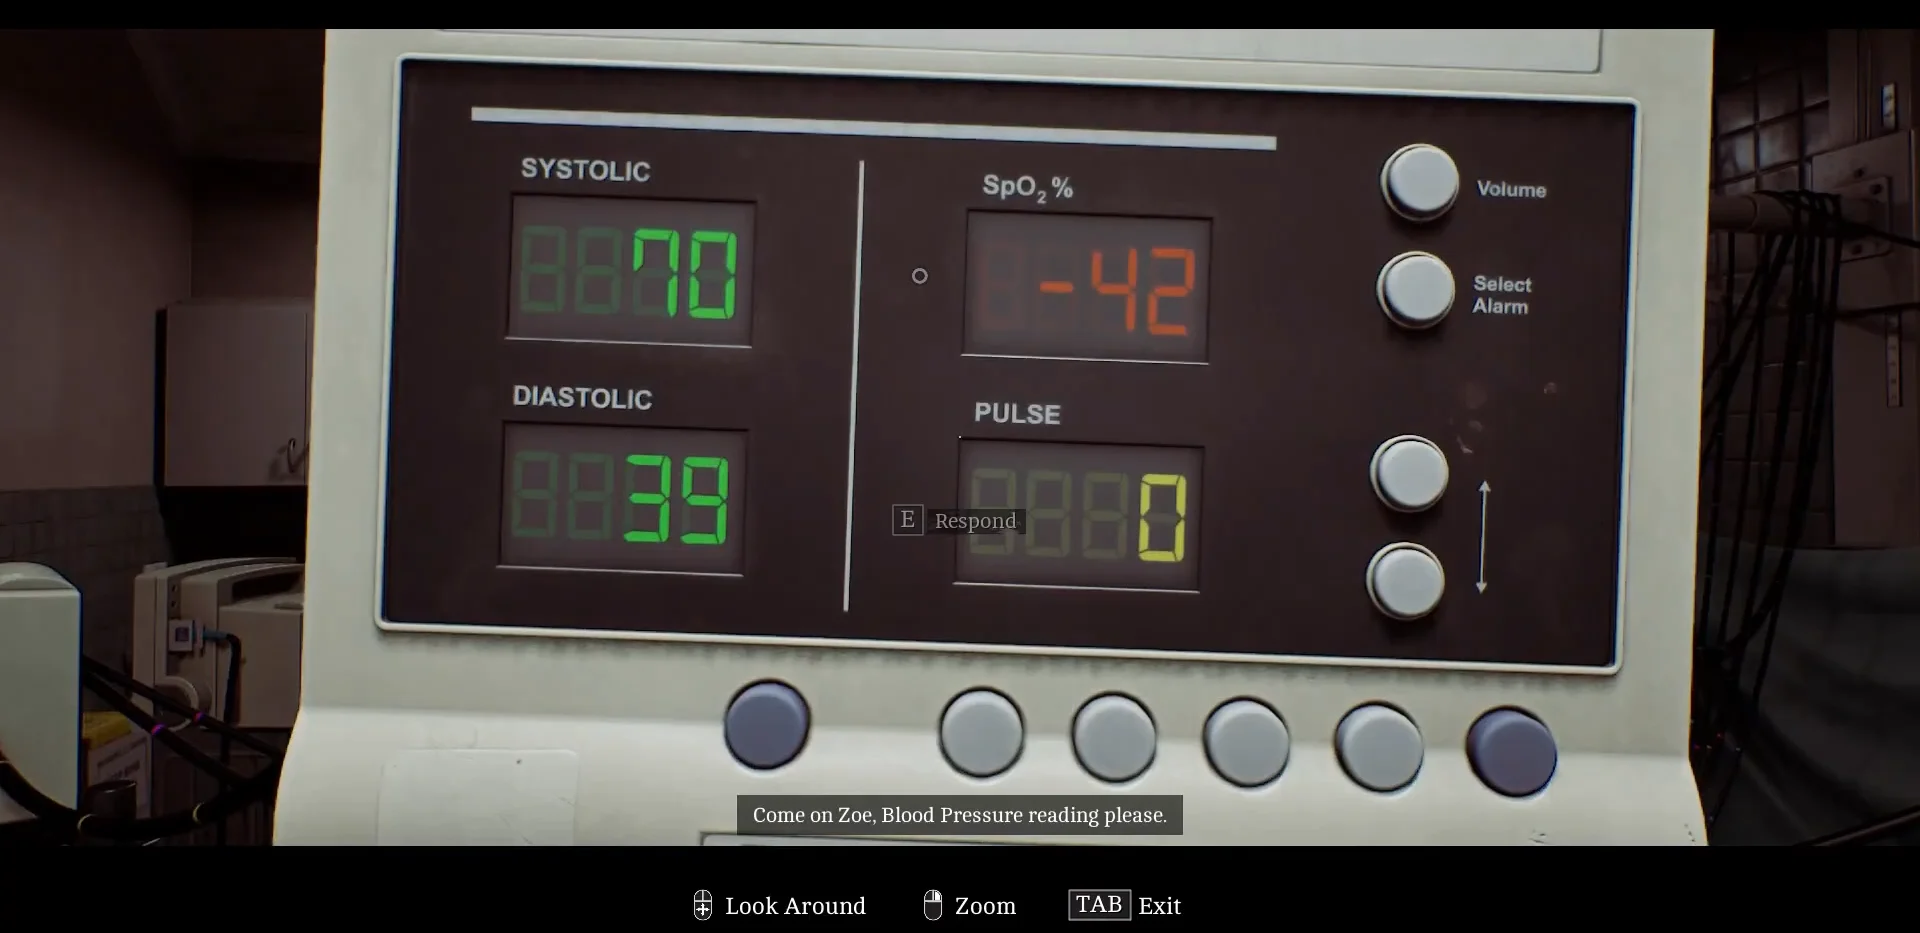
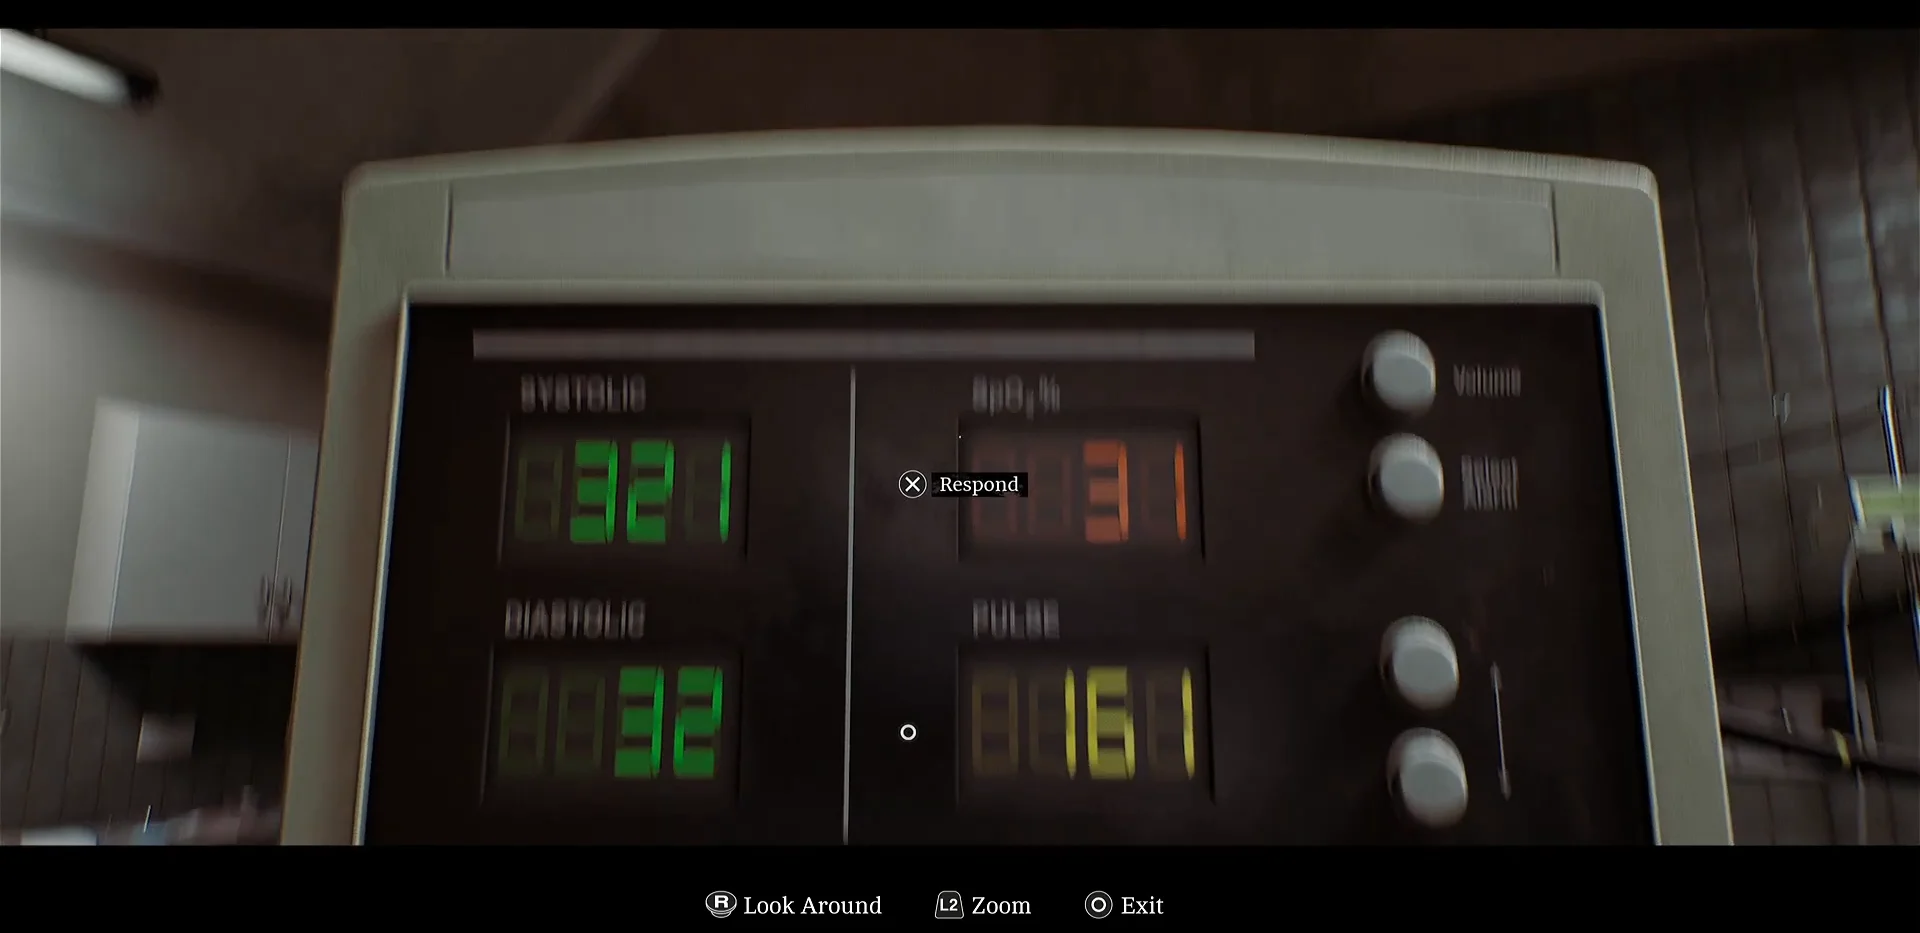
This one reads as a trap. The computer calls 40–160 BPM the believable band, and the correct monitor deliberately sits just past the ceiling at 162, sometimes flickering back down to 160. Report whichever figure is showing; the doctor takes it.
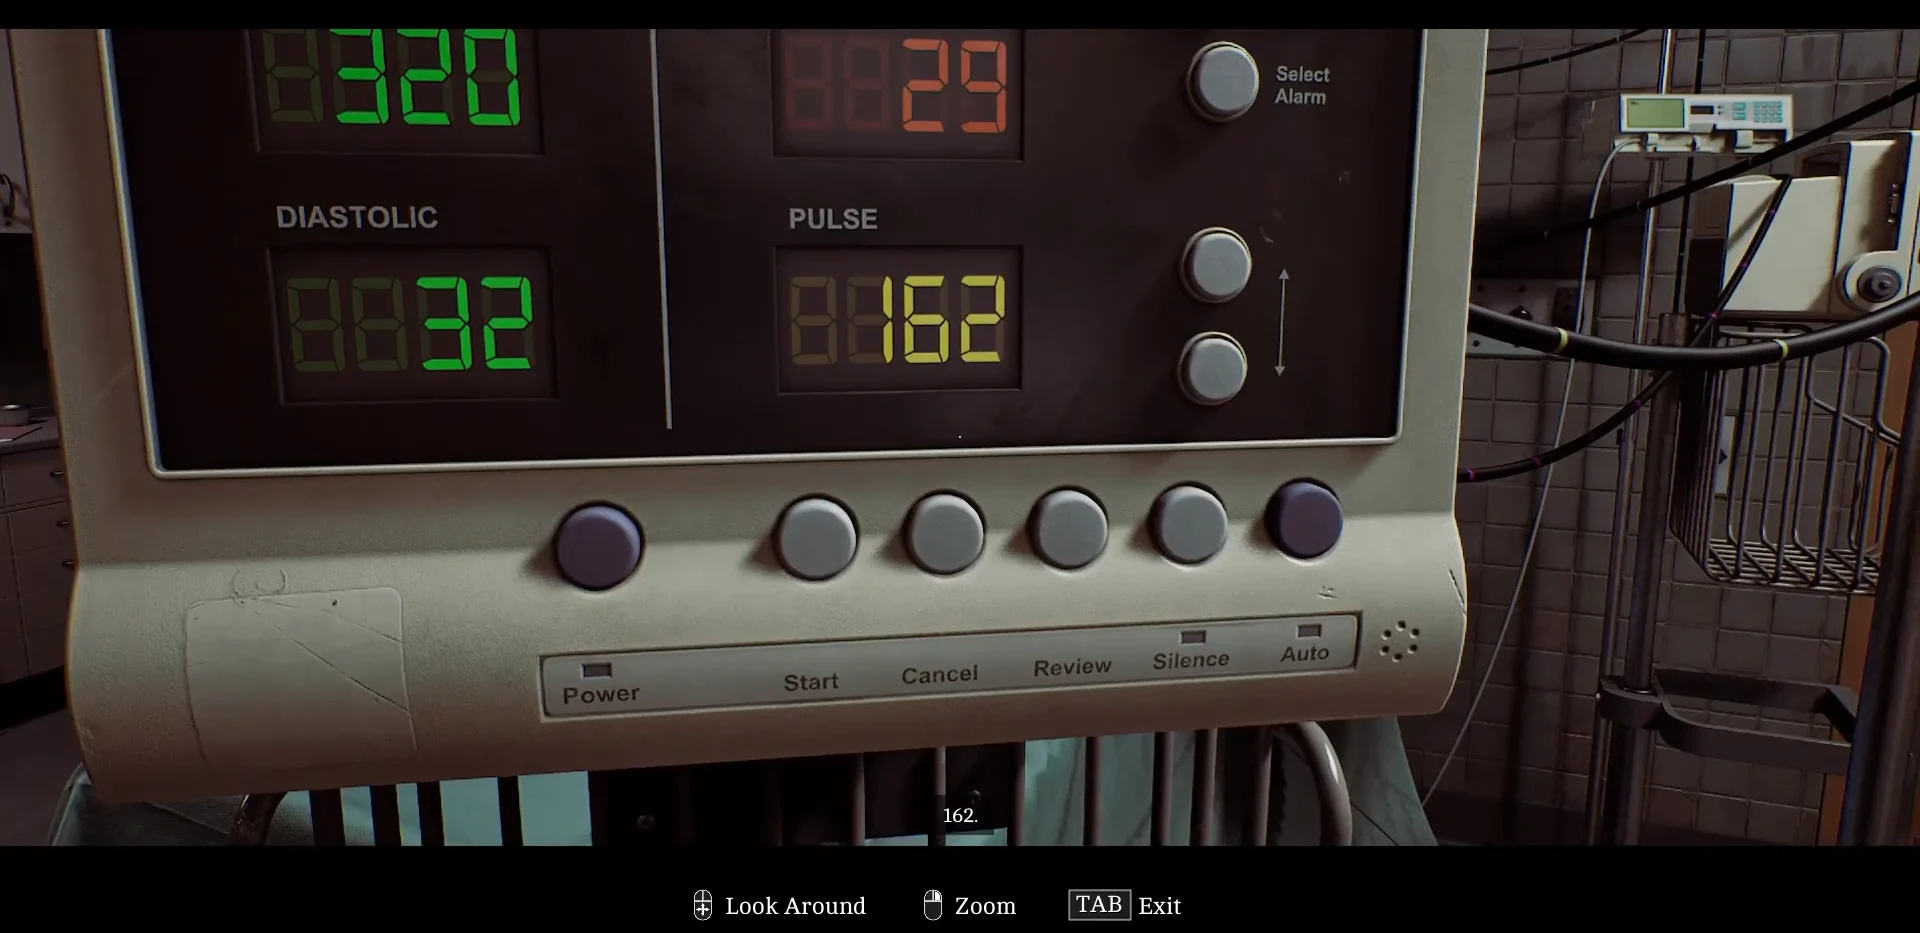
Every wrong reading takes a bite out of Zoe’s health, and stacking up enough mistakes will kill her. If you are unsure which monitor is honest, go back to the Equipment Overview on the computer before you respond.
Once all three are logged, Dr. Glenn talks through the likely internal trauma and asks for imaging of the head and chest. A nurse pages the door code for the room next door, which confirms the diagnosis stage is finished.
X-Ray room code 7103 and the Zeimann machine settings
The small door behind the patient opens with 7103. Inside, flip the switch beneath the monitor to boot the computer, then interact with the Zeimann machine and push its power switch down. Neither device responds until both are on.
Each shot needs two things — the camera lined up on the computer, and the correct exposure dialled into the Zeimann. The values come from the X-Ray Dosage Table on the laptop back in the operating room, but they are fixed:
| Site | kV | mA | Time |
|---|---|---|---|
| Skull | 3 | 7 | 1 |
| Chest | 7 | 3 | 1.2 |
Tensobromide, Dextracylate and Hydroxalene locations
Dr. Glenn asks for 11mg of Tensobromide, 2.5mg of Dextracylate and 3mg of Hydroxalene. By now monsters are roaming the corridors, though none of them will follow Zoe back into the surgery. Plenty of other drugs are scattered around the building as red herrings, and the map marks each container you have already emptied with a cross.
Tensobromide 11mg — Pharmacy Store, Victoria Ward ground floor
The closest of the three. Leave the surgery, take an immediate right, then head left up the corridor into the Pharmacy Store, where a green medical case holds the dose. A monster patrols this stretch, so pull it away with a thrown bottle or deal with it using the plank lying nearby. The phone in this corridor doubles as a save point.
Dextracylate 2.5mg — Bay 6, Chapman Ward first floor
Leave the surgery by turning left into Chapman Ward, then go up to the first floor, directly over the ground floor. Follow the open bay area north to Bay 6 and inspect its medicine dispenser. On your way out, enter the office across from the bay and remove the note pinned to the board; it says new Record Room code: 2605.
Hydroxalene 3mg — Records Room, Chapman Ward ground floor
Back downstairs, find the Records Room and punch 2605 into the keypad. The dose sits in a green box inside the large metal cabinet.
Zoe must physically collect the upstairs note or the keypad may reject the code. The digits alone will not work.
Infusion pump rates for the 88kg patient
Use the patient’s weight from the whiteboard to solve this. In the laptop’s Medication Dosage Table, 88kg belongs to the 81–90kg range, the third column from the left. Although eleven drugs appear in the side list, only three rows are relevant:
| Medication | Dose | Rate (81–90kg) |
|---|---|---|
| Dextracylate | 2.5mg | 15 |
| Tensobromide | 11mg | 8 |
| Hydroxalene | 3mg | 7 |
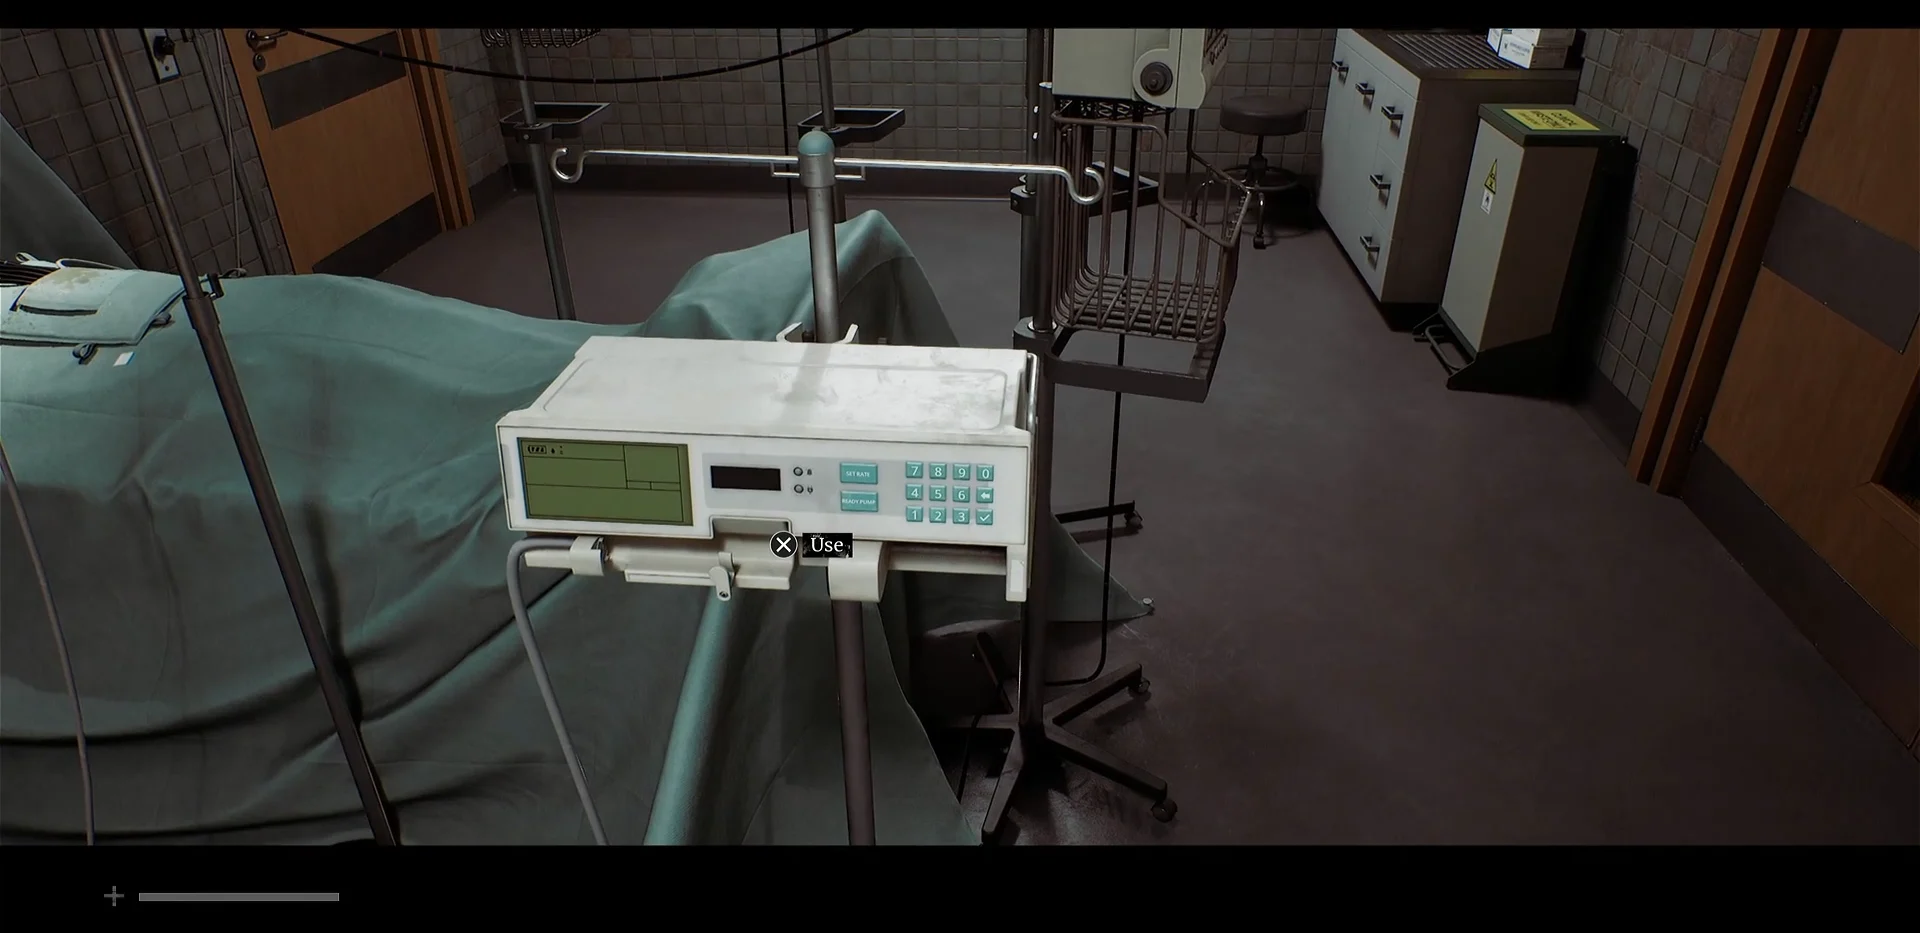
Three compact pump terminals surround the bed, and you may assign the drugs to them in any order. Match each entered rate to the medication in that pump, then make sure every terminal shows Ready before beginning.
The intercom remains active throughout, and Dr. Glenn can repeat the instruction if needed: all three rates have to be entered and the pumps readied before treatment starts.
Intubation kit: dial 5353 and the basement run
The last item sits in the basement, and the elevator that goes there is dead until someone switches it on for you.
The third successful hold rolls straight into a cutscene, which closes out the St. Amelia Medical Centre chapter and hands control back to Simon. If the scene does not trigger, you have one of the three positions left to find — keep rotating until the circle trembles again.