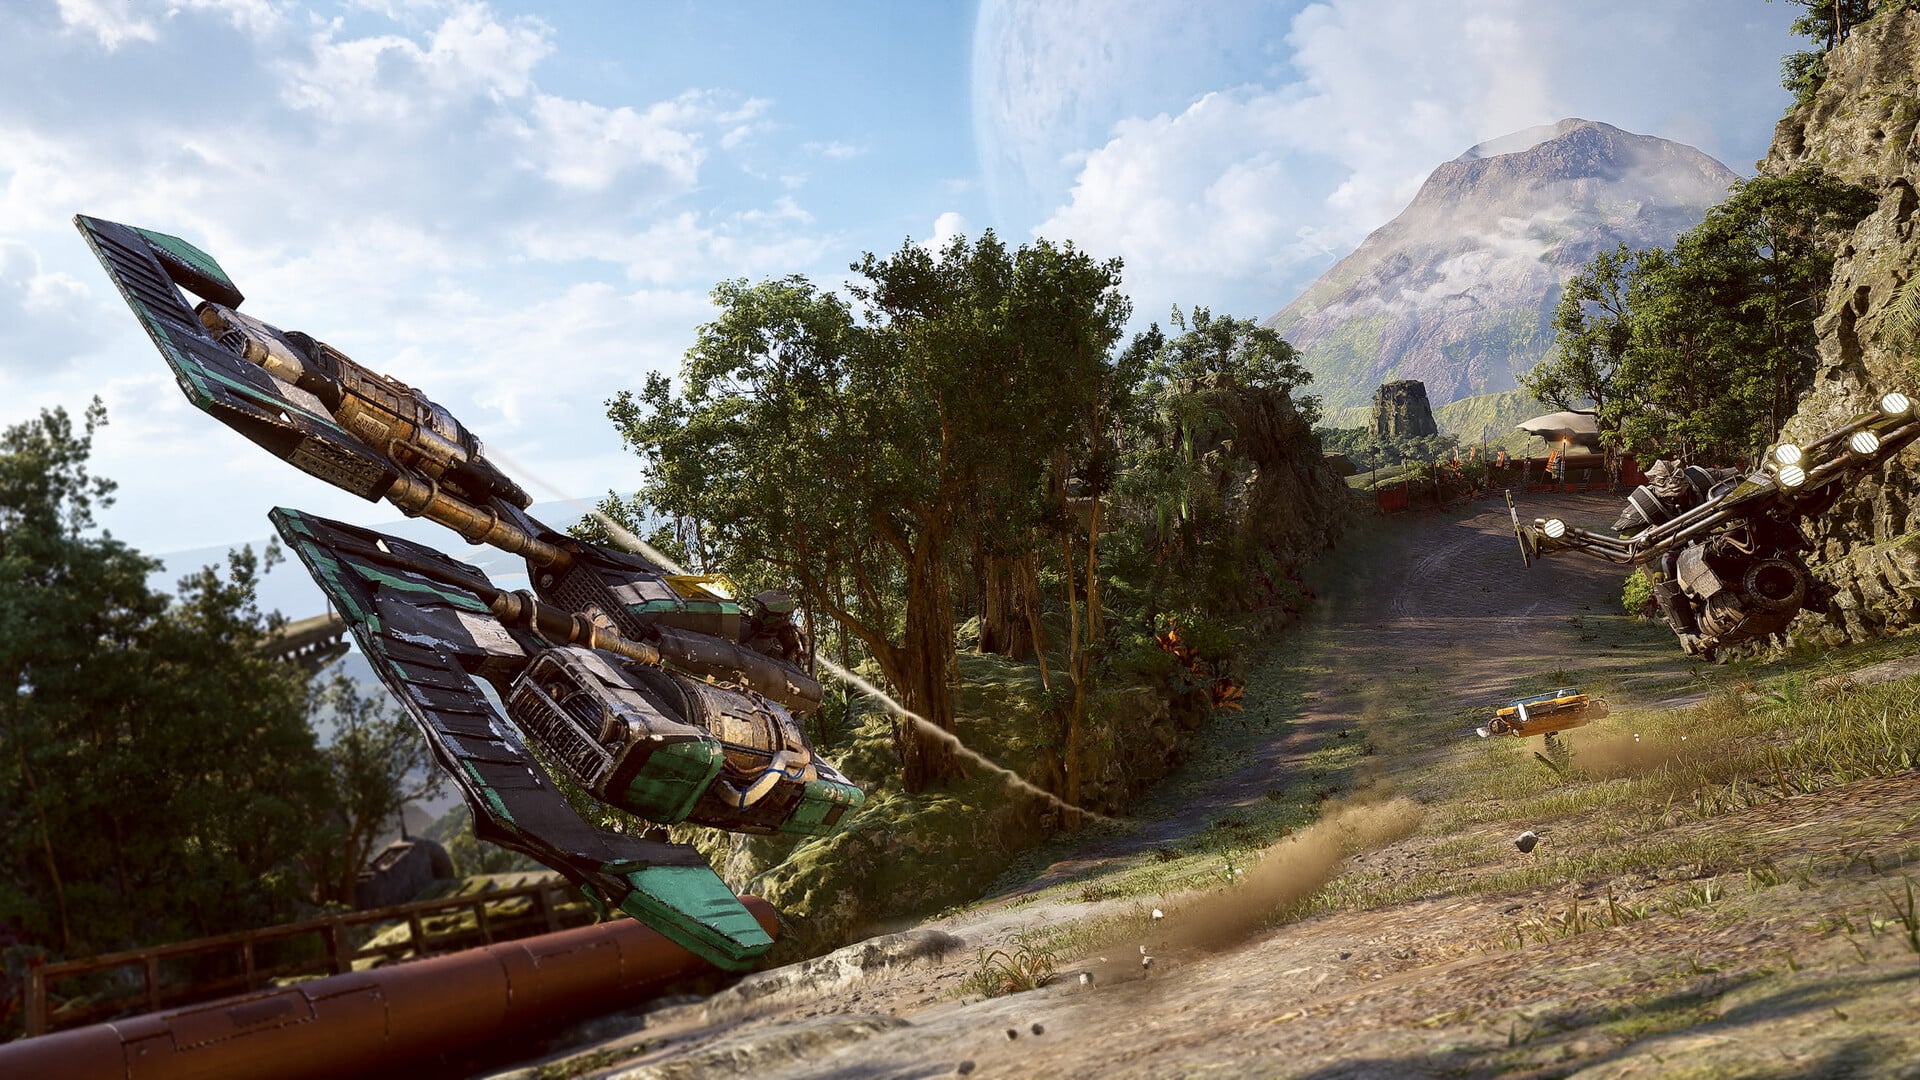
The Ramjet is the stronger of the two boost systems in Star Wars: Galactic Racer, sitting alongside the Afterburner as the way you reach the highest speeds on a track. It fills as you push your vehicle faster, has to be armed before you can fire it, and builds heat the entire time it runs. Used well, it is the fastest method of pulling ahead. Held too long, it blows your vehicle apart.
Quick answer: Fill the Ramjet gauge at the bottom-right of the HUD, click R3 to enter Ramjet mode, then hold X (PlayStation) or A (Xbox) to boost. Release the button before the Redline bar fills completely or the vehicle explodes.

How to activate the Ramjet
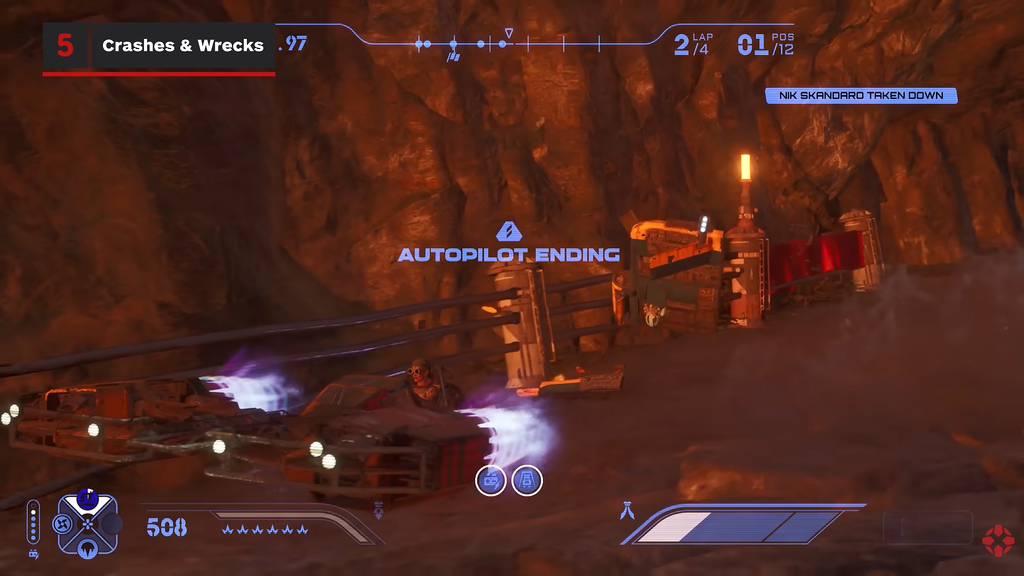
The Ramjet gauge lives in the bottom-right corner of the HUD and charges as you reach faster speeds. You cannot fire it on demand the way you can tap the Afterburner. It has to fill first.
Once the gauge is full, press R3 to enter Ramjet mode, then press and hold X on PlayStation or A on Xbox to boost. These are the same buttons the Afterburner uses, so the Ramjet takes over your normal boost input once it is armed.
The moment you let go of the boost button, any leftover Ramjet energy is released. The gauge only begins charging again after you stop using it, so there is a natural rhythm to the system: fire it, come off it, let it refill while you drive on the Afterburner.
Stay on the accelerator while Ramjet is engaged; easing off costs speed despite the boost. At a sharp corner, brake or lift to swing the vehicle around without canceling Ramjet, then accelerate again on the way out.

Redlining and when the vehicle explodes
Running the Ramjet generates heat. Hold it long enough and the heat bar climbs into its red section, which is called Redlining. The blue line on screen turning red is your warning that you are entering the dangerous part of the heat range.
Entering Redline does not destroy the vehicle on its own. It means you are spending the final portion of the Ramjet’s heat capacity and getting much closer to failure. If you let the Redline bar fill completely while the Ramjet is still active, the vehicle instantly explodes.
A frequent error is waiting until the meter is nearly empty before reacting. At that point, a bend, hazard, or awkward route may leave too little space to correct. If your setup isn’t built for Redline, disengage Ramjet before heat maxes out. Activate it again after the gauge refills.
How to cool the Ramjet and avoid blowing up
There are several ways to keep heat under control, and the right one depends on what the track is doing.
- Release the boost early, before tight corners, technical sections and spots where you need precise steering.
- Use the Vent ability to bring heat down quickly, ideally after a long Ramjet run with another boost opportunity coming up.
- Drive through water, which cools the vehicle and buys you more heat headroom.
- Switch to the Afterburner when the next section does not justify the heat risk.
Track conditions matter too. Ando Prime’s freezing atmosphere lets you run the Ramjet longer, but that same cold can interfere with your handling, so you trade steering control for thermal room. Acid is the opposite problem. It corrodes the vehicle and can stop the Ramjet from working temporarily.
If you keep missing the moment to release it, enable Auto-Deactivate Ramjet under Gameplay Settings. This accessibility option ends Ramjet automatically near the far edge of the Redline zone, preventing an explosion from holding it too long. It serves as a safeguard, not a requirement; leave it off if you prefer full manual control with a Redline-focused build.
Ramjet vs Afterburner
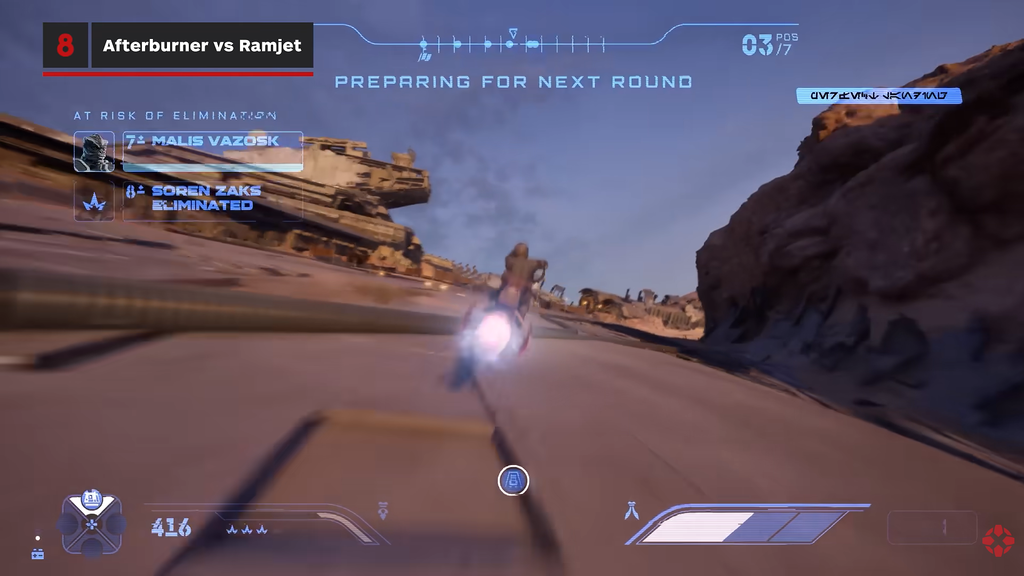
The Afterburner is the simpler system. It sits in the bottom-left of the HUD as a white bar, refills gradually just from racing, and gives a shorter burst of extra speed when you hold the boost button. Using the Ramjet delays the Afterburner’s recharge, so the two share a loose economy.
| Situation | Better boost |
|---|---|
| Long straights and open sections | Ramjet |
| Maximum-speed stretches | Ramjet |
| Short acceleration bursts | Afterburner |
| Leaving slow corners | Afterburner |
| When you want no extra heat | Afterburner |
Treat the Ramjet as your highest top speed with heat to manage, and the Afterburner as the safe, flexible boost you reach for when you do not want to risk Redline. Alternating between them lets you hold a high pace without constantly cooking the engine. The Ramjet’s speed also lets you ram rival vehicles, though sustained top speed is the bigger reason to use it.
When to fire the Ramjet
Arming the Ramjet the instant it becomes available is not always the best move. Spend it just before a technical section and most of the boost is wasted braking into corners. Save it for an upcoming straight and the same charge produces a much larger gain. Track knowledge is what separates a clean Ramjet run from an explosion.
Whenever you consider keeping it active, assess three factors: your present heat, the track section ahead, and whether the boost remaining justifies the risk. If heavy braking is coming up, extending Ramjet briefly offers little benefit.
Several Parts tie the Ramjet into the rest of your build. Afterburner Recharger fully refills the Afterburner the moment the Ramjet becomes ready, turning Ramjet timing into fuel for your safer boost. Others reward Redlining or reset heat when you land a jump, which is why a Ramjet-heavy setup pairs naturally with cooling upgrades bought at the paddock. Podracers carry the same Afterburner and Ramjet functions in multiplayer, so the heat rules you learn in the campaign apply there as well.