Cly Kullervo is the only operator in Star Wars Zero Company who gets a jetpack, and the whole build is about turning that mobility into damage. She lands in the middle of a fight, marks targets, and kills things cheaply enough that she can keep acting. Get the Focus Tree order right and she stops being a flanker who occasionally trades shots, and starts being the operator who ends turns early.
Quick answer: Keep Mandalorian Warrior as her first specialization, take Gunslinger as her second, equip the Blaster Pistol, and spend your first Focus points on Combat Jump. Then spend every turn chaining 1 AP Quick Draw shots, since each kill refunds the AP you just used.
Why Combat Jump and a 1 AP weapon are the core of the build
Combat Jump costs 2 Advantage and no AP. That single fact is what makes the rest of the build work. Cly can cross the map, land behind cover, push nearby enemies out of position, and still have all three of her Action Points available for shooting. The jump also ignores Overwatch and Retaliation while it happens, so you are not punished for diving into a group.
Her ElectroWeb abilities run on the same shared Advantage pool. ElectroWeb Dart costs 2 Advantage, Shocks the target, ignores Evasion, and does not trigger Overwatch or Retaliation. ElectroWeb Surge costs 4 Advantage and detonates a blast around Cly and around every darted enemy, with all of that damage ignoring Defense. Anything caught in two overlapping blasts takes extra damage on top, which is why where Cly stands when you press the button matters as much as who you tagged.
Because her signature kit spends Advantage rather than AP, her weapon should spend as little AP as possible. That is the whole argument for the pistol, and it is why the build leans on a second specialization full of cheap attacks.
Cly Kullervo Focus Tree upgrade order
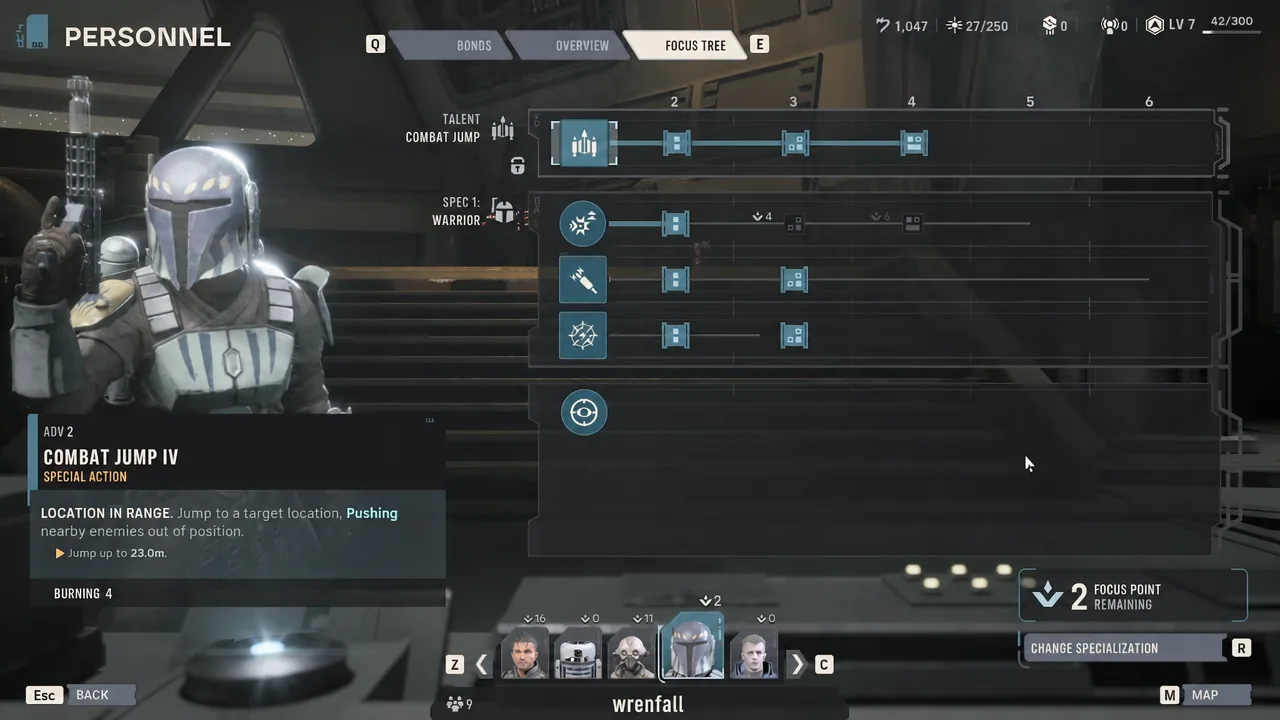
Focus is tight early, so the order matters more than the endpoint. Combat Jump comes first because range is the ability, and Tier 4 adds four stacks of Burning to the landing, turning repositioning into a damage move.
| Priority | Upgrade | What you get |
|---|---|---|
| 1 | Combat Jump (to Tier 4) | Jump range goes 14m to 23m, and Tier 4 applies 4 stacks of Burning on landing |
| 2 | ElectroWeb Dart | Effective range climbs from 14m to 24m, so you can mark before you commit |
| 3 | ElectroWeb Surge | Base damage rises from 12 to 18 |
| 4 | Ruthless | Critical Damage from +2 up to +6 |
| 5 | Quick Draw (Gunslinger) | Chance-to-hit penalty drops from 25% to 5% |
| 6 | Keen Eye (Gunslinger) | Ranged Critical Chance from +6% up to +15% |
Dart and Surge are worth levelling together rather than finishing one before the other. Dart range decides how many enemies you can realistically tag in a turn, and Surge damage decides whether that setup was worth the Advantage. Mandalorian Armor Training needs no investment at all. It cannot be upgraded, and it is what gives Cly her base Defense and free vertical movement.
Best second specialization for Cly: Gunslinger
Operators unlock a second specialization at Cycle 18, and its Focus Tree upgrades stop at Tier 5. Gunslinger is the pick because it hands Cly a repeatable 1 AP attack that funds itself.
Quick Draw fires a fast sidearm shot for 1 AP with an increased chance-to-hit penalty, and defeating an enemy with it restores 1 AP. Against low-health targets that means one AP clears one enemy and gives the point straight back, so a single turn can wipe several droids. The penalty is brutal at Tier 1 (25%) and manageable at Tier 5 (5%), which is exactly why it sits high on the upgrade list.
The passives stack neatly with the rest of her kit. Keen Eye raises Critical Chance on all ranged attacks, and Ruthless raises Critical Damage, so the two multiply instead of overlapping. Onslaught adds +1 Blaster Damage per attack, which rewards firing many cheap shots rather than a couple of expensive ones. Open Fire is the Gunslinger ultimate, but at 9 Advantage it competes directly with ElectroWeb Surge, and Surge is the better spend on Cly.
Scout is the reasonable alternative if nobody else in your squad generates Advantage, since Combat Recon and Tactical Timing keep the ElectroWeb engine fed. Put a Scout on another operator if you can, though. Advantage is shared, so Cly benefits either way, and her second slot is better spent adding damage than fixing her own resource problem.
Best weapon and mods for Cly: Blaster Pistol
The Blaster Pistol is the weapon this build is built around. Firing it is a Fast Action costing 1 AP, which is what lets Cly attack repeatedly, build Advantage quickly, and still have room for a jump or a utility item. The Model 434 deals 9 Weapon Damage, 1 Assist Damage, +8 Critical Hit Damage, and carries a 17% base Critical Chance at Short range.
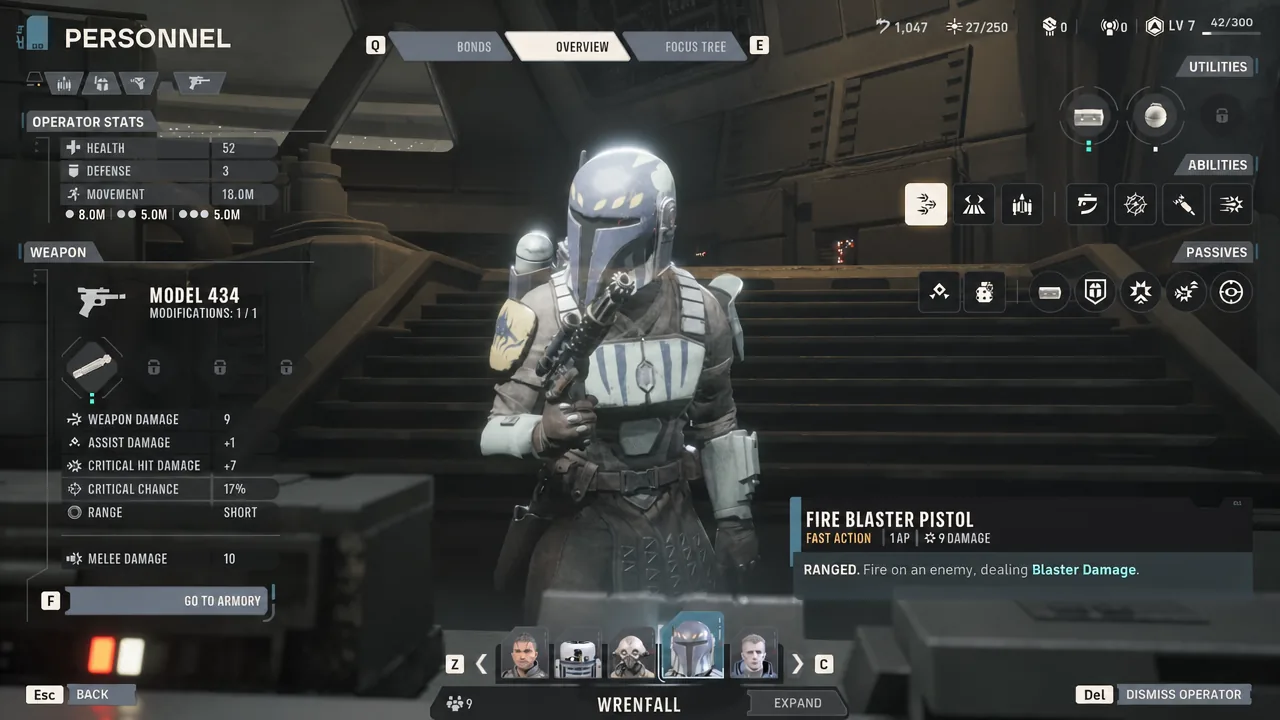
Short range is not a drawback for an operator who jumps into enemy faces on purpose. It is the reason the first mod slot is settled.
| Mod | Effect | When to use it |
|---|---|---|
| Second Generation Amplifier | Blaster Damage +2 at Close Range | Core slot. Cly is always at close range |
| Assassin’s Scope | Critical Chance +12% | Best crit option once you can afford it |
| Sniper’s Scope | Critical Chance +9% | Stand-in until the Assassin’s Scope is available |
| Phase Adjuster | Reduces enemy Defense by 2 | Against armored targets |
| Grade II Ion Modulator | Blaster Damage against Droids +2, Ray Shields +24 | Droid-heavy missions |
| Advanced Tracking Scope | Assist Damage +2 | Only if Cly is assisting more than she is killing |
Crit mods are worth more on Cly than on almost anyone else, because Ruthless inflates every crit she lands. Prioritize Critical Chance in the scope slot as soon as the credits allow.
Utility slots: Stabilizing Underlay and a short-range finisher
Stabilizing Underlay is the item that keeps this build honest. It grants Daze Immunity and Stun Immunity, which matters enormously for a character who deliberately lands next to several enemies at once. A stunned Cly deep in enemy lines is usually a downed Cly.
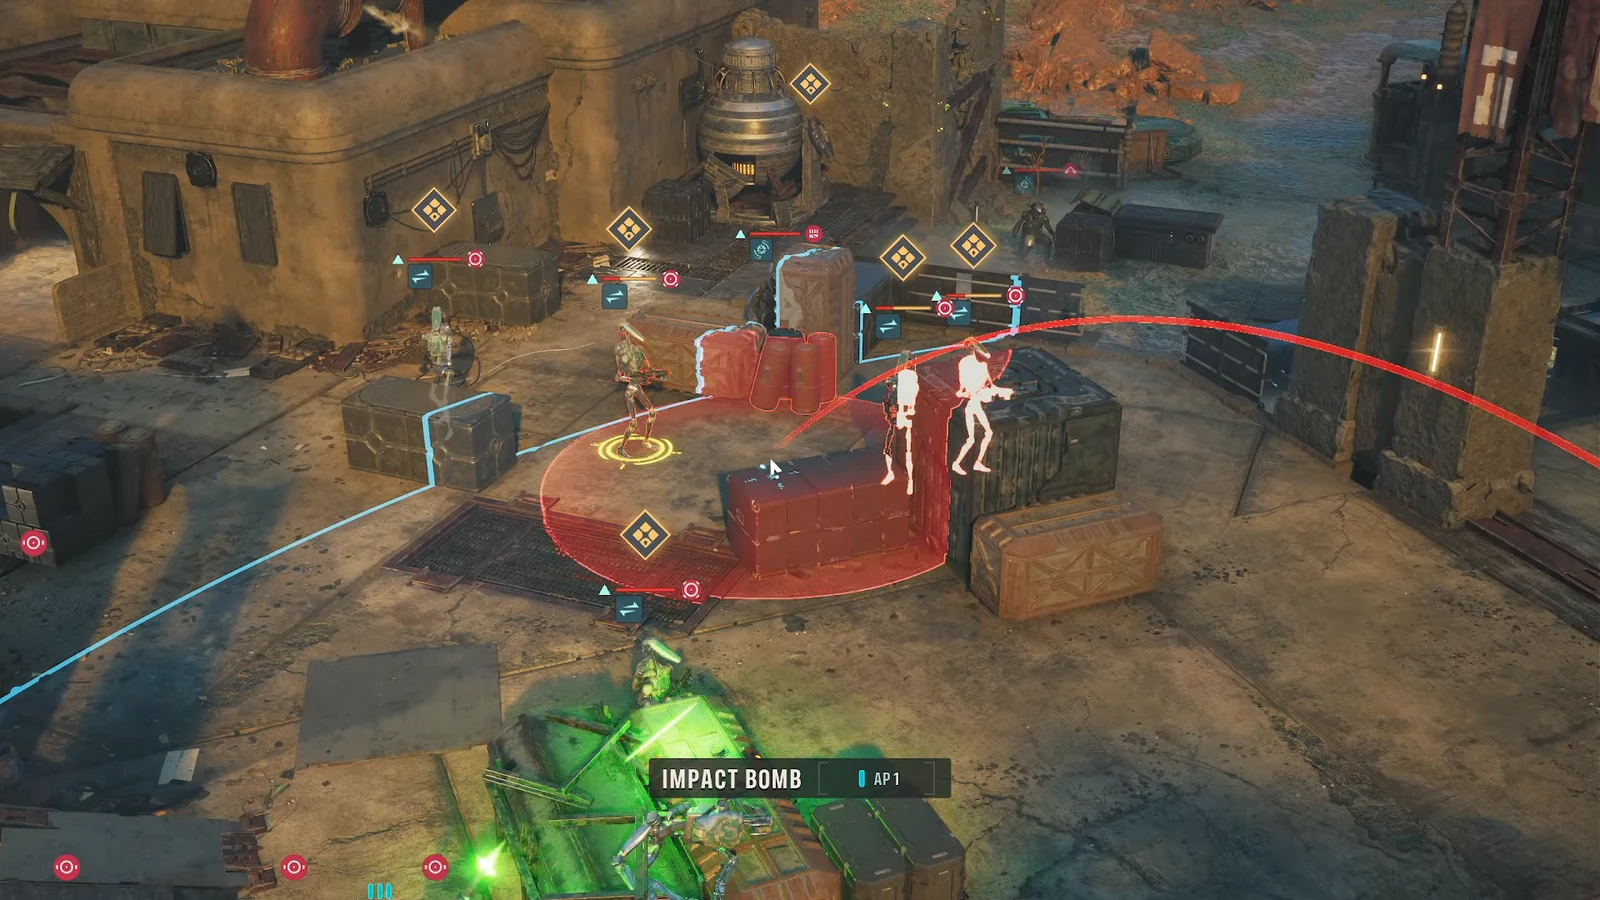
Targeting Visor Mk. II fills the second slot well, with Chance to Hit +10% and Critical Chance +9%. The hit bonus offsets Quick Draw’s accuracy penalty directly, so the two cancel each other out while you are still climbing the Focus Tree. For the last slot, pick a burst option that suits the mission. Scattergun Mk. II hits for 24 damage at 2 AP, and Droid Popper deals 12 damage for 1 AP against mechanical enemies.
Bond cross-training priorities
Bonds let operators cross-train traits from each other, and the priority for Cly follows survivability first. She starts at 52 Health with 18.0m Movement, and she spends most of every fight standing where the enemy wants her to be.
- Health, so a bad jump does not immediately down her
- Weapon Damage, since Quick Draw fires so often that flat damage compounds
- Evasion, for the turns she spends outside cover
- Critical Chance, which Ruthless converts into real burst
Situational traits are worth taking only if you have spare picks. Combined Fire Games adds +1 Assist Damage, and Grenade Training adds +1 Grenade Damage, both of which are fine but neither of which changes how Cly plays.
Best squad members for a Cly build
Cly is expensive. Combat Jump, ElectroWeb Dart, and ElectroWeb Surge all draw from the same shared Advantage bar the rest of your squad wants to use. The team around her exists to generate Advantage, hand her AP, and pull enemy fire off her landing spot.
| Operator | Specializations | What they do for Cly |
|---|---|---|
| Hawks | Medic / Scout | Combat Recon assesses at 20.0m for 1 AP and grants +1 Advantage per enemy spotted. Combat Stim costs 1 AP and gives +3 Ranged and Melee Damage plus +12 Max Health. Fearless Leader adds +1 Assist Damage to the squad |
| Kabb Uppercut | Heavy / Soldier | Bulwark taunts at 16.0m and grants Defense +2, pulling fire off Cly when she is out of position. Unstoppable adds Retaliation 2 and +3 Damage. Uppercut hits for 19 base damage at 1 AP |
| BR-1 | Astromech / Analytics | Built-in Comlink hands an ally +1 AP for 1 AP, twice per turn. Enhanced Scanners strips enemy Defense at 22.0m. Storage Optimization grants +1 utility use |
Combat Recon is the single most important ability in the group. Scanning a cluster of enemies can fill enough of the Advantage bar in one action to pay for a jump, a dart, and a Surge in the same turn. An astromech feeding Cly extra AP on top of that is what pushes a good turn into an absurd one.
How to play a Cly turn
Why the build underperforms
There are only a few reasons this setup stalls, and all of them come back to the same two resources.
- Using Combat Jump as ordinary movement. Advantage is shared with the whole squad, so if walking gets Cly there, walk.
- Firing ElectroWeb Surge on scattered targets. Without overlapping blasts, 4 Advantage buys one modest hit.
- Quick Draw missing at low tiers. At a 25% penalty it whiffs often enough to break the AP chain, which is why Targeting Visor Mk. II matters early.
- Landing without Stabilizing Underlay. A single Stun or Daze strands Cly next to the enemies she just angered.
- No Advantage generator in the squad. Without Combat Recon or an equivalent, her whole kit sits unused.
Played properly, Cly is less a damage dealer than a tempo engine. She lands where the enemy is packed, takes the Defense out of the equation with ElectroWeb, then converts the survivors into free actions with a 1 AP pistol. The build asks for real Advantage discipline in exchange, but the payoff is turns that end with an enemy group gone and Cly already somewhere else.