Jae Mordant joins Zero Company shortly after the campaign opens, and she is one of the few operators whose entire kit bends around a single passive. She is not a frontline brawler and she is not a dedicated support. She is a backline shooter who turns every weakened enemy on the map into a free kill, and the build exists to give her as many of those opportunities as possible.
Quick answer: Max Final Shot to rank IV first, run Scout as her primary specialization for Advantage generation and Sharpshooter or Gunslinger as her secondary, equip a blaster rifle with a crit or assist damage mod, and park her on high ground with clear sightlines every turn.
Final Shot: The talent every Jae build is built on
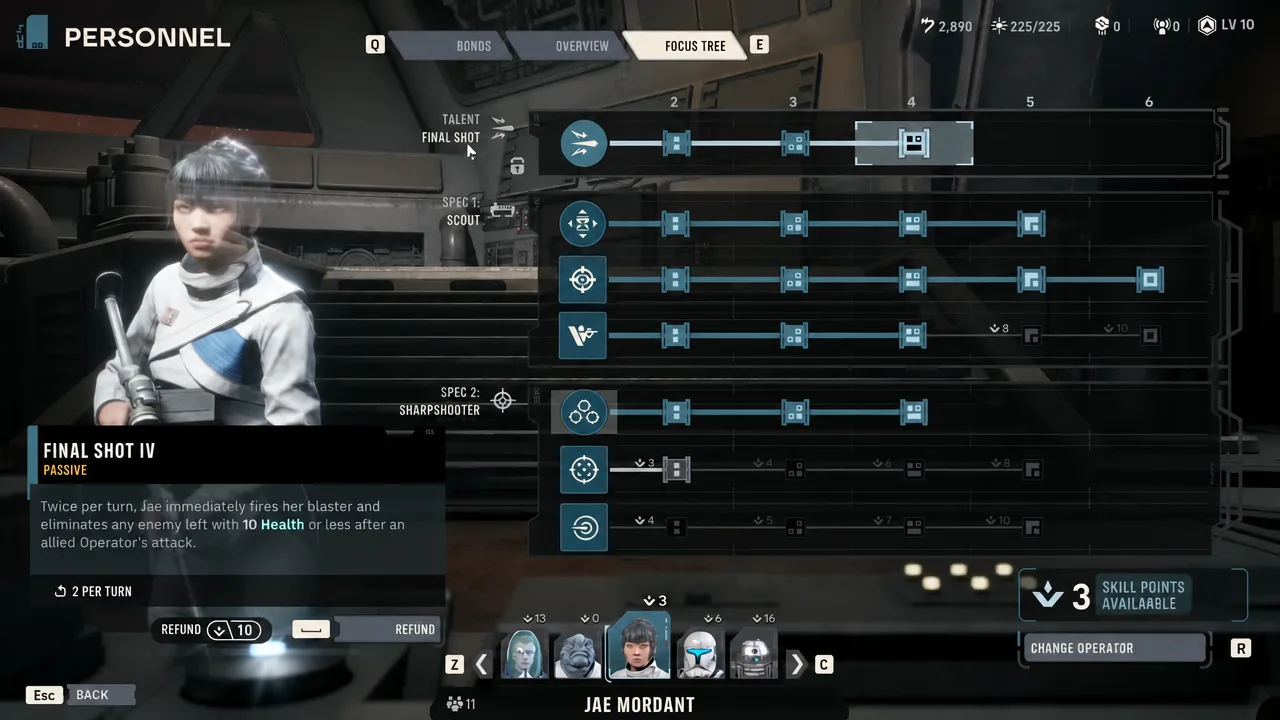
Final Shot is Jae’s unique talent, and it fires as a reaction rather than an action. When an enemy in her range and line of sight drops to low health, she assists automatically and finishes them off. It costs no Action Points, so it never competes with her normal turn.
Upgrading it raises both the health threshold and the number of triggers per turn. At Final Shot IV, it goes off twice per turn against enemies sitting at 10 health or less. That is the single highest-value investment on her sheet, and it should be finished before you spread points anywhere else. The talent also survives a respec, so you can rebuild her specializations later without losing it.
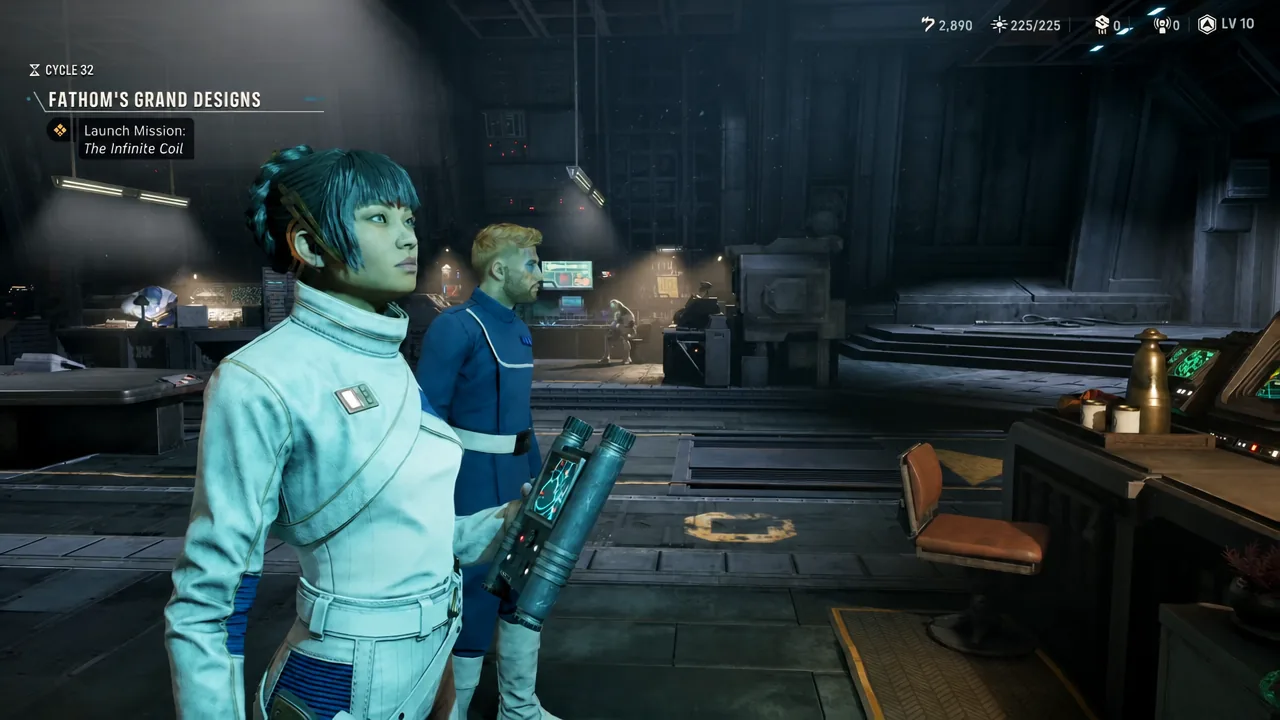
Two things stop it from firing: the target is out of her range or line of sight, or she has already used her available Final Shots for the turn. Neither is fixable with skill points, which is why positioning matters more for Jae than for anyone else in the squad.
Class pairings for Jae Mordant
Both of Jae’s specializations are fully open, which is unusual. Nothing is locked, so the choice comes down to what job the rest of your squad is not already doing. Scout as the primary is the strongest general answer, because the Advantage it produces belongs to the whole team rather than to Jae.
| Pairing | What it does for the squad |
|---|---|
| Scout / Sharpshooter | Maximum Advantage generation plus long-range accuracy and stronger Overwatch. The safest all-round setup. |
| Scout / Gunslinger | Same Advantage engine, but with cheap repeat attacks and multi-target pressure at mid range. |
| Sharpshooter / Scoundrel | Pure execution. Leans on assist damage and Vulnerable to soften targets into Final Shot range. |
| Assault / Gunslinger | More mobile and closer to the fight. Useful only if nobody else is covering that role. |
One caveat on Advantage. The resource is shared and caps at 10, so if you are already running an Advantage-hungry operator such as Cly Kullervo, an assist-heavy Scoundrel build on Jae will fight them for points. In that case, take the Sharpshooter route and let her contribute raw damage instead.
Skill priority by specialization
Open the Personnel Overview to spend points. After Final Shot IV is locked in, spend everything on skills that either create Advantage or increase the chance a target ends its turn under the execution threshold.
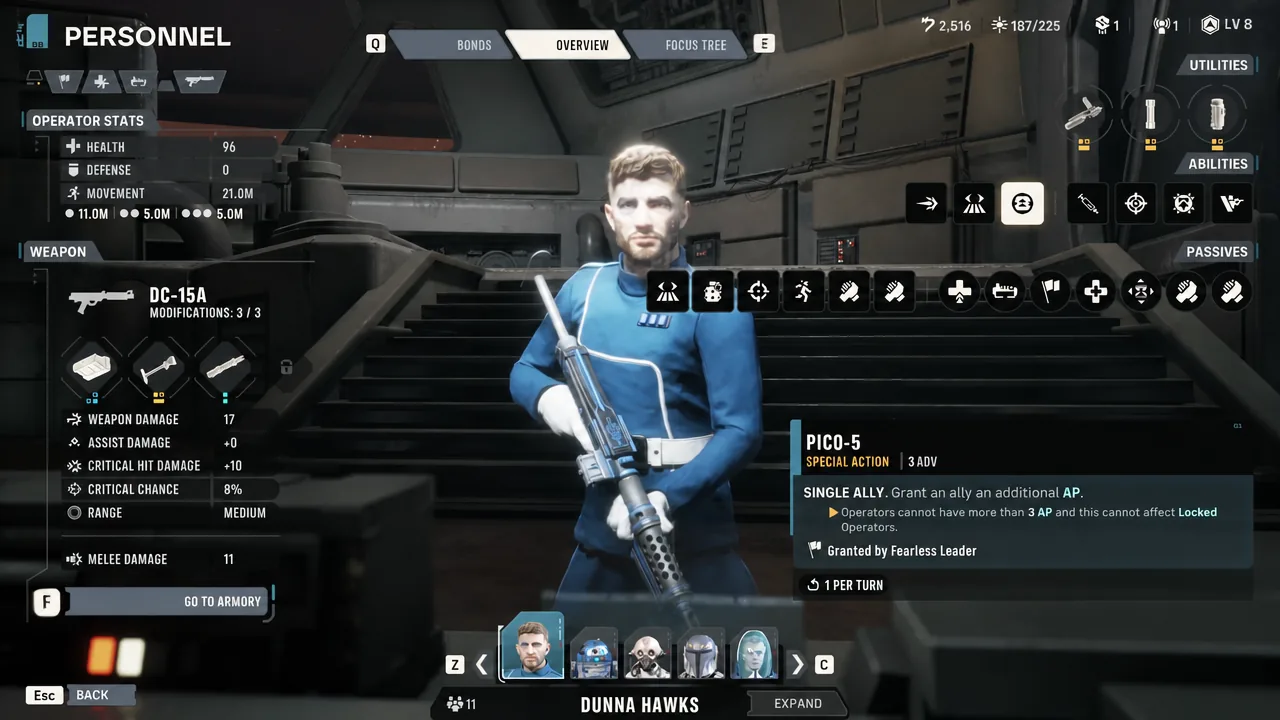
| Specialization | Take these first |
|---|---|
| Scout | Combat Recon for Advantage off enemy groups, Tactical Timing (at rank V it is a guaranteed Advantage on a kill), The Spotter to make damaged targets easier for everyone to hit. |
| Sharpshooter | Zero In for chance-to-hit and crit chance, Pick Them Off to weaken enemies through Overwatch. Precision Shot is fine but low priority. |
| Gunslinger | Quick Draw, a one-AP attack that refunds an AP on a kill. Then Keen Eye for crits, Onslaught for repeat blaster damage, Open Fire for multi-target hits. |
| Scoundrel | Easy Mark for a free hit whenever an ally attacks the marked target, Never Play Fair for assist damage, Identify Weakness for a guaranteed crit via Vulnerable. |
| Assault | Fleet of Foot for opening movement and Sweeping Salvo for multi-target damage. Skip Bull Rush if Kabb Uppercut is handling melee. |
Tip: Identify Weakness is worth taking but not worth ranking up. The upgrades only extend its range, and the base version already applies Vulnerable. Put those points into damage or accuracy instead.
Weapon, mods, and utility loadout
Give her a blaster rifle. It is the natural fit for a backline shooter and it holds targets at the range where Final Shot can still reach them. A blaster pistol is a reasonable alternative if you want more shots per turn, since the longarm blaster rifle eats two of her three AP per attack.
| Slot | Pick | Why |
|---|---|---|
| Weapon | Blaster rifle | Long range keeps her in Final Shot coverage without moving into danger. |
| Mod | Single Coil Condenser or Stalker Scope | Critical hit damage and assist damage both push targets under the execution threshold faster. |
| Mod (alt) | Voltage Modulator | Applies status effects, which suits her secondary role of debuffing groups. |
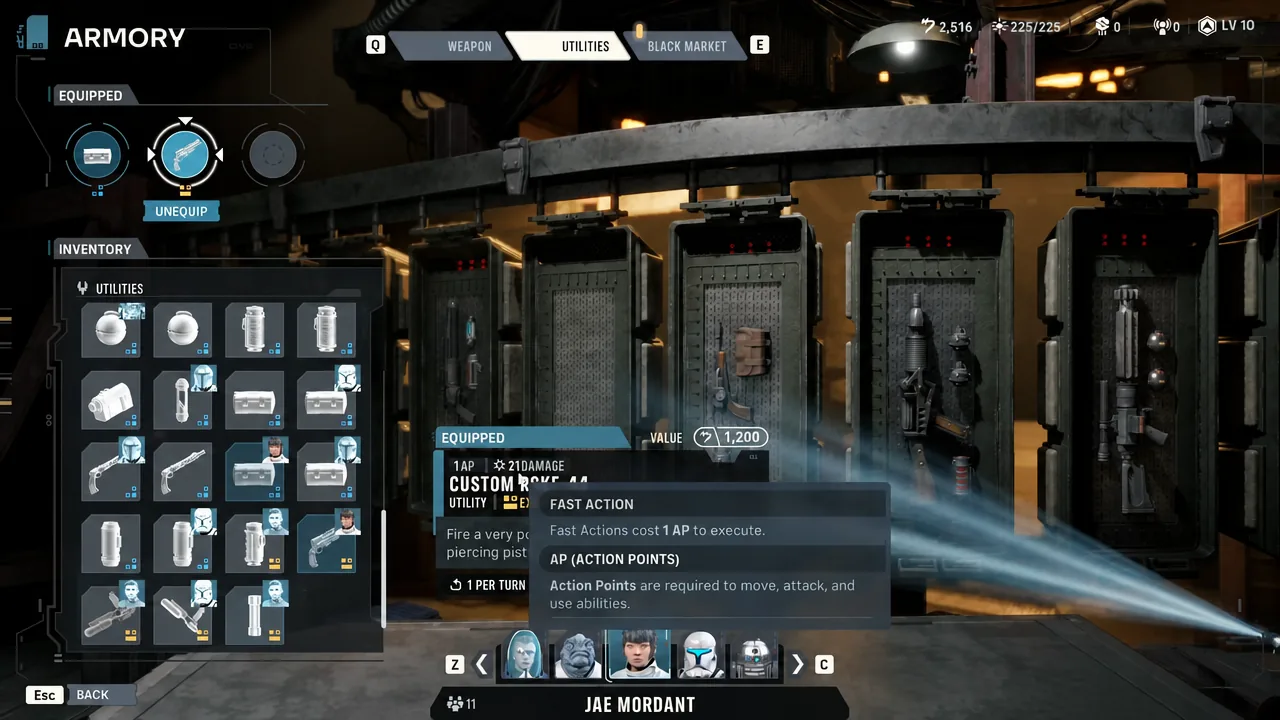
| Utility | Impact Bomb | She usually holds a good angle on clustered enemies. Swap to a healing item on higher difficulties. |
Later in the campaign the Impact Bomb‘s damage falls off. That is the point to move her onto anti-droid utilities or something that dazes, since chip damage matters less than reliably setting up a kill.
How to play Jae in a mission
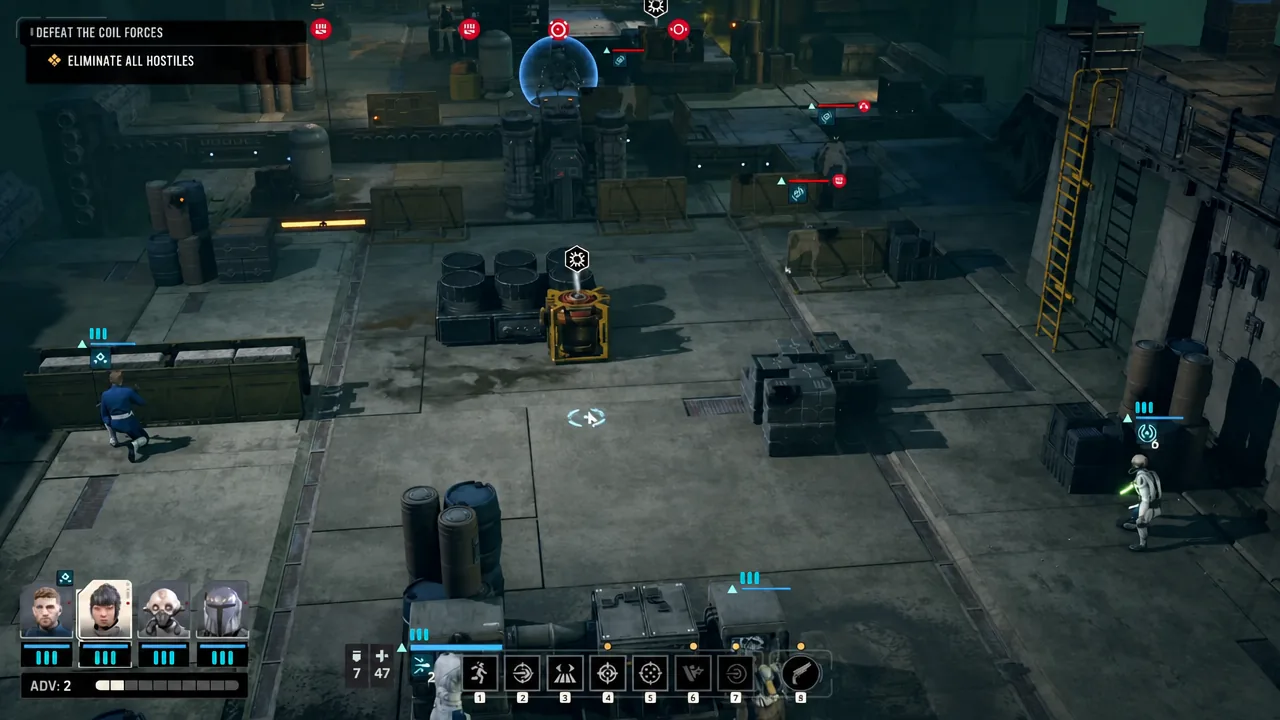
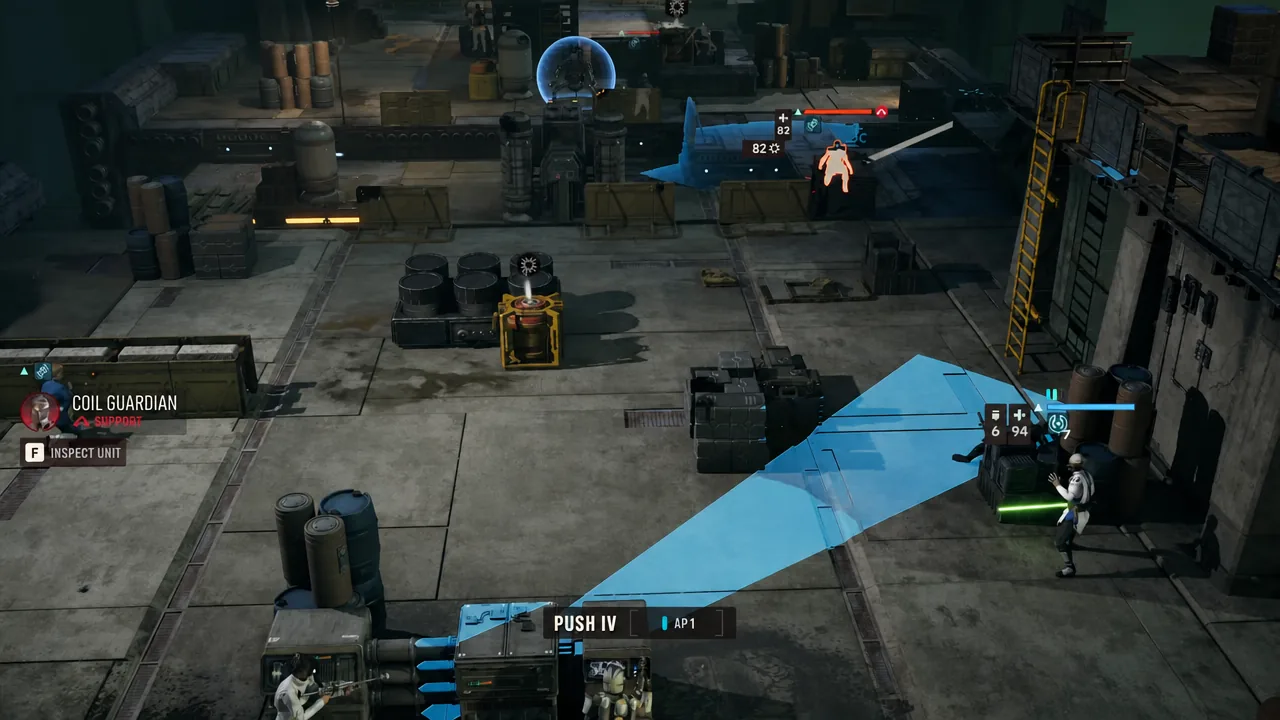
You will know the build is working when Final Shot starts resolving without any input from you. Enemies that survive a squadmate’s attack at single-digit health simply fall over, twice per turn, with Jae’s AP still untouched. If that stops happening, it is almost always a positioning problem rather than a skill point problem, so move her somewhere with a wider view of the map before you touch her build.