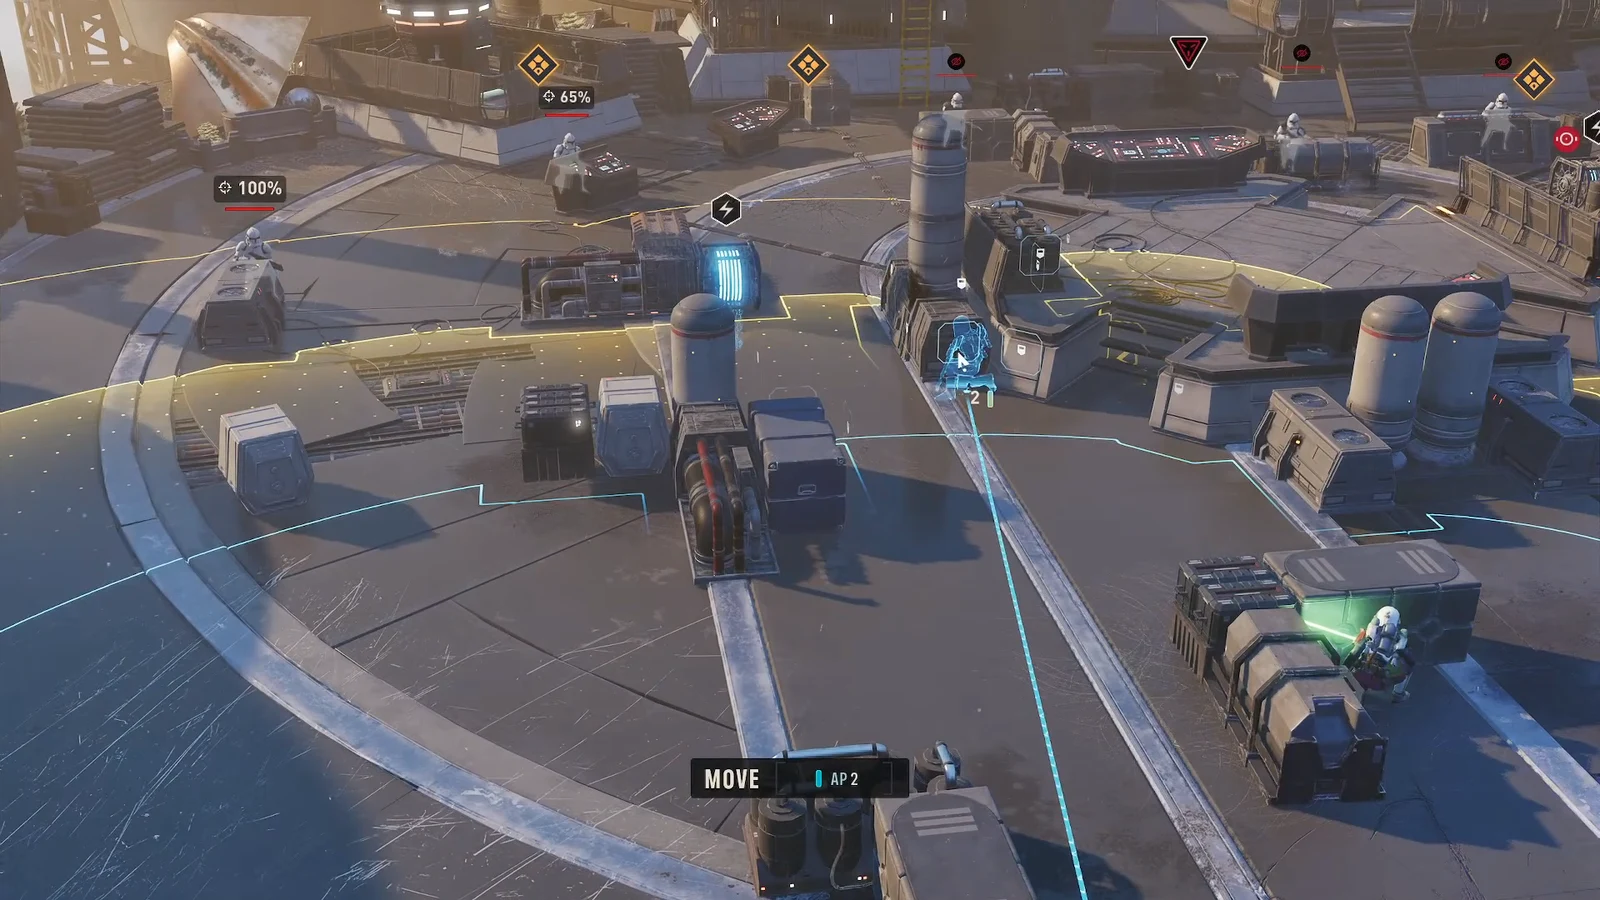
Jae Mordant walks out of Zero Company one cycle after Behind Enemy Lines, and she stays gone until an optional mission called You Can’t Go Home Again appears on the Holotable. Clear it and she rejoins the roster as a full Operator with her abilities intact. Skip it, and the window closes.
Quick answer: Plant charges on generators Aurek, Besh, and Cresh at Mordant Citadel, then wipe out every remaining Imperial trooper while keeping Jae alive. She returns to The Den as a playable Operator the moment the mission ends.
How to unlock You Can’t Go Home Again
The mission is a crewmate mission tied to Jae, and it sits in the Back to Business chapter alongside Deep Cover and Unfinished Business. It does not appear until well after Order 66. Once enough cycles pass, Jae sends a message and the mission drops onto the Holotable at Luunata.
The trigger point commonly lands around Cycle 28, though it shifts depending on how quickly you burn through critical missions. Because this is optional content rather than a critical mission, it only stays available for two cycles before the game skips past it permanently. Take it the moment it shows up.
| Detail | Value |
|---|---|
| Mission type | Crewmate mission (Jae) |
| Chapter | Back to Business |
| Planet | Luunata |
| Map | Mordant Citadel |
| Availability window | Two cycles |
| Reward | Jae Mordant returns as a full Operator |
Mission objectives and the one failure condition
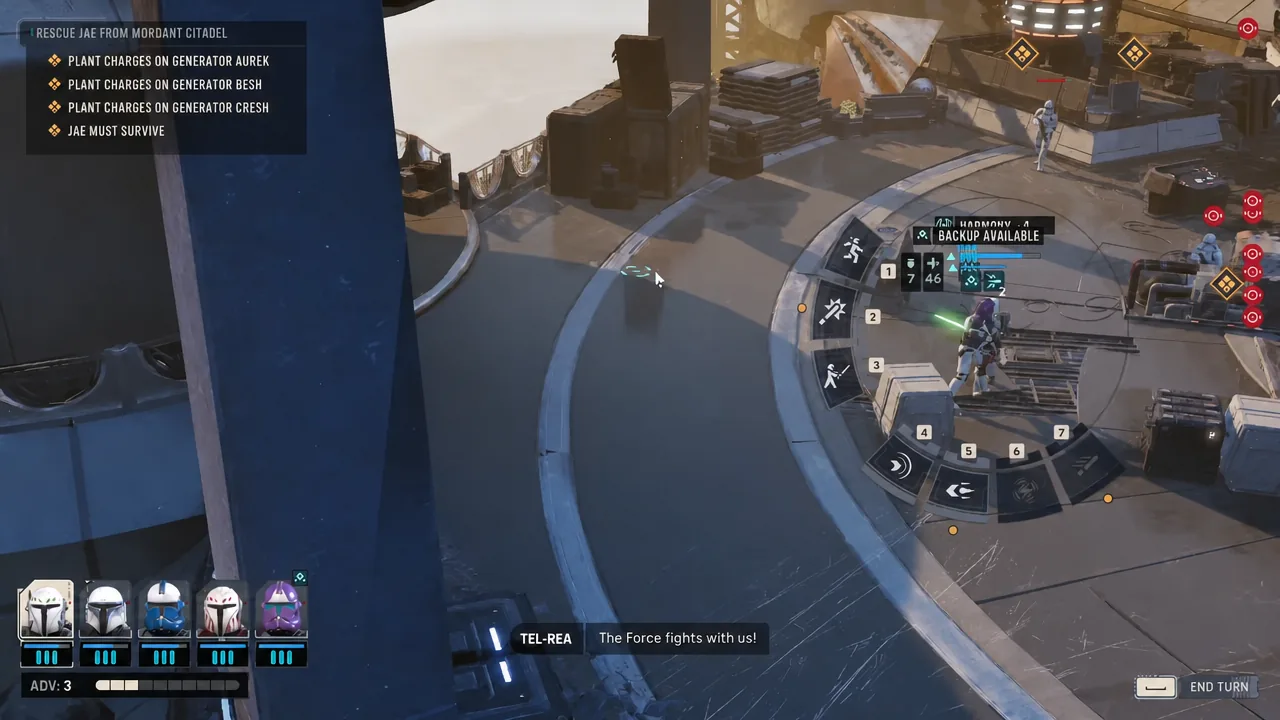
The objective list runs in a fixed order. You plant charges on three generators, then the mission converts into a straight elimination fight.
- Plant charges on Generator Aurek
- Plant charges on Generator Besh
- Plant charges on Generator Cresh
- Defeat the Imperial troops
Running underneath all of that is a single hard rule: Jae must survive. She arrives partway through the fight as an active ally, and if she goes down the mission is lost regardless of how many charges are already set. Treat her health bar as a second mission timer.
Note: planting charges consumes all remaining AP on the unit that does it. Move into position with AP to spare rather than sprinting the full distance and hoping the interact prompt still fires.
Squad setup for Mordant Citadel
Mordant Citadel is a vertical map with elevated platforms, ladders, and explosive barrels scattered across the walkways. A squad built around one mobile charge-planter, one damage sponge, and a mix of ranged clone support handles it cleanly.
| Unit | Role on this map |
|---|---|
| Cly Kullervo | Jetpack mobility via Combat Jump; primary charge planter |
| Fred | Bulwark taunt to pull fire off squishier units |
| Tel-Rea Vokoss | Push to knock enemies into explosive barrels |
| Hawks / Tesh Hawks | Electroweb Dart and Surge for crowd control |
| Clone Grenadier / Heavy | Sweeping Salvo and Impact Bomb for grouped enemies |
| Clone Marksman / Trooper | Overwatch coverage on chokepoints |
Clearing the three generators
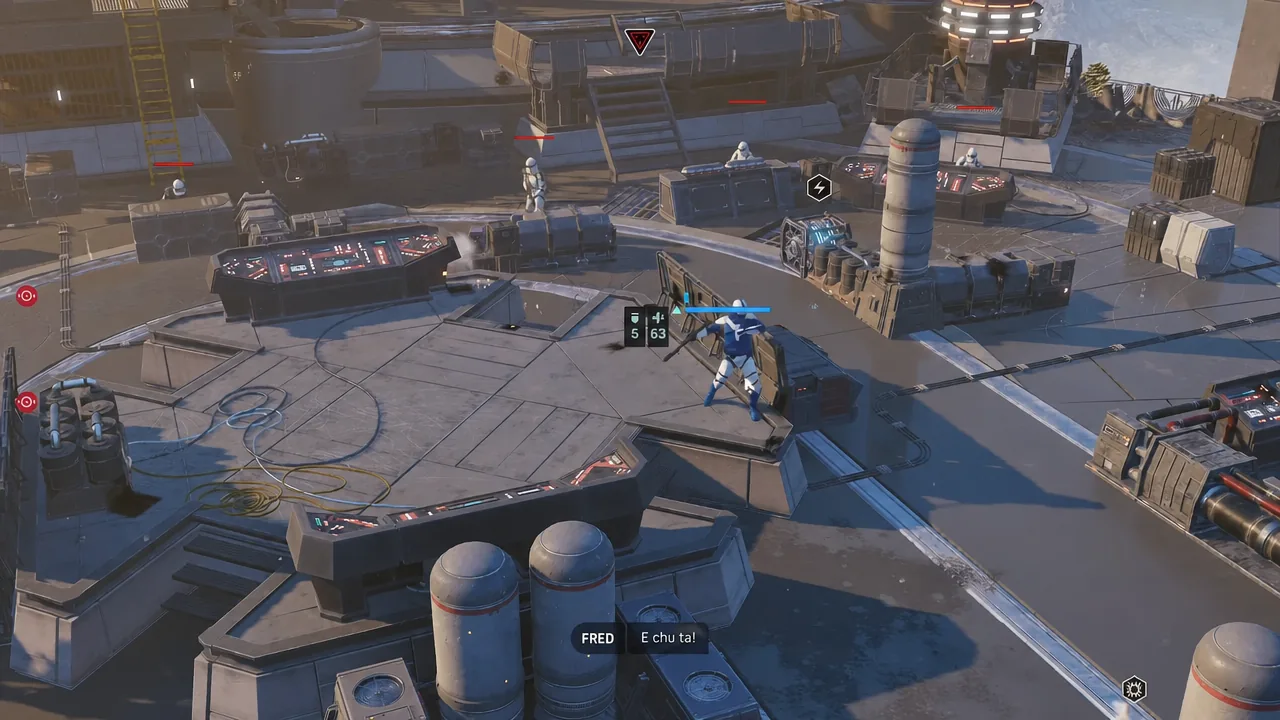
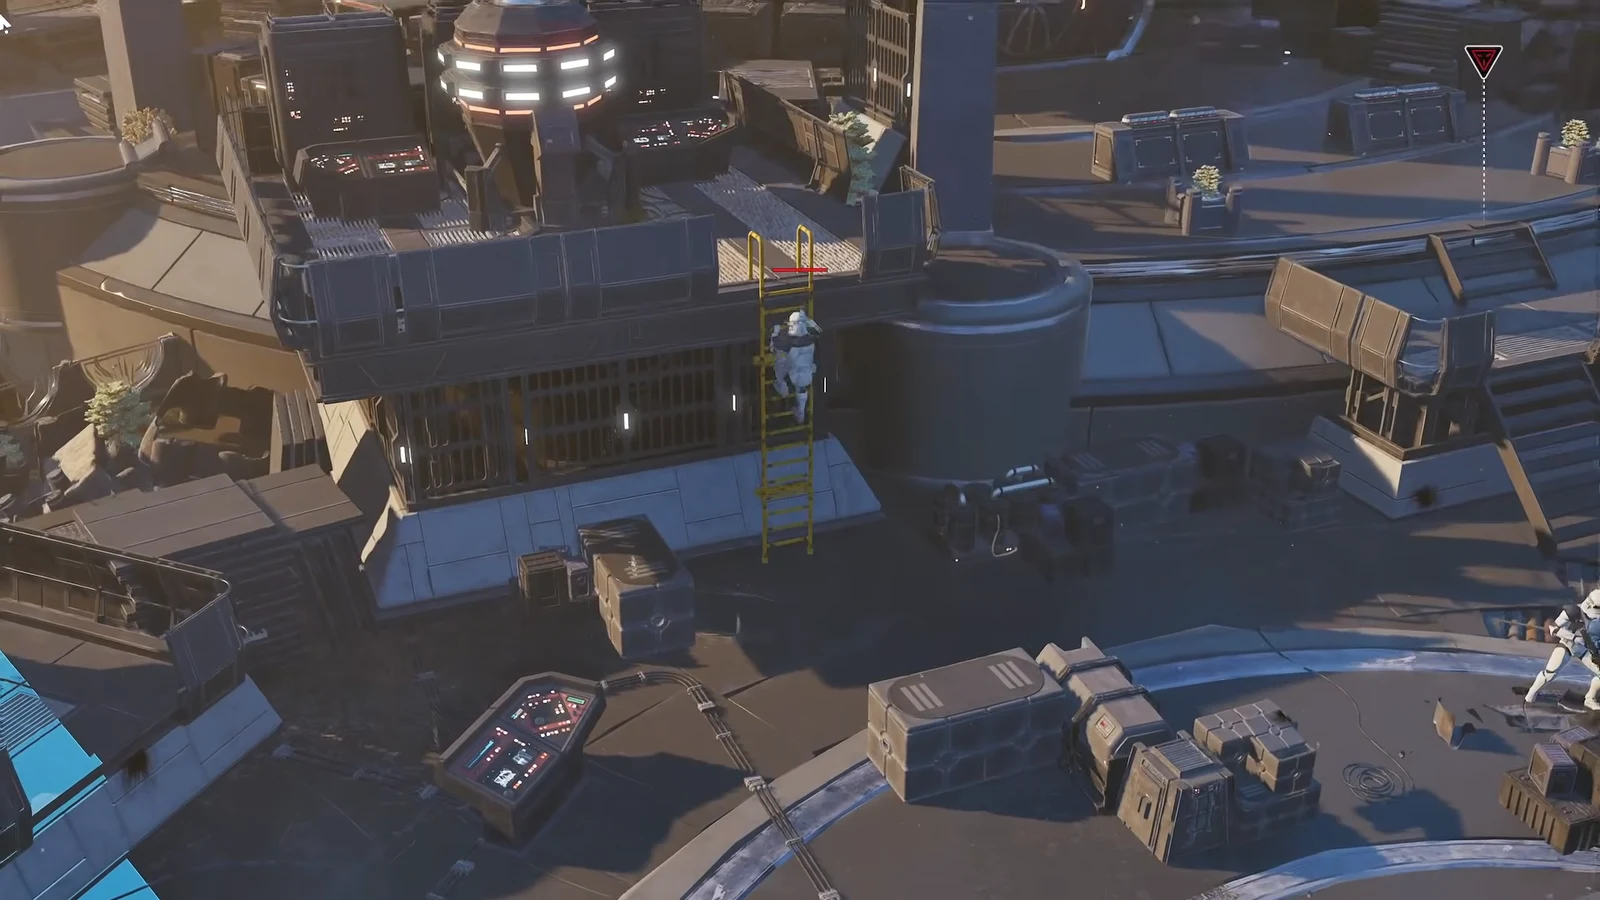
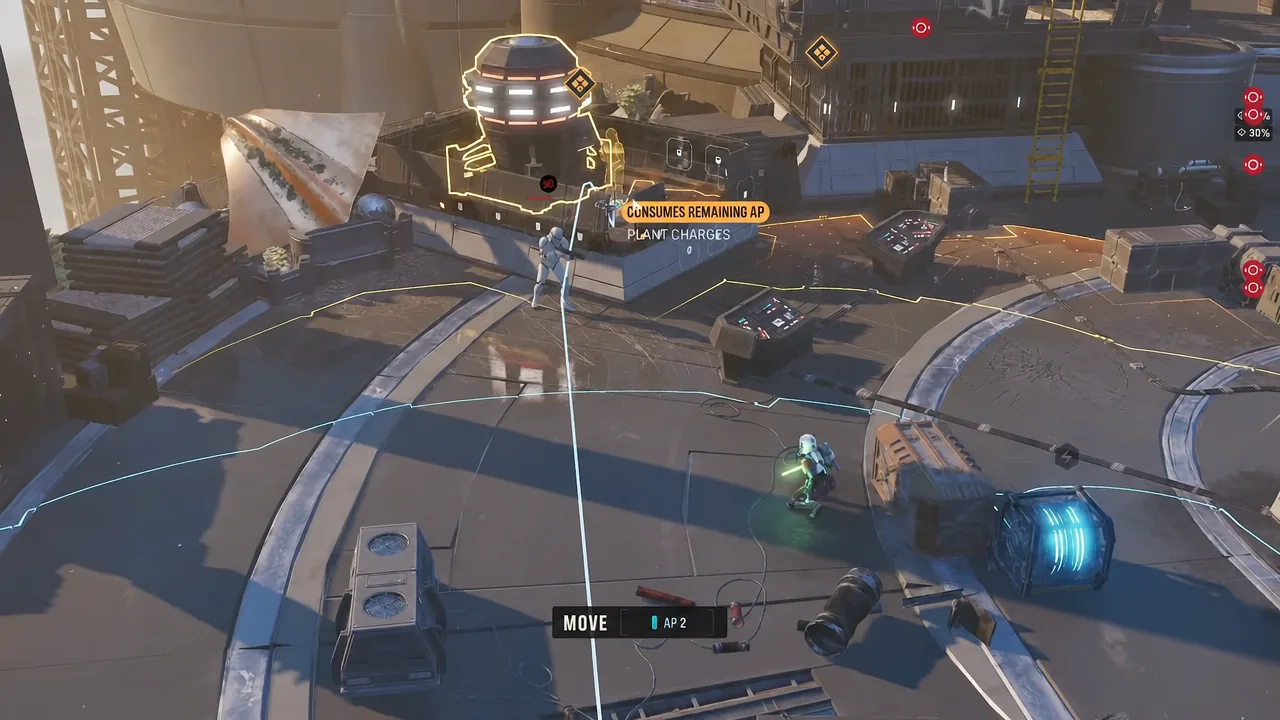
Defeating the remaining Imperial troops
With all three generators rigged, the objective flips to eliminating every Imperial still standing. There is no timer on this phase and no further planting, so the fight becomes a straightforward sweep of the citadel.
Enemies tend to bunch up on the platforms and around cover, which makes area-of-effect abilities far more efficient than single-target shots. Sweeping Salvo, Impact Bomb, Shockwave, and Electroweb Surge all pay for themselves against grouped troopers. Chain actions across the squad in the same turn so a stunned or webbed group gets finished before it can scatter.
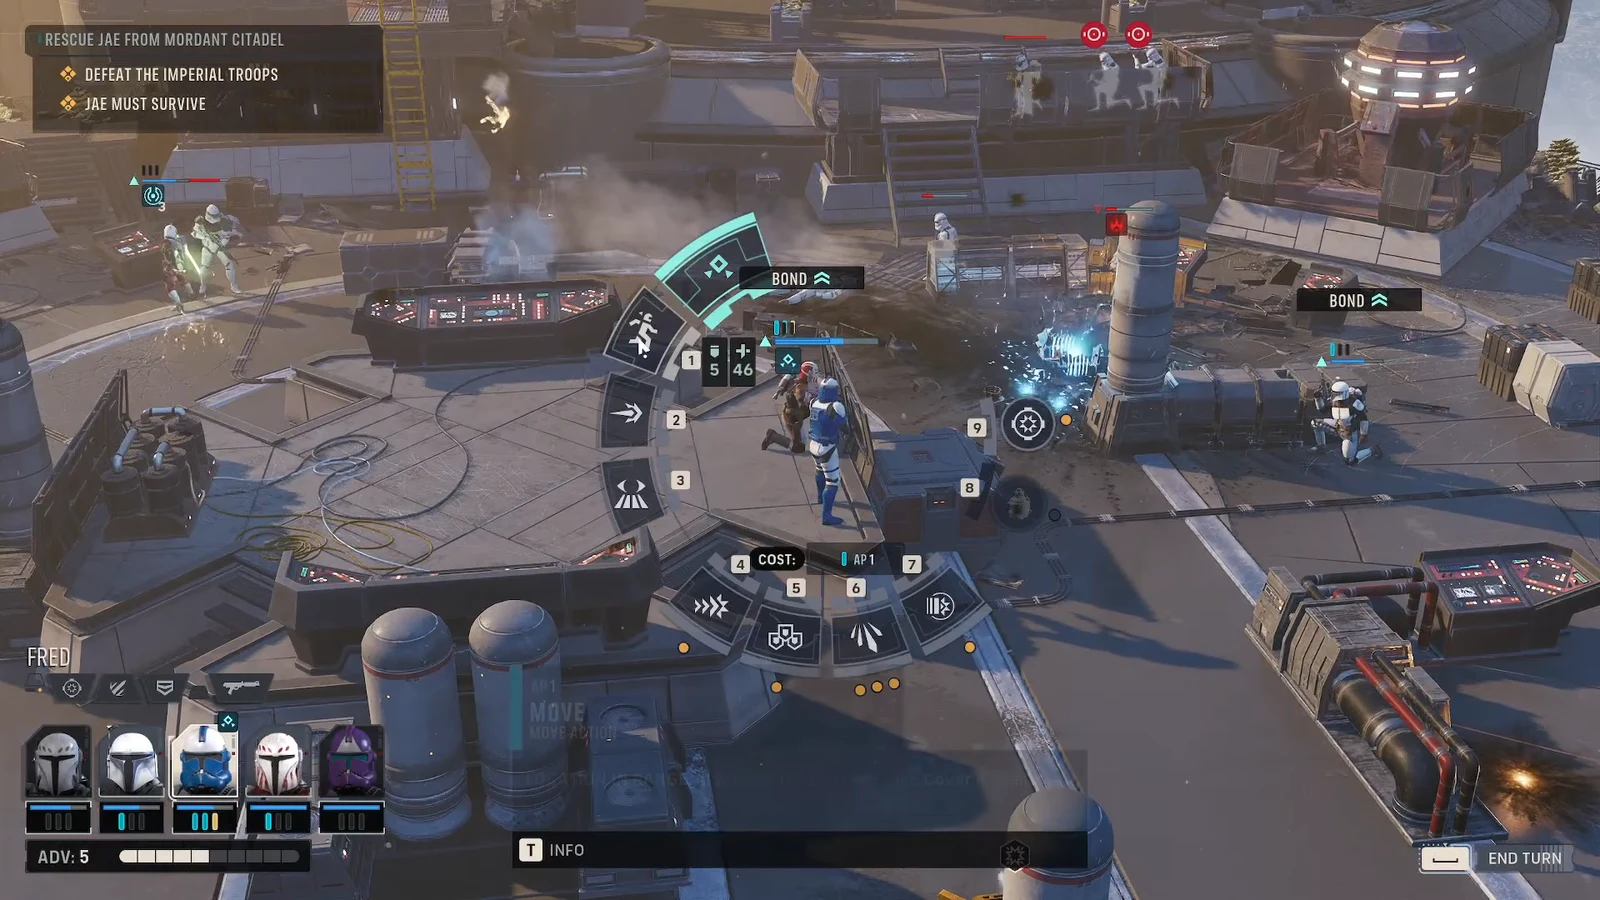
Keep Fred anchored near Jae throughout. Bulwark remains the cleanest way to keep stray fire off her, and Surgeon’s Tools can top her up if a shot slips through. The mission ends the instant the last Imperial falls.
How to confirm Jae is back on the roster
Completion is easy to verify. Return to The Den after the mission and Jae will be standing in her usual spot rather than leaving the note she left behind when she departed. Open the Operator list and she will be selectable for squads with her full ability kit available, exactly as before Behind Enemy Lines.
Two things cause this to fail. Letting the two-cycle window lapse removes the mission entirely, and letting Jae fall in combat ends the run without her rejoining. Neither is recoverable in that playthrough, so treat the mission as a priority the cycle it appears.
Jae is not the only companion who leaves during the campaign. Trick turns hostile during Stillwatch and is defeated rather than killed, spending the following cycles in a bacta tank until the critical mission Deep Cover has his inhibitor chip removed and returns him to the squad in commando armour.