Every Operator in Star Wars Zero Company runs on Action Points and a shared Advantage pool, and the specialization you pick decides how efficiently your squad turns those resources into kills, control, and survivability. The strongest picks either generate resources for the whole team, control where enemies attack, or convert a single turn into far more damage than the AP spent. Below is a full ranking that covers the eight standard specializations plus the character-locked options, followed by the ability details that put each one where it sits.
Quick answer: Scout, Heavy, Medic, Astromech Droid, Padawan, and Cly’s Mandalorian path are the top-tier specializations. Sharpshooter and Gunslinger form the next group, and Soldier, Scoundrel, and Assault sit below them.
Full specialization tier list
This ranking weighs AP economy, Advantage efficiency, survivability, and how much a specialization improves the rest of the squad. It reflects the game as of the current build and covers both standard classes and the character-locked exotic paths.
| Tier | Specializations |
|---|---|
| S | Scout, Heavy, Medic, Astromech Droid, Padawan (Tel-Rea), Mandalorian / Warrior (Cly) |
| A | Sharpshooter, Gunslinger |
| B | Soldier, Scoundrel, Assault |
Note: The four exotic specializations are tied to specific story characters and cannot be freely assigned to your normal Operators, so they answer a different question than the standard eight. They are still ranked here because their power level is high enough to shape team building.
Why the S-tier specializations dominate
The top group all share one trait. Each one either fuels the whole squad or removes enemy turns from the equation, which matters far more than raw personal damage under permadeath and limited Operator counts.
Scout: the Advantage engine
Combat Recon is the single most valuable standard ability in the game. It costs just 1 AP and grants Advantage for every enemy in the assessed area, so a crowded fight can convert one action into a large chunk of the squad’s shared resource. That Advantage fuels expensive Special Actions and Ultimates on other Operators. The Spotter passive also marks enemies you damage with a blaster, stripping their range and smoke penalties. A pistol works well here because you can fire it repeatedly for 1 AP and Spot multiple targets per turn.
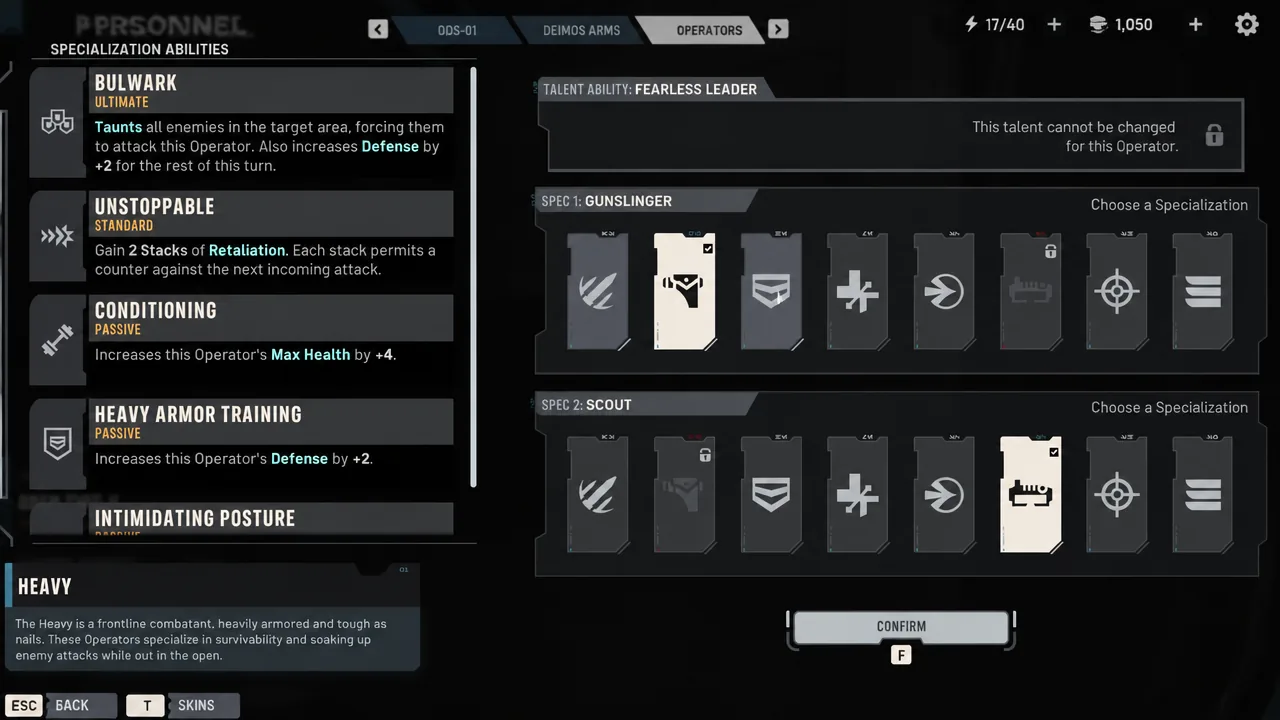
Heavy: taunt plus free counterattacks
Bulwark taunts enemies across an area and forces their attacks onto the Heavy while raising Defense and cutting incoming damage. That is direct control over part of the enemy turn, not just passive bulk. Unstoppable then adds Retaliation stacks, so soaking hits generates damage outside your normal three AP. Conditioning boosts maximum Health and Intimidating Posture lets a 1 AP rifle hit taunt a single target without spending the larger Bulwark resource. The combination makes Heavy strong as a primary or a secondary spec.
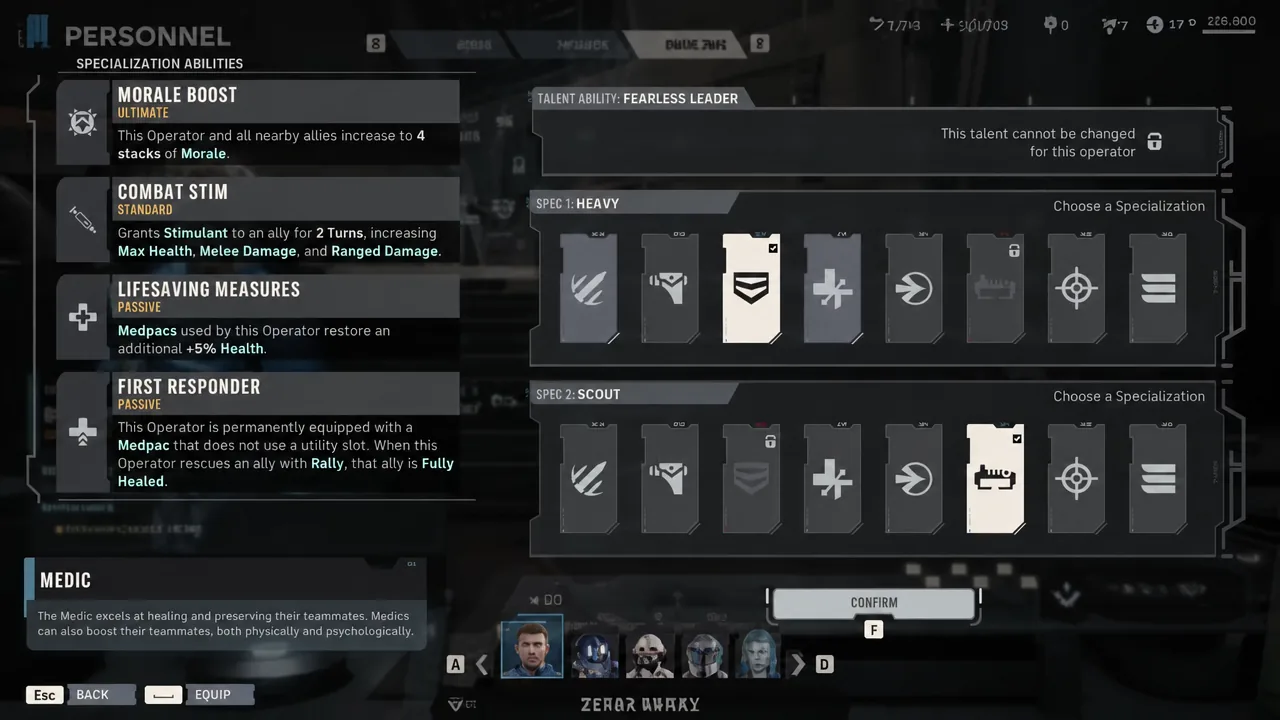
Medic: offense and defense in one action
Medic is the only specialization that can truly heal the whole team, but Combat Stim is what elevates it. The buff raises an ally’s Max Health, Melee Damage, and Ranged Damage, packing offensive and defensive value into a single action. Morale Boost restores Health to nearby allies over following turns, and First Responder carries a Medpac without eating a utility slot. Rescuing a Downed Operator through Rally brings them back fully healed and able to act, which cuts the AP and positioning cost of recovering a fallen unit. Preventing injuries also saves recovery time between missions.
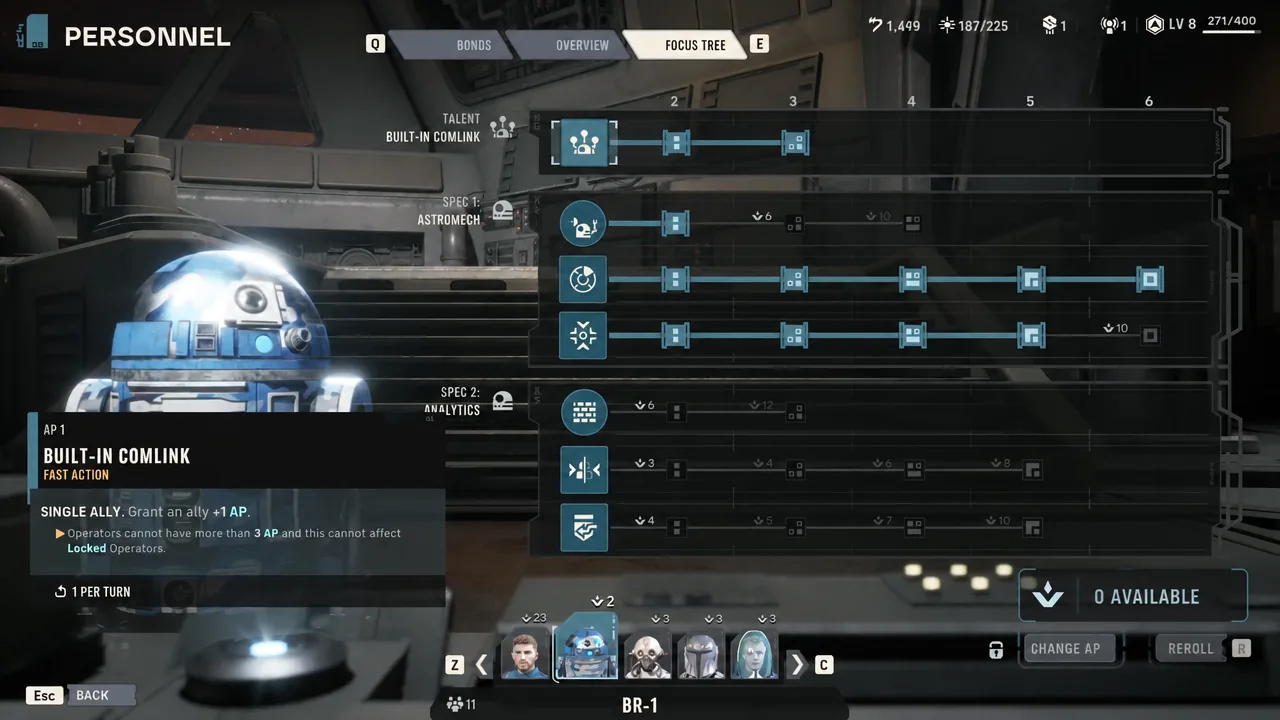
Astromech Droid: squad-wide action points
The Astromech Droid provides the best AP economy in the game. Coordinated Support grants +2 AP to all allies, and Built-In Comlink adds cheap utility on top. Enhanced Scanners and Deep Target Scan give the droid strong reconnaissance value, letting the rest of the squad act more often each turn. When every Operator gets extra AP, the whole team’s damage and control scale together.
Padawan and the Mandalorian path: character-locked powerhouses
Tel-Rea’s Padawan kit turns battlefield control into damage. Push and Pull reposition enemies for 1 AP each, dealing Force Damage while improving line-of-sight, shortening melee approaches, and leaving targets Exposed. Shockwave clears clusters, and the Deflection passive plus Meditations give her serviceable defense. On the Wayseeker side, Lightsaber Throw can wipe three or more enemies in a line while destroying cover, and its 10-Advantage cost is easy to cover with a Scout on the team.
Cly’s Mandalorian/Warrior path is the strongest single character overall. Combat Jump delivers high mobility, while the Electroweb Dart and Electroweb Surge combo produces large area-of-effect damage and crowd control with minimal action cost. That mix of movement and action-free control is unmatched among the character-locked options.
A-tier: strong, reliable damage picks
These two specializations deliver consistent offense without the squad-defining ceiling of the top group.
| Specialization | Key strengths |
|---|---|
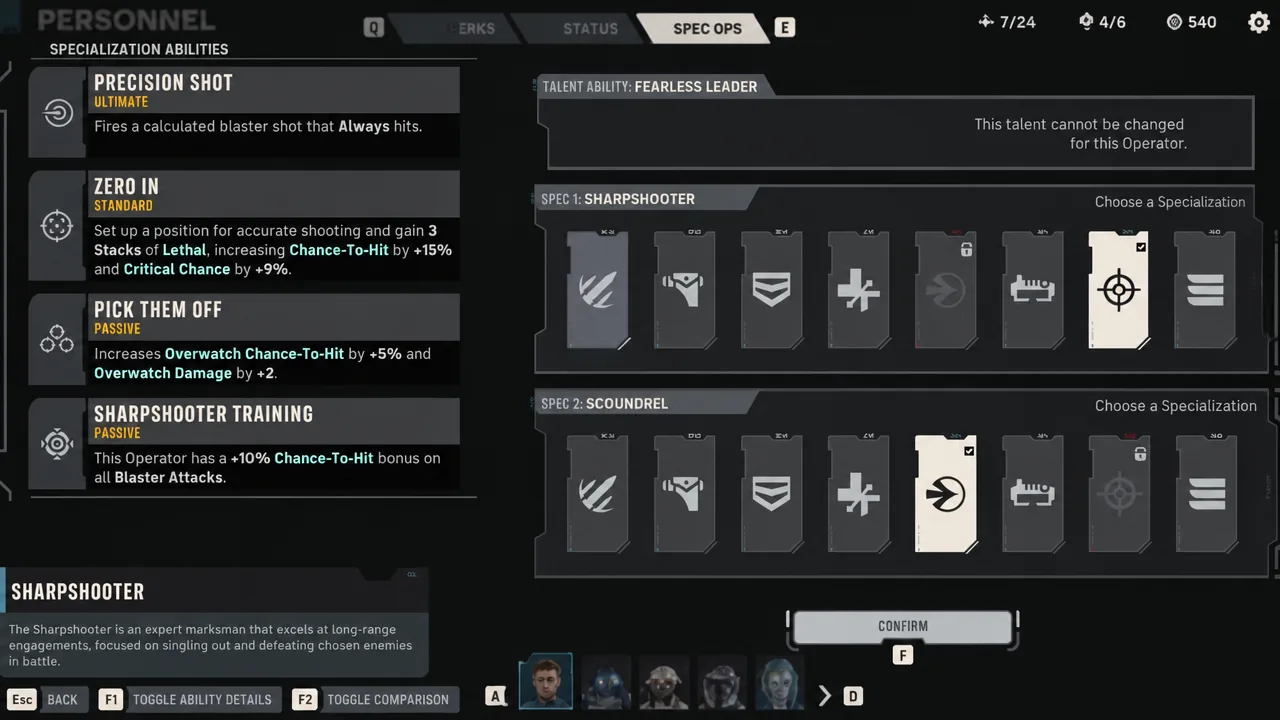
| Sharpshooter | Precision Shot always hits; Zero In stacks Chance-to-Hit and Critical Chance; Pick Them Off boosts Overwatch damage and accuracy. Best used to set up Turn 1 and pour AP into Overwatch. |
| Gunslinger | Onslaught raises damage on each blaster attack in a turn; Quick Draw can refund 1 AP on a kill; Open Fire adds extra distributed shots. Excellent against groups of weaker enemies and pairs well with buff classes. |
Sharpshooter loses a step because Overwatch does not always trigger and careful enemies can avoid it, while Precision Shot’s 6-Advantage cost needs a crit to justify itself. Gunslinger’s many smaller hits run into enemy Defense more often than one large attack, and it wants a pistol to chain 1 AP shots into Onslaught.
B-tier: setup-dependent specializations
None of these are weak, but each needs a specific setup or a follow-up Operator to reach its potential.
Soldier
Soldier is the flexible all-rounder with the widest weapon options, including a rocket launcher, grenades, and melee. Brutal Strike rushes a target for Melee Damage and applies Dazed, stopping it from attacking. Strength and Armsmaster boost melee, grenade throw range, and blaster damage. Rocket Strike is a top-tier Ultimate for clearing groups and reinforcements, but its 10-Advantage cost feels heavy until it is upgraded. It shines most as a secondary spec alongside an aggressive melee character.
Scoundrel
Scoundrel is arguably the best secondary specialization because Identify Weakness makes a target Vulnerable, guaranteeing the next attack crits for just 1 AP. You then let whichever Operator has the highest Critical Damage cash in the opening. Easy Mark adds an Assist on the marked target, and Scoundrel’s Instinct penetrates enemy Defense. The catch is that most of its power transfers to another Operator, so it looks underwhelming on a personal damage meter and needs a strong finisher to pay off.
Assault
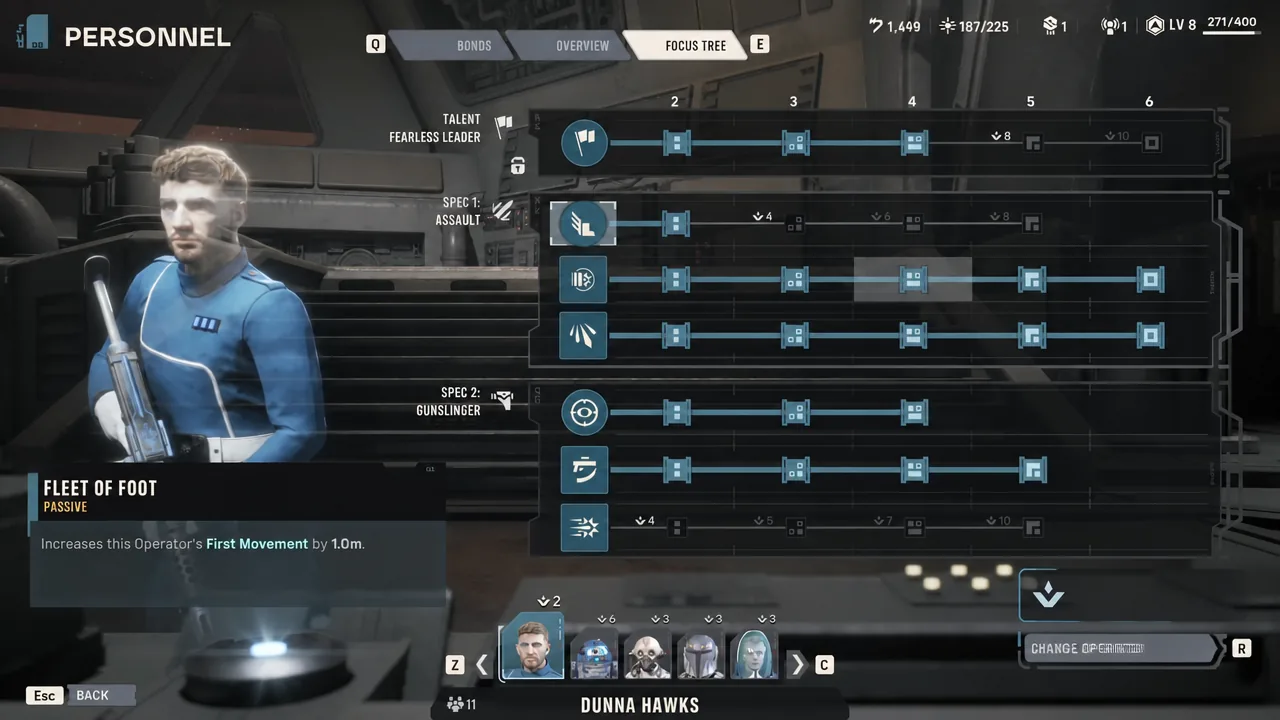
Assault brings aggression through Bull Rush, a charge that deals Melee Damage, Pushes the target back, and leaves it Exposed. Fleet of Foot adds first-movement range and Strike the Flanks grants +20% Critical Chance against Exposed enemies. Sweeping Salvo is a close-range AoE that Disorients all enemies in a cone for only 4 Advantage. It pairs perfectly with a melee finisher like Kabb’s Uppercut, but outside its Ultimate and charge combo it does not drive strategy the way the top classes do.
How to build around the rankings
Choosing a specialization as an Operator’s primary unlocks that path’s highest-tier abilities, such as Combat Stim VI on the Medic, and lowers the cost of later upgrades. A strong core pairs an Advantage generator (Scout or Astromech) with a control anchor (Heavy) and a buff or heal source (Medic or a Scoundrel secondary), then adds a finisher like Sharpshooter or Gunslinger to spend the resources they produce. Once secondary specializations open up, layering Scoundrel’s Identify Weakness onto a Medic or Sharpshooter creates a reliable guaranteed-crit combo each turn.
If you are unsure where to start, Scout and Heavy give you the most value per point and slot into almost any composition. From there, build toward the payoff Operators that turn Advantage and free AP into eliminations.