

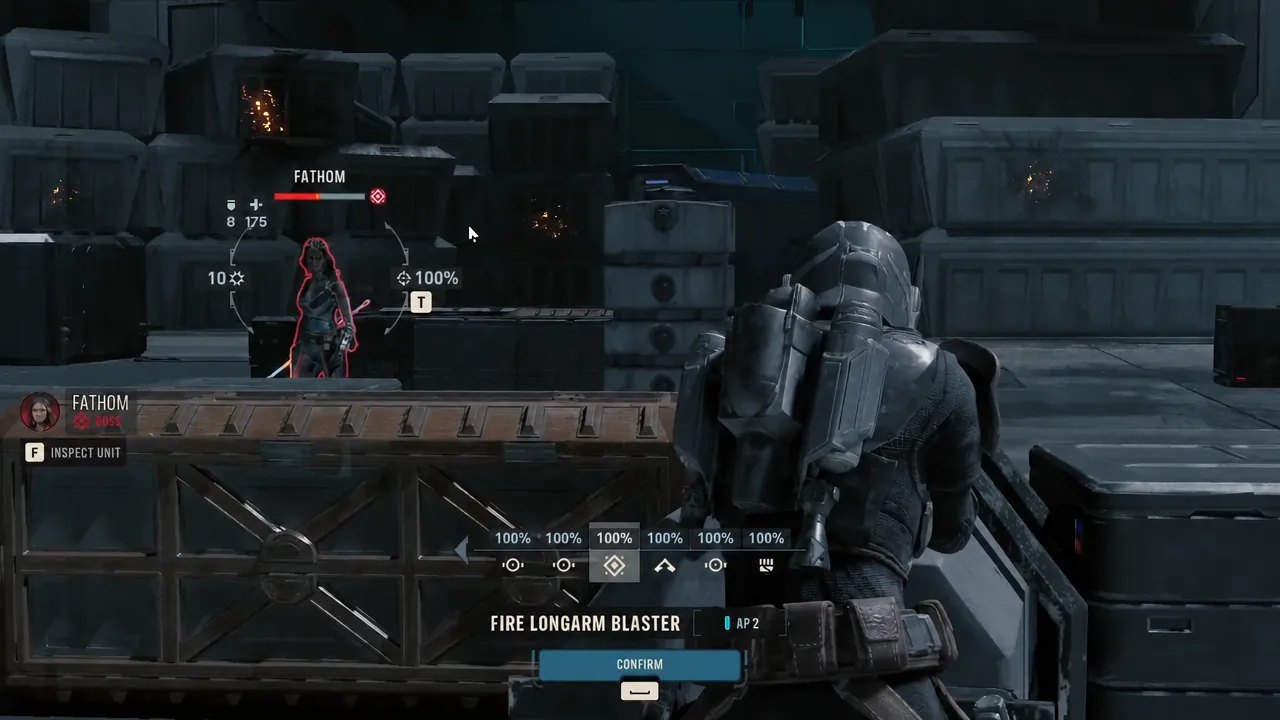
The last phase of the fight against Kundri Fathom looks messier than it is. Coil Enforcers, Coil Guardians, Coil Strikers, and Infected Clone Troopers keep arriving, Fathom siphons health to top herself up, and she keeps sliding back into cover. None of that changes the win condition, which is why the encounter is far shorter than the enemy count suggests.
Quick answer: Ignore every minion and put all single-target damage into Fathom. When she retreats and heals, move the whole squad after her, use Bull Rush to knock her out of cover and lower her defense, then finish with Sweeping Salvo, Final Shot, and stims to keep operators standing.
Fathom final stage objectives and fail conditions
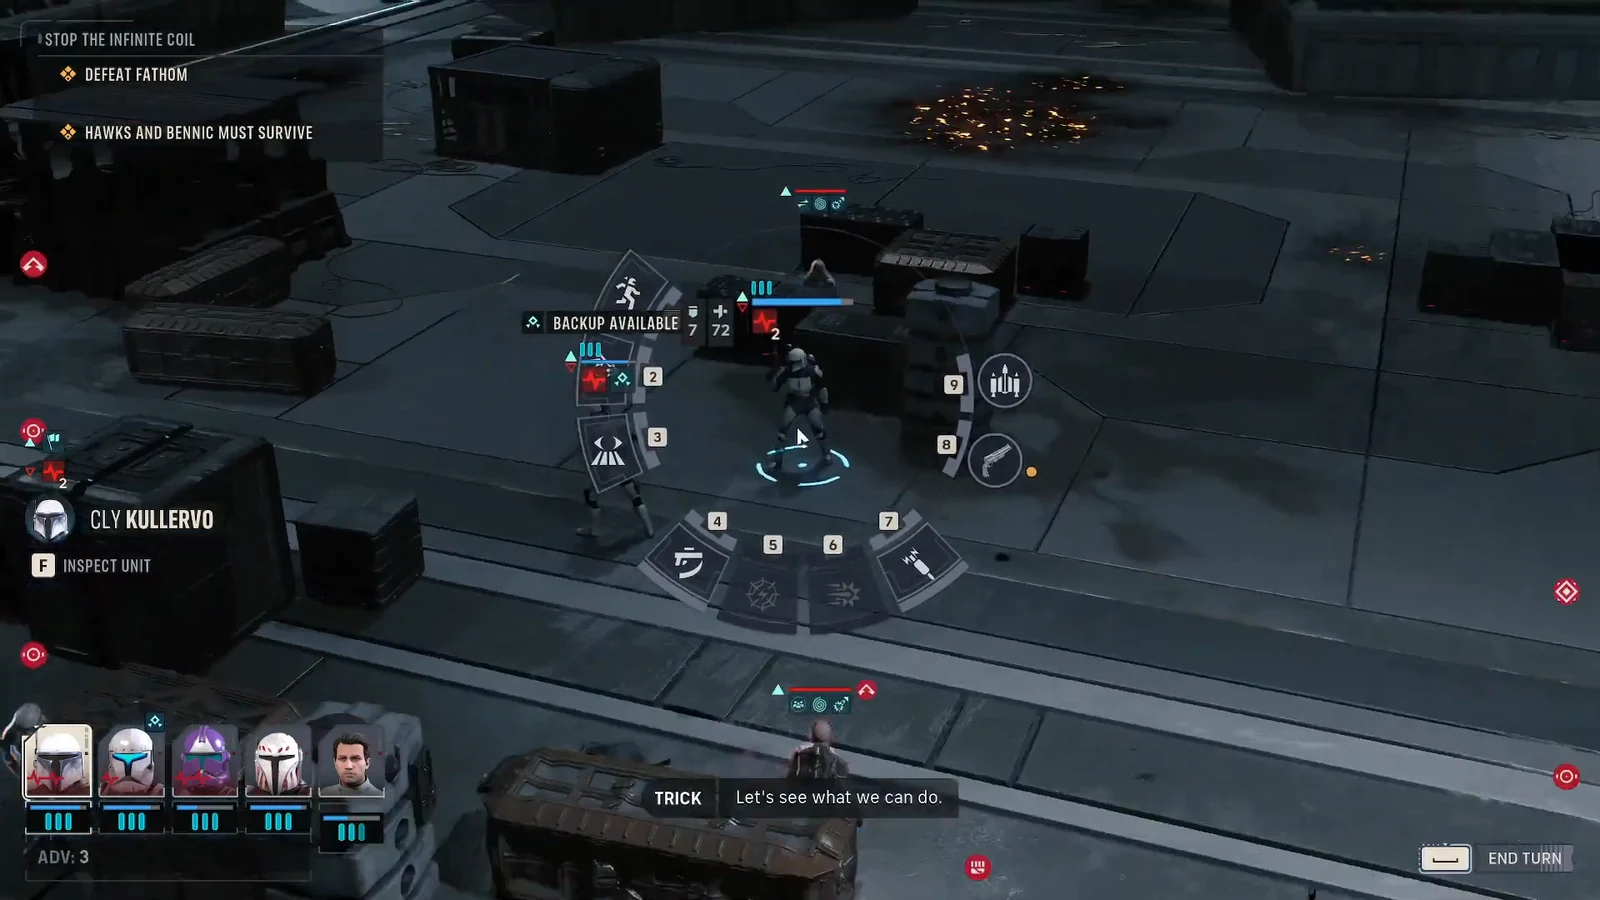
Three lines sit on the objective panel for the whole encounter. The mission goal is to stop the Infinite Coil, the combat goal is to defeat Fathom, and the survival requirement covers two named characters: Hawks and Bennic must survive. Everything else on the map is optional.
That last line is the real constraint. You can lose ground, let minions flank you, and end turns in poor cover, and the encounter continues. Lose Hawks or Bennic Halloren and it does not.
Squad setup before the final stage
The Infinite Coil runs as one long mission with back-to-back fights and no chance to swap operators partway through, so the roster you bring at the start is the roster you finish Fathom with. Hawks is mandatory. Bennic joins the team once Fathom drops to roughly half health, and he stays for the rest of the fight.
For the closing phase, the useful picks are operators who can either move and shoot in the same turn or delete a wounded target for free. Cly Kullervo covers the first with Combat Jump IV, which repositions her and damages what she lands on. Jae Mordant covers the second with Final Shot, which automatically finishes a low-health enemy so you do not burn a turn confirming a kill. A medic with Deluxe Bacta Stims and Surgeon’s Tools is worth the fourth slot if your Hawks build has no healing of its own.
Focus all damage on Fathom and skip the Coil minions
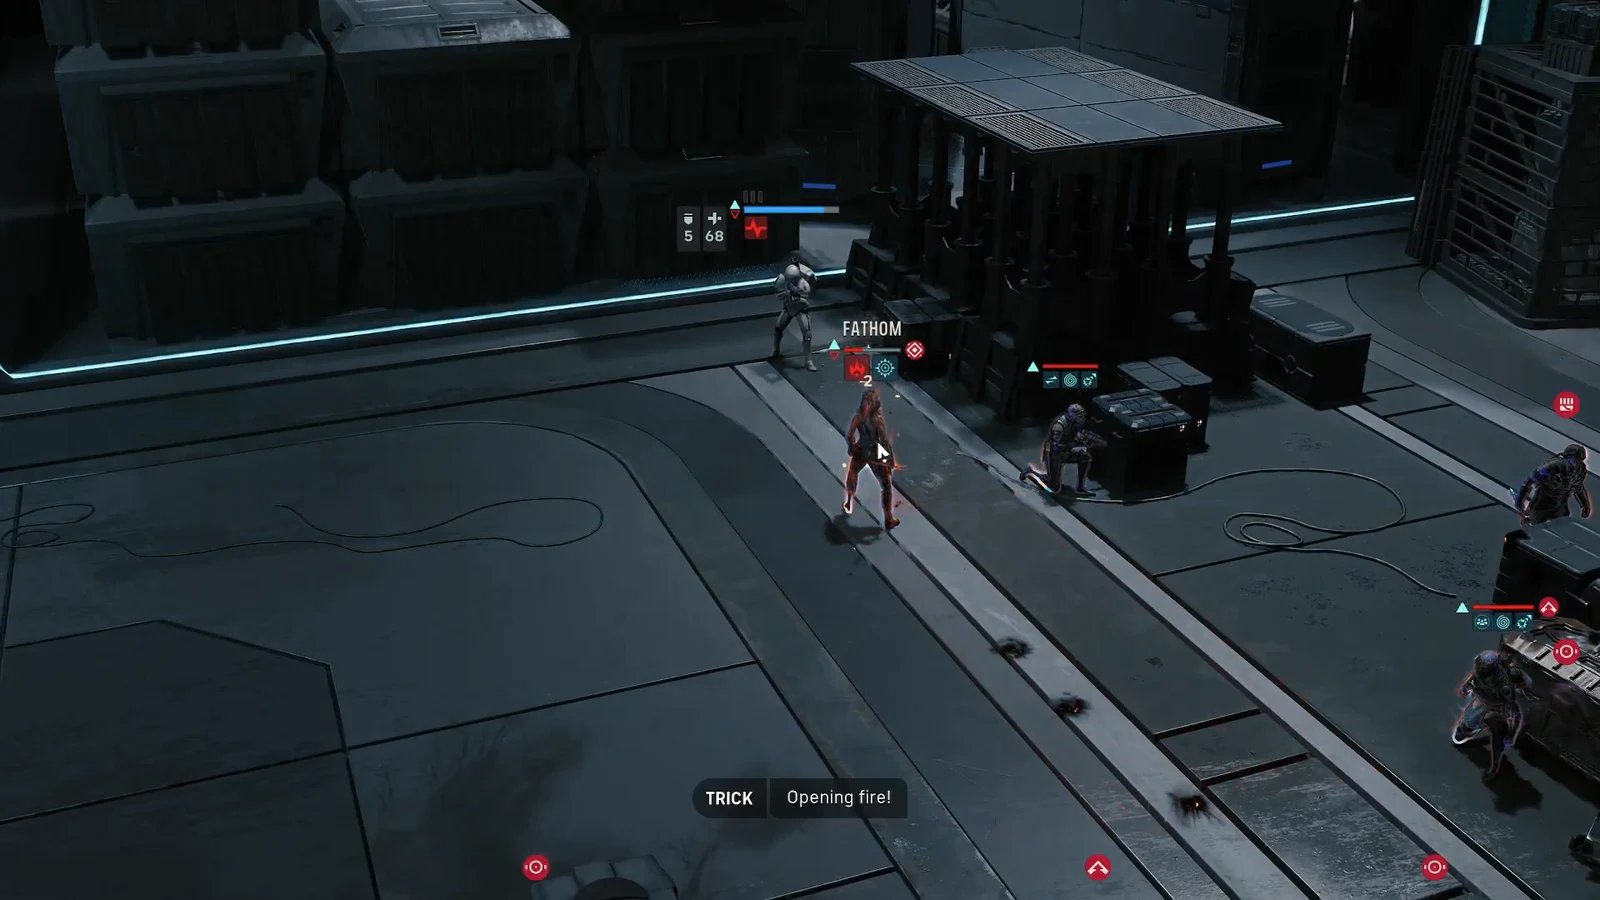
The minions Fathom brings in do not need to die. Killing them does not end the encounter, does not stop reinforcements, and mostly costs you the action points you need for the only health bar that counts. Push your squad forward until Fathom is in range and start shooting her.
Every operator should attack her on every turn. Longarm blasters, blaster rifles, blaster pistols, the Custom RSKF-44, the DC-17M repeater, Brutal Strike VI, Quick Draw, whatever hits hardest for the action points spent. If a shot is available on Fathom at a decent hit chance, take it rather than clearing a Coil Striker standing next to you.
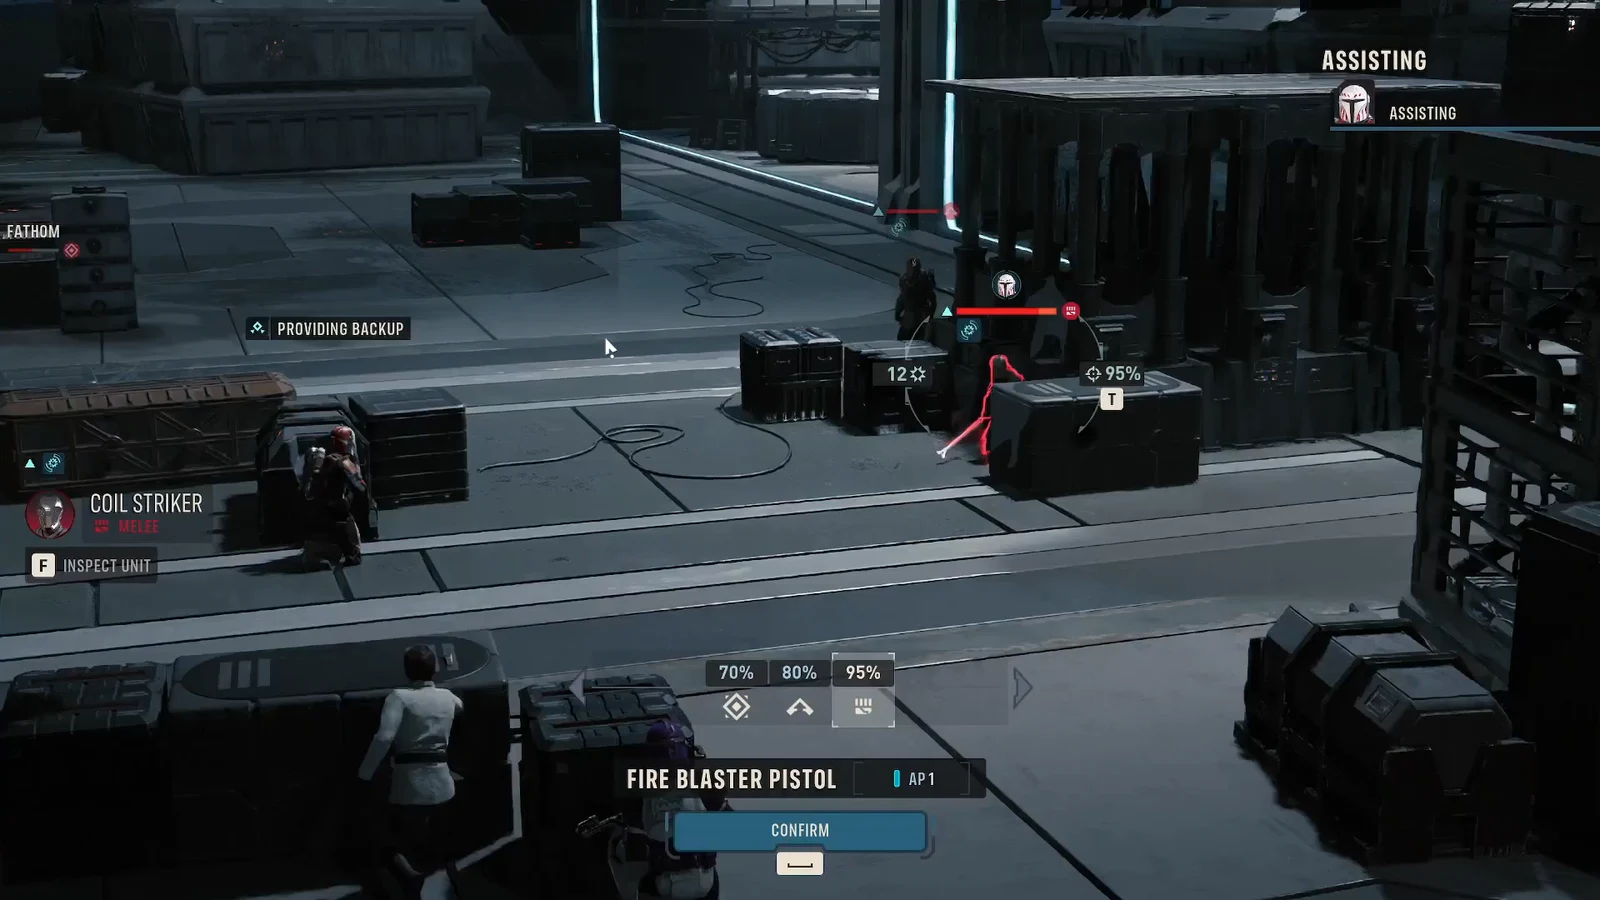
Area-of-effect abilities are the main trap here. They look efficient against a crowd, but the crowd is not the objective, and Electroweb Surge IV or a wide burst spends action and advantage points that would otherwise have gone into Fathom. Single-target output wins this phase outright.
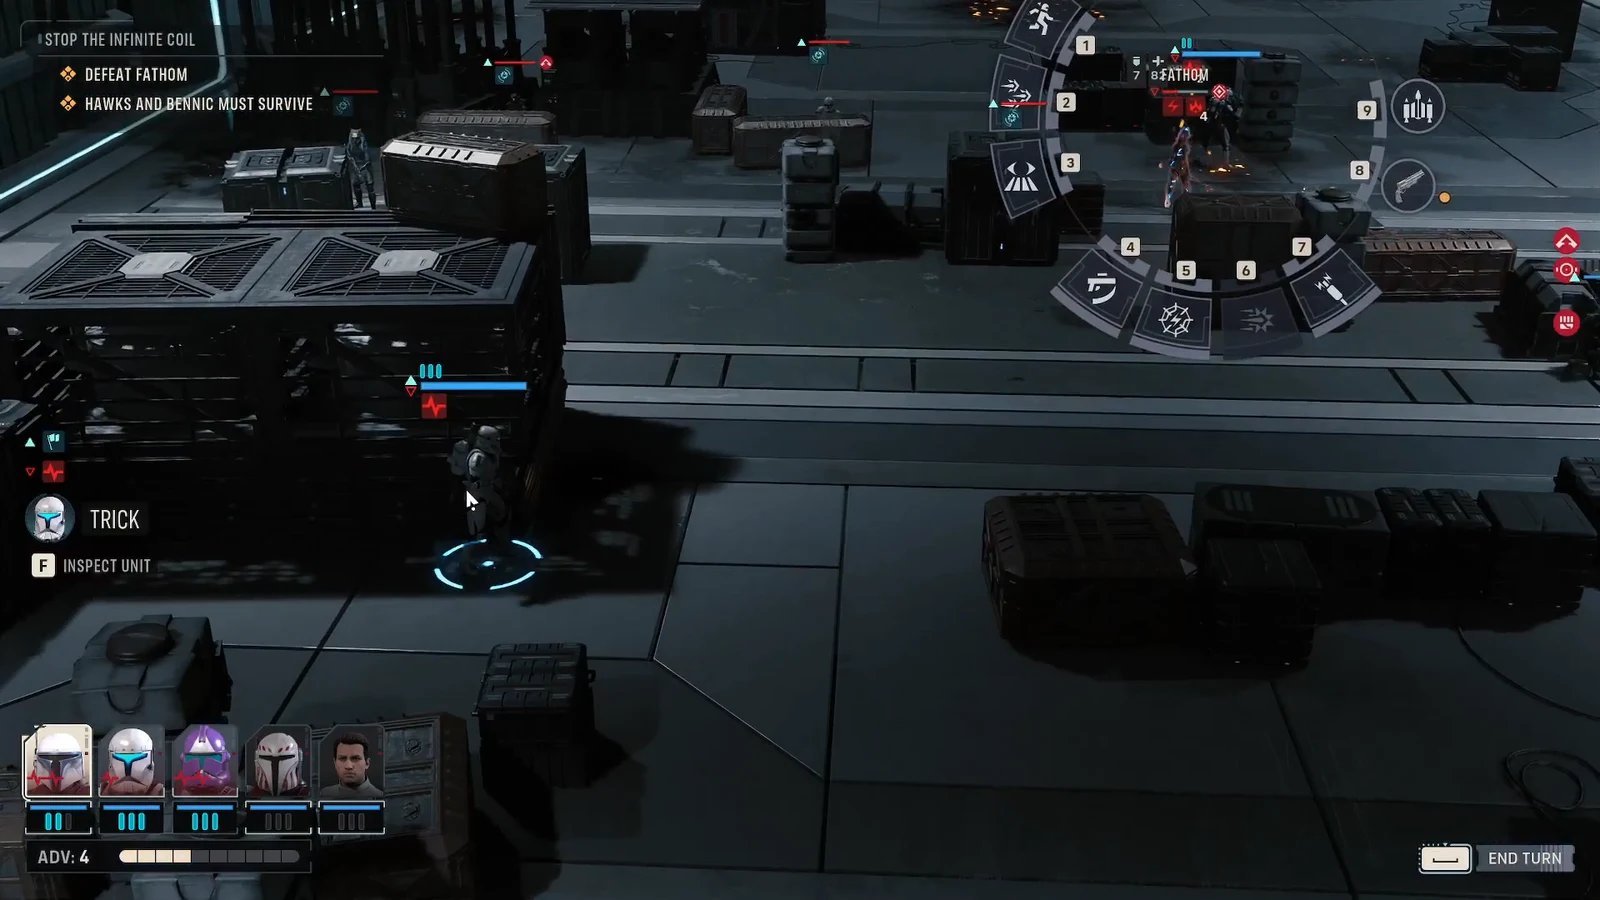
Break Fathom’s cover with Bull Rush when she retreats and heals
Partway through the phase, Fathom siphons health from the fight, restores a chunk of her own, and falls back to the side of the arena. This is the one moment where the fight can stretch out. If you stay put and trade shots with minions, she keeps healing and you make no progress.
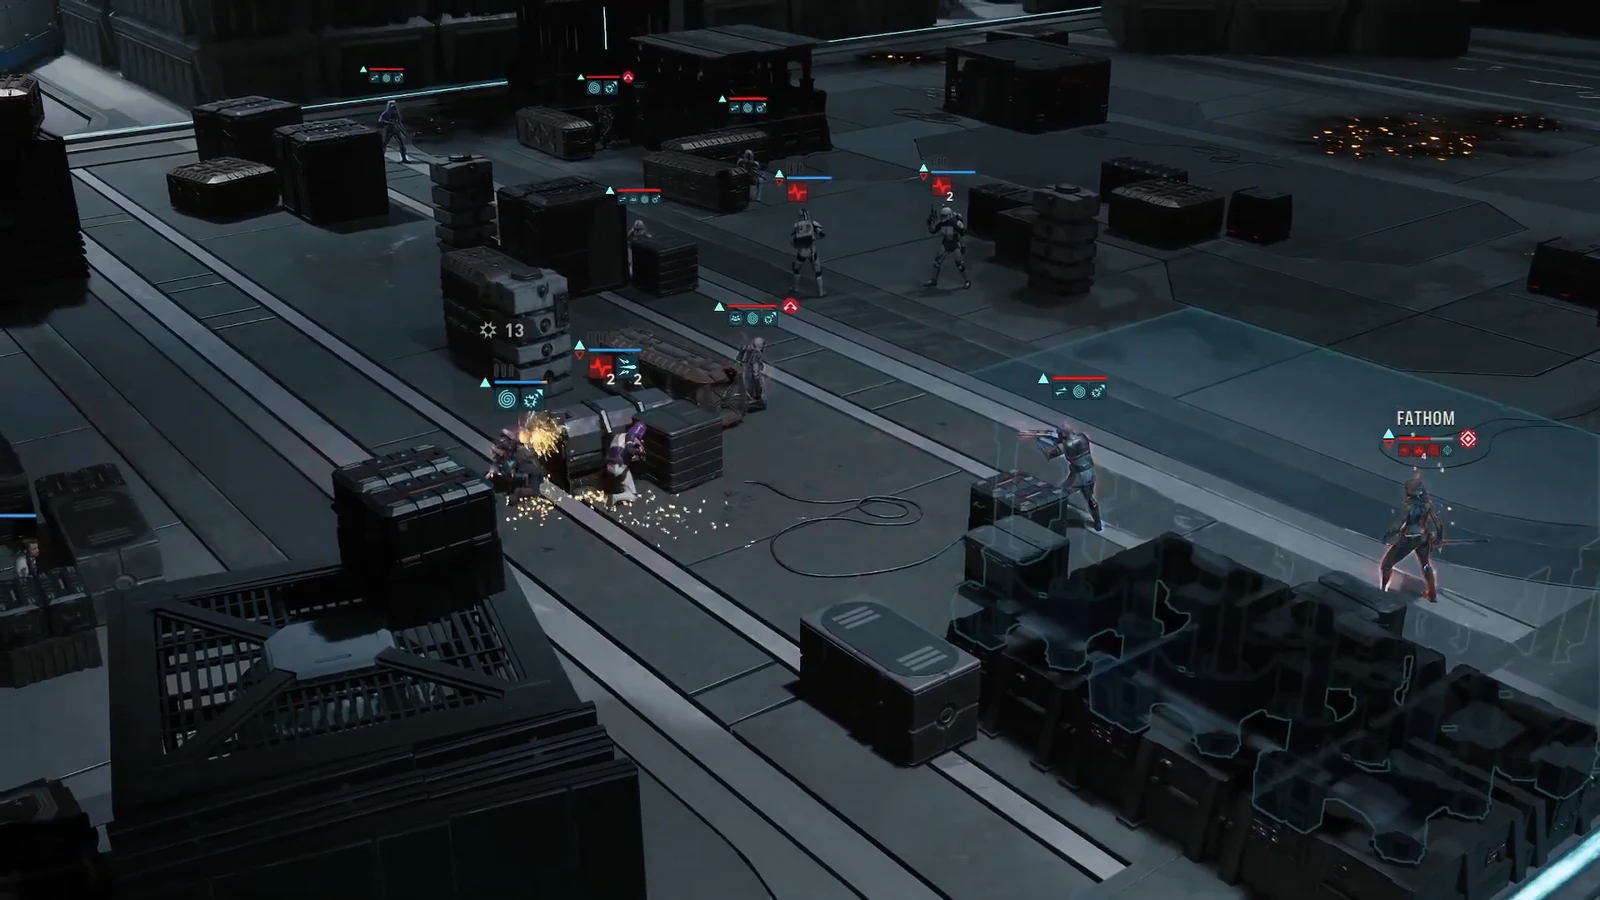
Best abilities and items for the Fathom fight
| Ability or item | Why it matters in this phase |
|---|---|
| Bull Rush | Pushes Fathom out of cover and lowers her defense for the rest of the round. |
| Sweeping Salvo | Strong damage for the action points spent, ideal once her defense is down. |
| Combat Jump IV | Closes the gap after Fathom retreats and deals damage on landing. |
| Final Shot | Automatically finishes a low-health Fathom, saving a full turn. |
| Brutal Strike VI | High single-target melee damage once an operator is already adjacent. |
| Combat Stim V / Deluxe Bacta Stim | Keeps operators upright through chip damage from the Coil while you ignore them. |
Note: heal early rather than at low health. The minions are not a threat you are answering, so the only reason anyone goes down is accumulated damage you chose not to top up.
Keep Hawks away from Fathom and the rest of the squad
Fathom can take control of Hawks and turn their weapons on your own operators. A well-levelled Hawks hits hard, so this is the single fastest way for the fight to go wrong, especially with a survival requirement attached to that character.
Park Hawks at distance from Fathom and away from the rest of the team, so that even a controlled turn has no easy target in reach. If Hawks does land damage on an ally, Bennic can heal it back once he joins.
How to confirm the fight is over
The encounter ends the moment Fathom’s health hits zero, with Coil units still standing on the map. A cutscene plays showing her influence draining out of the people she controlled, and there is no hidden second boss waiting behind her.
Bennic rejoins the team afterwards and the squad returns to The Den, where the game labels the section Epilogue instead of a normal Cycle. If you are still fighting after Fathom falls, you have not actually finished her off.
Why the fight drags on
- Action and advantage points are going into AoE abilities that spread damage across minions instead of concentrating it on Fathom.
- The squad stayed behind when Fathom pulled back, letting her heal without pressure.
- Attacks are landing while she is still in cover, which wastes turns on low hit chances that Bull Rush would have fixed.
- Hawks is standing close enough to Fathom or the team for mind control to cost you a full round of damage.
Played cleanly, the closing phase can collapse in a single coordinated round: everyone opens on Fathom, Cly jumps in to add damage without spending her full action budget, Bull Rush strips her cover, and Jae’s Final Shot cleans up the remainder. Treat the Coil as background noise and the last fight of the campaign is a damage-checking exercise rather than a war of attrition.





