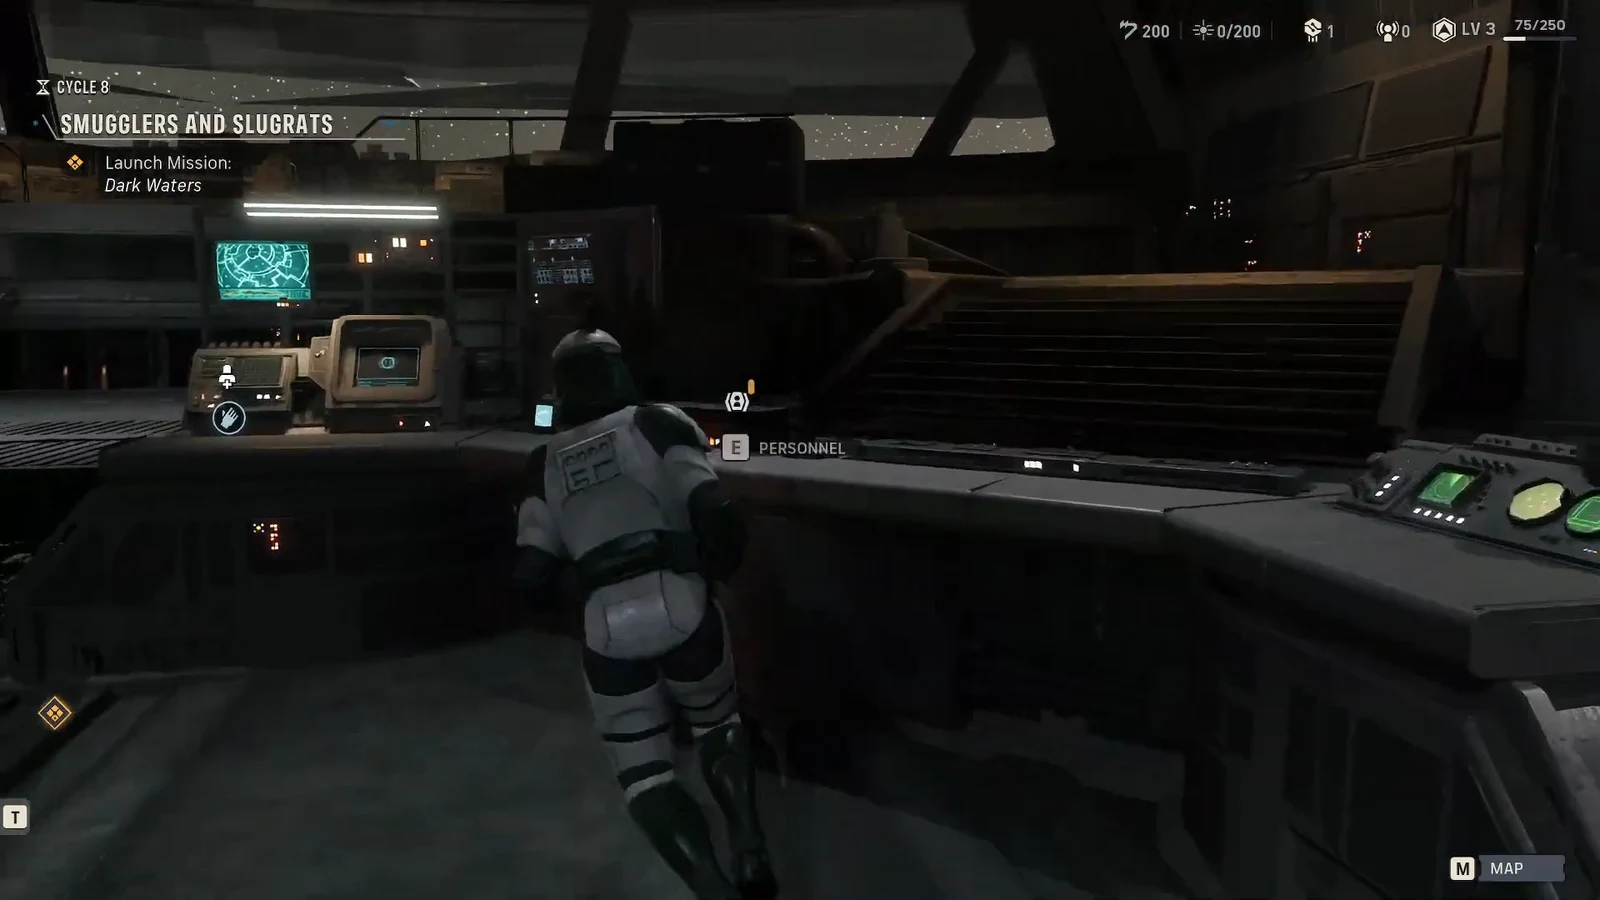
Cross Training is the payoff for keeping the same operators working together in Star Wars Zero Company. Every time a pair’s Bond climbs a level, the game hands you a choice of three permanent perks that apply to both characters at once. The catch is that nothing happens automatically. You have to walk over to the Personnel terminal in the Den and spend the training yourself.
Quick answer: Interact with Personnel in the Den, open the Bonds tab, select Train All (or press F), pick one perk for each eligible pair, and press Confirm Training.
What unlocks a Cross Training slot
Bonds track how two operators feel about each other on a sliding scale that runs from 1 at the bottom to 8 at the top. Pairs do not start neutral by default. Some begin on friendly terms, others start below the midpoint, and the relationship label shown next to each pairing reflects that, such as NEUTRAL 4 or HIGH 6.
Each Bond level needs a set amount of experience. The moment a pair crosses a level threshold, one Cross Training becomes available for them, and the Personnel screen tallies them up with a counter like 3 CROSS TRAINING AVAILABLE. Higher levels also hand out Focus Points, and the largest Focus rewards sit at the top of the scale. At maximum Bond, a pair can unlock a special Cross Training Passive Ability.
How to do Cross Training at the Personnel terminal
If Train All is greyed out or the counter reads zero, no pairing has gained a Bond level since your last visit. Cross Training is granted per level, not per mission, so the fix is more shared missions or Operations rather than anything on the Personnel screen.
Cross Training perks and what they do
The offered options vary by pairing, but the same handful shows up repeatedly. Everything below applies to both operators in the pair, not just one.
| Perk | Effect |
|---|---|
| Timing Exercises | Increases Critical Chance by +3% |
| Speed Training | Increases First Movement by +0.50m |
| Reflex Fire Training | Increases Overwatch Damage by +1 |
| Freeform Training | Grants additional permanent Focus Points |
Other pair-specific options turn up as you work through the roster, with names such as Ranged Combat Drills, Fitness Work, and A Friendly Game. Grenade damage and maximum health increases are also in the pool.
Tip: the Focus Point option is easy to skip past because it does not change a combat stat on the spot. Over a full campaign, though, extra Focus feeds directly into the Focus Tree, where you upgrade an operator’s Talents, Abilities, and Passives.
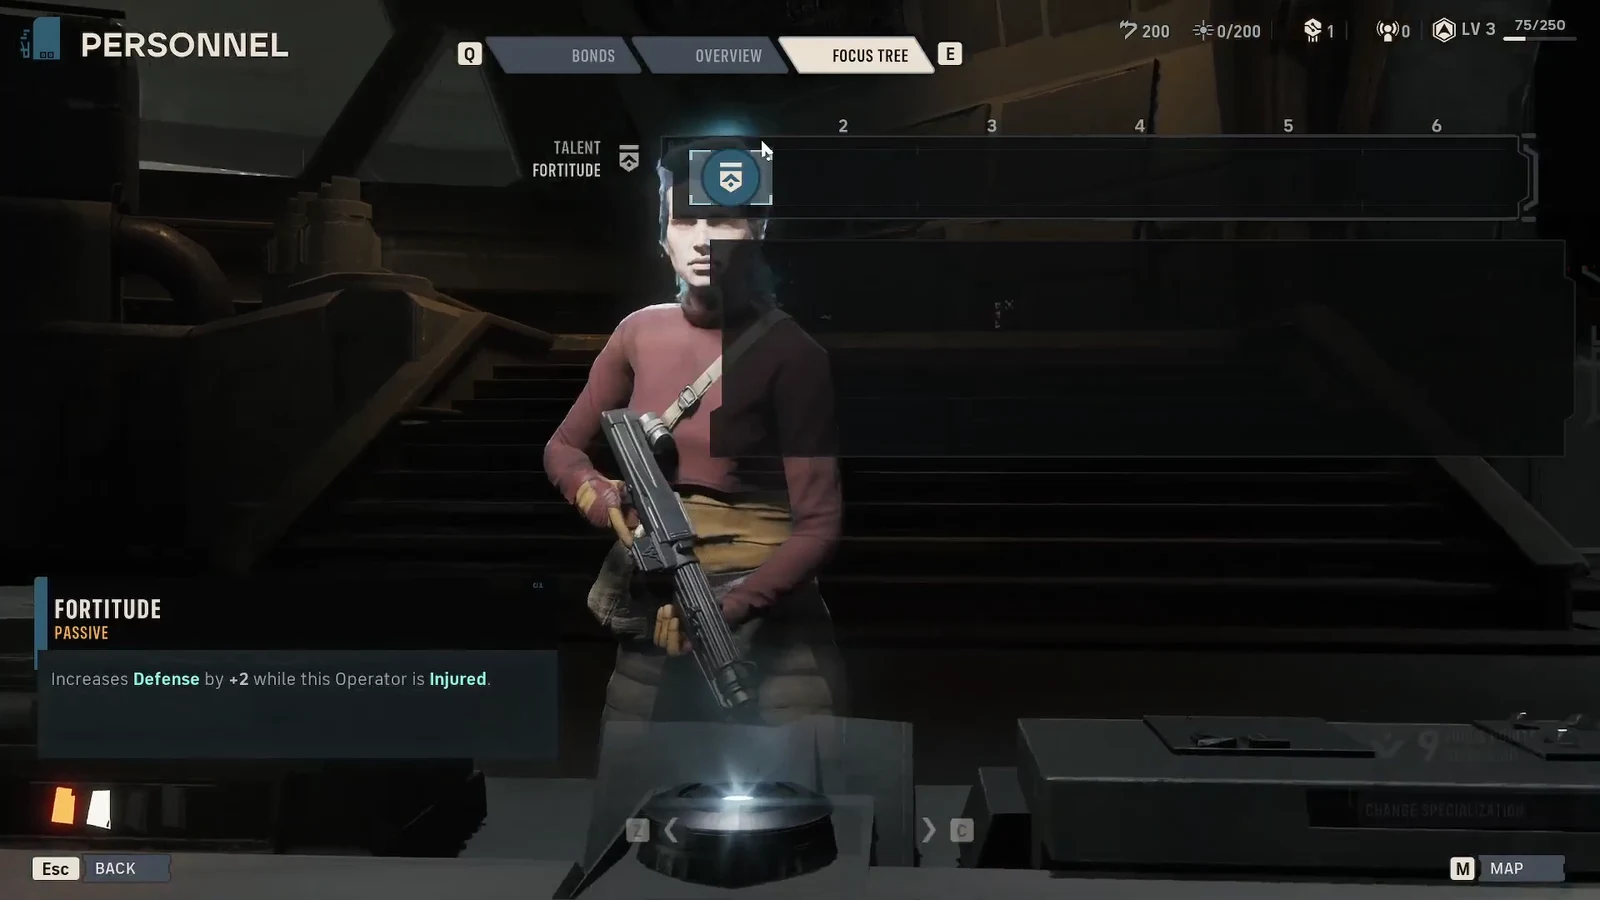
Only spend Focus on the role you actually field that operator in. A perk that improves an ability you never use is a wasted level.
Feeding Bond XP so more trainings unlock
Cross Training is gated entirely behind Bond levels, so the practical question is how quickly you can push a pairing up the scale. Several systems contribute.
| Method | Notes |
|---|---|
| Operations | Non-combat assignments run from the Holotable. Every operator you send bonds with the others. Costs Intel, and some carry an injury risk. |
| Tactical Missions | All four operators who finish a mission successfully gain Bond XP together. |
| Call for Backup | Costs 0 AP. Each turn, one random operator can pull in a teammate to add firepower to an attack, which also builds that pair’s relationship. |
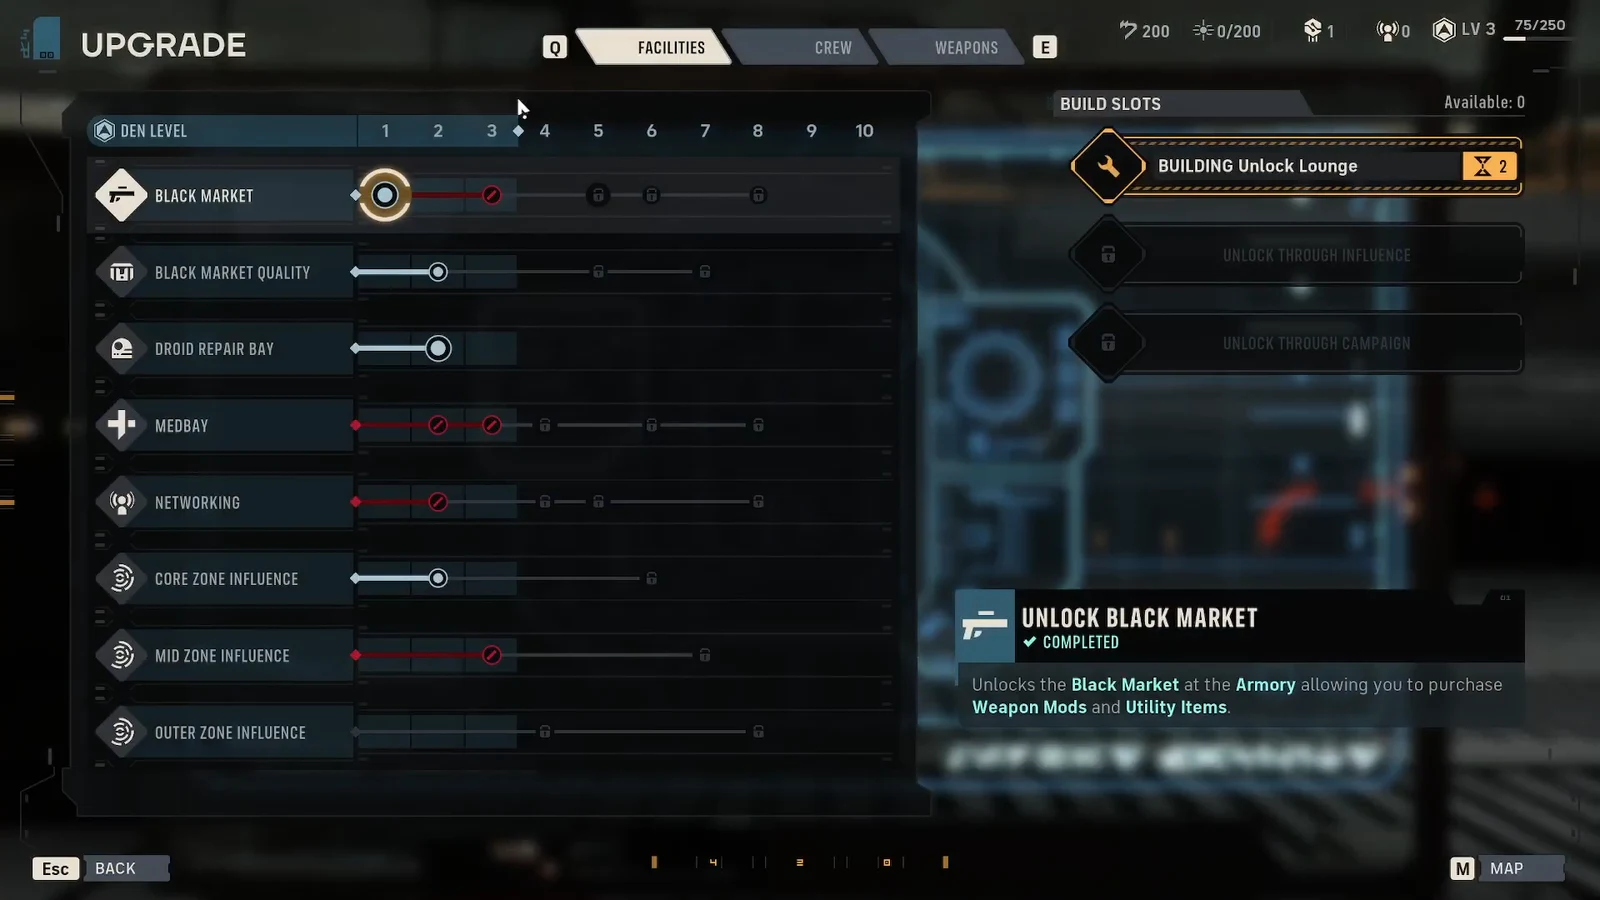
| The Lounge (Teamwork upgrade) | Grants +5 Bond XP per round to operators left behind at the Den while a mission runs. |
| Dialogue and story | Conversation choices and main story beats shift relationships up or down. |
| Cross Training itself | Completing a training gives back Bond progress. |
The Lounge is worth grabbing early. It sits under the Teamwork node on the Crew tab of the facilities upgrade screen, and once the build slot finishes, benched operators tick along passively instead of stalling at zero. Five XP per round is small on its own, but across a deep roster you rarely deploy, it adds up while you focus your active squad elsewhere.
Operations and Tactical Missions do the heavy lifting. Operations are usually the better return because they can involve more than the four operators a mission allows, though you should check the risk level before sending anyone you need for an upcoming fight. An injured specialist right before a critical mission costs more than the Bond XP was worth.
How Bond levels can go backwards
Relationships are not one-way. Picking the wrong dialogue option, certain story moments, and Dilemmas can all pull a Bond down and delay the next Cross Training.
Dilemmas are the biggest single risk. You are given three choices, and whichever one you take raises or lowers the Bond level of every operator currently in your employ. That means one decision can undo progress across the whole roster at once, so weigh it against the pairs you actually care about developing.
A negative starting relationship is not a reason to bench someone. If two operators cover complementary roles, deploying them together and calling for Backup will grind the relationship upward regardless of where it began.
One last thing worth keeping straight: Bonds are not a romance system. They are squad relationships that feed permanent combat bonuses and Focus Points, nothing more. Pick two or three pairings whose roles already work together, keep them deployed, and check the Personnel terminal after every few Cycles so banked trainings do not sit unspent.