

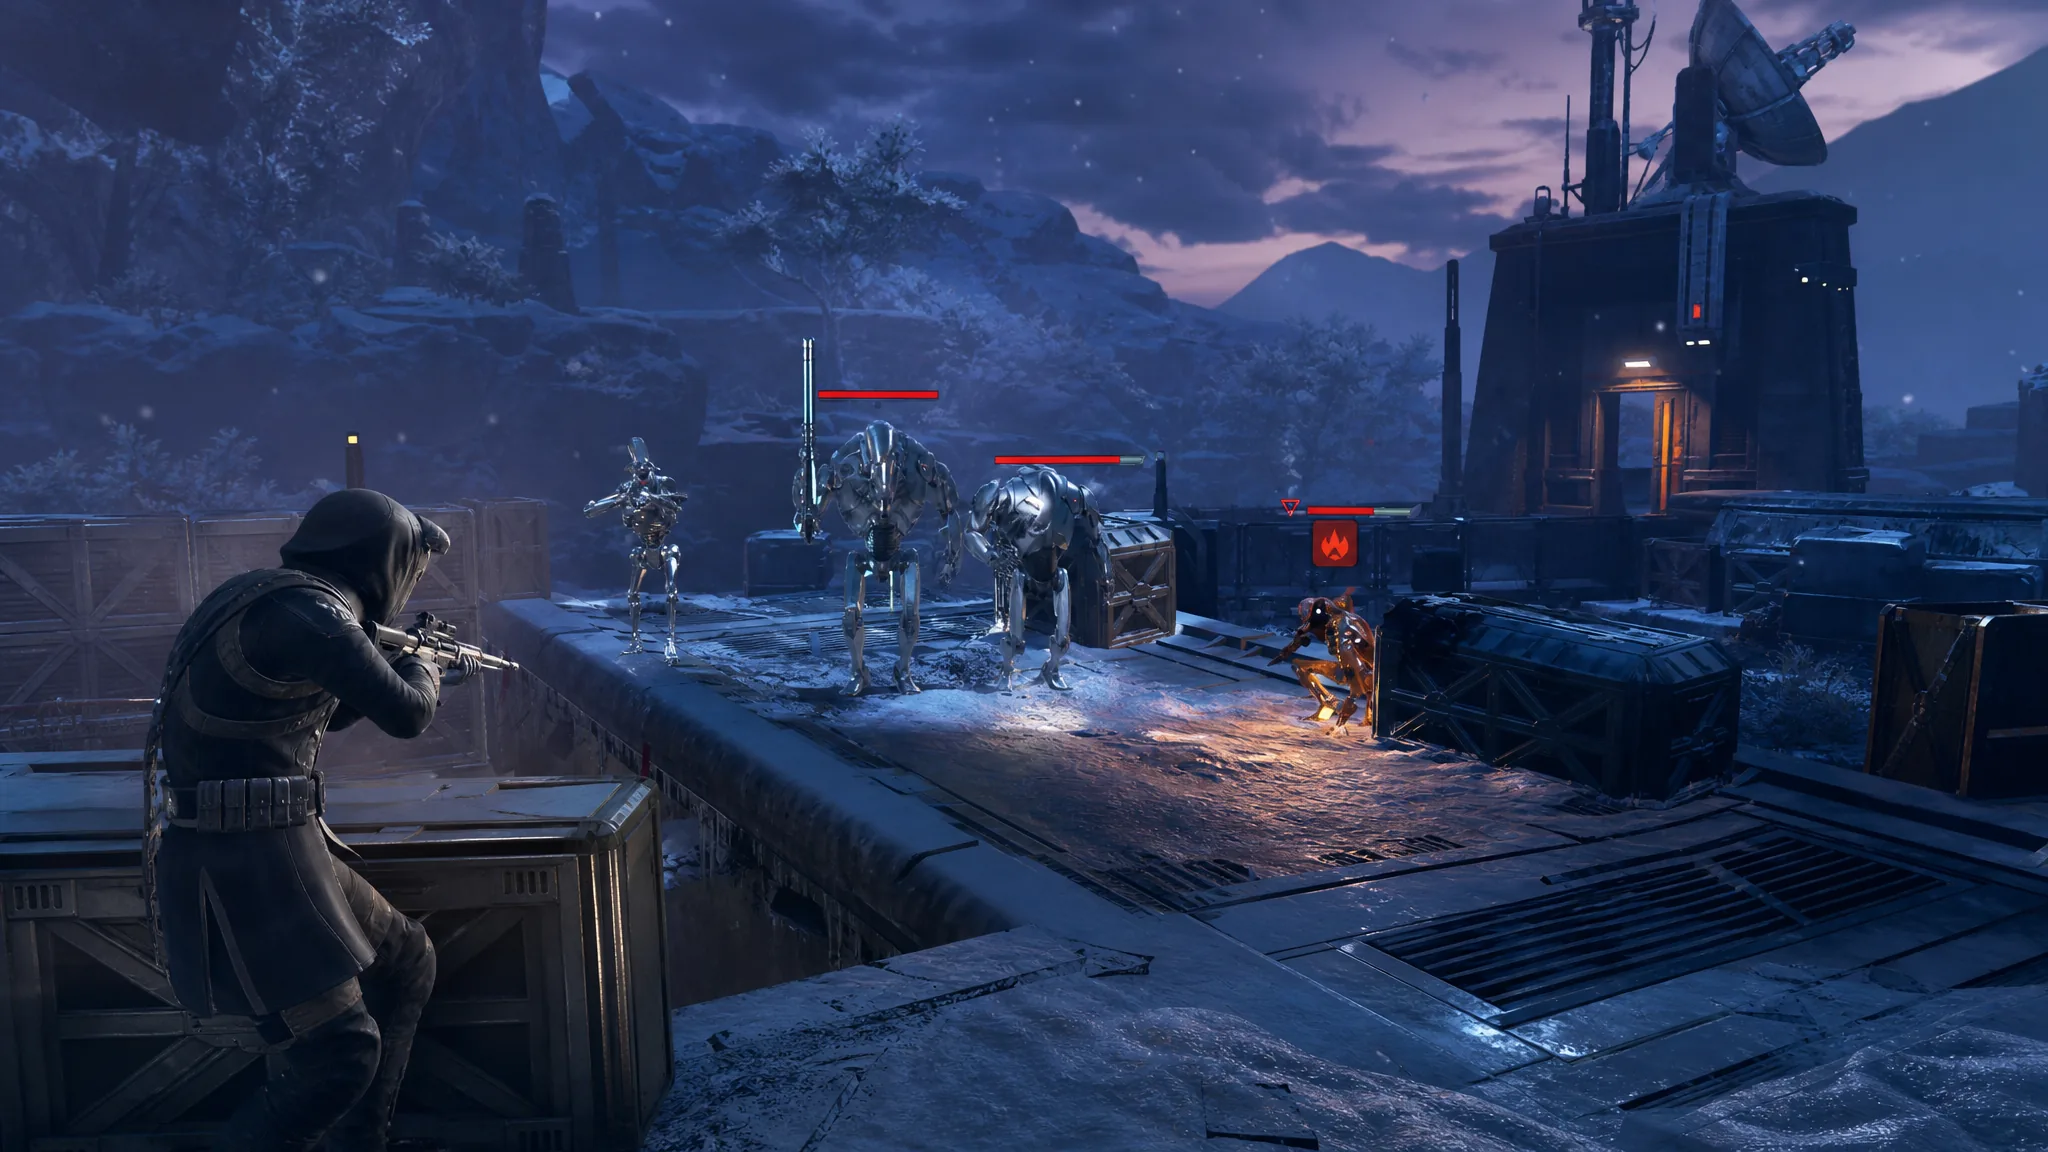
Extraction missions in Star Wars Zero Company normally end when your whole squad reaches the evacuation zone. When someone is stranded across the map, pinned down, or simply too slow, the game gives you an out: leave them. The Abandon button ends the mission immediately with whoever is standing in the zone, and the mission can still be scored as a success.
Quick answer: Move every operator you want to keep into the evacuation zone, press K (or click ABANDON in the bottom-right corner), then confirm with ABANDON UNITS (Spacebar). Anyone outside the zone is gone for good.
What the Abandon button does
Abandon is an early extraction. Instead of waiting for the last straggler to walk into the evacuation zone, you tell the ship to lift off now. Everyone inside the zone is pulled out and everyone outside it is written off.
The button sits in the bottom-right corner of the tactical HUD, next to END TURN, and appears once an evacuation zone is active on the map. Its hotkey is K.
| Prompt | Input | Result |
|---|---|---|
| ABANDON | K / click | Opens the Emergency Evacuate confirmation |
| WAIT FOR EVERYONE | Esc | Cancels, returns you to the battle |
| ABANDON UNITS | Spacebar | Extracts the zone, loses the rest |
How to force an early evacuation
K or click ABANDON in the bottom-right of the screen. An EMERGENCY EVACUATE window appears with the warning that some of your Operators are not in the evacuation zone and leaving now will abandon them.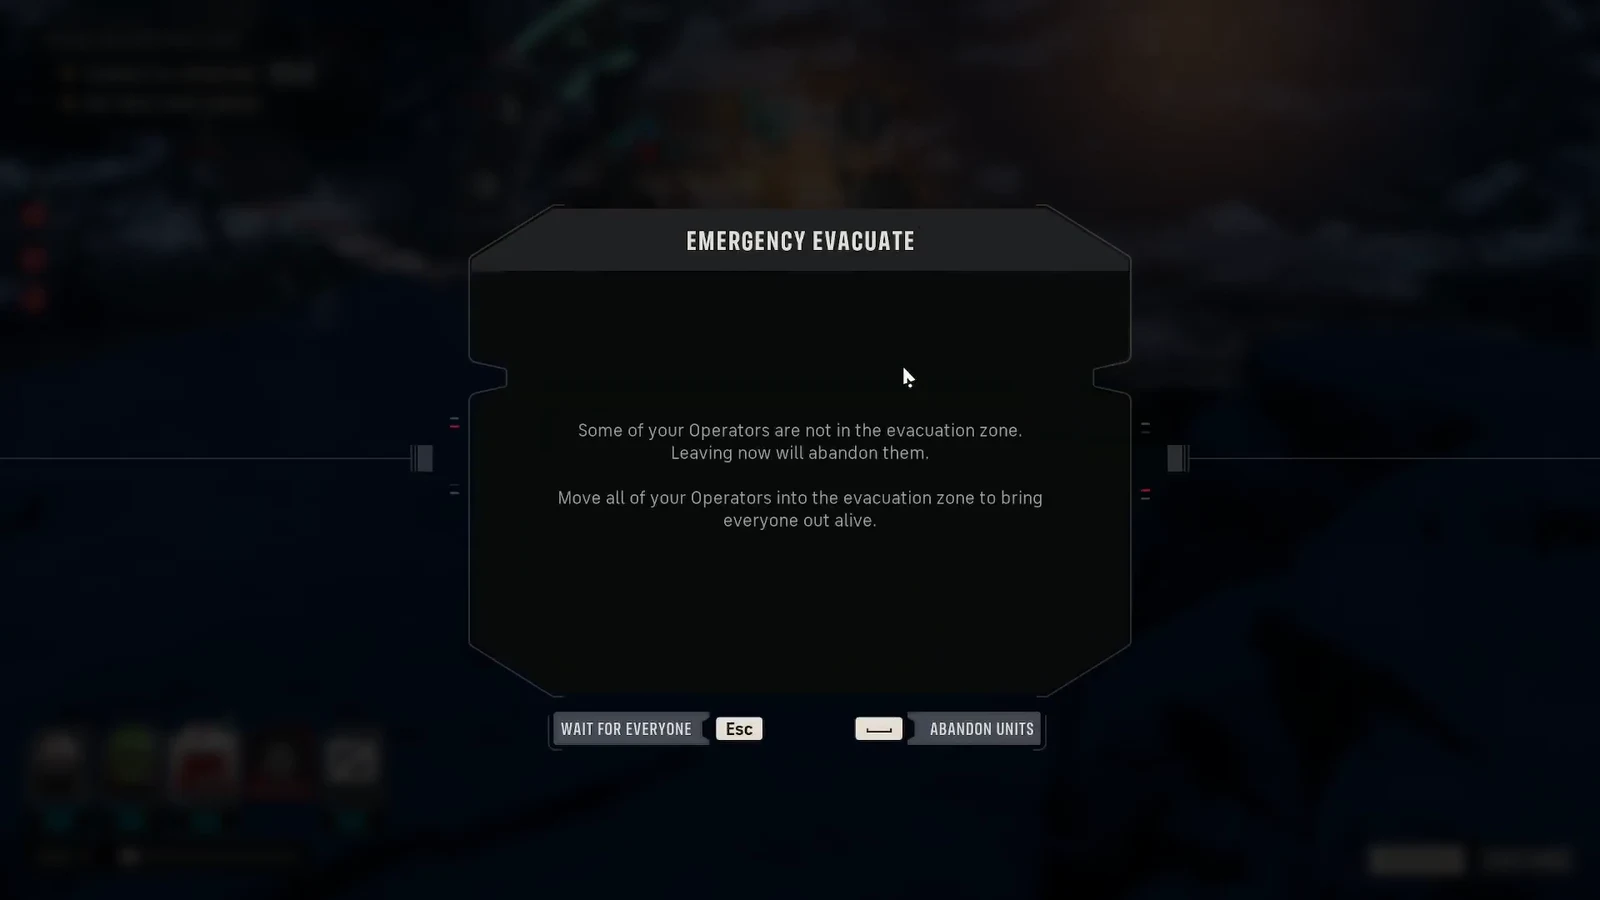
How to confirm the early evacuation worked
The MISSION SUCCESS screen is your confirmation. It lists the objective with a checkmark, followed by mission stats such as Total Tactical Rounds, Enemies Defeated, and Damage Dealt, with a CONTINUE button to return to the Den.
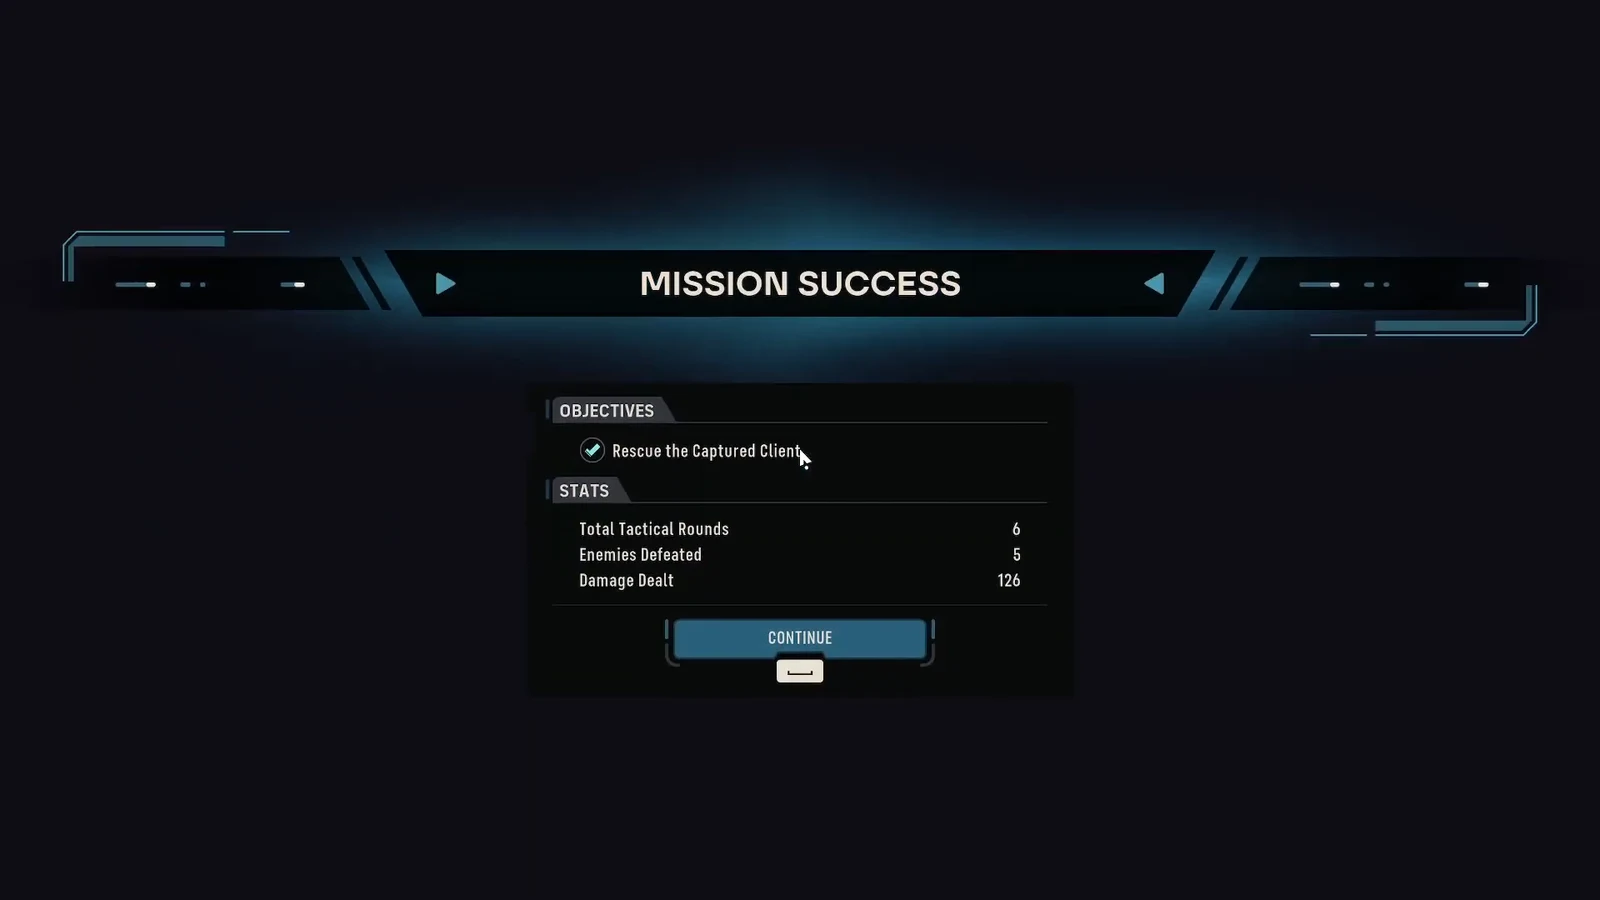
Note that the objective counter can read as incomplete during the fight, such as EVACUATE ALL OPERATORS 4/5, and the mission still finishes successfully. What decides the outcome is whether the mission’s actual requirements were met, not whether every body made it to the ship.
What you lose by abandoning operators
Abandoned operators are permanently lost. Their injury state does not matter, and there is no follow-up mission to recover them, so a healthy operator left one tile outside the zone is treated the same as one who is barely standing.
Mission-critical characters are a separate problem. Objectives like protecting a rescue target still have to be satisfied, so anyone the mission names as required must be inside the zone when you confirm. Leaving them behind removes the reason the mission counts as a win.
Tip: If the abandonment was a mistake, restarting the mission from the game menu lets you run it again with the same operators. Outside of Beskar mode, the autosave taken on the first round is the other fallback.
When cutting someone loose is worth it
Extraction maps keep spawning reinforcements until you leave, so dragging out a mission to collect one distant operator often costs more than it saves. If the squad in the zone is intact and the objectives are done, ending it early stops the bleeding.
The trade-off is roster depth. Operators carry bond progress, specializations, focus point investment, and equipment, all of which disappear with them. Weigh that against the risk of losing more of the team to another two turns of droid drops before you press K.





