

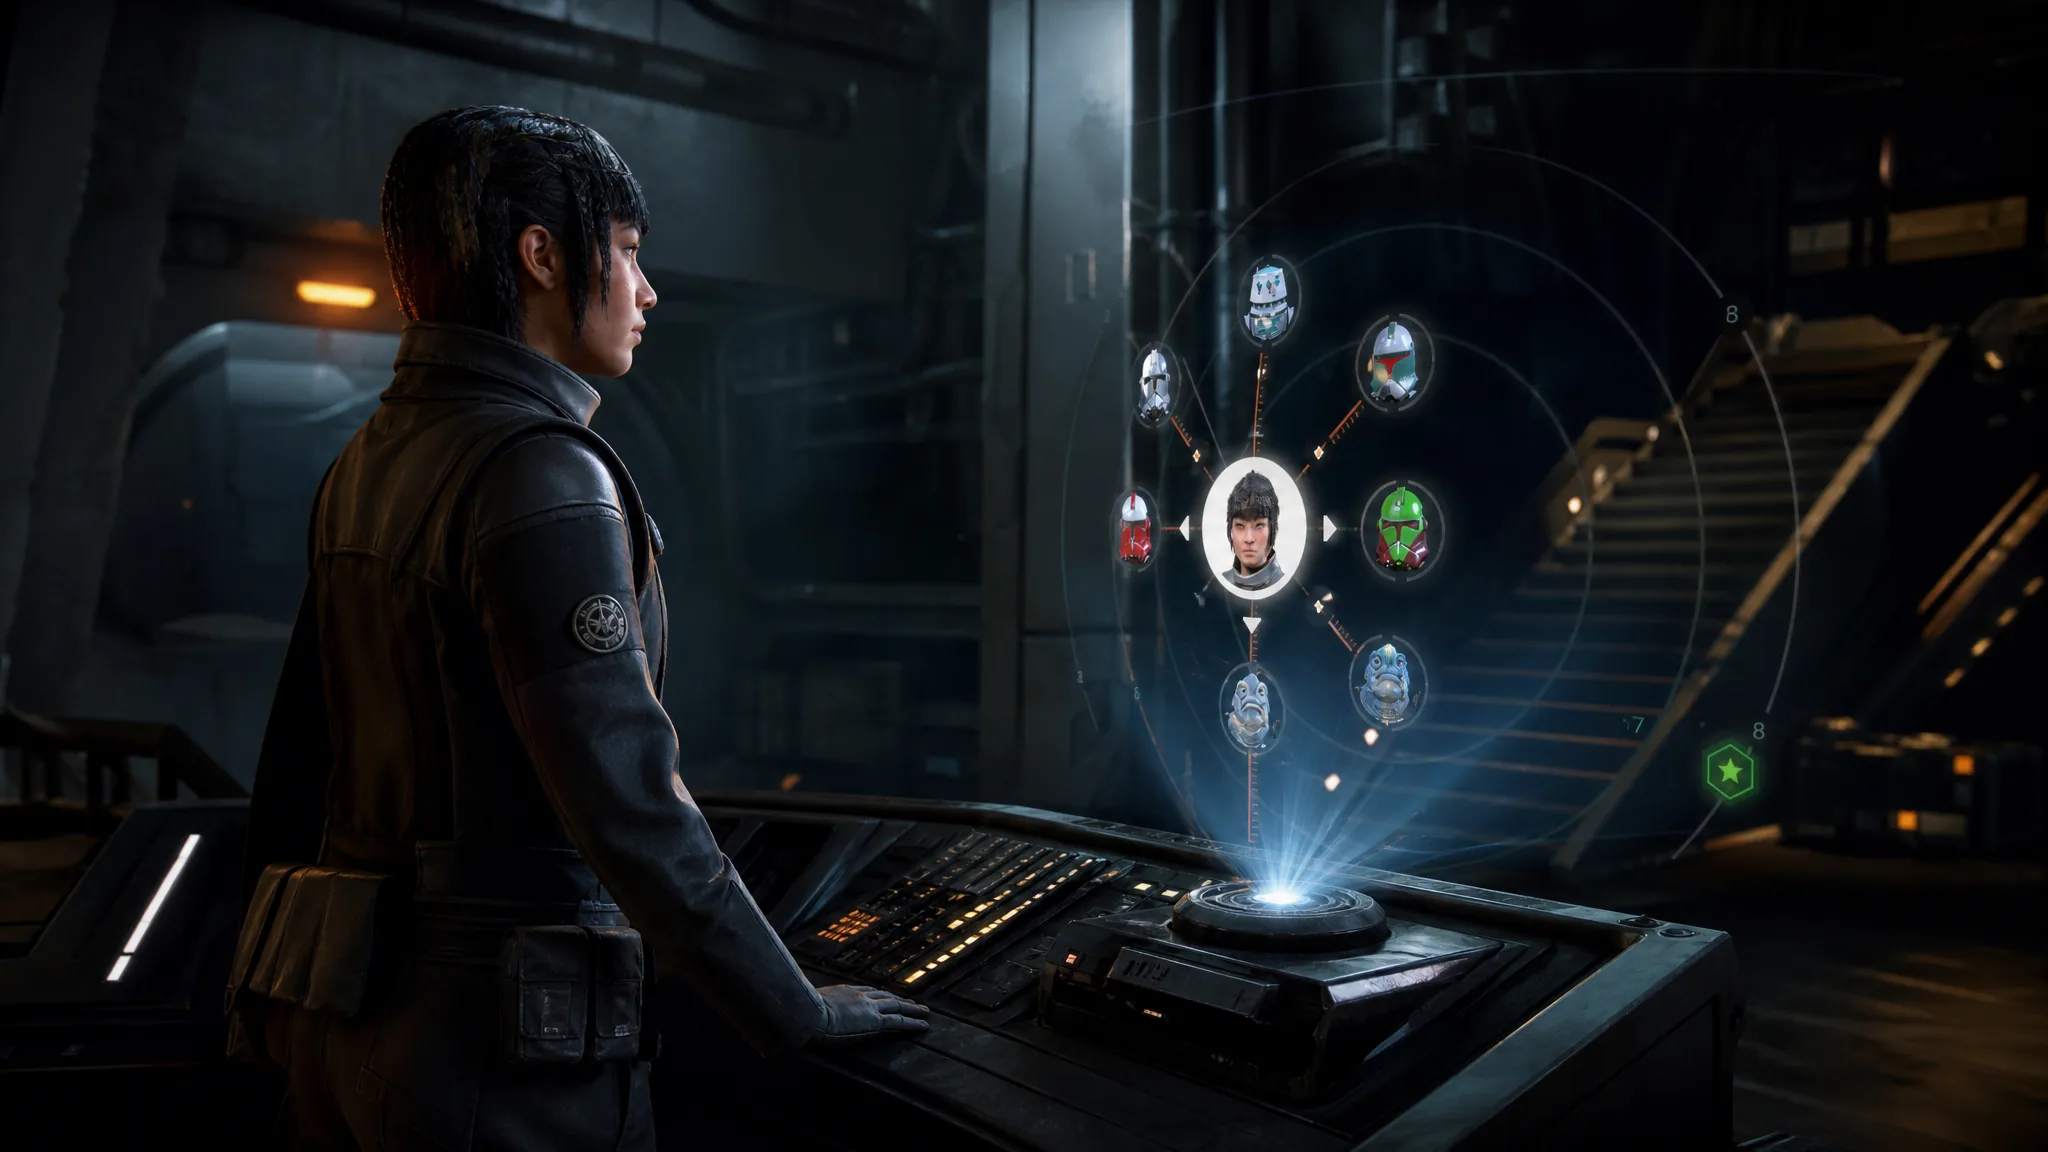
Bonds in Star Wars Zero Company track how every pair of Operators feels about each other, and they quietly control a large chunk of your squad’s progression. The screen that displays all of it is tucked away in the hub rather than in the pause menu, which is why plenty of players get several missions deep without ever opening it.
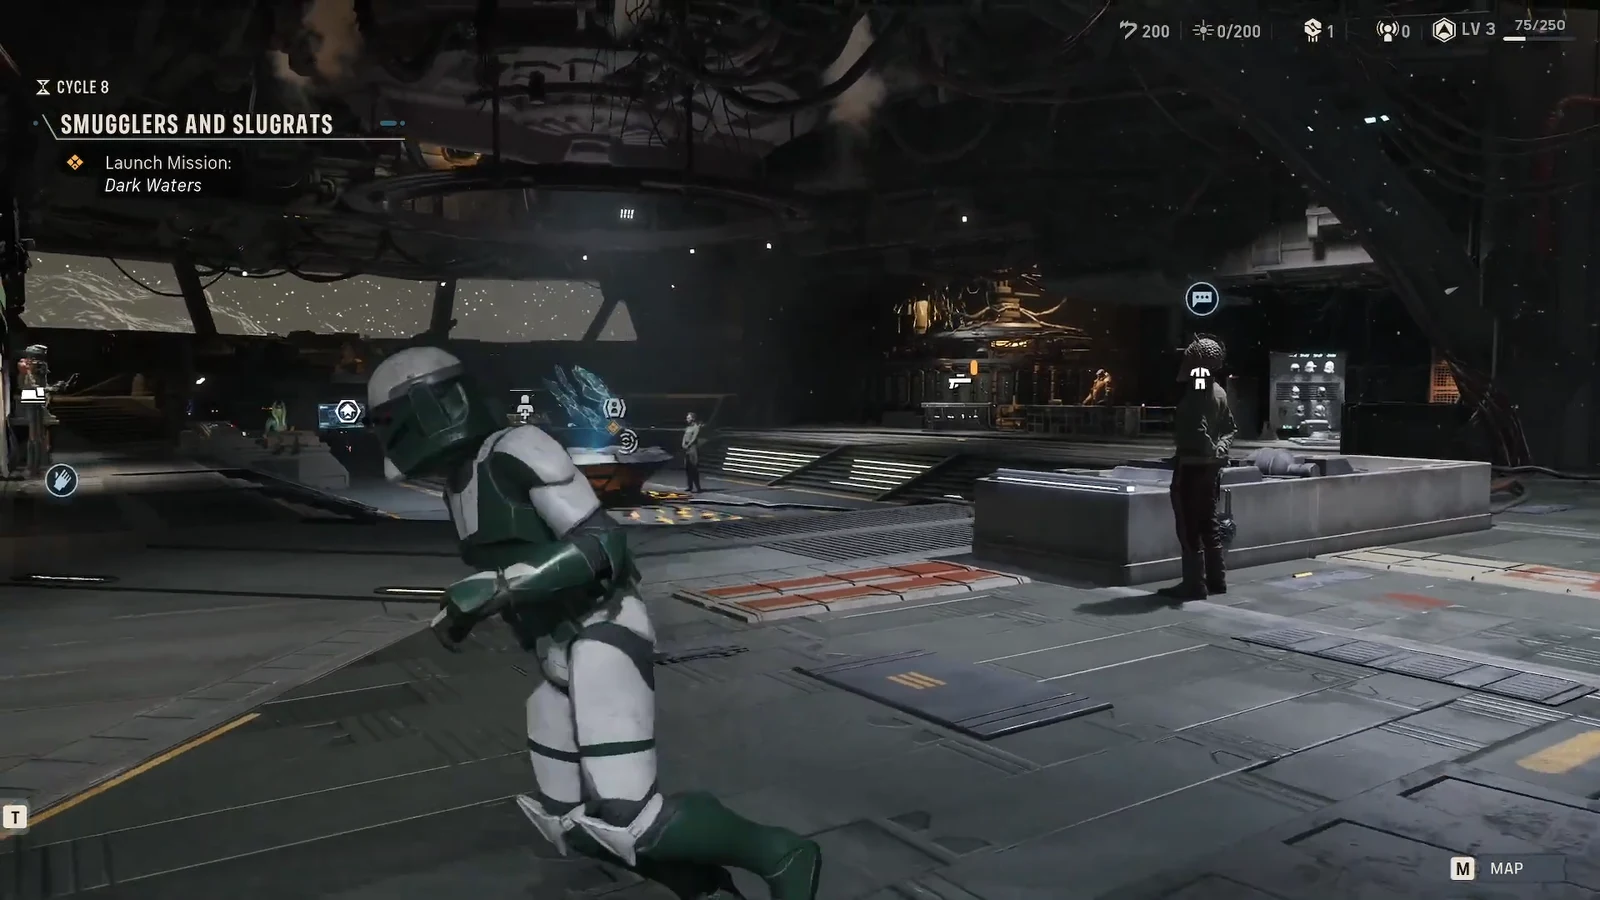
Quick answer: Walk to the Personnel terminal at the back of the Holotable room in The Den, interact with it, then select the Bonds tab at the top of the screen.
Open the Bonds tab at the Personnel terminal
You are on the right screen when three tabs are visible across the top, Overview, Bonds and Focus Tree, and each relationship shows a horizontal meter instead of a stat block.
How to read the bond meter and tiers
Each entry uses a sliding scale from 1 to 8, with the labelled tiers printed above the gauge. Relationships do not all begin at zero, either. Some pairings start neutral, and some start negative because the two characters fought on opposing sides during the Clone Wars.
| What you see | What it means |
|---|---|
| Very Low / Low | The pair actively dislikes each other; the meter can still fall further from bad decisions |
| Neutral | Common starting point for most pairings |
| High / Very High | Upper end of the scale, where the largest Focus Point payouts sit |
| Meter position (1–8) | Exact bond level, and how much experience remains before the next level |
Note: bonds are stored per pair, not per squad. One Operator can sit at Very High with a regular teammate and Very Low with someone they never deploy alongside, so there is no single company-wide number to check.
Checking pending rewards and Cross Training
The same tab lists what each pair earns at the next level. Every time a bond ticks up, the two Operators unlock a Cross Training session, and you pick one of the offered perks. The choice applies permanently to both characters and cannot be refunded later, unlike Focus Points.
| Cross Training | Effect on both Operators |
|---|---|
| Timing Exercises | +5% Critical Chance |
| Reflex Fire Training | +1 Overwatch Damage |
| Freeform Training | +2 Focus Points |
| Ranged Combat Drills | +1 Ranged Damage |
| Fitness Work | +4 Max Health |
| Conflict Resolution | Pushes both toward the next bond level |
Reaching maximum bond replaces the usual stat option with a special Cross Training that grants a Passive Ability instead. Bond increases also hand out Focus Points, which is the main way to earn them.
Spending what bonds earn: the Focus Tree tab
Focus Points do not sit in a general pool you spend elsewhere. Move one tab across to Focus Tree on the same terminal and you can put them into that Operator’s talents, abilities and passives. Points are refundable, so a Focus Tree choice is far less permanent than a Cross Training pick.
If the Bonds tab looks empty or unchanged
A flat meter usually means the pair has not worked together yet. Bond experience comes from shared Tactical Missions and Operations, Call for Backup, healing and reviving in combat, character quests, the Teamwork node upgrade in The Den, and story decisions. Two Operators who have never deployed on the same job will show no movement no matter how many missions you run.
Values can also drop. Dilemmas ask every Operator for an opinion and your answer shifts multiple relationships at once, so a bond you last checked at High can be lower the next time you open the terminal. If a bonded Operator dies under permadeath, that relationship is severed permanently.
It is worth opening Personnel between missions rather than only when something feels off. The screen is the only place that shows exact bond experience thresholds, and knowing which pair is one mission away from a level makes it far easier to decide who to send on the next Operation.





