Blood shards are the scarcest currency in the Bloodmoon build of Survive Zombie Arena, and they only fall from purple event zombies that spawn at a low chance during a match. Raw kill count is not what fills your counter. Speed comes from standing where the horde cannot reach you, killing enemies close enough that their shards fly straight to you, and running the highest difficulty so more event zombies appear.
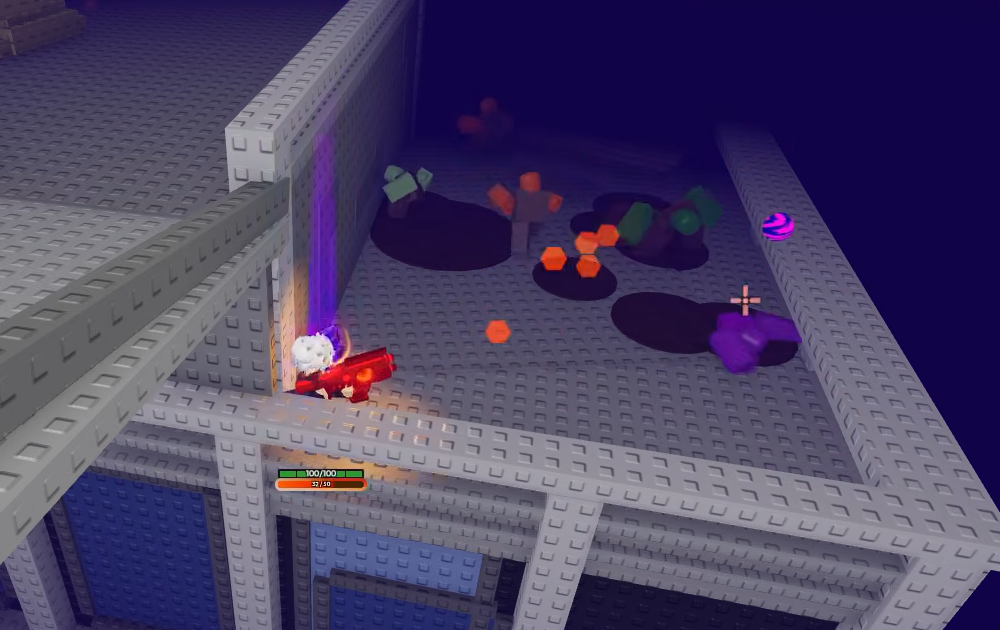
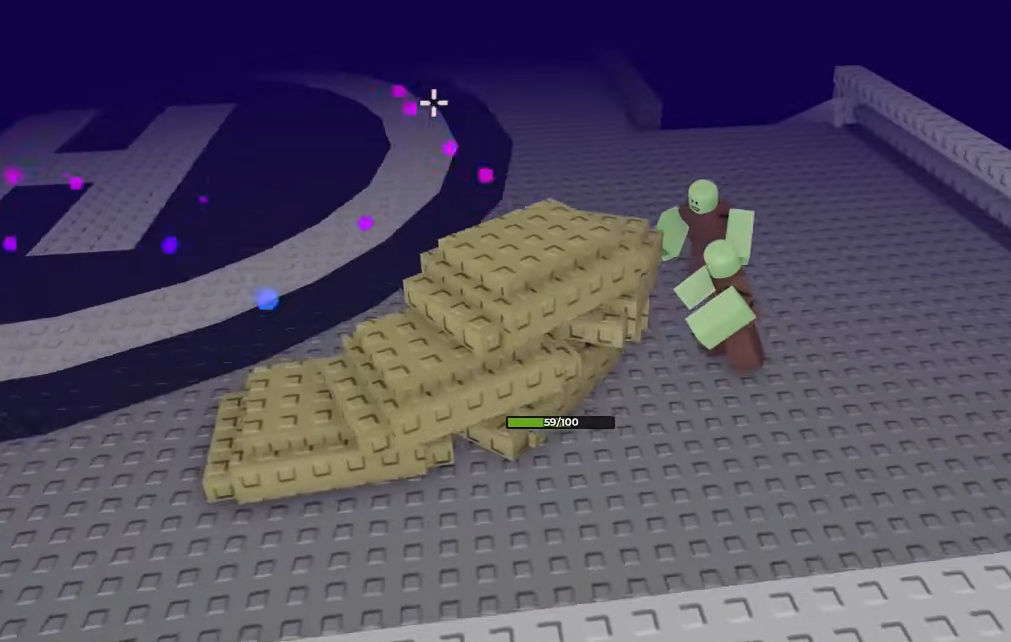
Quick answer: Queue Rooftop Siege solo on Nightmare, climb to the top level beside the large ventilation fan, then step off the edge onto the invisible ledge on the side of the building. Shoot event zombies bunched directly above or below you so their dropped shards auto-collect. Higher-tier zombies drop more shards each.
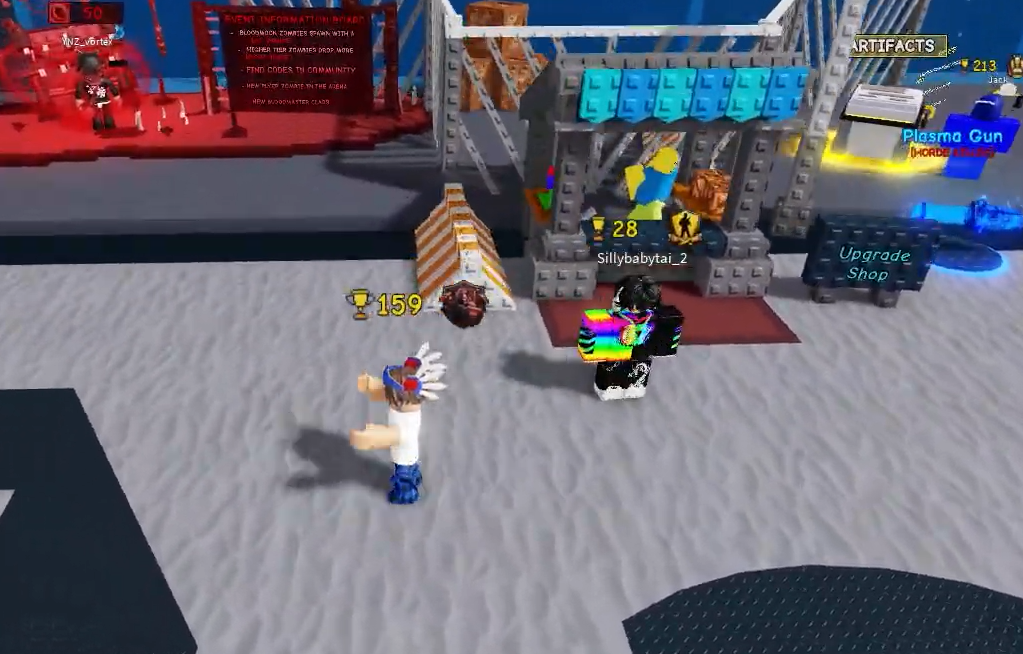
Set up a solo Nightmare run first
The farm works best alone. A single-player lobby keeps every event kill and every shard pickup for you, and no teammate pulls the horde away from the ledge. Set your party size to 1 before you start.
Weapons affect clear speed, not the shard drop itself. A rapid-fire energy weapon like the Quasar chews through dense groups, and an explosive weapon such as the World Ender handles the packed hordes that pile under the ledge. Keep a strong Slot 2 or Slot 3 weapon for later waves, when zombie health climbs.
If an active event code is available, redeem it before you queue. It grants 24 hours of doubled shard gains, so entering it first keeps the multiplier live for the whole session.
Hold the Rooftop Siege ledge
Spike your kill count with drones
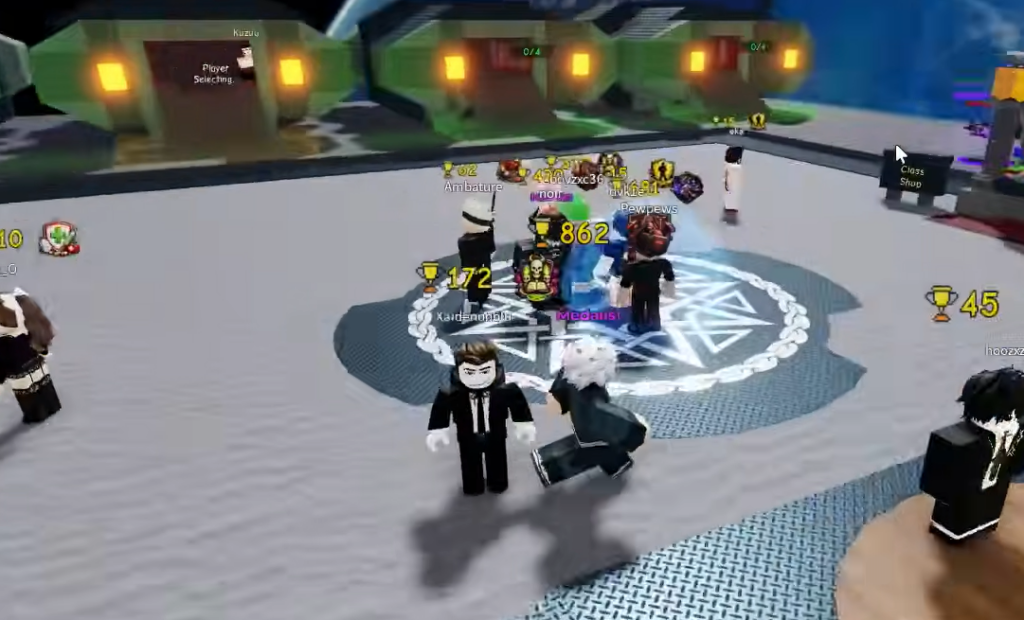
Once waves get dense and you want more kills per second, drop back onto the main rooftop floor and switch to active farming. Drones cost 100 Credits each from the gears menu, and you can field up to ten at once.
Deploy the full stack, let them auto-target the horde, and run laps across the roof to sweep up dropped blood shards and blue crystals. This clears far faster than the ledge alone, at the cost of taking damage, so it fits mid-run waves before the horde becomes overwhelming. A strong loop like this can push a counter past 170 shards before you go down.
The Laser Turret (300 Credits) and Shelter (100 Credits) gears are available too, but drones give the best coverage for a moving player chasing loose shards across an open floor.
Why Nightmare difficulty matters
Blood shards come from event zombies, so more event zombies means more shards. Spawn chance rises with difficulty, and Nightmare also runs continuous waves that keep the horde flowing without gaps.
| Difficulty | Event zombie spawn chance | Notes |
|---|---|---|
| Normal | 1% | Standard waves, low shard rate |
| Hardcore | 1.25% | Tougher zombies, moderate shard rate |
| Nightmare | 1.5% | Brutal, faster, continuous 100+ waves |
Nightmare is the correct pick for shard farming because the higher spawn chance and the continuous wave format both increase how many event zombies you see per minute. Higher-tier zombies also drop more shards each, so the longer you survive, the more every event kill is worth.
Confirm the farm is working
You know the method is landing when the shard icon on the bottom-left HUD climbs during waves, with glowing purple shards flying up to your character after each event kill. When you die or return to the lobby, the total carries over and shows on your event currency display next to the Play and Upgrades buttons.
If your counter is stuck, the cause is almost always one of these:
- You are killing zombies too far away, so dropped shards never reach you. Only shoot the horde stacked directly below or above the ledge.
- No event zombie has spawned yet. Regular zombies drop nothing; only the purple event variants drop shards, at the spawn chance for your difficulty.
- You are on Normal, where event zombies are rarest. Move up to Nightmare for the best rate.
- You stepped off the ledge, and the horde spread out. Reset onto the ledge so the zombies re-pack into a tight group.
Put the pieces together, and the routine repeats cleanly. Queue solo on Nightmare, hold the Rooftop Siege ledge through the safe early and mid waves, then drop to the floor with a full drone stack when you want to push your kill count. Bank the shards, then spend them on Bloodmoon crate spins in the lobby whenever you have enough to roll.