Swamp Oddity drops Jack Pepper into the Quagmire on the trail of the missing shrews, and the level mixes a stretch of open swamp combat with a key-hunting dungeon crawl through a haunted-feeling cabin. The path forks around a piano puzzle, several locked doors, and a garden statue, so the order of operations matters if you want to leave with the Diamond Shaped Key and a clean clue board.
Deal with the crooked squad
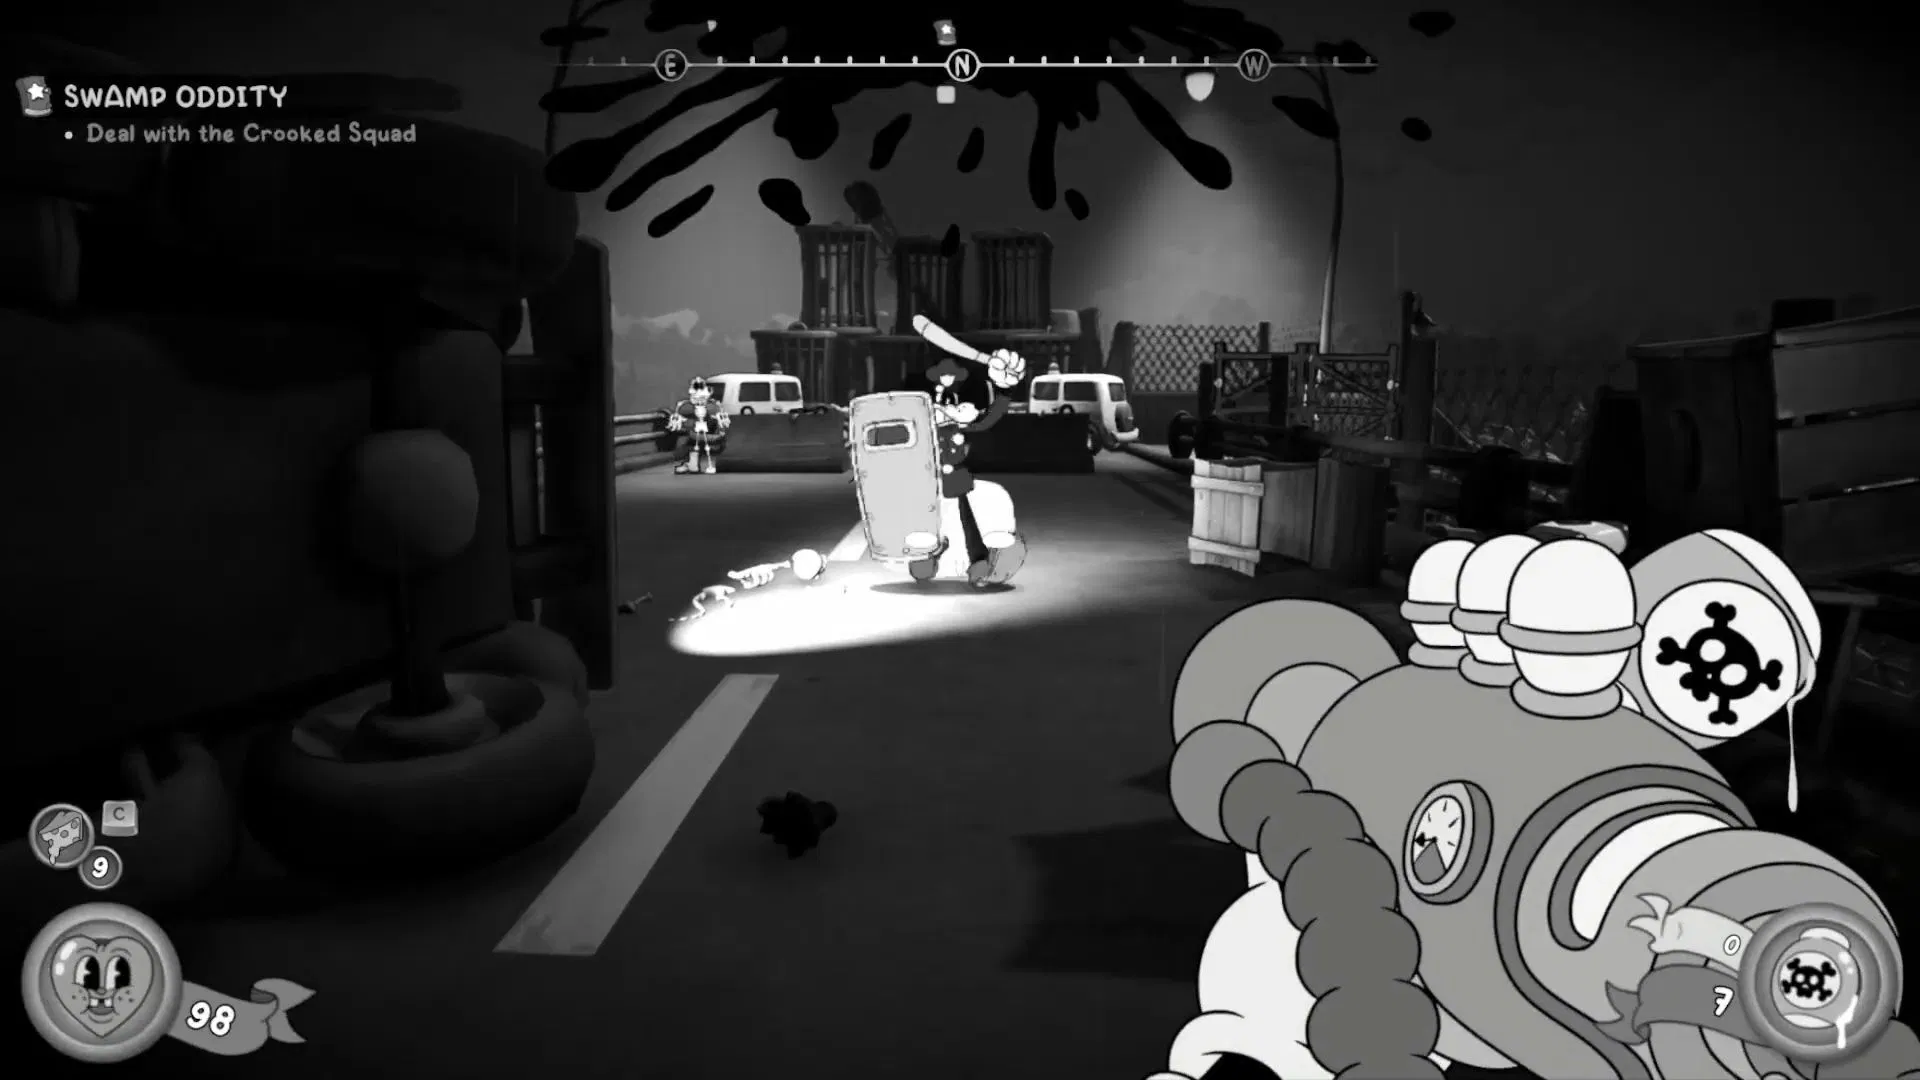
The mission opens on a bridge crowded with police cars and crooked cops. The Loose Cannon clears the blockade fastest, and there’s spare ammo in the back of the truck behind your starting position if you’re running dry. The blast from the blockade itself usually takes out the nearby officers.
Once the bridge is clear, open the fenced gate on the left and head down the stairs. Pick off the enemies on the way down, save at the typewriter, and board the boat at the bottom.
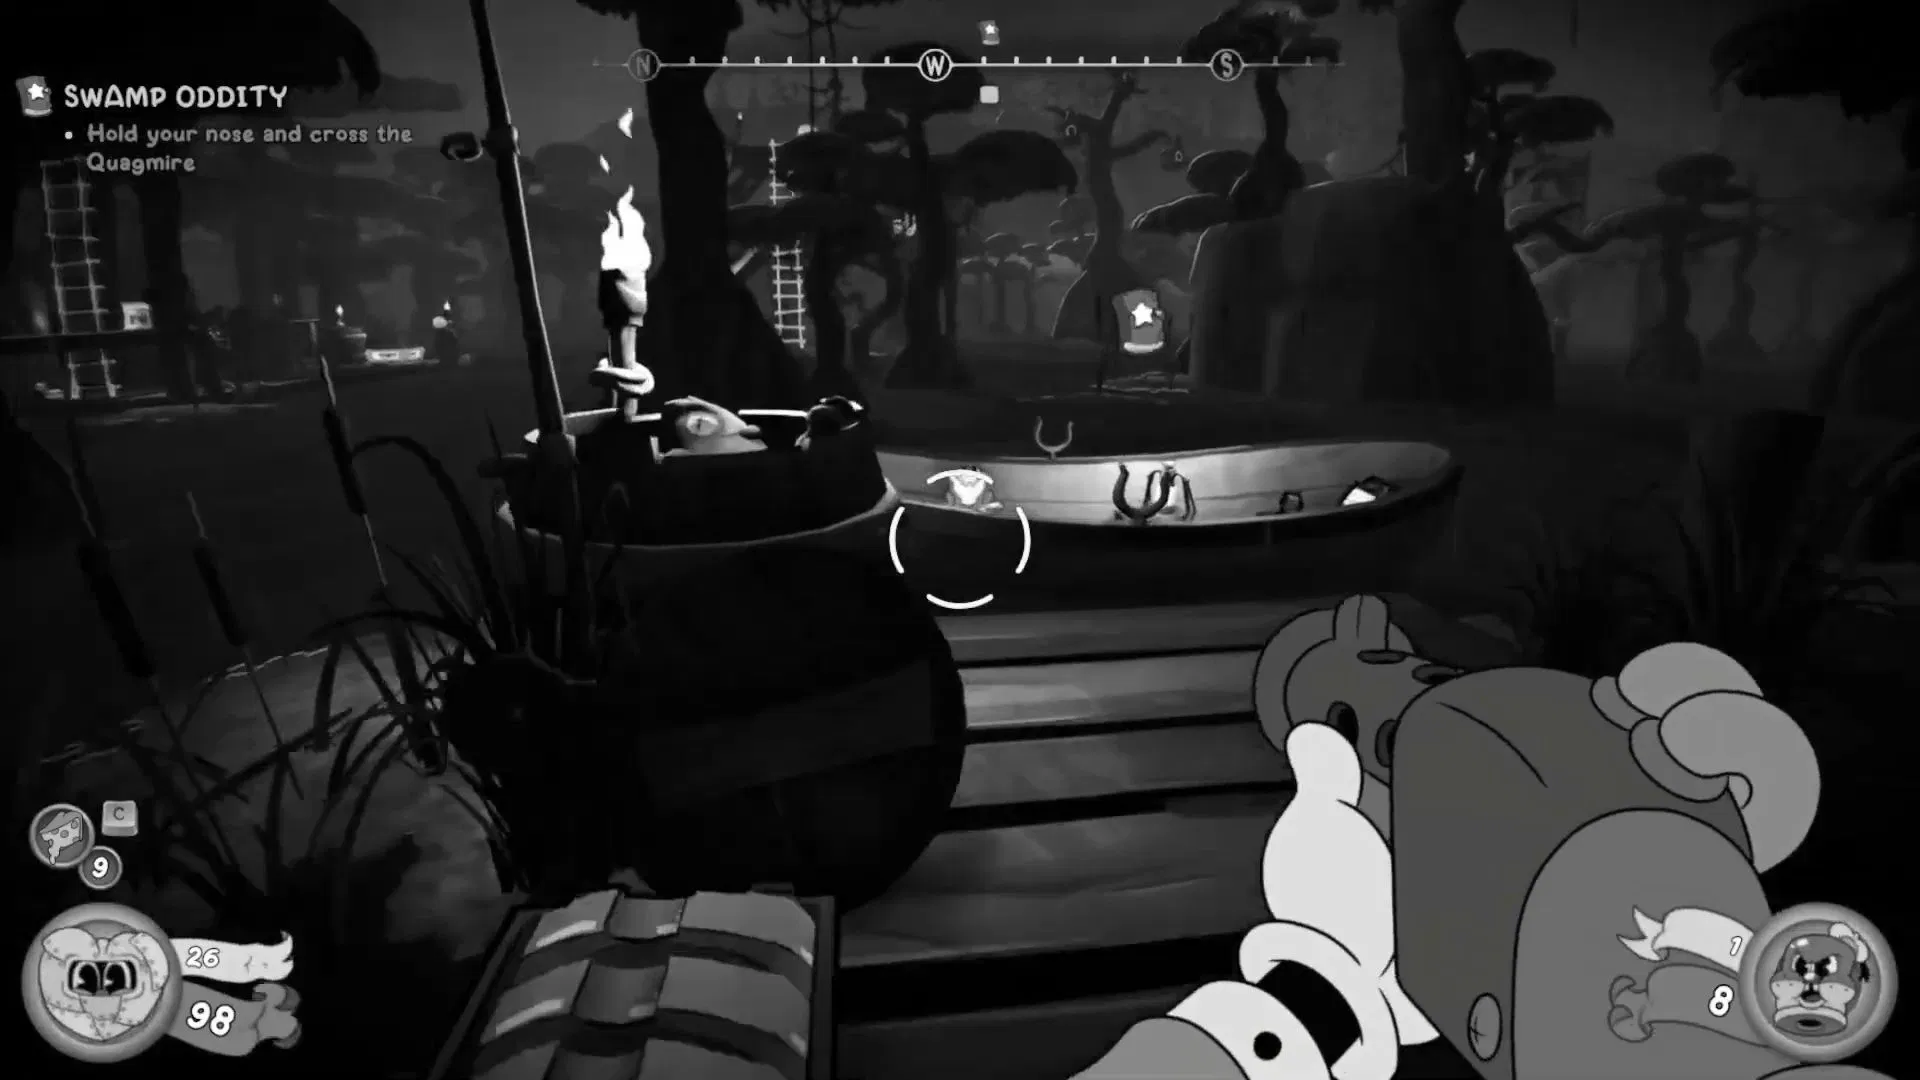
Cross the Quagmire and grab the Shanty Town Key
The boat takes a slow loop through the swamp while flying shrews swarm in. Shoot the explosive barrels strapped to the trees to ignite them and clear whole groups of shrews in one shot.
Lower both bridges and find the first secret
Back at the original dock, use the Shanty Town Key on the fenced gate. Save at the next typewriter, then shoot the target on the left to drop the first bridge.
Crossing the bridge triggers a heavy ambush from multiple doors at once. Take cover, use a Hot Pepper if you have one, and push toward the suspended bridge on the far side, which lowers automatically as you approach.
After clearing the second arena, climb the stack of cages on the right and double jump across the gap. This unlocks the area’s first Secret. Turn right on landing to pick up a Schematic on the floor between a wooden bucket and a coiled rope.
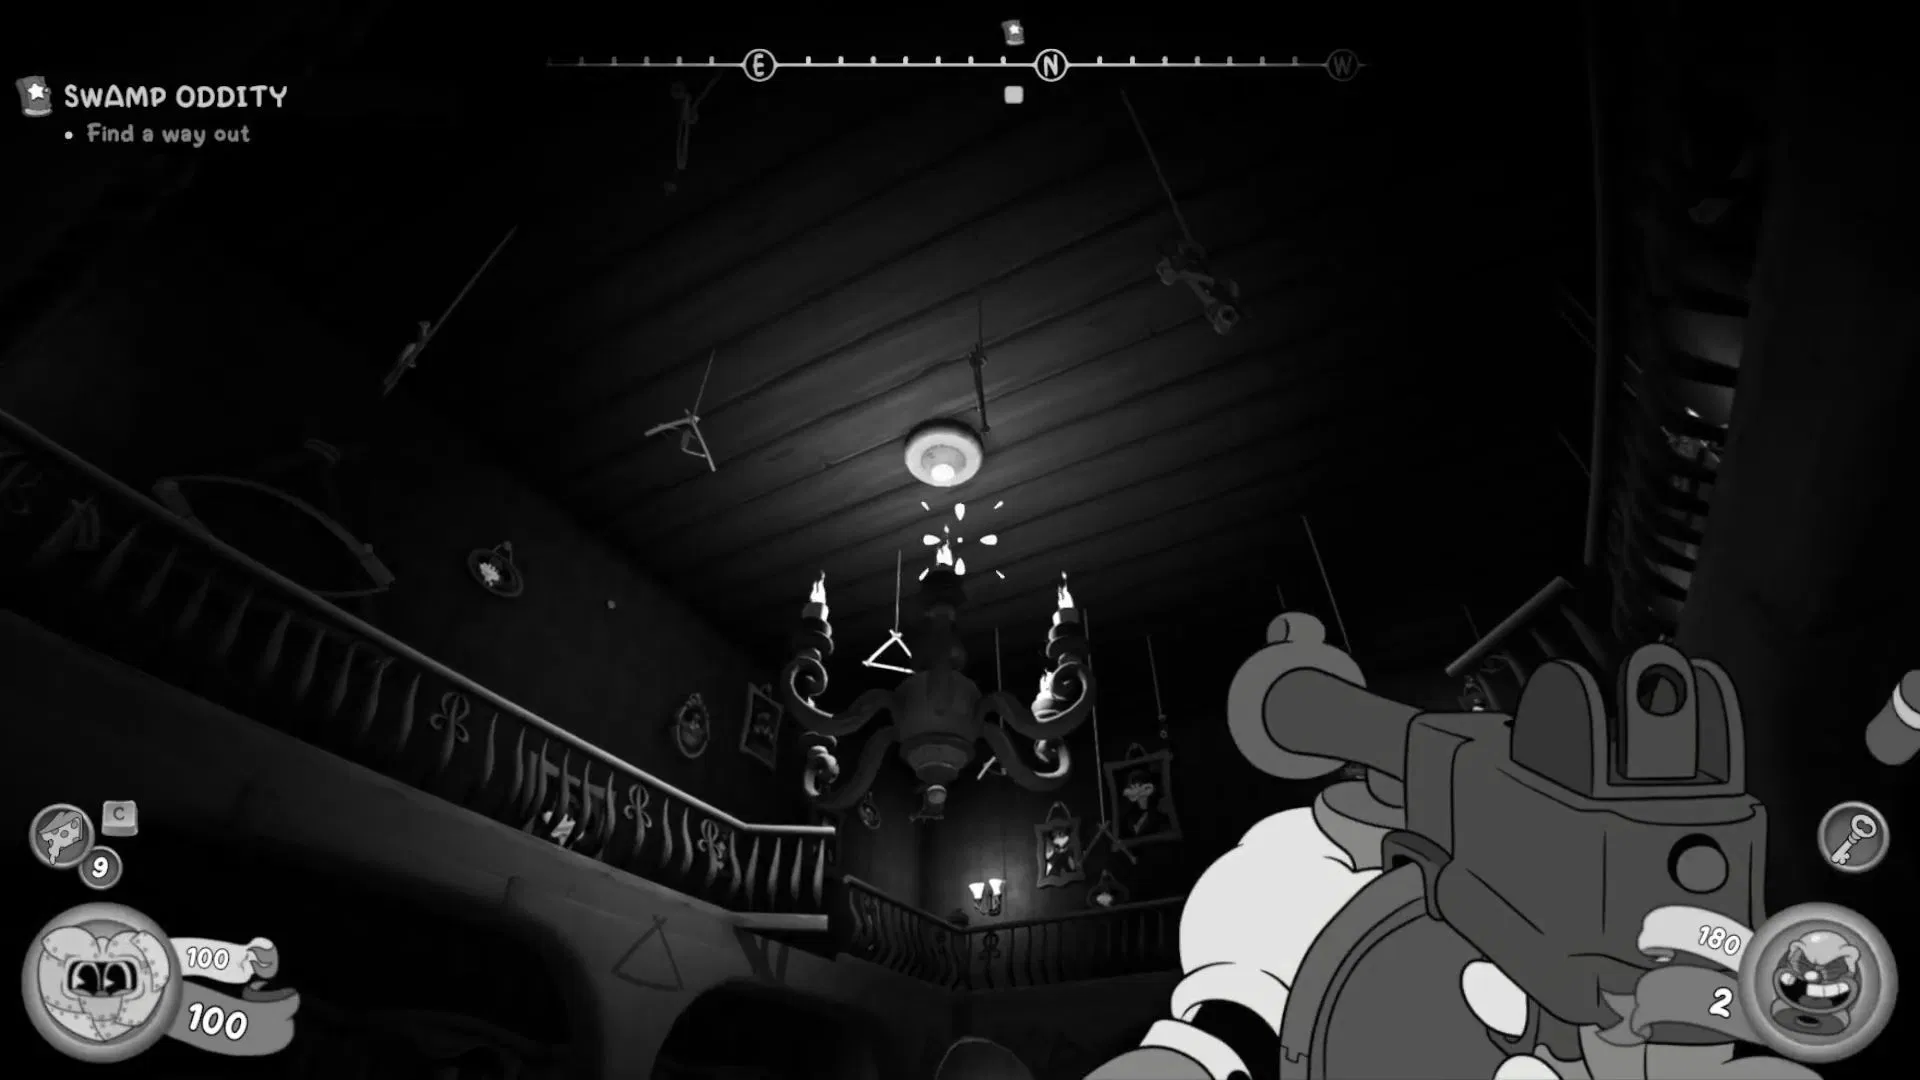
The strange cabin and the Old Shrew Lady
Drop back down, cross the next bridge, and head west toward the cabin. Before going in, slip around to the left side of the building. A window leads to a small hidden room with a safe and a note worth checking.
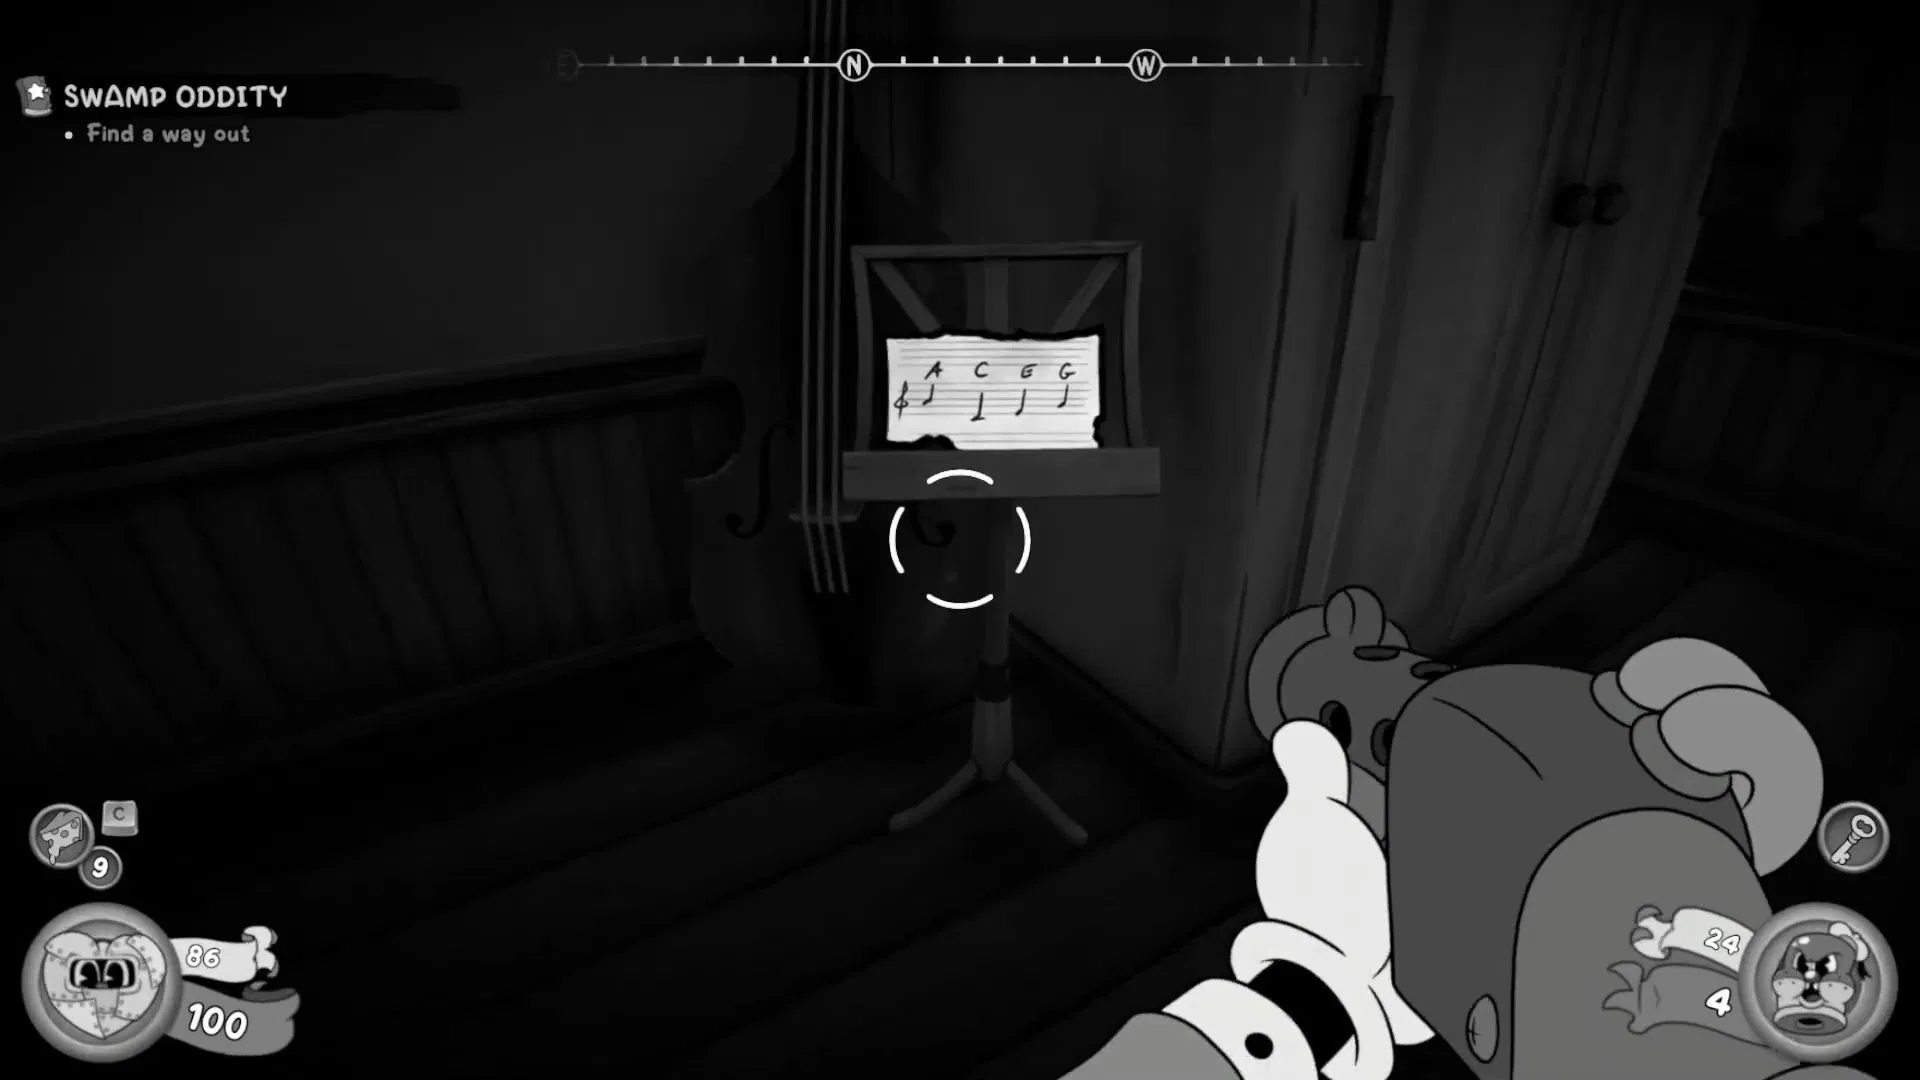
Inside the cabin, the Old Shrew Lady is waiting with another set of riddles. The takeaway is simple: you need a Diamond Shaped Key to leave through the door behind her. Note the music sheet on the wall to the left showing the sequence A, C, E, G. You’ll need it shortly.
Piano puzzle, hidden safe, and the Pitcher: Papa Jody Gain card
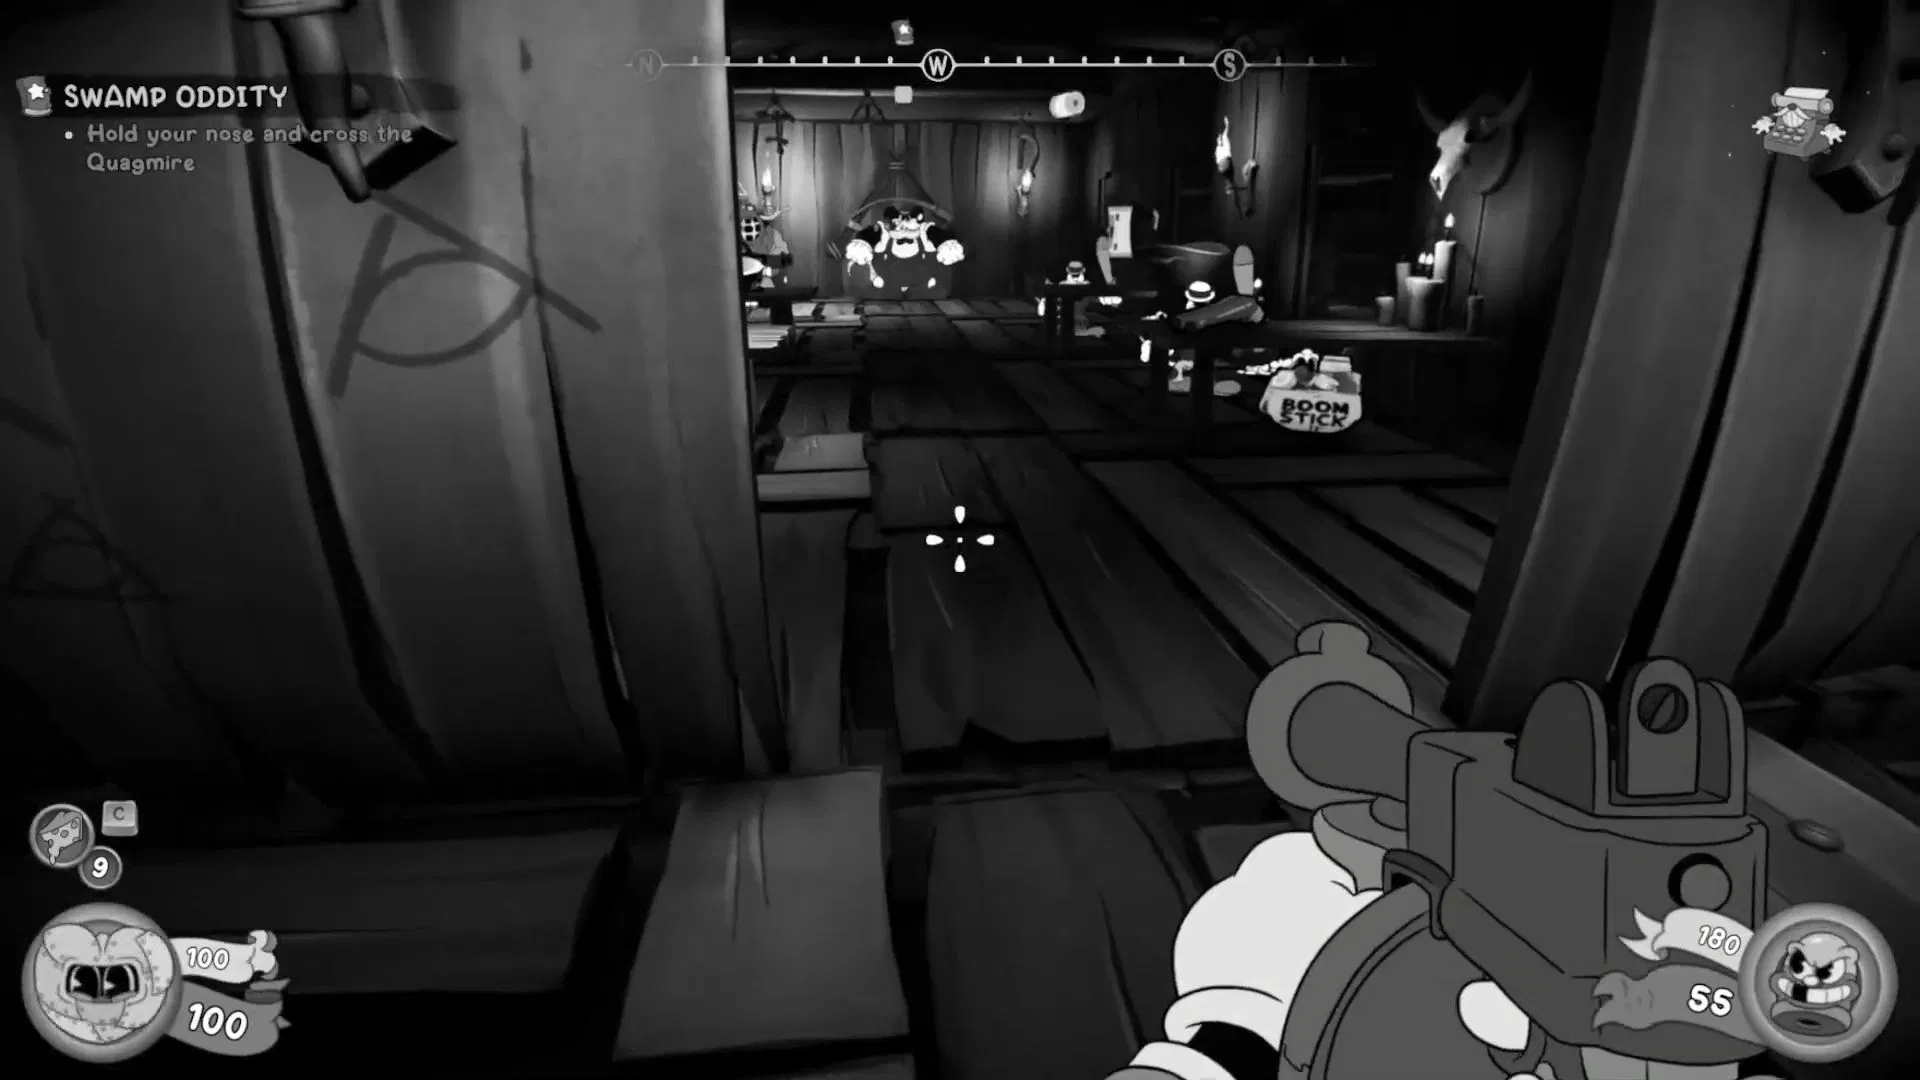
Go through the door on the right into the main hall, clear the enemies, then head down the stairs and into the Music Room on the right.

Office, Dark Room Key, and the missable clue
Back in the main hall, take the left-hand door this time. An enemy crashes through the wall on the left as soon as you enter, so be ready. Grab the Schematic from the pile of books after the fight.
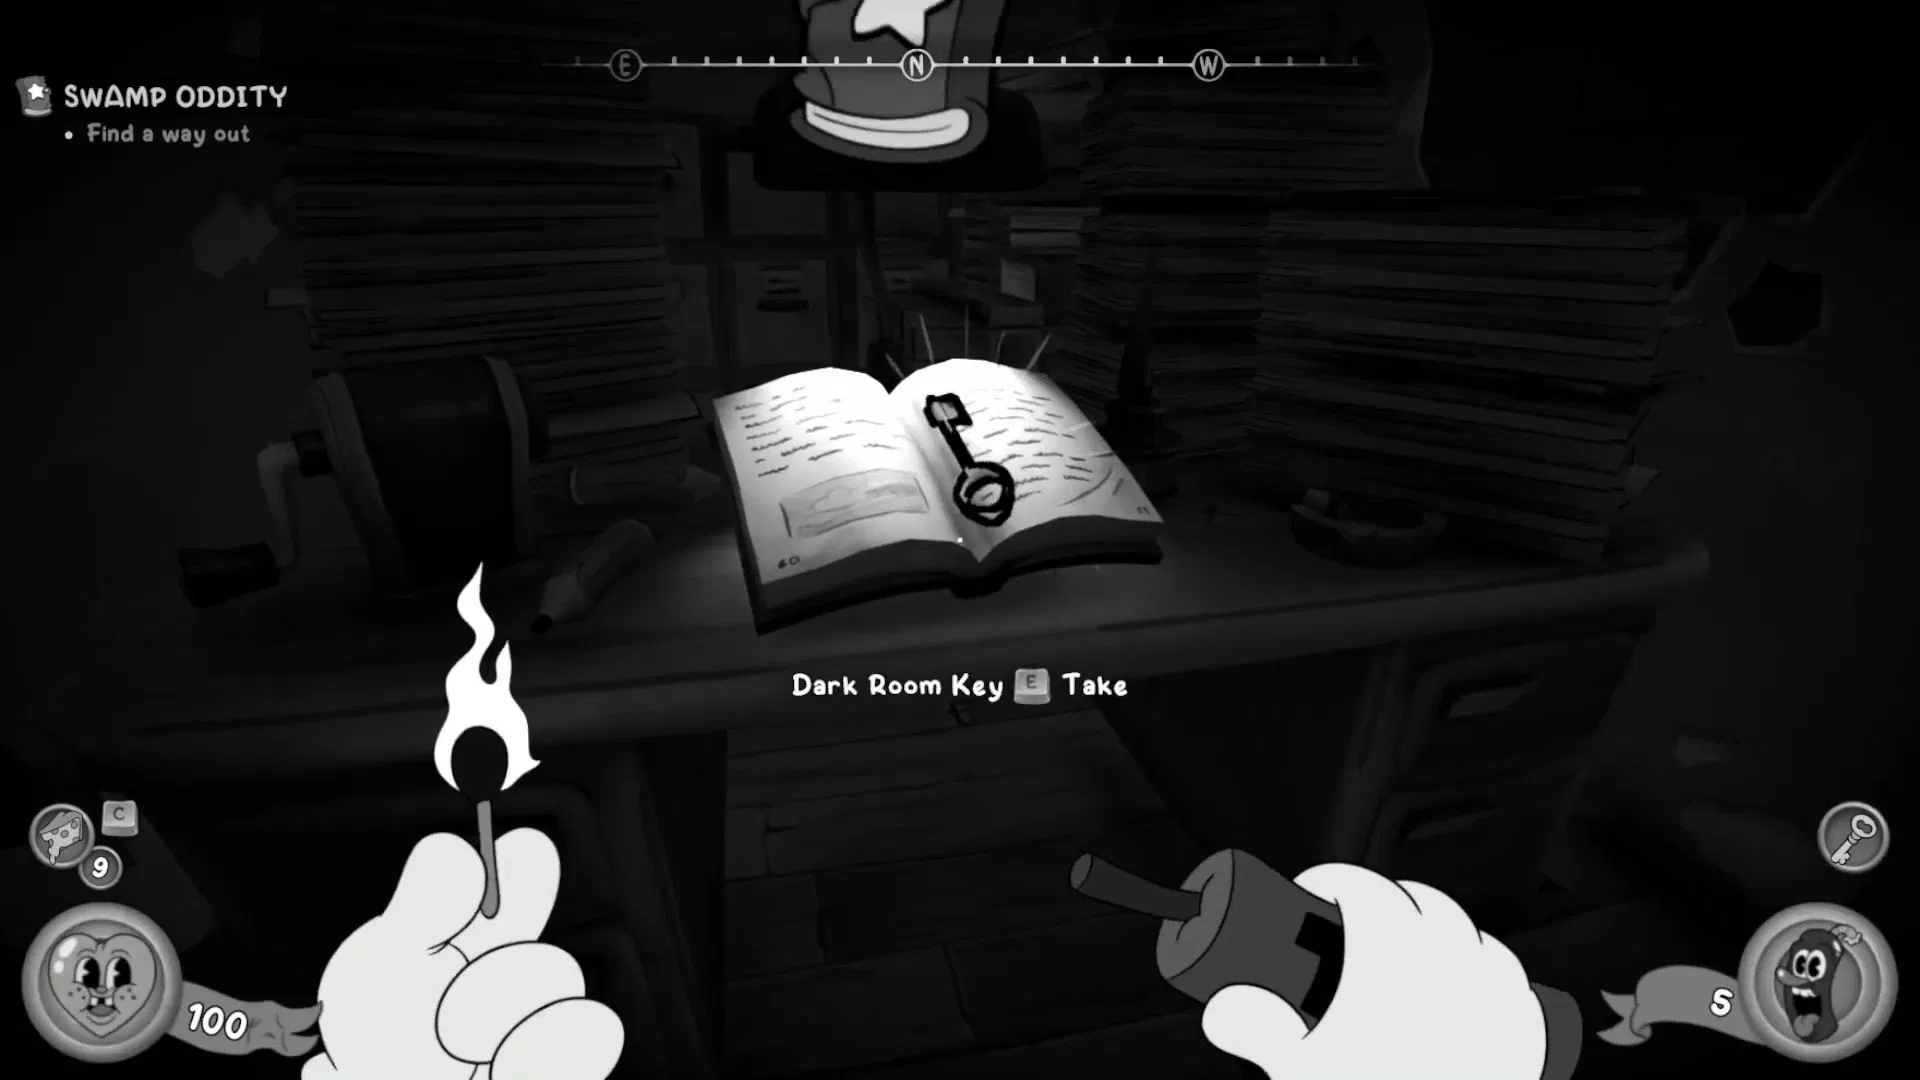
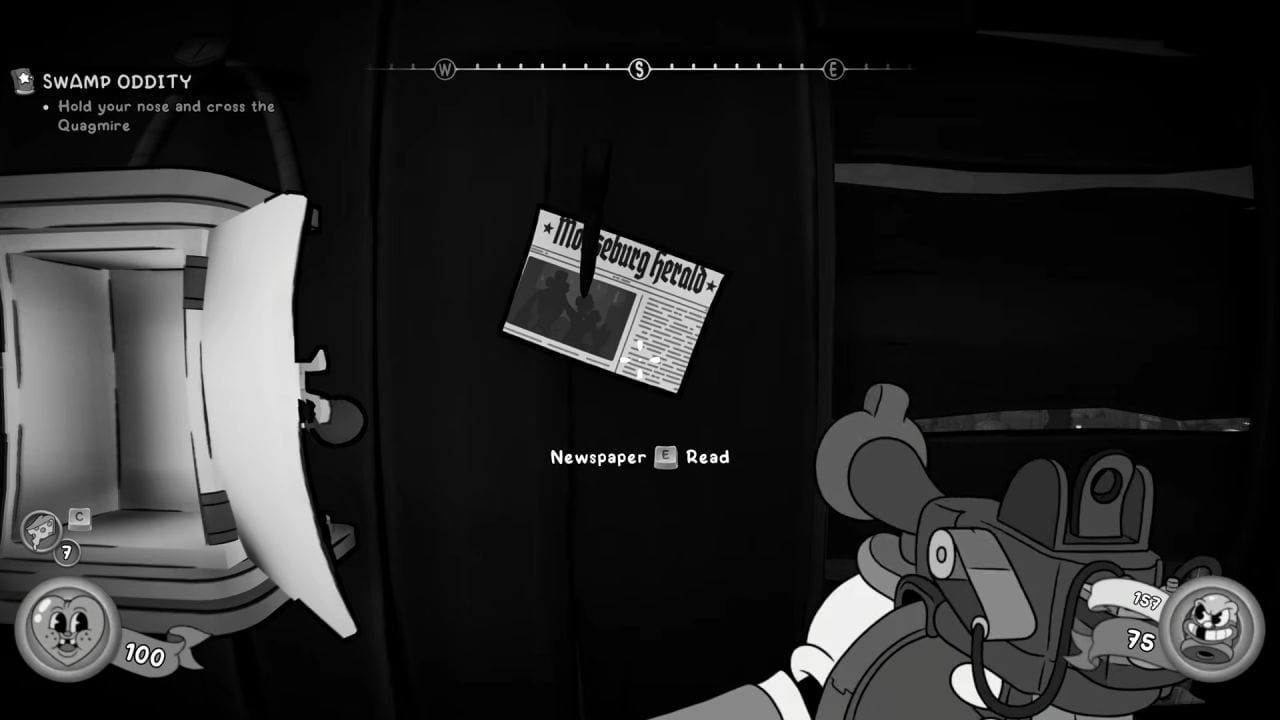
Step through the broken wall into the office. The Dark Room Key sits on the desk, with a Newspaper, cash, and ammo tucked behind it. Collect everything before moving on.
Use the Dark Room Key on the marked door in the next hallway. Toggle your flashlight to see, then sweep the room carefully.
A second safe sits to the northeast of the Dark Room. It only contains cash, but it’s worth picking if you’re chasing funds for shop purchases.
Dining Room, vent, and the garden statue
Clear the area and reach the Curdsville Nuthouse sign
Outside, a final wave of crooked cops is waiting. The trees here also have explosive barrels, which makes short work of any flying shrews mixed into the group. Keep moving, since standing still in this open arena gets punished by snipers.
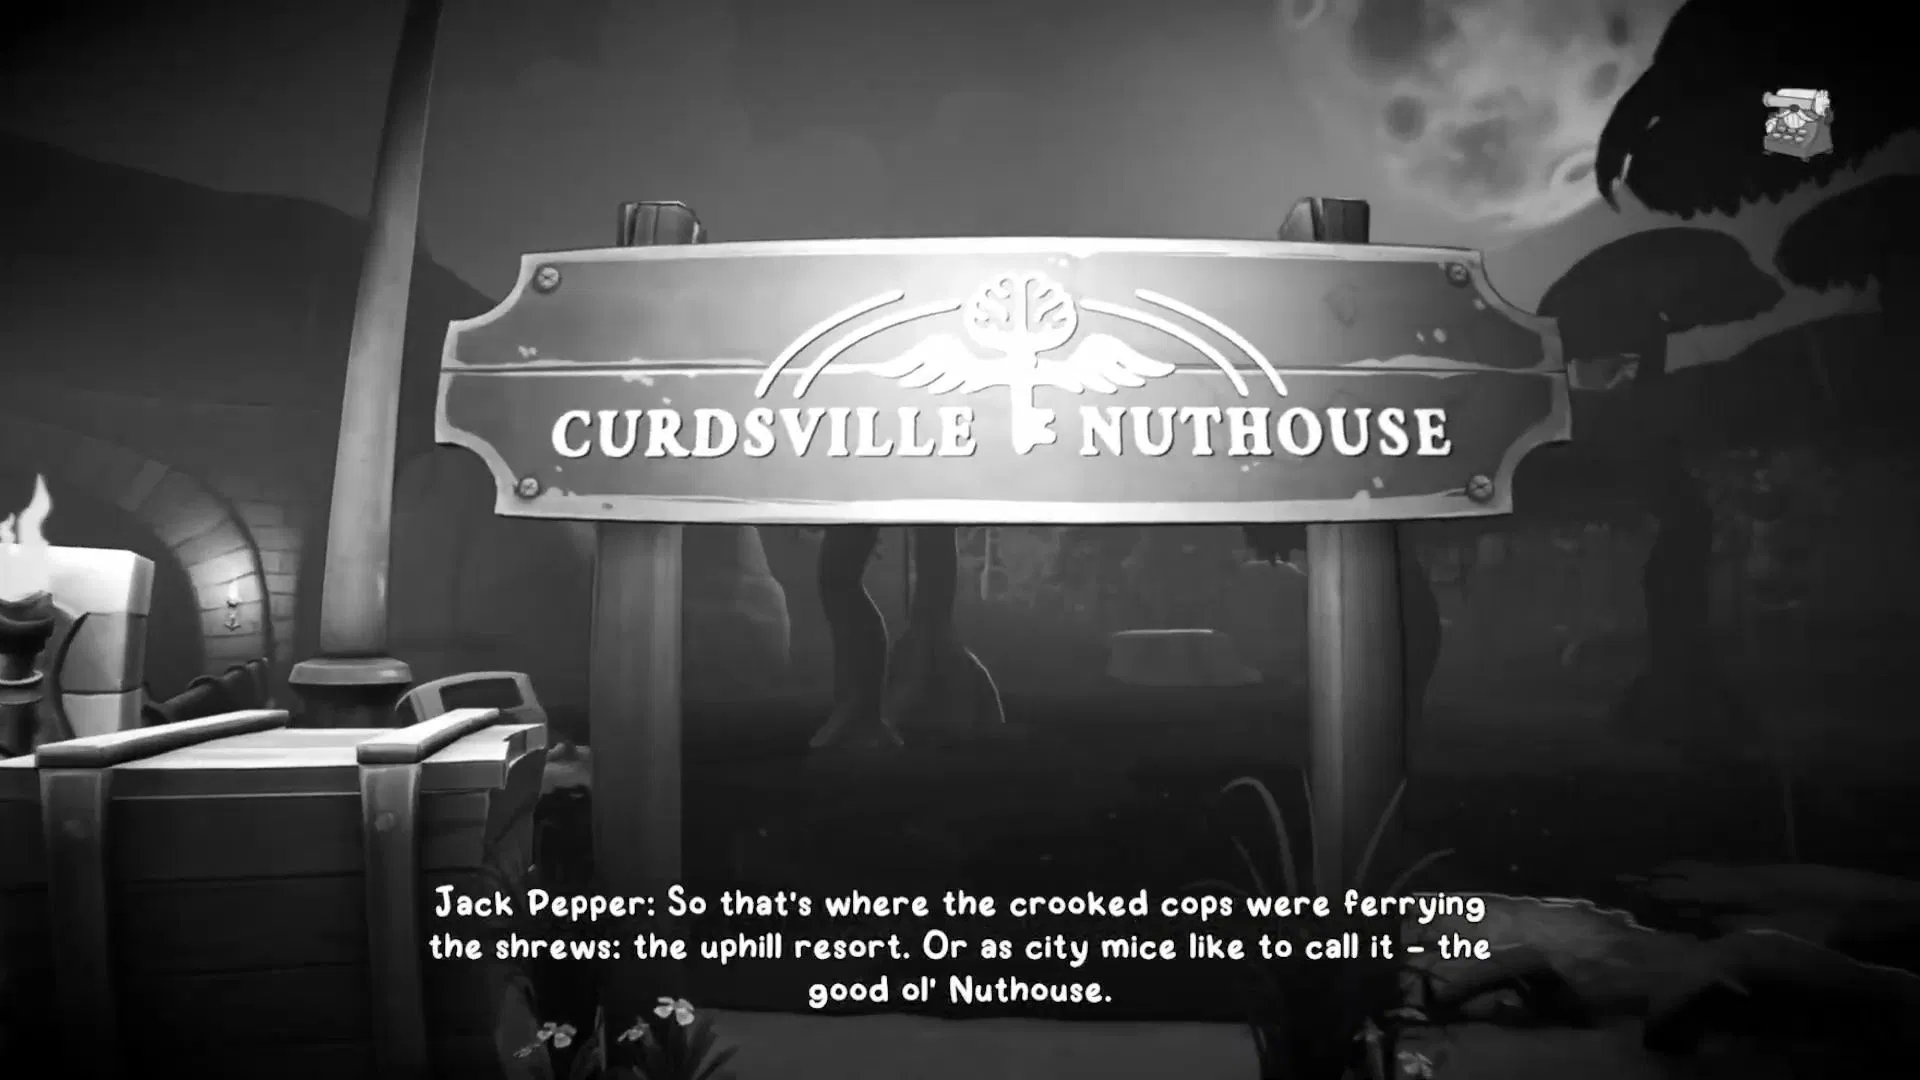
Once the area is clear, follow the clue marker to the road sign. It reads Curdsville Nuthouse, confirming where the shrews are being shipped, and triggers the drive back to town.
Back at town: paperboy, BMP agitator, and pinning clues
After parking near the office, two quick stops finish the run. At the corner, talk to the BMP Agitator NPC, then clock him in the snout to unlock the Herr Flick of the Wrist achievement.
Turn right and speak to the paperboy on the sidewalk to buy the third Mouseburg Herald newspaper for the level. You can also stop by Wanda before heading inside.
Walk to the crime wall in the office and pin every Quagmire clue you collected, including the matchbox from the Dark Room. The keycard you took from the cabin shows the old nuthouse crest, which sets up the next case. The job marks complete once the wall is filled in, and the next mission, To Catch a Mockingmouse, becomes available before One Flew unlocks.
Swamp Oddity collectibles checklist
| Collectible | Location |
|---|---|
| Newspaper 1/3 | Right wall of the church-like shack after the first boat ride |
| Schematic 1/4 (Secret) | Top of the cages in the second combat arena, after a double jump |
| Comic Book 1/1 | On the piano in the cabin’s Music Room |
| Schematic 2/4 (Secret) | Safe in the hidden wardrobe room, unlocked by playing A‑C‑E‑G |
| Baseball Card 1/1 | Knife on the wall beside the skeleton in the wardrobe room (Papa Jody Gain) |
| Schematic 3/4 | Pile of books in the room before the office |
| Newspaper 2/3 | Behind the Dark Room Key on the office desk |
| Missable Clue | Matchbox marked “SB” on the desk in the Dark Room |
| Schematic 4/4 | Back wall of the building behind the garden statue |
| Newspaper 3/3 | Paperboy on the street outside your office |
Missed any of the Newspapers, the Comic Book, or the Baseball Card? They can be repurchased later from the Detective’s Office shop or any Roadhouse, with the exception of side-job reward cards and the cards from the final two missions. Schematics and the missable clue cannot be bought back, so it’s worth saving at the office before starting the next job to lock in a clean run.