

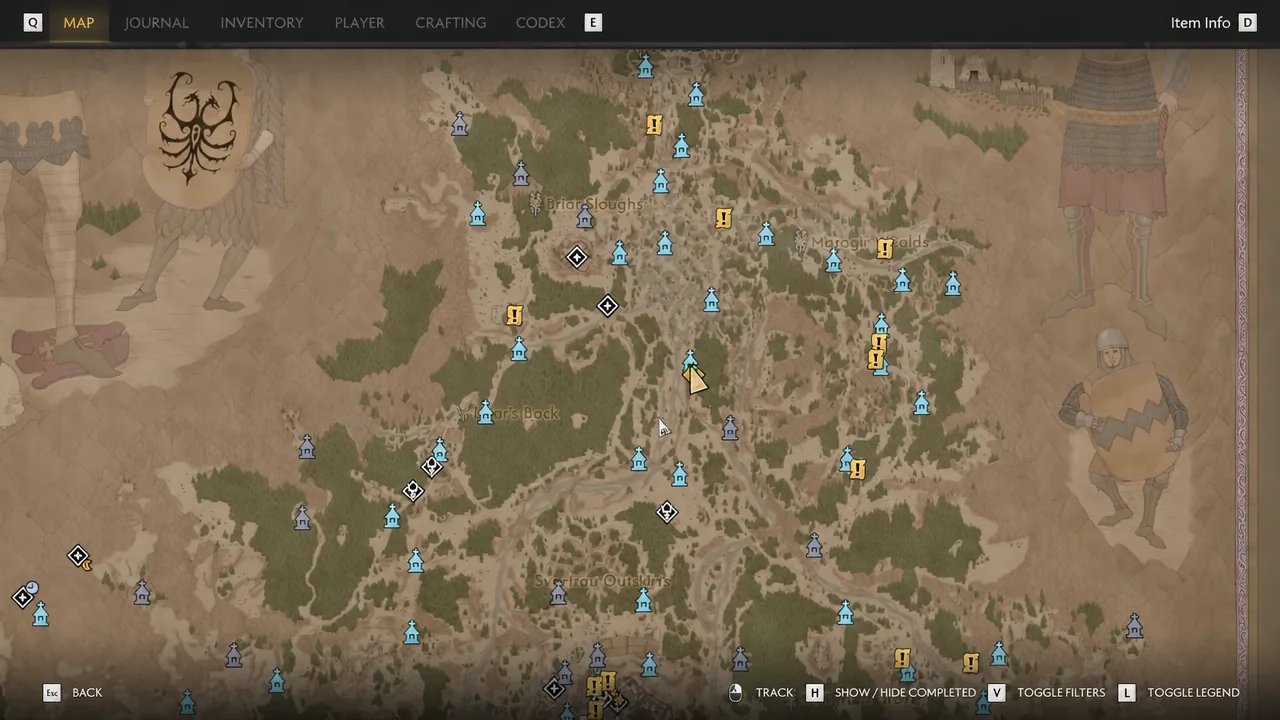
Vrakhiri Transports are roaming enemy convoys that walk fixed stretches of road in Vale Sangora. There are 10 of them, split between the three vampiric vassals of Brencis’s court, and each one counts as a Court Activity that raises the anger level of its owner. Wrecking them is one of the fastest ways to push the main story forward while collecting two legendary items and a pile of skill manuals.
Quick answer: Destroy any 8 of the 10 Vrakhiri Transports to unlock the Delivery Delay trophy and achievement. Each transport costs 3 time segments and is completed by killing the escort, then looting the cargo or freeing the prisoner.
Every Vrakhiri Transport and who owns it
The 10 transports break into five pairs. Ambrus controls blood shipments and prisoner escorts, Bakir runs payoff convoys, and Xanthe moves artefacts and abducted people. All of them are available the moment the Prologue ends, but the level ranges differ sharply between regions.
| Transport | Owner / type | Nearby landmark |
|---|---|---|
| Ambrus’s Transports: Roadside Surprise | Ambrus — Blood | Stoneward Post |
| Ambrus’s Transports: Bloody Business | Ambrus — Blood | Hedge |
| Ambrus’s Prisoners: Lucky Crossing | Ambrus — Prisoner | Road encounter |
| Ambrus’s Prisoners: Fate’s Mercy | Ambrus — Prisoner | Road encounter |
| Bakir’s Transports: Curious Shipment | Bakir — Payoff | Rockfalls |
| Bakir’s Transports: Fool’s Gold | Bakir — Payoff | Turtle Rock |
| Xanthe’s Transports: Past Glory | Xanthe — Artefact | Road encounter |
| Xanthe’s Transports: When Two Dogs… | Xanthe — Artefact | Tarnovo |
| Xanthe’s Transports: Fair Maiden | Xanthe — Abducted | Svarthau |
| Xanthe’s Transports: Chosen One | Xanthe — Abducted | Road encounter |
Ambrus’s four are doable from Level 1. Bakir’s and Xanthe’s escorts hit much harder, so Level 25 or above is the comfortable threshold for those six.
How to find a transport on the map
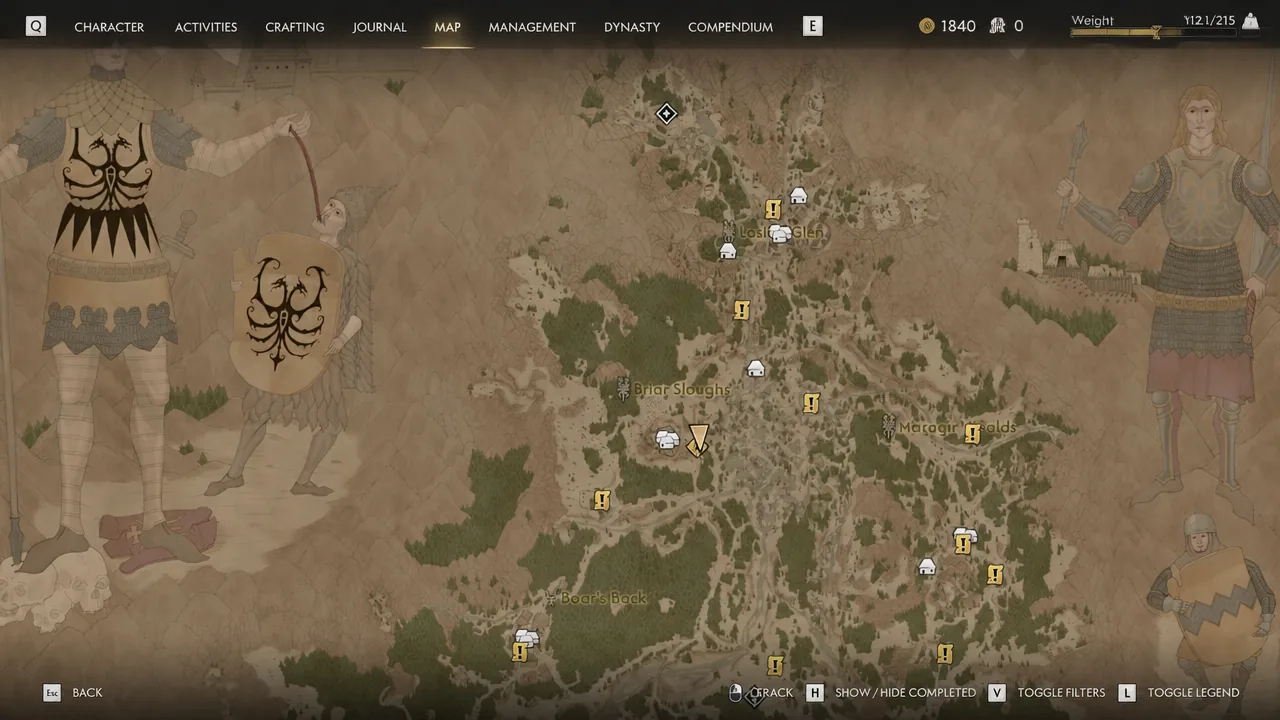
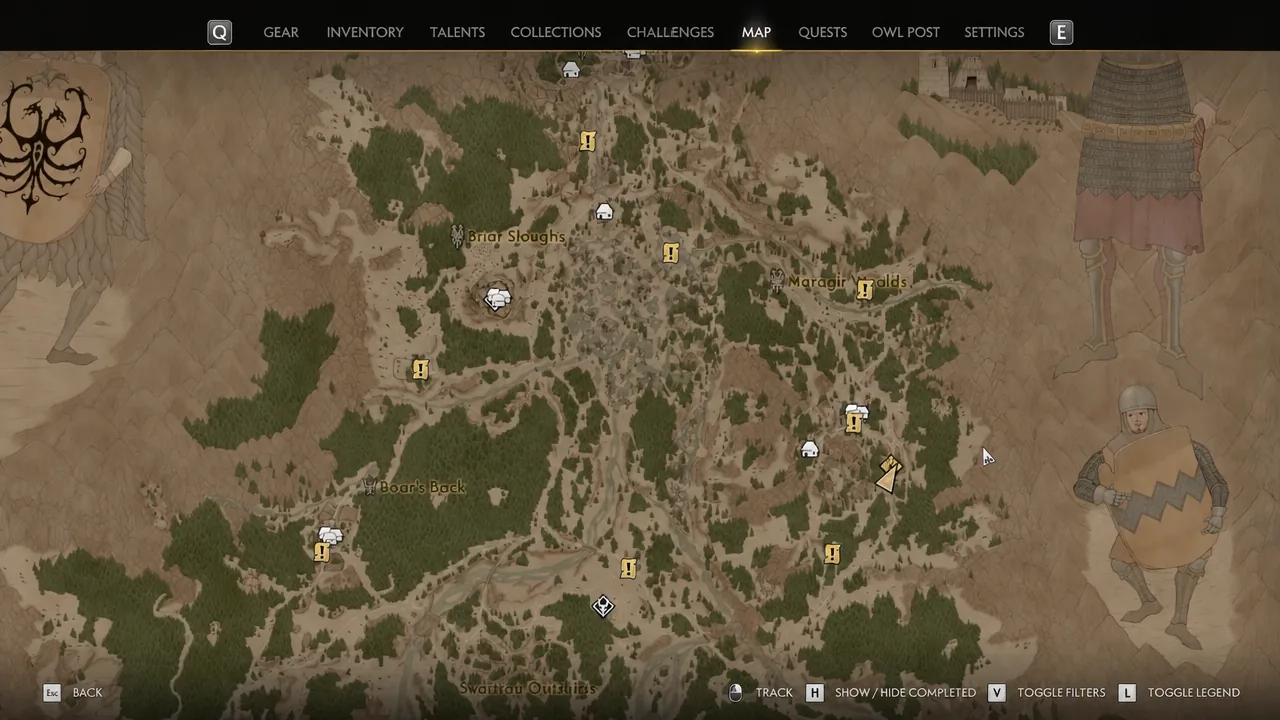
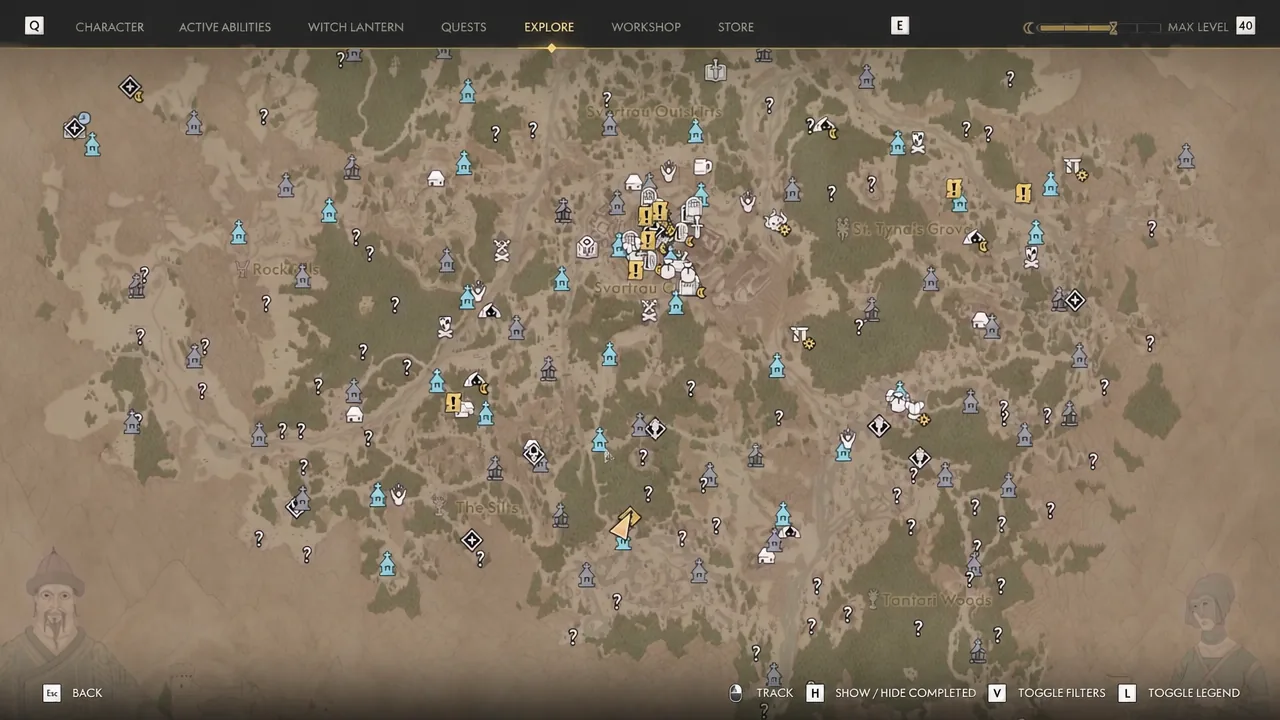
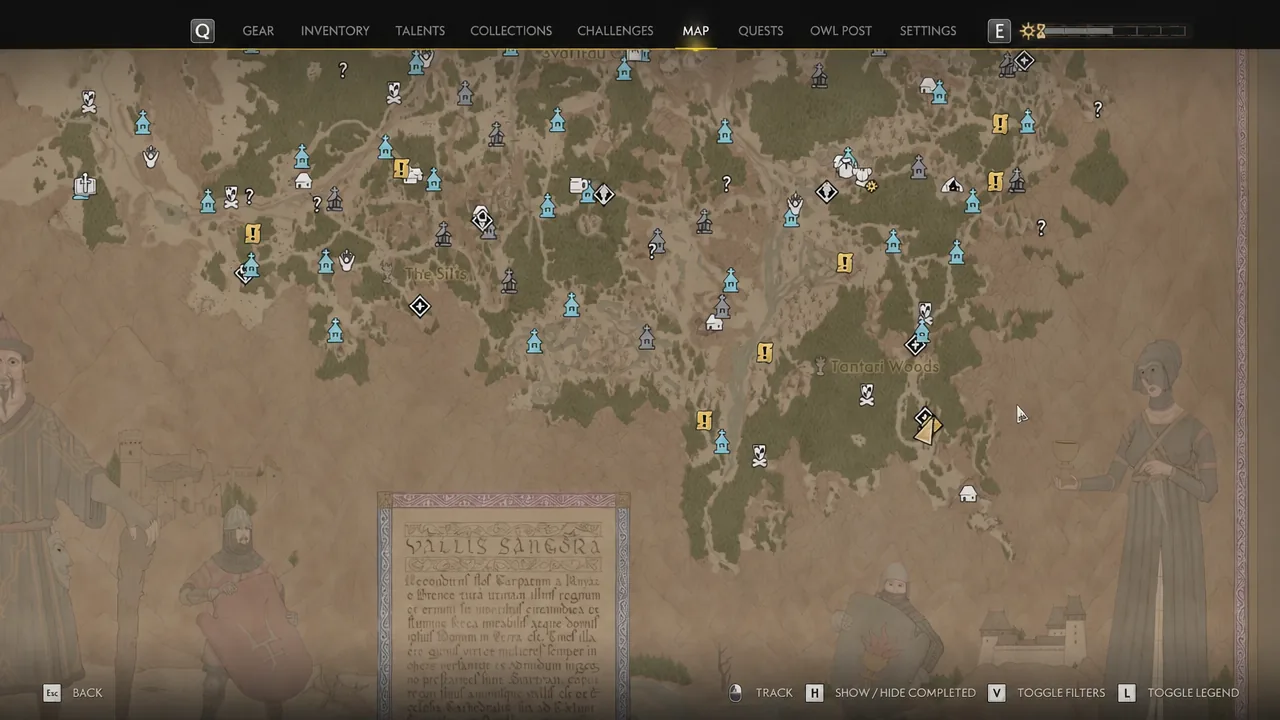
Transports are not pinned to the map by default. They show up as “Unknown Activity” in the Court menu until you physically discover them, which is why climbing towers first saves a lot of aimless riding.
Tip: Buying Shapeshift (Vampirism) and Mercurial Fervor (Witchcraft) early makes crossing the valley between convoys considerably faster.
Ambrus’s blood and prisoner transports (Level 1+)
Roadside Surprise sits near Stoneward Post and asks you to defeat the guards, then interact with the barrels to destroy them. Klaus the Brave and the Swiftness Manual come out of this encounter.
Bloody Business runs near Hedge. After the fight, loot the captain’s body for the Letter of Reprimand, a note confirming Ambrus is the one keeping the vrakhiri fed. The Growing Momentum Manual and Restless Blade Manual drop here too.
The two prisoner escorts play out on open road. Lucky Crossing puts you against Ursul Varna, who teaches you Swordmastery techniques after you beat him. Fate’s Mercy frees the Smith’s Apprentice, Danylo.
Bakir’s payoff transports (Level 20+)
Curious Shipment walks the road near Rockfalls and ties into Brencis’s Court. It is a straight fight against the escort with no puzzle attached.
Fool’s Gold patrols near Turtle Rock and carries a Diplomatic Missive, a Missive to Clan Tayr, and the Second Skin II Manual. There is a branch here worth taking. Spare the surviving soldiers afterwards and they hand over a treasure map that opens the sub-quest “Bakir’s Transports: Ill-Gotten Gains”.
Xanthe’s artefact and abducted transports (Level 25+)
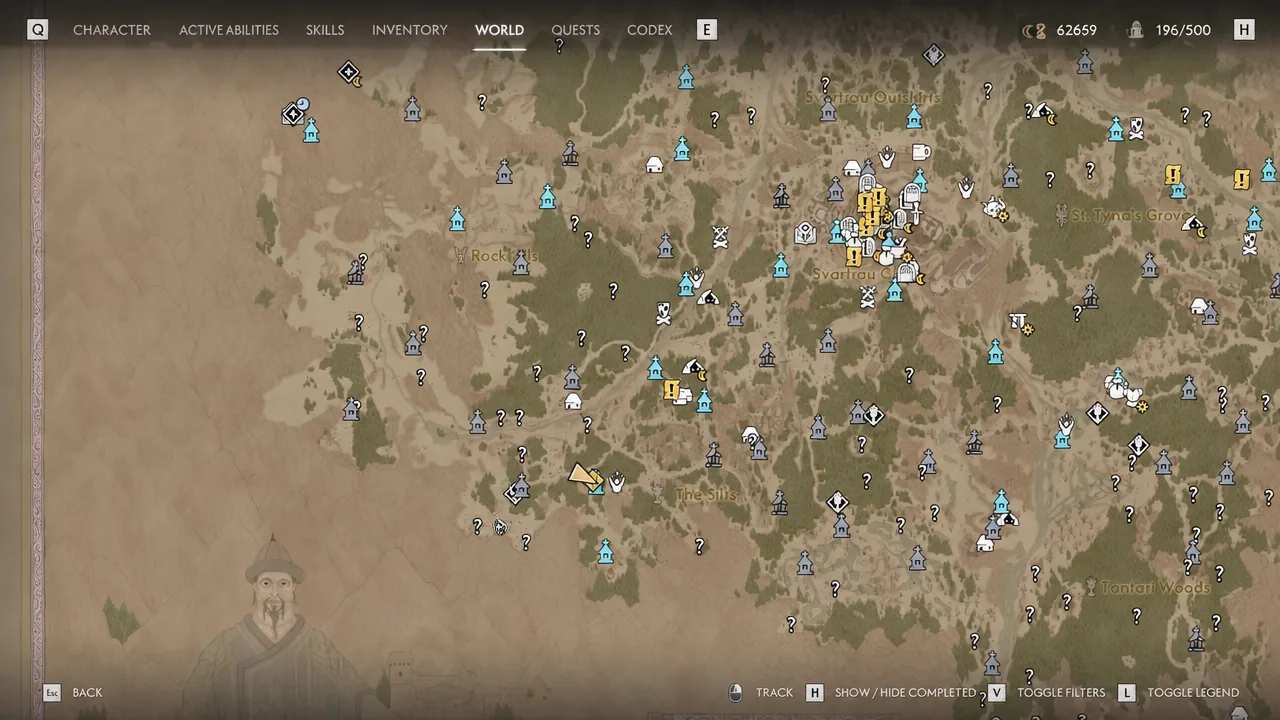
These four are the toughest of the set and also the most rewarding. Past Glory hands over the Ring of the Night, a Level 35 legendary ring, alongside the Precision Manual.
When Two Dogs… runs near Tarnovo and is the single most valuable stop on the list. It yields the Ancient Hero’s Vambraces, Level 35 legendary heavy bracers, plus the Master Fencer Manual, the Sharp Eye Manual, and the document “On Protection of Habitations”. If you are chasing the Gear of the Gods trophy for a full legendary set, this convoy is mandatory.
Fair Maiden and Chosen One are the two abducted transports. Fair Maiden is found near Svarthau, and Chosen One closes out the set.
Legendary loot and manuals from transports
| Reward | Transport |
|---|---|
| Ring of the Night (Legendary Ring, Lv 35) | Xanthe’s Transports: Past Glory |
| Ancient Hero’s Vambraces (Legendary Heavy Bracers, Lv 35) | Xanthe’s Transports: When Two Dogs… |
| Master Fencer Manual, Sharp Eye Manual | Xanthe’s Transports: When Two Dogs… |
| Precision Manual | Xanthe’s Transports: Past Glory |
| Second Skin II Manual | Bakir’s Transports: Fool’s Gold |
| Growing Momentum Manual, Restless Blade Manual | Ambrus’s Transports: Bloody Business |
| Swiftness Manual | Ambrus’s Transports: Roadside Surprise |
Confirming the Delivery Delay trophy unlocked
Delivery Delay pops as soon as the eighth transport is destroyed. You do not need all 10, and there is no restriction on which eight you pick. The clearest confirmation is the trophy or achievement notification itself, but the Court menu also tracks each transport as completed once its encounter resolves.
If the trophy has not appeared, the usual cause is that an encounter never actually triggered. Riding past a convoy without the yellow “!” icon appearing does not register it, and the fight has to be finished along with its follow-up interaction, so smash the barrels, loot the leader, or talk to the prisoner before leaving the area.
Note: Every transport consumes 3 time segments, so eight of them add up. With a 30 in-game day limit on the main story and a typical 7 to 10 day critical path, there is room for all 10 plus side content, but keep an eye on the clock if you are also chasing longer questlines.
Transports remain available after you defeat the vassal they belong to, so nothing here can be permanently missed by rushing a boss fight. If you want the cleanest run, sweep Ambrus’s four early while the enemies are still low level, then return for Bakir’s and Xanthe’s six once you are past Level 25 and the legendary drops are worth equipping.





