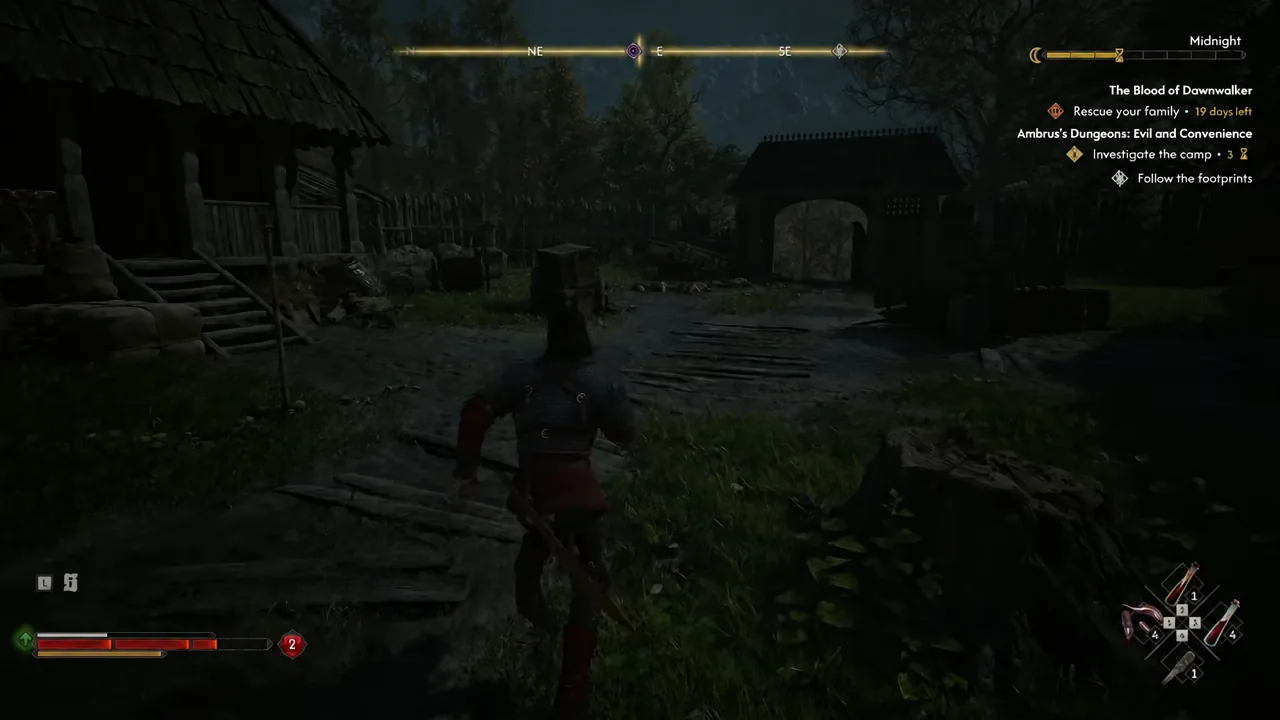
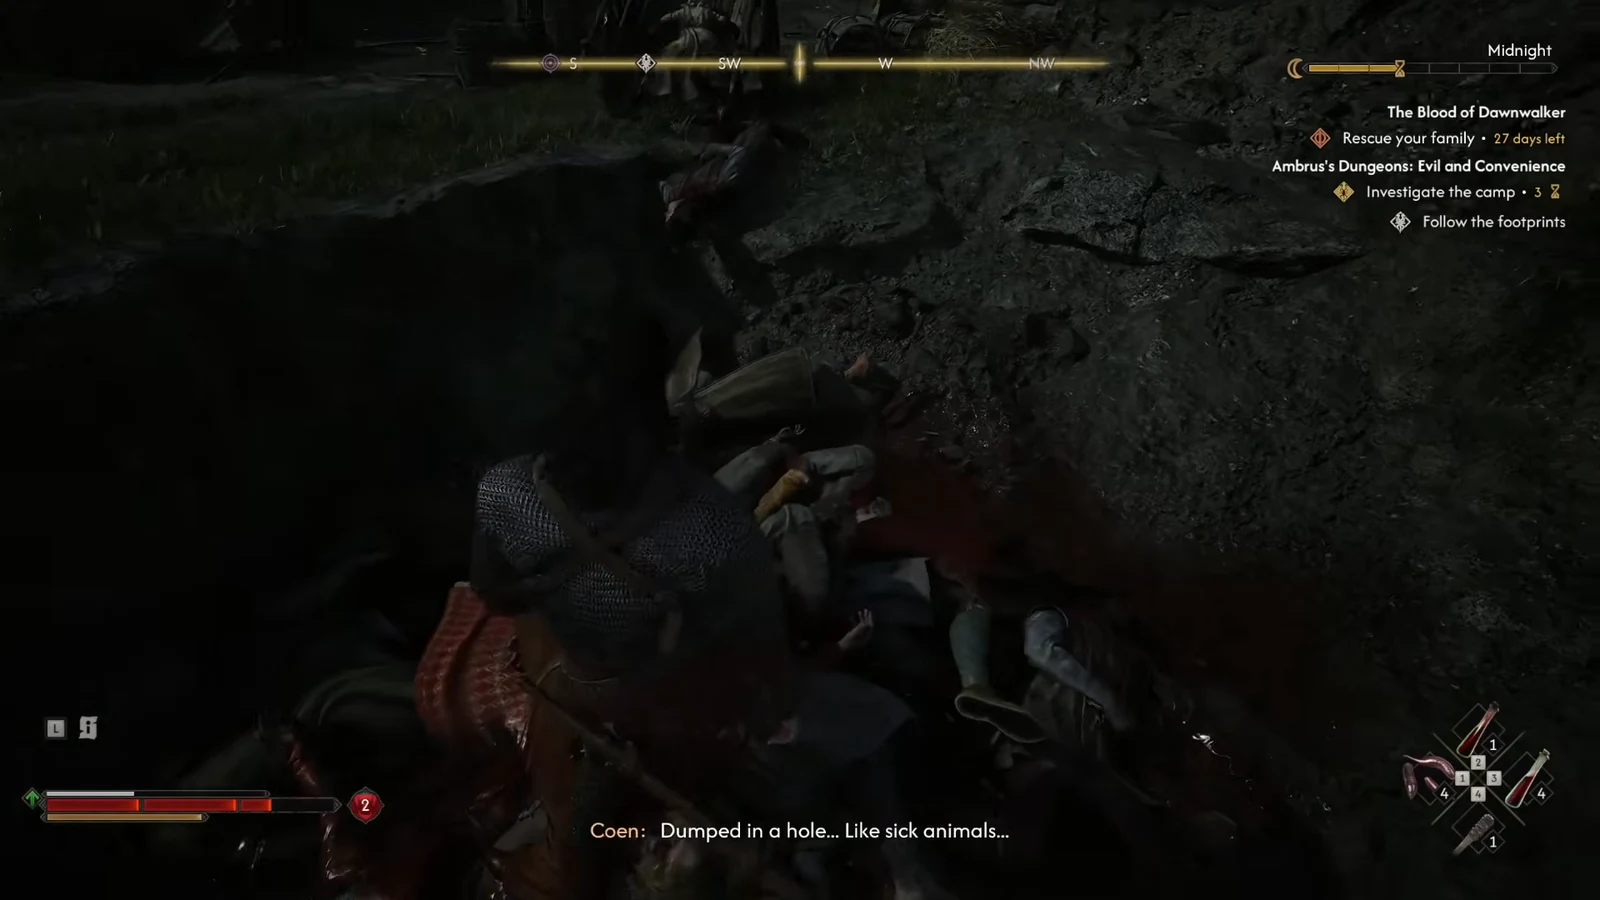
Ambrus’s Dungeons: Evil and Convenience is one of three Draining Dungeon activities tied to Ambrus’s Court in The Blood of Dawnwalker. It sends Coen into a blood-draining camp in Briar Sloughs, where soldiers have been bleeding prisoners into barrels and planning to torch the evidence. The quest ends with a locked cabin, a cornered Chief Jailor, and a buried stash that exposes a betrayal inside Ambrus’s own ranks.
Quick answer: Clear the camp, take the Brass Key from the table in the barn, unlock the cabin across from it, and deal with the Chief Jailor. The quest closes the moment you either loot the Ledger on his desk or dig up the buried chest by the fallen tree outside the palisade.
Camp location in Briar Sloughs and the best time to go
The camp sits in the Briar Sloughs region, just north of the Borescu Commons Shrine, on the western edge of Ambrus’s domain above the Boar’s Back forest. Fast travel to the shrine and head north — it is a walled site with a palisade gate and patrolling soldiers, so it is hard to miss once you are close.
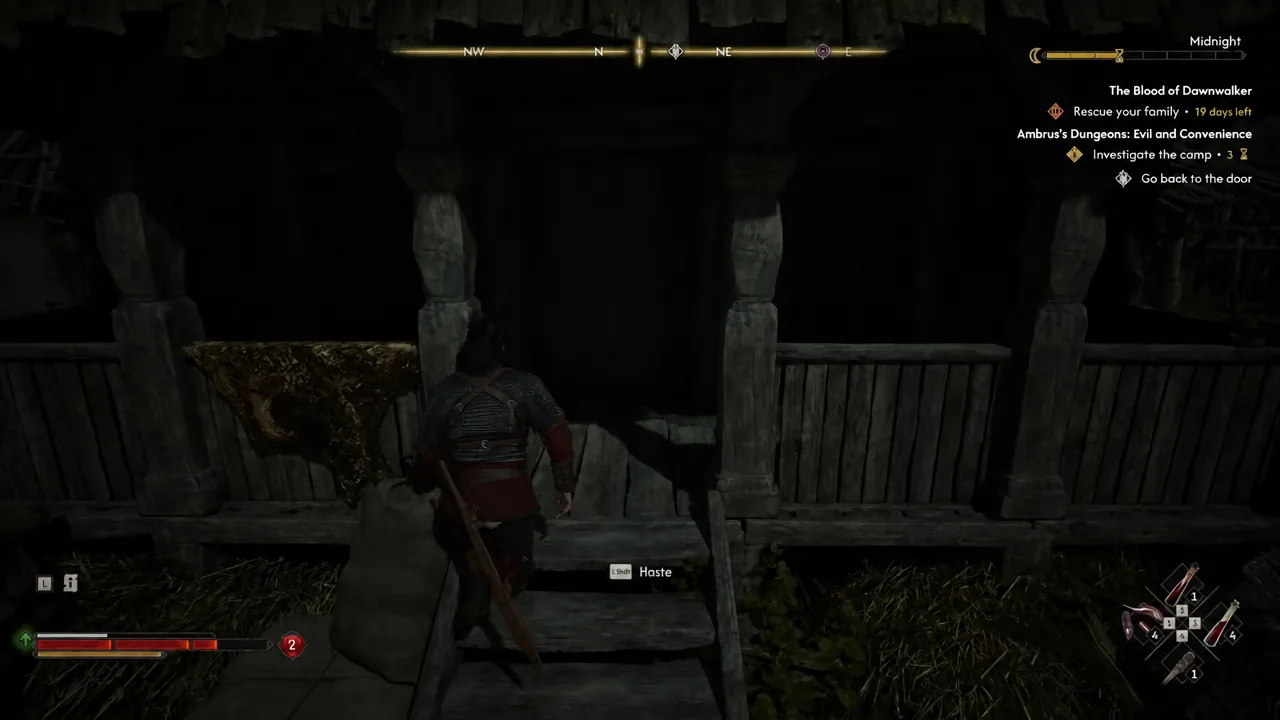
Either time of day works, but morning is the easier run. A dead guard lies in the torture chamber inside the camp, and during the day you can use Compel Soul on him for extra context about what the soldiers were doing. The interaction still exists at night if your Vampirism skills are far enough along, but most players reach this activity before those abilities are built up.
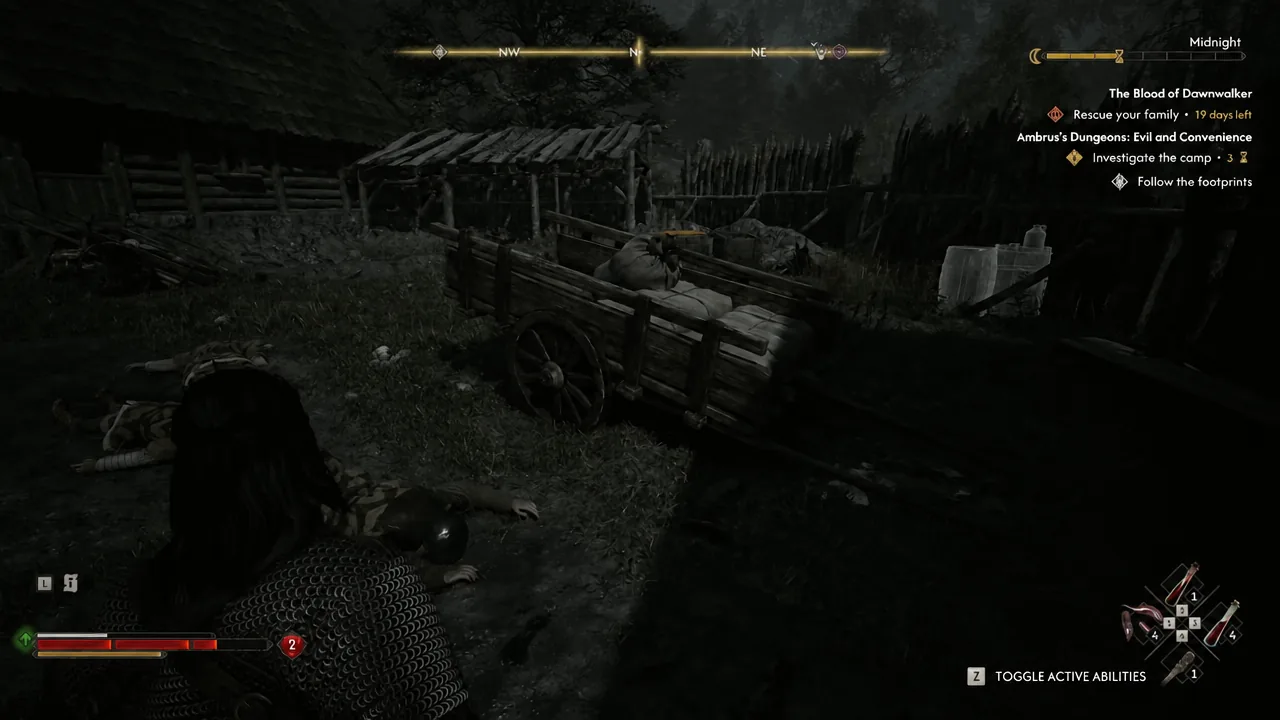
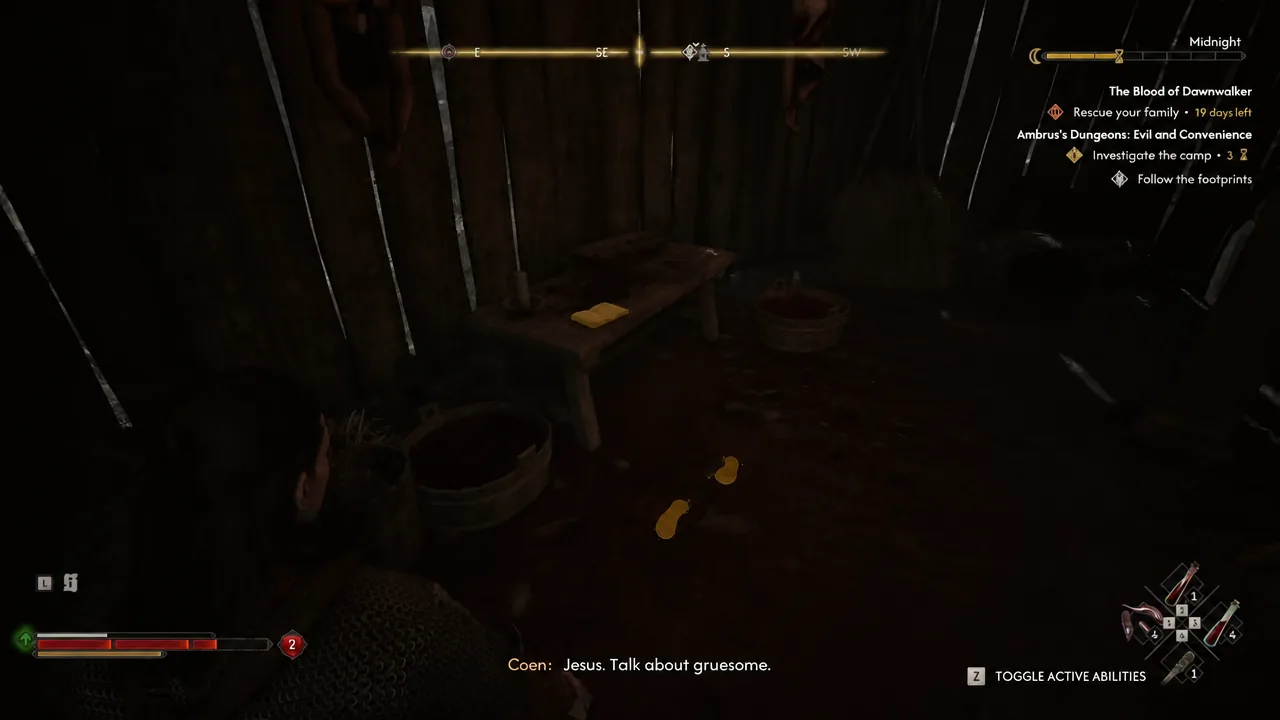
Clearing the camp and finding the Brass Key
Chief Jailor choice: kill, spare, or feed
The Chief Jailor falls back on the excuse that he was only following orders. You get three responses, and all of them hand you the same information about the hidden treasure. The differences are combat XP, Corruption, and a small amount of random loot.
| Option | What happens | What you get |
|---|---|---|
| You’re not going anywhere. | He fights you as a light miniboss and throws projectiles if you keep your distance. | Treasure Map: Hidden Stash plus random drops from his body, and combat XP. |
| Pay me and you walk. | No fight. He tells you where he buried his treasure and leaves. | The same stash location the map would have given you. |
| [give in to the hunger] | Coen feeds on him, killing him without a fight. | Treasure Map: Hidden Stash and random loot, but no combat XP and some Corruption. |
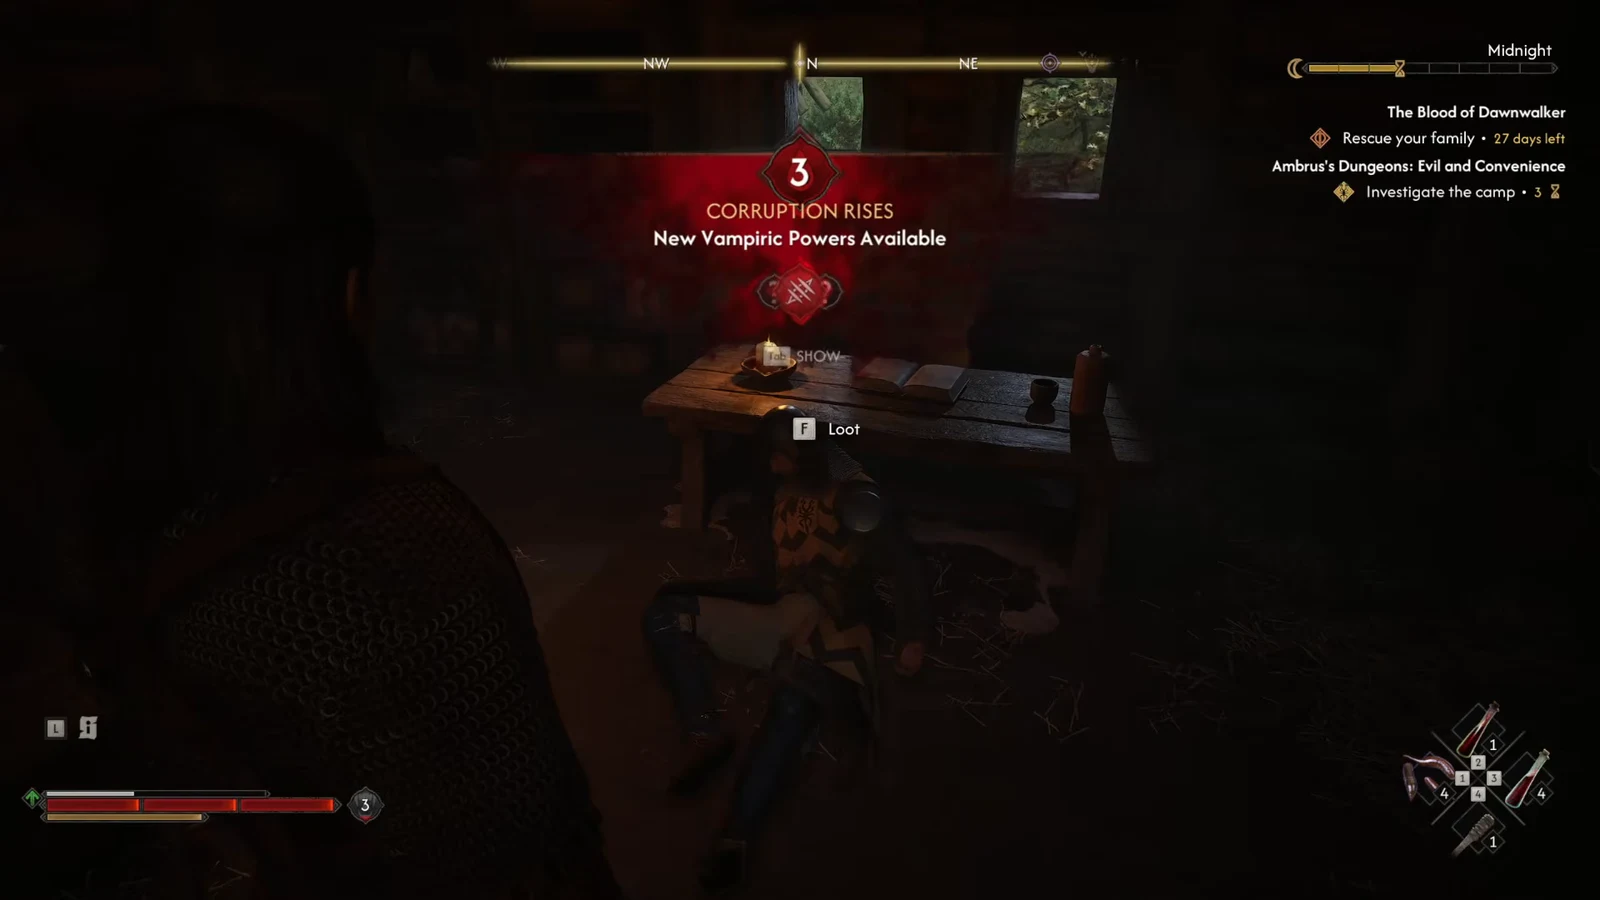
Before you leave the room, read the Ledger on the desk. It shows that Ambrus’s own men have been diverting blood shipments to Bakir behind his back, which is the story payoff of the whole activity.
Treasure Map: Hidden Stash location
Once you have the map or the Chief Jailor’s directions, the stash is marked on your map while the quest is tracked. Leave through the palisade gate, turn left, and follow the walls northwest until a fallen tree comes into view. The treasure is buried right next to it.
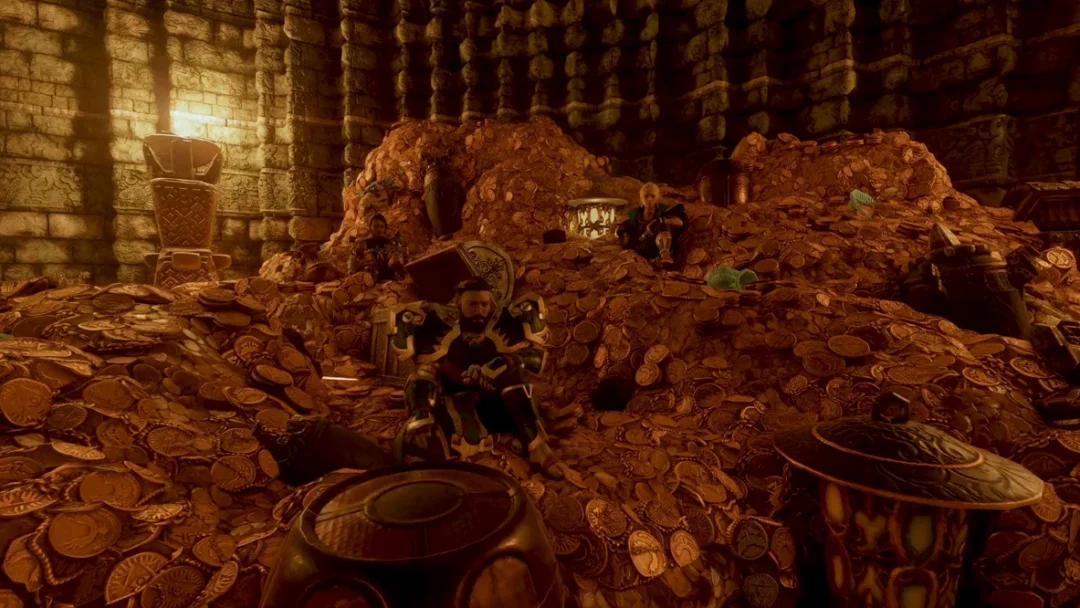
Digging it up gets you an amulet, a pile of Denarius, and a Letter from Bakir confirming that the missing blood barrels ended up with a rival boyar. Note: if you never learned about the treasure, looting the Ledger on the desk closes the quest instead — and you can still come back and dig up the chest afterwards.
Rewards, time cost, and Ambrus’s Anger meter
| Detail | Value |
|---|---|
| Reward | 250 XP and 1 Skill Point |
| Time cost | 3 Time Segments, regardless of how you finish |
| Category | Draining Dungeon, Ambrus’s Court Activities |
| Bonus loot | Treasure Map: Hidden Stash, amulet, Denarius, Letter from Bakir |
| Progression | Raises Ambrus’s Anger meter toward The Gilded Gauntlet |
You will know it registered when the QUEST ENDED banner appears and the XP and Skill Point are awarded. The reward is identical whether you read the Ledger or dig up the stash, so there is no wrong ending here — only a difference in how long you spend in the camp.
Ambrus has 14 Court Activities in total, and roughly 10 or 11 of them are enough to fill his Anger meter and open The Gilded Gauntlet. Evil and Convenience is a good early pick in that run: it is short, it hands over a Skill Point, and the Letter from Bakir plants the first real hint that the vassals are working against each other.