

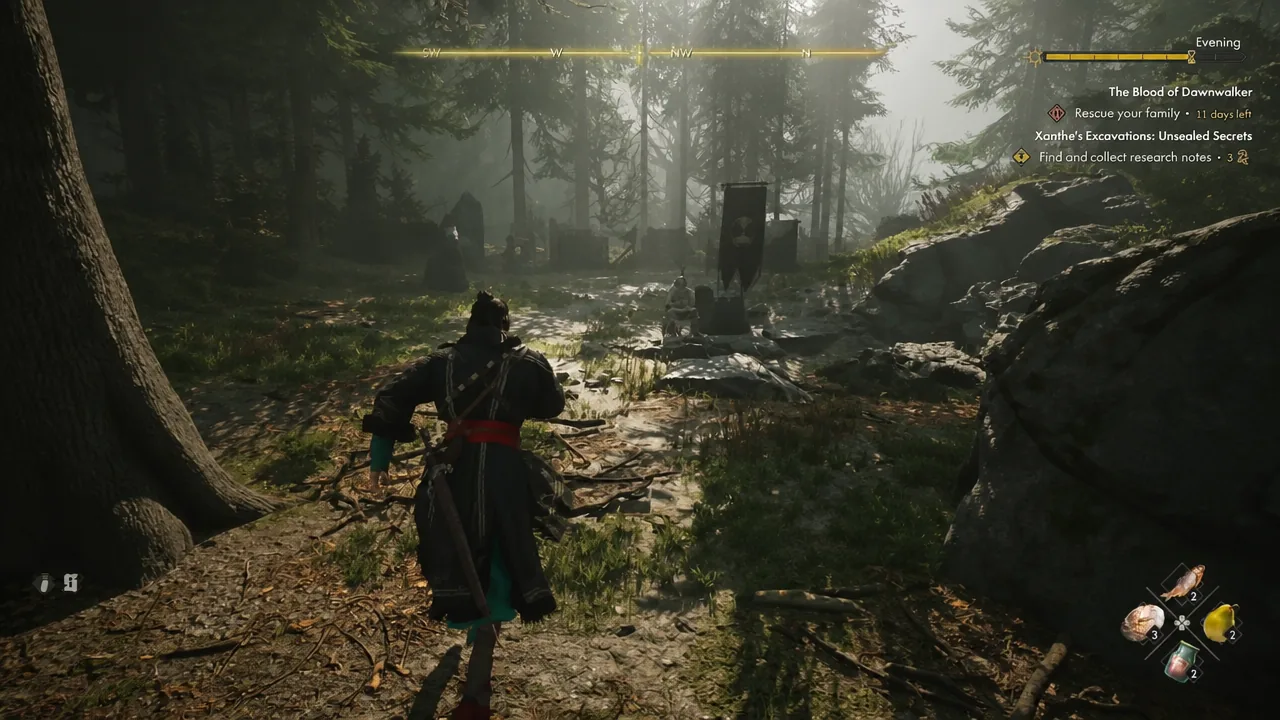
Xanthe’s Excavations are three of the fifteen Court Activities tied to Xanthe, the third vampiric vassal in The Blood of Dawnwalker. All three send Coen into ancient ruins that her scholars have been digging into, and all three hand out gear that is worth the detour even if you already have enough Anger to summon her.
Quick answer: The Unsealed Secrets dig sits east of Vedera Spring, while Malevolent Presence and Bloodied Dagger are both tombs in Tantari Woods, the latter in the eastern part of the woods. Each one costs 3 time segments and ends when you kill the boss and pick up the quest note in the final chamber.
All three Xanthe’s Excavations activities and rewards
| Activity | Where to go | What ends it | Reward |
|---|---|---|---|
| Unsealed Secrets | East of Vedera Spring | Barrow Lord, plus two research notes | Vardant Knight’s Sword |
| Malevolent Presence | Tantari Woods tomb | Frenzied Soul, plus the Excavation Log | Mindbrace Amulet |
| Bloodied Dagger | Eastern Tantari Woods tomb | Armaya, Scholar of the Occult | Swordman’s Amulet, plus Ancient Footwear from the locked chest |
Every one of them costs 3 time segments, so clearing the full set burns a meaningful chunk of your 30 in-game days. That is still cheap for what comes out of them.
How to find the dig sites on the map
Court Activities are not pinned to your map by default. They show up in the Court menu as “Unknown Activity” until you physically stumble onto them in the world, which makes the excavations easy to walk past. Climbing the scouting towers marks nearby activities with white question mark icons, so a tower run through the Vedera Spring and Tantari Woods area is the fastest way to surface all three at once.
Documents found during other Xanthe activities can also reveal excavation locations directly on the map. Chests at the Blood Guard recruiter encounters in particular hold papers that expose more of her operations.
Unsealed Secrets: The camp, the notes, and the Barrow Lord
Track “Xanthe’s Excavations: Unsealed Secrets” in the journal and head for the forest dig camp east of Vedera Spring. The objective asks you to find and collect research notes, and there are two of them.
Malevolent Presence: Frenzied Soul and the Excavation Log
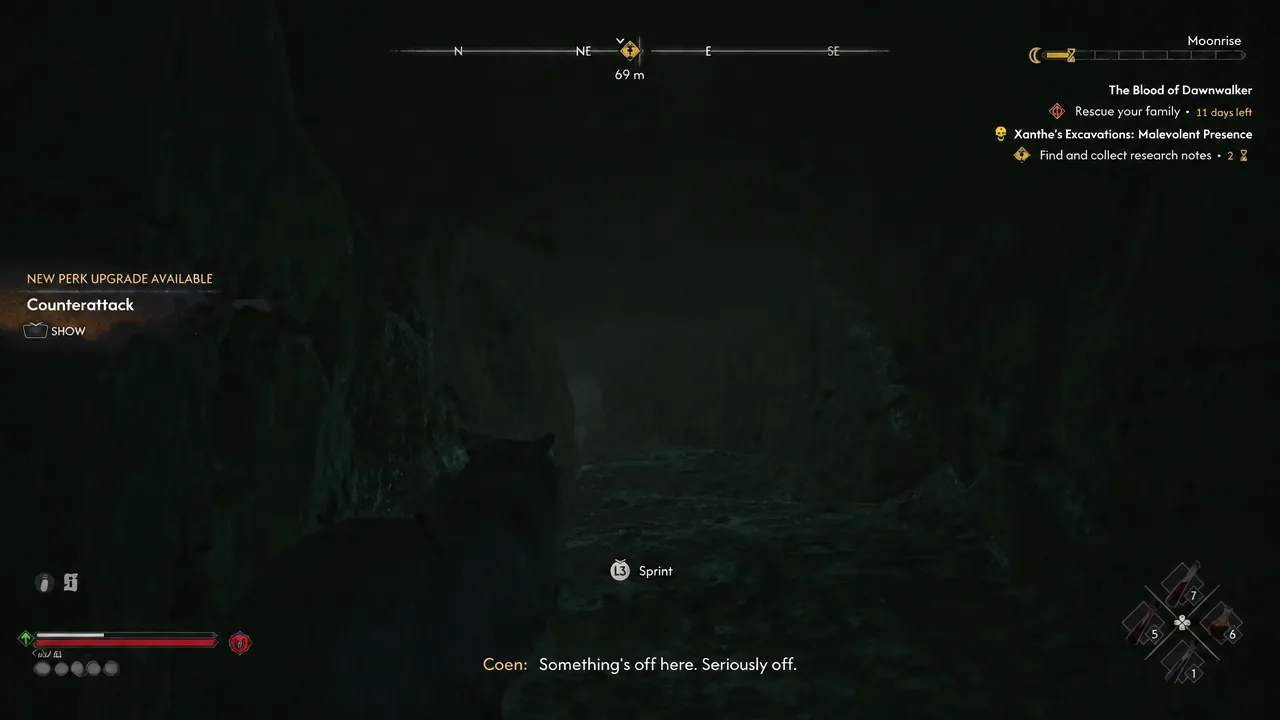
This one is in Tantari Woods and is the most linear of the three. There is no camp to clear first, just the ruins themselves.
Bloodied Dagger: Armaya and the sealed chest
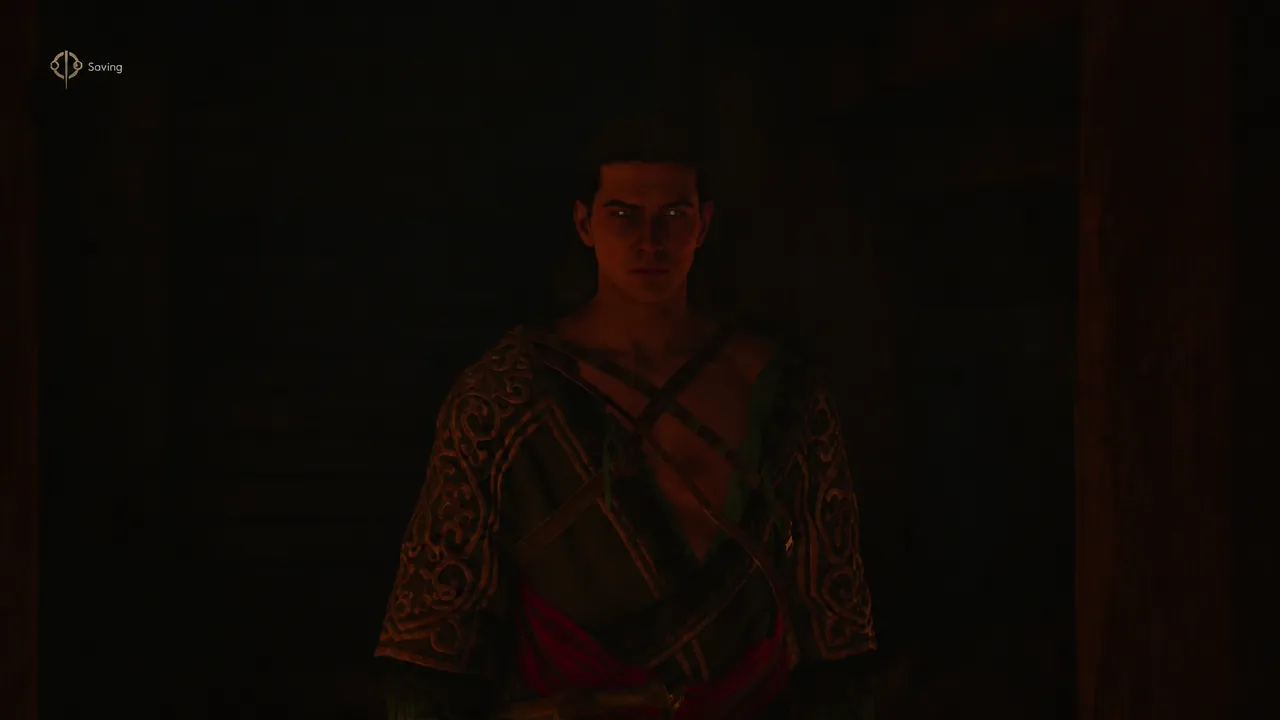
The third excavation is in eastern Tantari Woods and pays out twice, once for the boss and once for a chest most players walk past. Armaya, Scholar of the Occult is the same name attached to the orders you find at the Vedera Spring camp.
Note: keep a manual save in a spare slot before you trigger the conversation. The game gives you 54 manual save slots, and dropping one here lets you see both outcomes without replaying the whole dungeon.
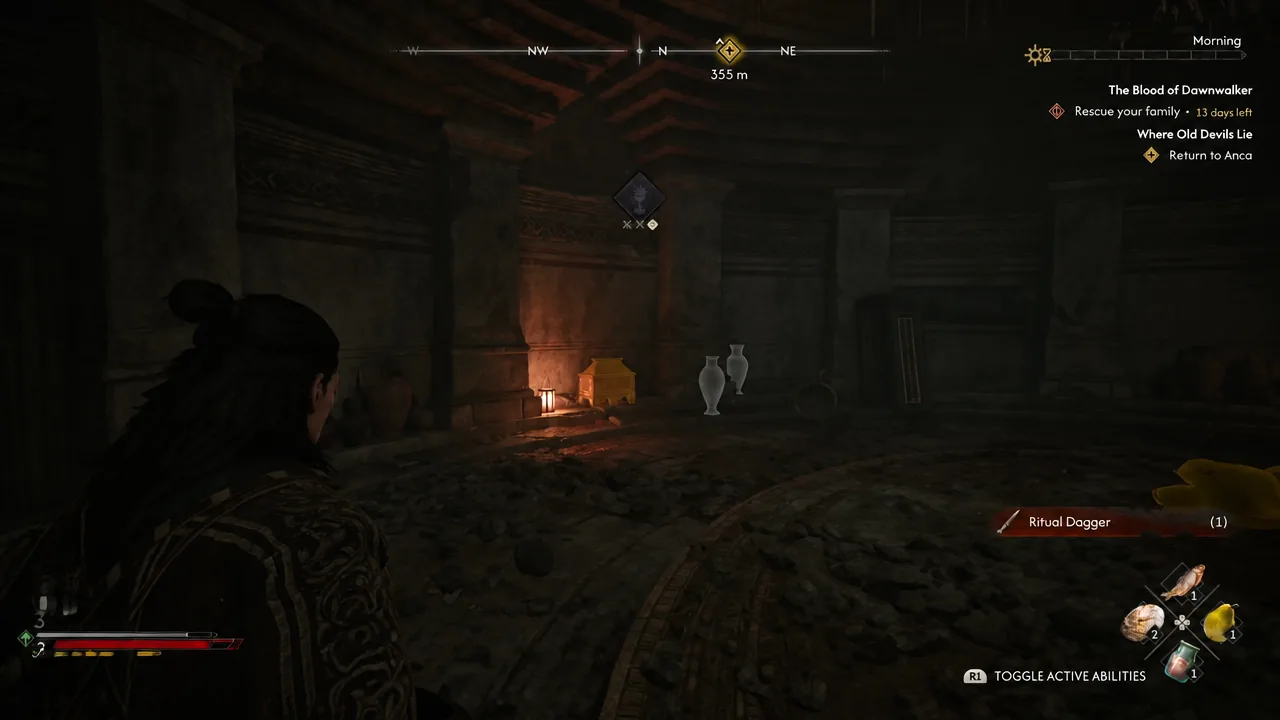
How to open the locked chest for the Ancient Footwear boots
The locked chest sitting in the boss room holds Ancient Footwear, a set of legendary heavy boots. There is no key and no lockpick involved.
How the excavations feed Xanthe’s Anger level
The three digs count toward the same Anger meter as her Blood Guard camps, artifact transports, and abduction convoys. You do not need to clear all fifteen of her activities. Roughly three quarters of a vassal’s Court Activities is enough to push the meter to maximum, at which point her main quest, The Cycle of Love, becomes available and two soldiers stop Coen to hand over Xanthe’s Lantern.
The excavations stay available after her Anger is capped, and they remain open even if you have already killed her. Nothing here is locked behind the boss fight, so you can come back for the gear later.
Why an excavation shows as incomplete
All three close out the moment the final objective ticks over in the journal and the Anger bar moves. If one is still sitting in your log after the boss is dead, it is almost always one of these:
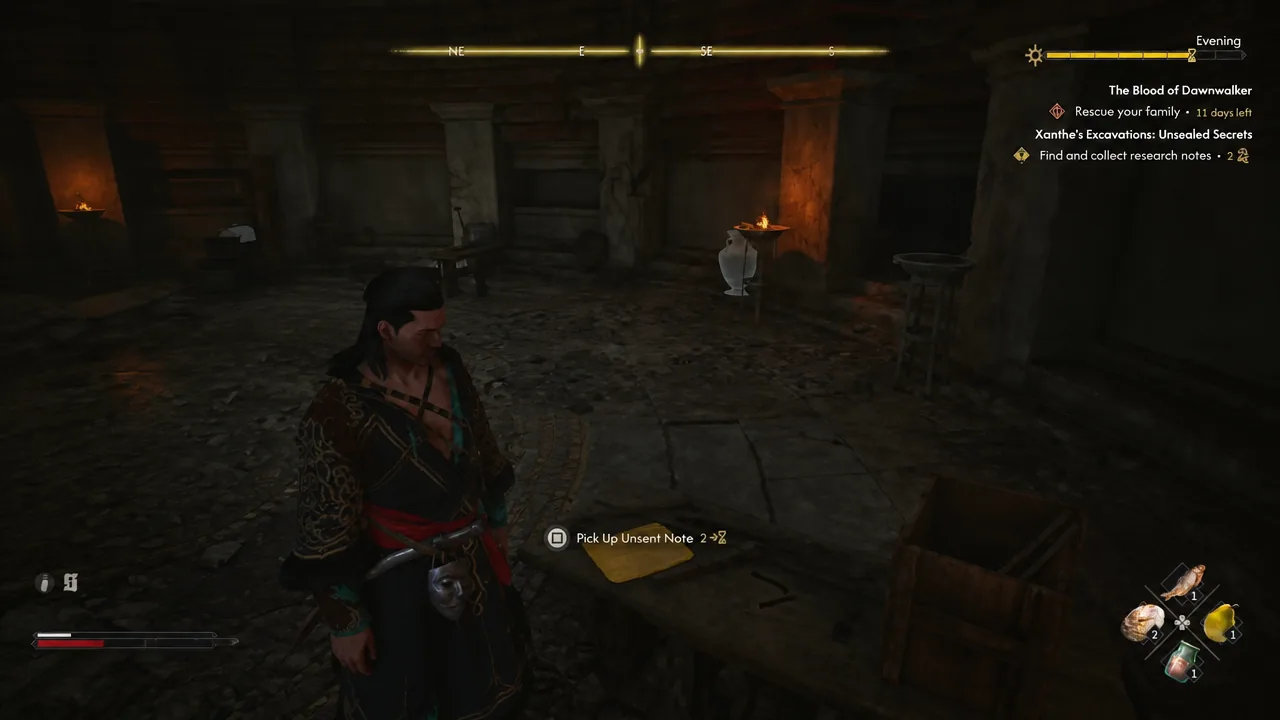
- You only picked up one of the two research notes in Unsealed Secrets. The second is inside the ruins, through the hillside gap, not in the camp.
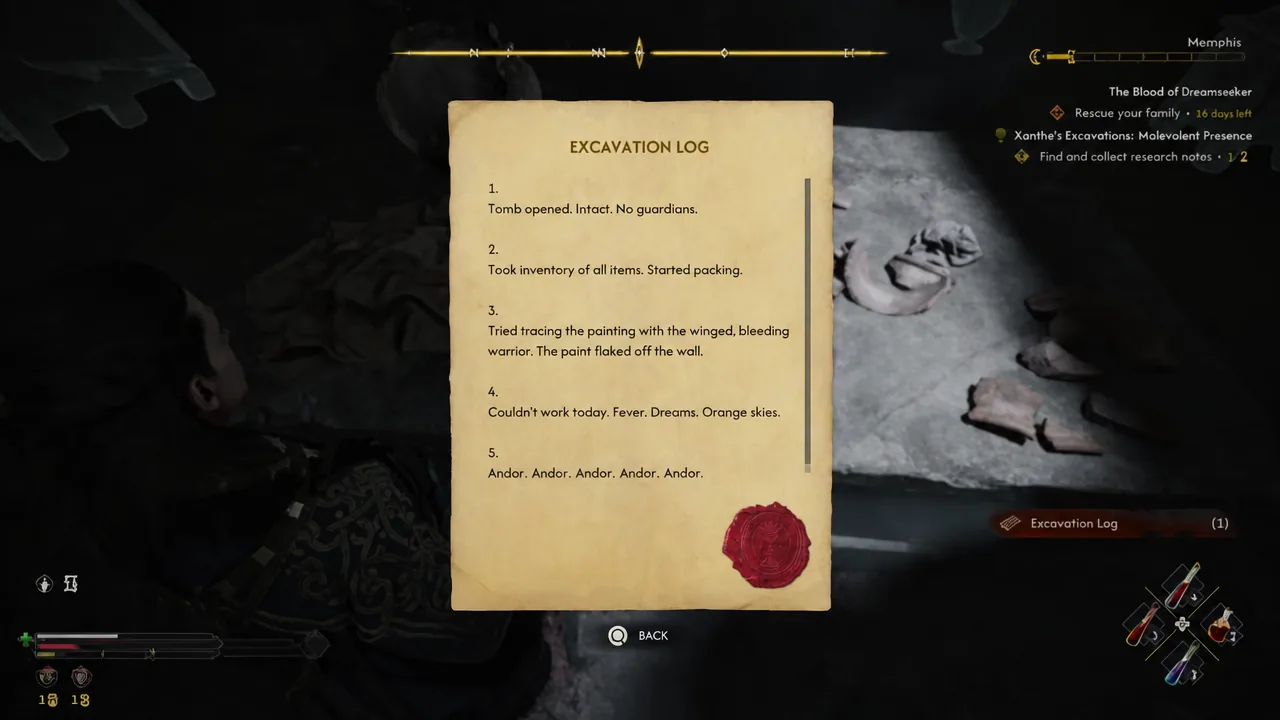
- You left the Malevolent Presence chamber without taking the Excavation Log off the central table.
- You killed Armaya but never looted her body, which is where the Swordman’s Amulet and her notebook sit.
The Ancient Footwear chest is separate from all of that. It has no effect on completion, so an excavation can read as finished while the boots are still sealed behind you.
Between them, the three digs cover a sword, an amulet, and a pair of legendary boots for nine time segments of work, which makes them some of the better value stops in Xanthe’s region. If you are chasing a full legendary set, the Ancient Footwear from the Bloodied Dagger chest is the piece you cannot pick up anywhere else.





