The Blood of Dawnwalker gives you 30 days to rescue Coen’s family, and time is a resource you spend rather than a clock that ticks in the background. Free-roaming, climbing scouting towers, and tagging shrines cost nothing, but quests, most fights that matter to a story beat, looting certain objects, and every skill unlock advance the Time Bar. Playing the opening hours in the right order lets you grab the strongest early unlocks, the legendary sword Durandal, and several combat manuals while spending the fewest possible time segments.
Quick answer: Clear every Laszlea day-time side quest before opening the gate in “Smoke and Ashes” (opening the gate forces time to night), pick the correct dialogue in “Withering Away” to spend only 1 segment, complete “Like Father, Like Son” for the Charge Manual, loot the Counterattack Manual outside the gate, buy Soul Reaping and the Bewitching Influence barter upgrade from Yera, unlock Mercurial Fervour and Shapeshift for travel, and beat Echo in The Cursed Chasm for Durandal. Never use a shrine’s “Wait” option to skip time manually.
How time is spent in The Blood of Dawnwalker
Each day and each night is split into 8 time segments, so a full day holds 16 segments and the whole 30-day campaign gives you 480 segments to spend before the endgame. Time does not pass while you walk, explore, or reveal the map. It moves only when you perform an action tied to progression.
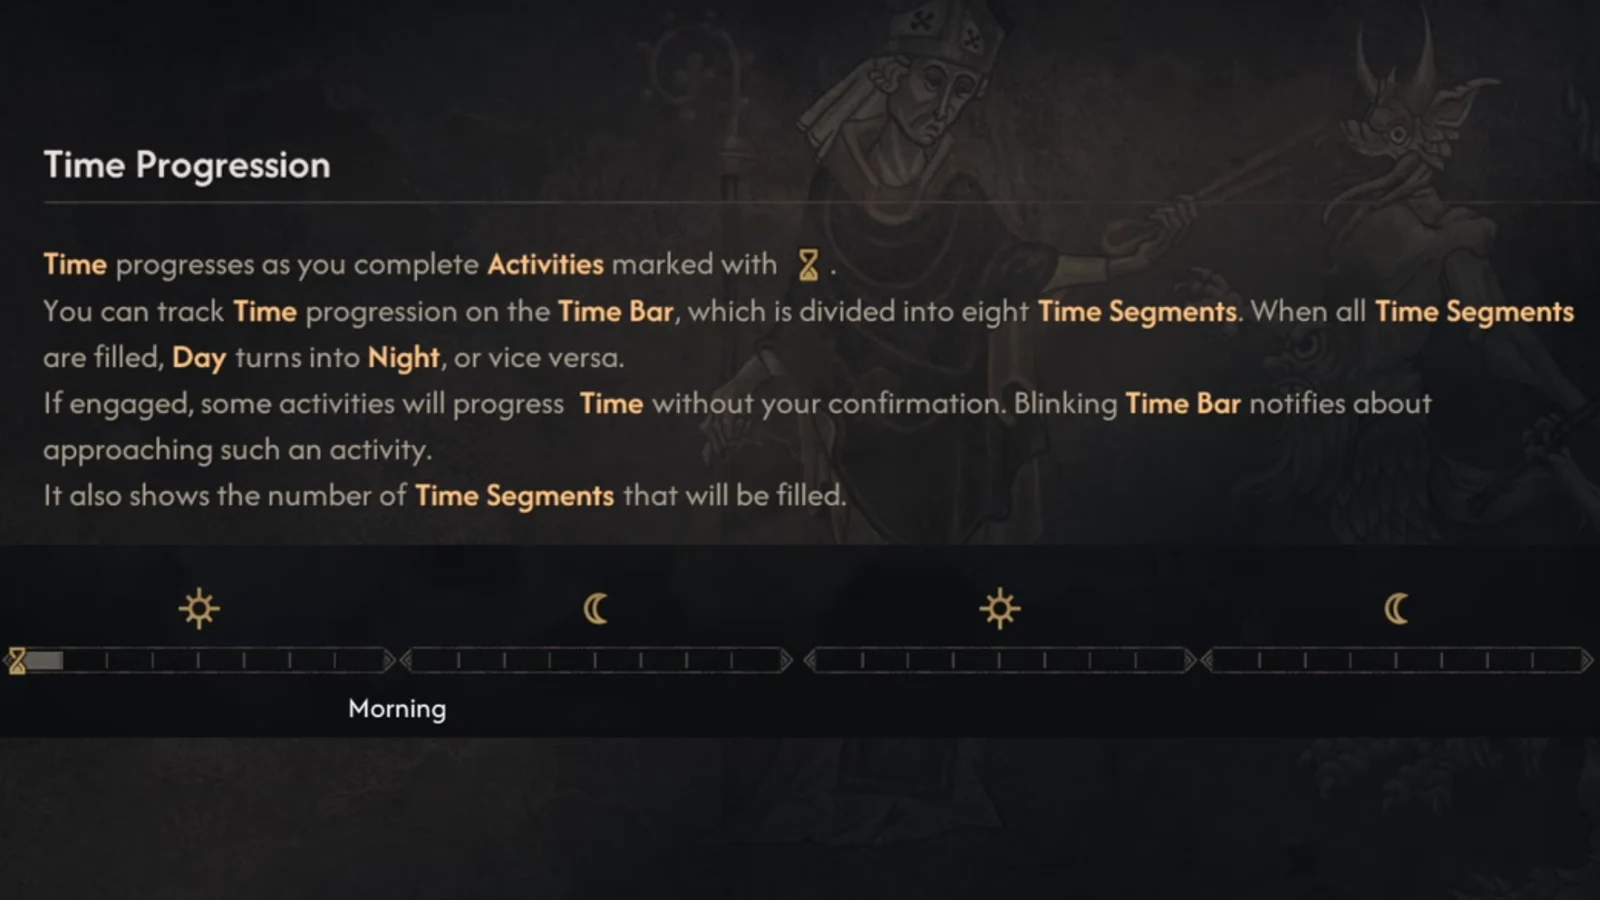
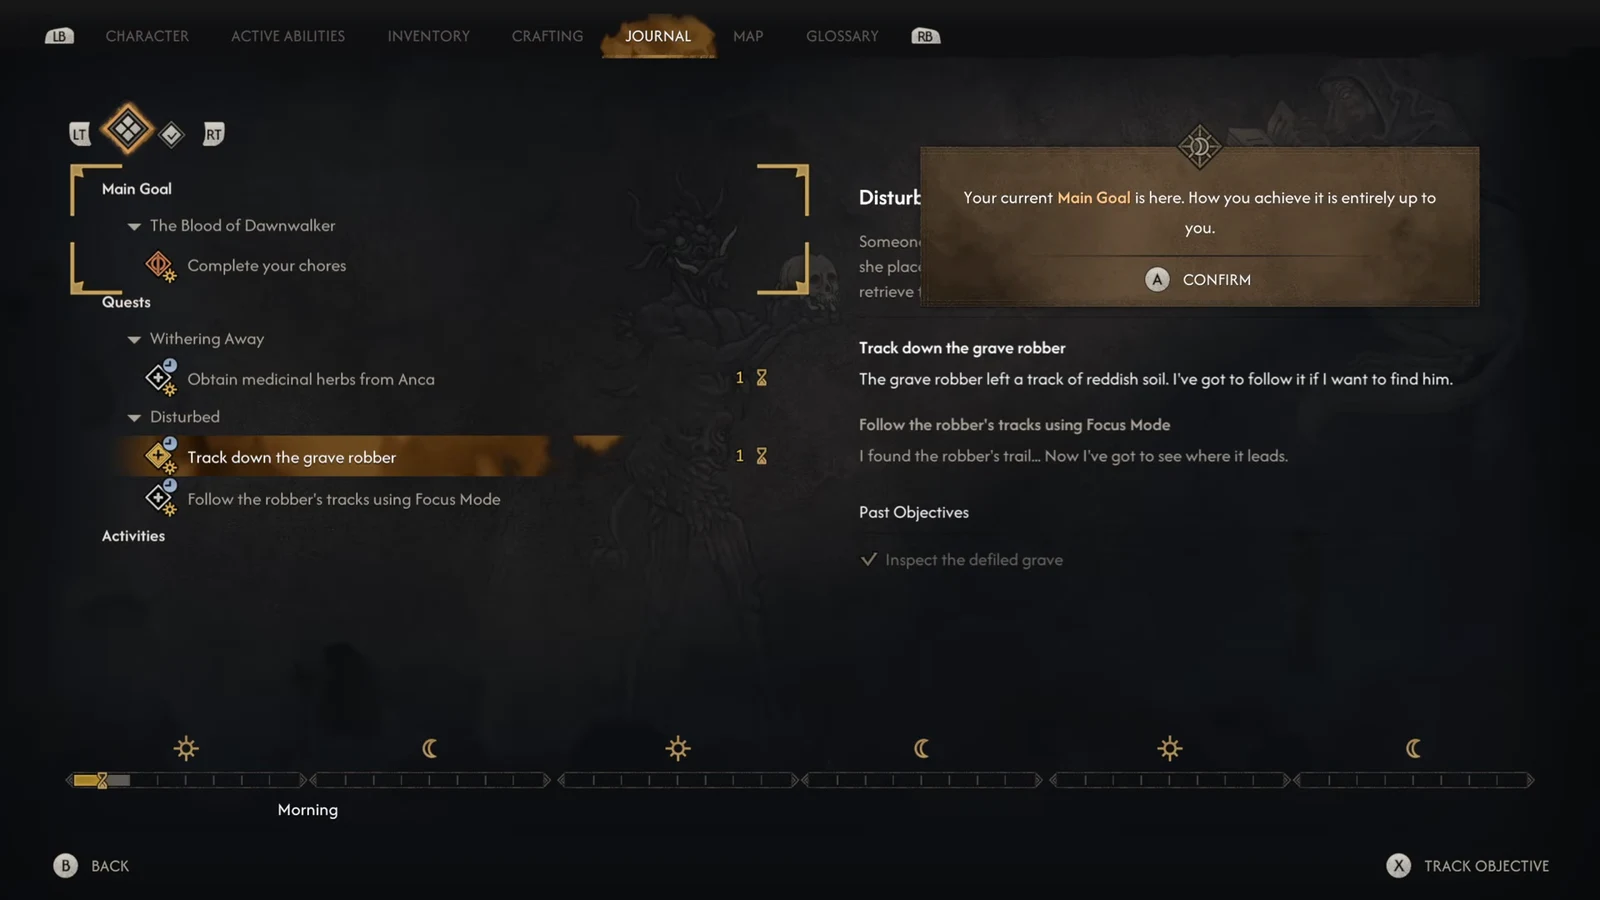
Before you commit to any action, look for the hourglass icon and the number beside it. That number is how many segments the action costs. The game also warns you right before time advances with a ticking sound and a greyed-out portion of the Time Bar in the top-right corner. Your journal lists the segment cost of a quest before you start it.
| Action | Costs time? |
|---|---|
| Exploring, free-roaming, walking | No |
| Climbing scouting towers, tagging shrines | No |
| Fighting enemies or looting chests during an activity | Usually no |
| Interacting with a quest object (e.g. a Sacred Stone glyph) | Yes |
| Completing quests and quest steps | Yes |
| Unlocking or upgrading most skills and perks | Yes |
| Using the “Wait” option at a shrine | Yes (avoid) |
Some quests carry a blue clock icon, which marks them as time-sensitive and forces you to finish them before the day ends or they fail. Others carry a sun or moon icon, meaning they can only be done during that phase.
Finish every Laszlea side quest before the gate
The Laszlea side quests are only available during the prologue day and vanish once night falls. Opening the gate in “Smoke and Ashes” automatically advances time to night, so treat the gate as a hard cutoff and clear everything around the village first.
Early manuals and gear worth grabbing
Swordmastery and Witchcraft perks require manuals scattered in the world, so collecting them early expands what you can build toward. Several strong pickups are clustered around the opening region.
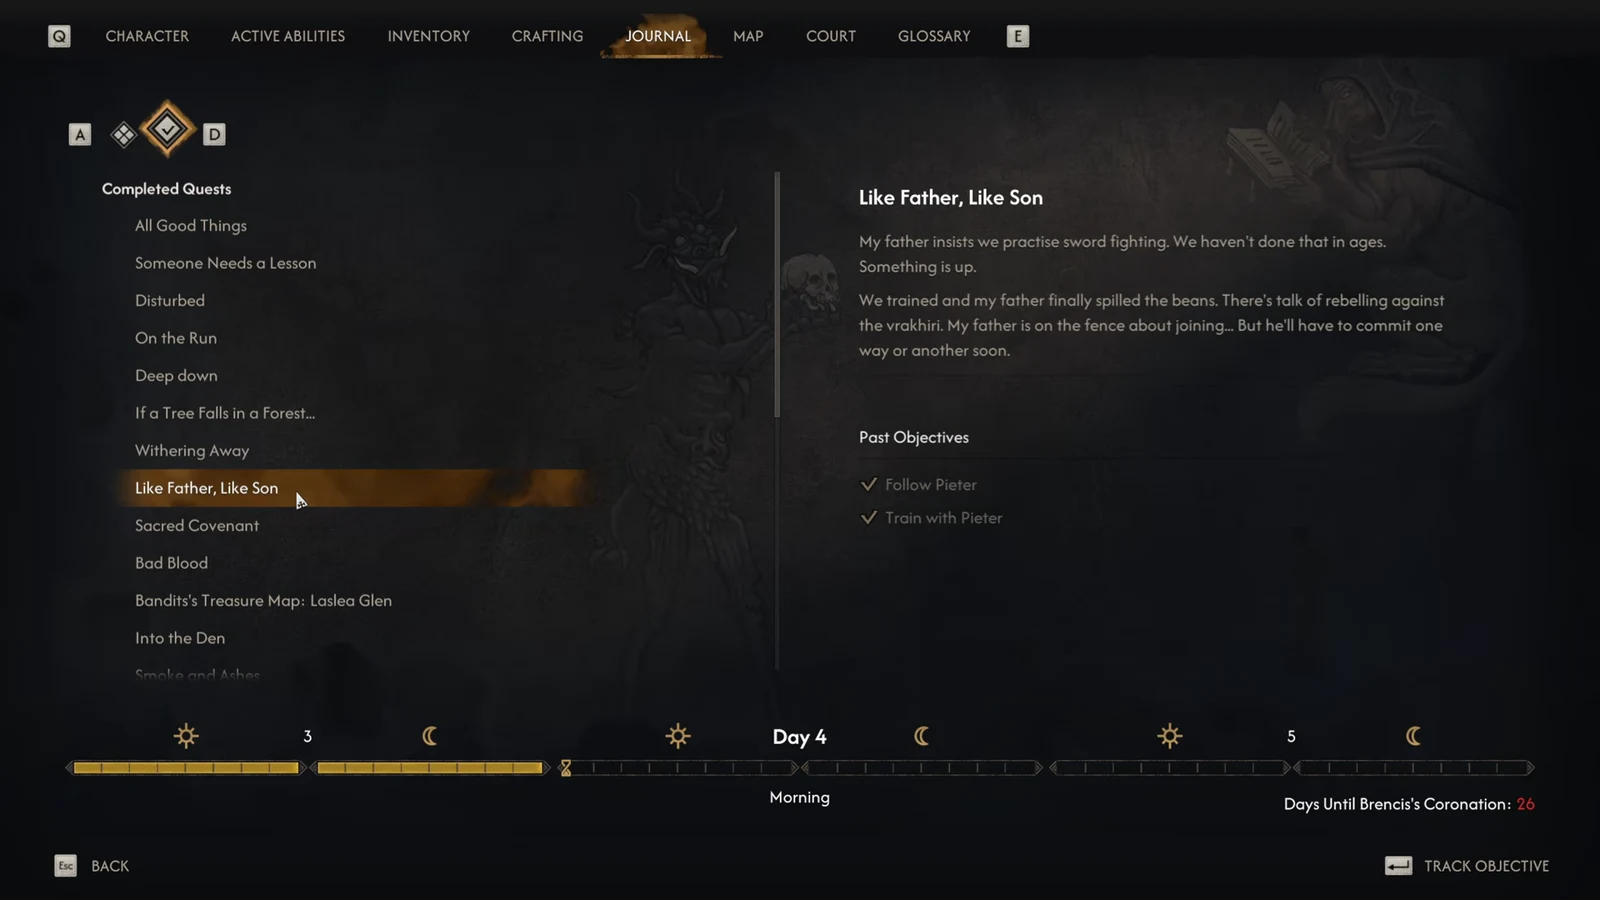
Pieter’s training quest, “Like Father, Like Son”, rewards the Charge Manual and unlocks a rare early-game skill. Complete it while you are still in the village phase.
| Item | Where to get it |
|---|---|
| Charge Manual | Reward for completing “Like Father, Like Son” (Pieter’s training) |
| Broad Swing Manual | Looted at the bandit camp |
| Polished Long Cleaver | Treasure from the bear cave map (“Into the Den”) |
| Artisan’s Tunic | Reward for clearing the eastern bear cave |
| Counterattack Manual | Chest in the soldier camp directly outside the Laszlea gate |
| Soul Reaping Manual | Purchased from witch vendor Yera during the day |
| Durandal (legendary sword) | Defeat Echo in The Cursed Chasm |
| Artery Strike, Lasting Malediction, Precision, Renewed Focus Manuals | Hidden in bookshelves during Anca’s library quest |
At the bear cave, the “Into the Den” quest rewards the Artisan’s Tunic and a treasure map that leads to the Polished Long Cleaver. The bandit camp holds the Broad Swing Manual. Clearing the soldier camp immediately outside the gate takes about 3 segments and gives you the Counterattack Manual, which feeds directly into the perfect-block and riposte perks.
Priority skill unlocks after the gate
Because unlocking skills costs time, spend those segments on perks that pay off across the whole run. A few unlocks stand out for combat survivability and for cutting travel time.
- Soul Reaping — a lifesteal spell bought from Yera; strong sustain for daytime fights when human hexes drain your own health.
- Bewitching Influence — upgrade the barter perk to lower merchant prices. Do this before your Infamy climbs, since Edicts at higher Infamy raise prices globally.
- Mercurial Fervour — grants Haste while running as a human; a single point noticeably speeds up exploration.
- Shapeshift — transforms Coen into a wolf at night for faster movement.
- Omniblock, Perfect Riposte, Counterattack — the defensive Swordmastery column that turns a perfect block into a boosted counter.
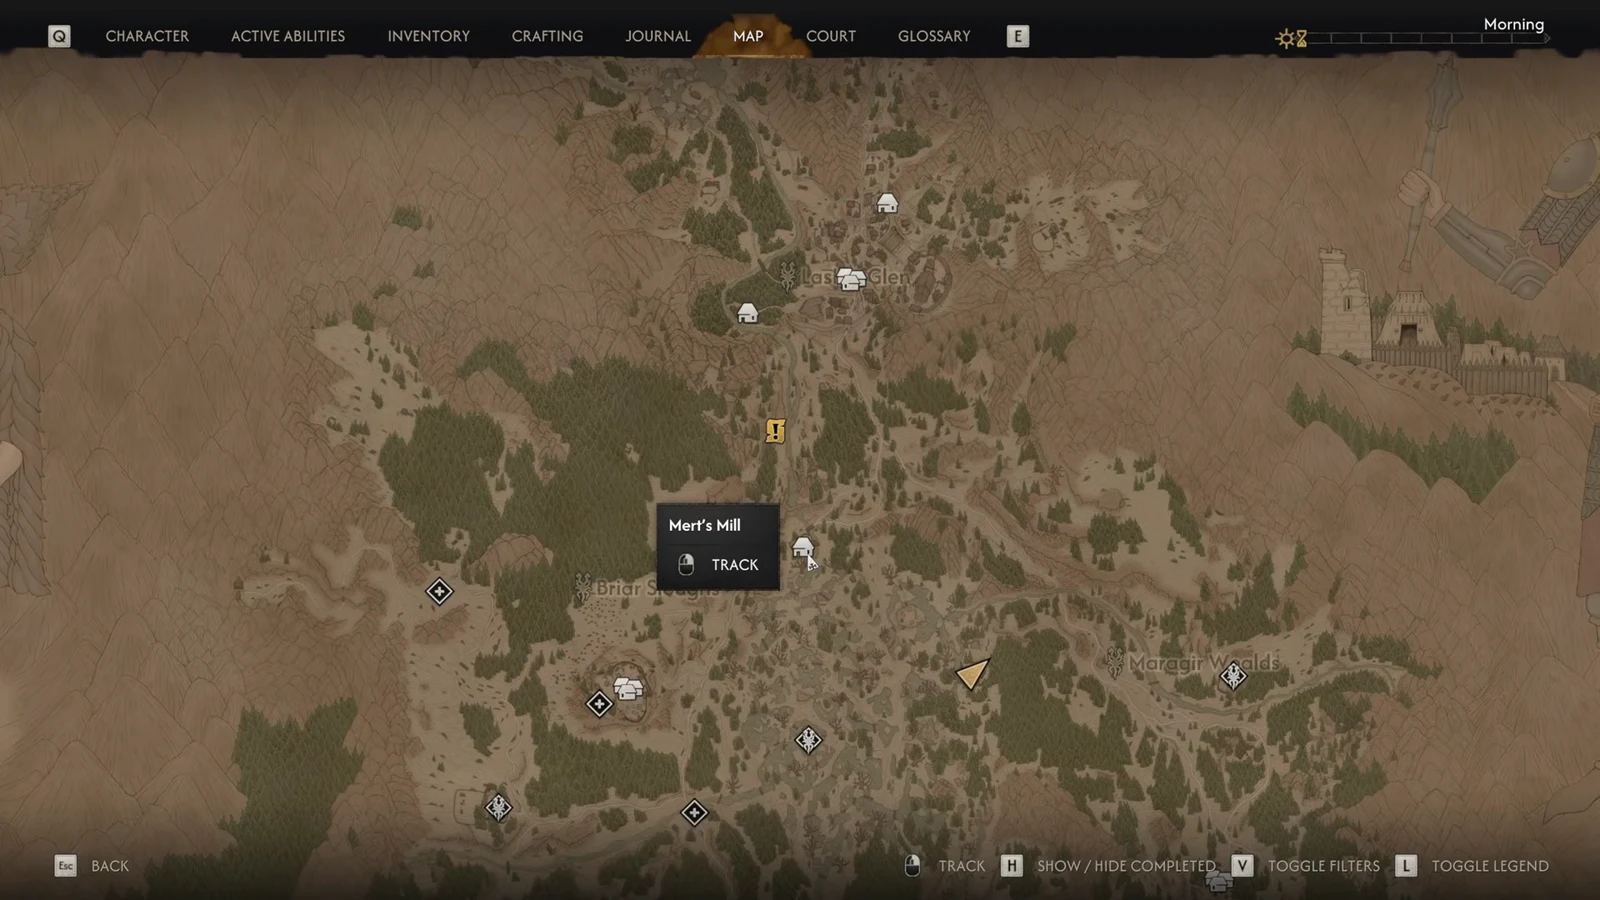
Gaining Infamy is not purely a downside. It raises the anger level of one of Brencis’s officers, which is how you open their boss quest. In Brencis’s Court, target lieutenant Ambrus first to raise his anger, then follow the Mert’s Mill questline toward Ambrus’s prison camp.
Get Durandal from The Cursed Chasm
Durandal is a level 15 legendary sword you can equip at level 11, which makes it a huge early power spike if you claim it ahead of schedule. It is found under the broken bridge in The Cursed Chasm, guarded by the enemy Echo.
How you know it worked: Defeating Echo drops Durandal into your inventory. Equip it once you hit level 11 to use it below its intended level requirement.
Anca’s library and the four hidden manuals
Anca’s questline sends you to the old inn and involves a puzzle-heavy sequence. Follow the “Meet with Anca at the old inn” objective through the dark forest during Moonrise to reach it.
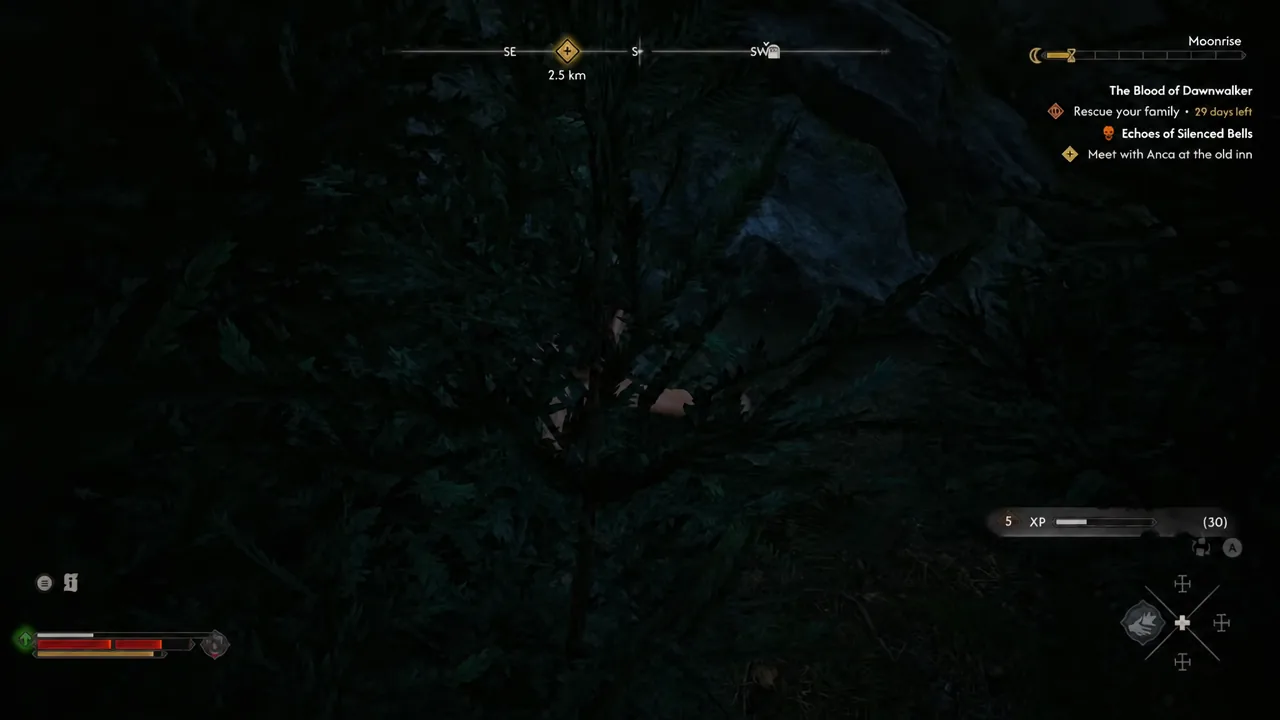
The library section hides four perk manuals inside bookshelves: the Artery Strike Manual, the Lasting Malediction Manual, the Precision Manual, and the Renewed Focus Manual. Search every bookshelf, because they are easy to miss and each one unlocks a perk you would otherwise have to skip.
Which map activities are worth the time
Not every activity is worth a time chunk, so spend segments on the ones that feed permanent progression. Ancient Circles and camps are the standouts, and Ancient Circles feed the Astral Communion perk, which grants a permanent damage boost that scales up to around 30% once you finish all Haunted Site and Ancient Circle activities.
The biggest single mistake is manually skipping time at a shrine. The “Wait” option burns segments you can never recover, so let time advance only through the quests and unlocks you actually want. If an NPC asks you to wait a day for the next step, fill those hours with a camp, an Ancient Circle, or a manual hunt instead of skipping.
Missing the 30-day deadline does not trigger a game over, but it drastically changes Coen’s ending. Treat every segment as currency, order the prologue so the day quests are done before the gate, and you head into the wider map of Vale Sangora with Durandal, a stack of manuals, and travel skills already in hand.