The clock in The Blood of Dawnwalker is not a countdown you can outrun. Coen has 30 days and 30 nights to grow strong enough to take down Brencis and pull his family out, and the only thing that moves that clock forward is you. Understanding which actions charge you time — and which are completely free — is the difference between reaching the final confrontation prepared and reaching it underleveled.
Quick answer: Time only advances when you commit to a quest step, an activity, a time-marked dialogue option, or most skill purchases. Walking, fighting, crafting, climbing towers and looting are free, so scout an area fully before you trigger anything, read the hourglass cost shown before you confirm, and spend ticks only on skills, gear and allies that improve your odds against Brencis.
Days, nights and ticks: how the timer is measured
Your remaining time sits in the top right of the screen as a segmented meter. Each day is split into eight ticks, and each night is split into eight more, which gives you 480 segments across the full 30-day run. The prologue hands you a single day to spend as you like before the main thread pulls you along through Sacred Covenant.
After that, running the meter to zero does not fail anything — day simply flips to night, and night flips back to day. Leftover cost rolls over. If one tick remains in the day and you take an action that costs three, the action finishes, night begins, and two ticks are already gone from the night’s budget.
What does not cost you any time
A surprising amount of the game is free. You can cross the entire map, clear out wolves, boars and soldiers, and pick every plant you see without moving the meter a single tick. That freedom is what makes scouting the strongest habit in the game.
| Action | Time cost |
|---|---|
| Exploring and travelling the map | None, as long as you avoid triggering quests and activities |
| Combat outside a quest or activity | None |
| Standing still or idling | None |
| Climbing towers to survey the area | None |
| Crafting potions and ointments | None |
| Searching bodies, picking plants, looting chests | None |
| Buying and selling with vendors | None |
Use that freedom deliberately. Walk into a new region, talk to everyone, read what each quest is asking for, and note where the rewards are before you commit to anything. Information gathering is the one thing you can do infinitely.
What spends time: quests, activities and dialogue choices
Almost anything that meaningfully advances a story thread costs time. The charge can land before the quest starts, partway through it, or right at the end, and a single quest can have several separate charges. Some of those charges are optional and appear as dialogue choices you can decline.
Costs are flagged with an hourglass icon in your journal, in dialogue options, and on items with a limited duration. For most activities you also get a warning before you commit — a ticking sound plays and the time bar fills with a grey segment showing exactly what the action will take.
| Example | How the cost lands |
|---|---|
| Withering Away | One tick to advance it, an optional mid-quest choice worth two more, and another tick to administer the herbs — 2 to 4 ticks total |
| Disturbed | Free to begin, one tick to push past the midpoint, then a closing dialogue option that can burn two more |
| Into the Den | Killing the bear is free; digging up the treasure it leads to is not |
| Bandit Camp in Laslea | One tick, charged when you confront the bandits |
The safe assumption is that any quest or activity will take time somewhere along the way, even if it starts free. You are warned immediately before each decision, but not always before you set out.
Open and inspect chests before you loot
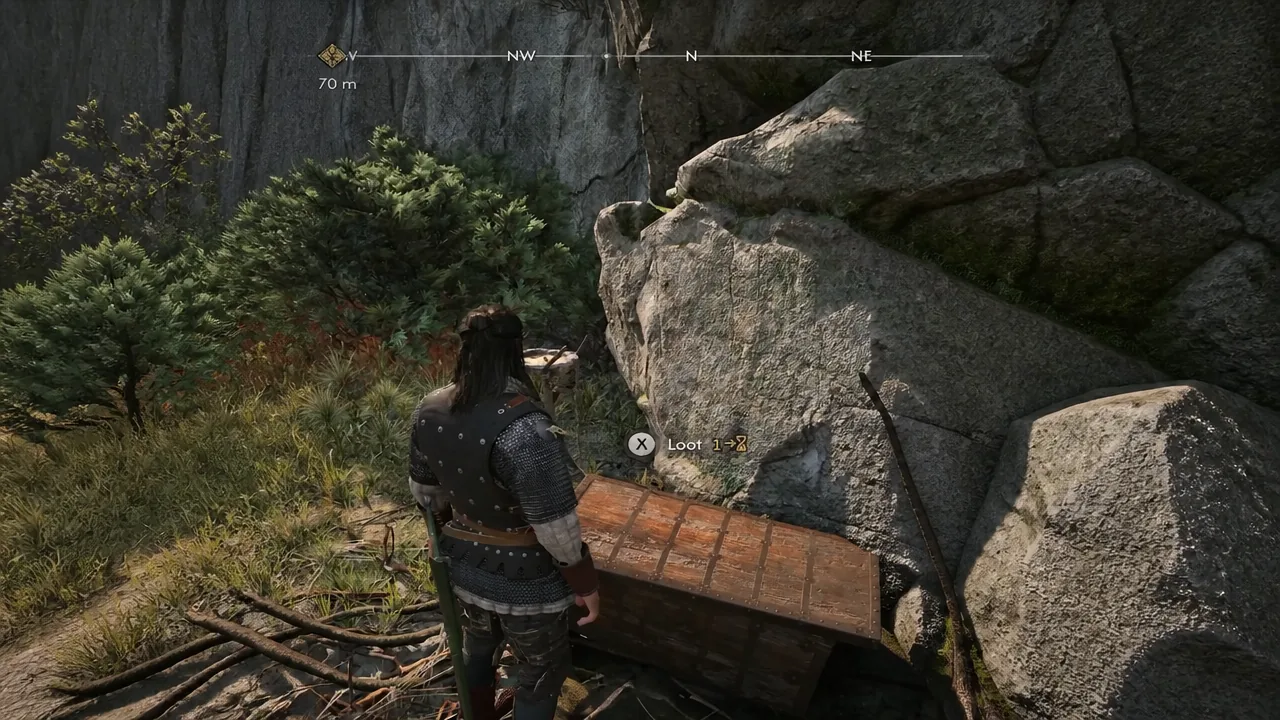
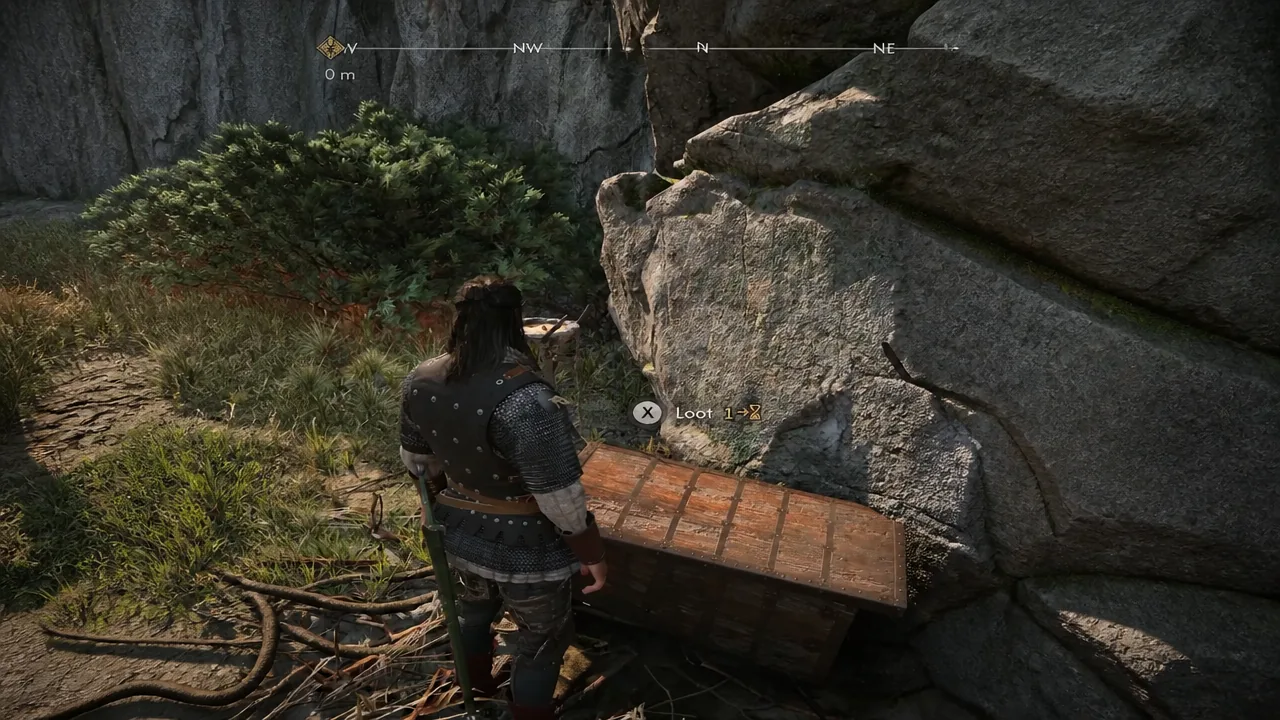
Chests are a free lookup. Opening one to see what is inside does not charge you, so there is never a reason to walk past a container because you are worried about the clock. Approach it, hit the loot prompt, and read the contents.
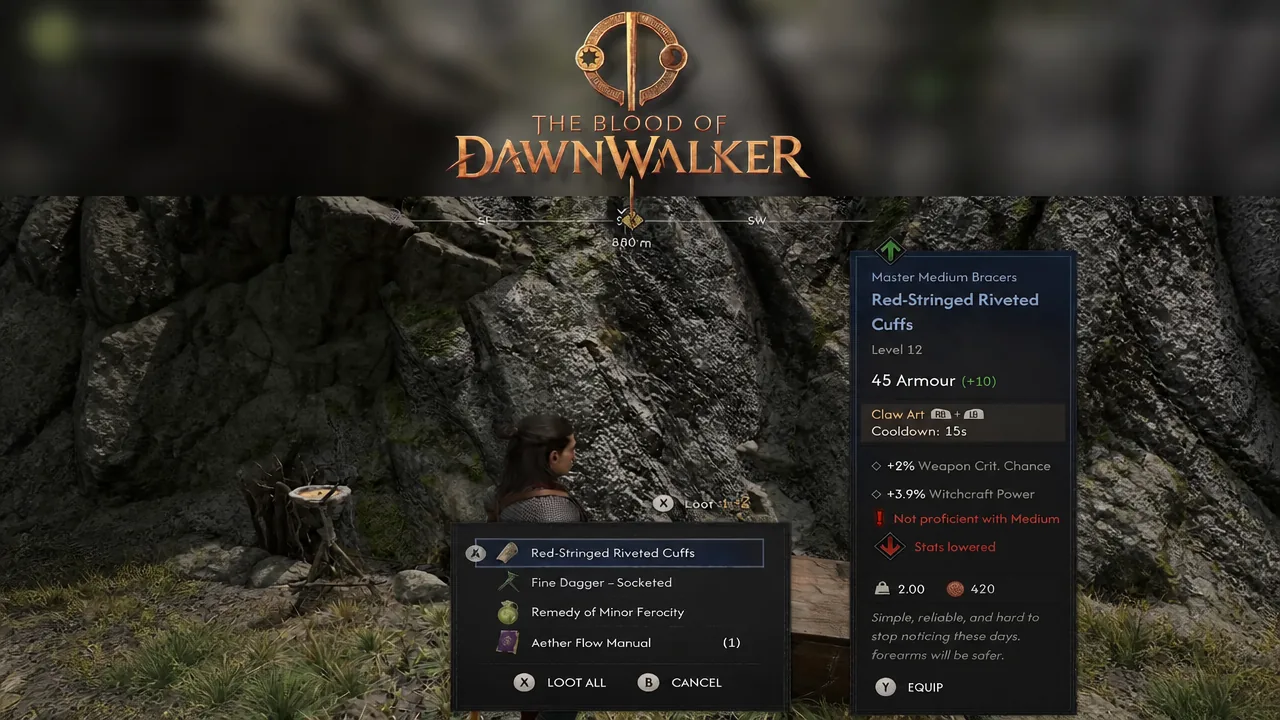
Inside the loot window you get the full item card — level requirement, armour value, weapon or claw art, cooldown and stat bonuses. A pair of Red-Stringed Riveted Cuffs at level 12 with 45 armour and a crit bonus tells you immediately whether the detour was worth making.
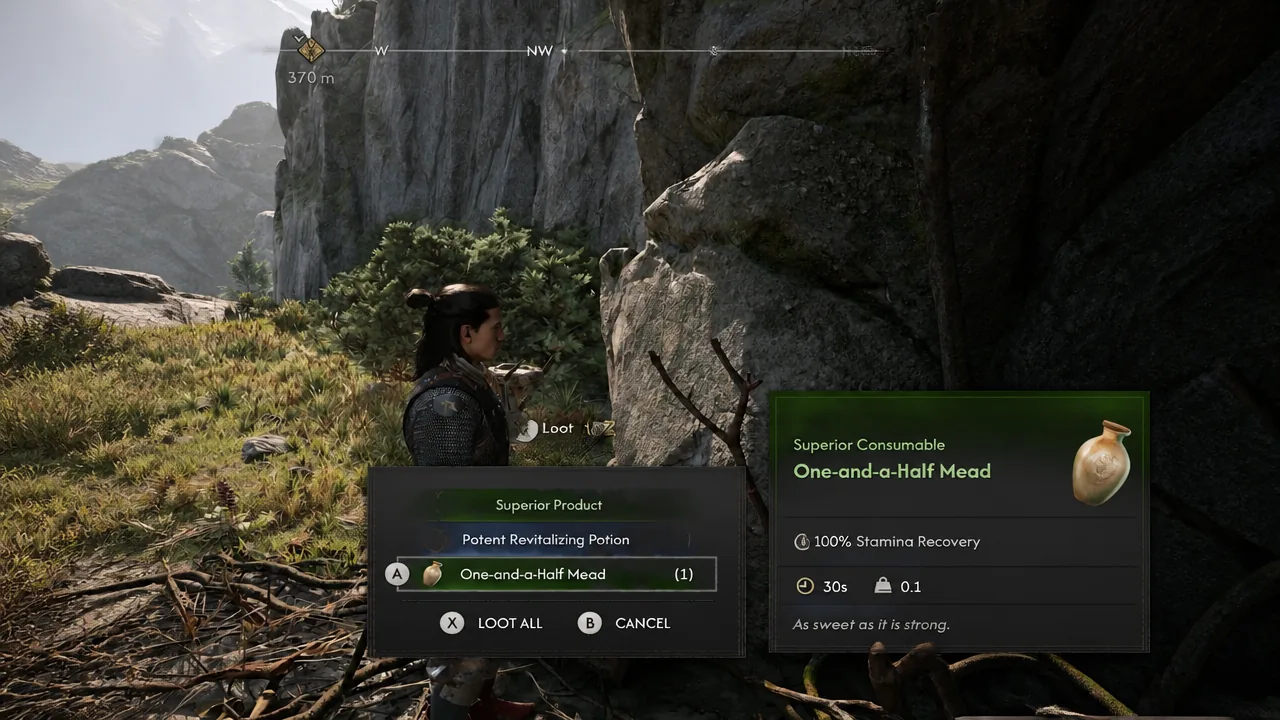
Consumables show the same detail. Highlighting One-and-a-Half Mead spells out its Superior Consumable stats, including a +30% stamina regeneration effect lasting 30 seconds, so you can judge whether it is worth an inventory slot before you take it.
If nothing appeals, back out with Cancel and leave the container alone. Building the habit of inspecting first and taking only what you need also keeps your inventory clean for the vendor runs that fund your gear.
Skill points carry a hidden time cost
This is the cost most players miss. Only a handful of skills are free — broadly the first few ranks on the top row of each tree. Everything deeper charges time when you buy it, and it adds up faster than any side quest.
| Investment | Time impact |
|---|---|
| Buying out the entire Swordmastery tree | Over 90 ticks, close to a full in-game week |
| Reaching a tree’s ultimate skills | Requires 35 points invested; the time bill lands somewhat below a full buyout |
| A realistic ~40-point investment in one tree | More than two full days and nights |
| Levelling across a whole playthrough | Commonly 5 to 7 in-game days |
Note: this is not an argument for hoarding points. If fights are going badly, spend them. It is an argument for budgeting — when you look at the map and count the quests you think you can fit in, subtract the days your build is going to eat first.
Use a quick save to test whether a quest pays off
When you cannot tell what a quest or activity gives you, buy the information with a save file instead of guessing.
One caveat before you lean on this too hard. Some allies only commit after you have done several things for them, so a first quest that looks like a poor trade can be the entry fee for something much larger later. Judge threads, not single quests.
Waiting at shrines: available, rarely worth it
Shrines let you skip ahead, choosing a target such as Afternoon or Wee Hours and burning up to 16 ticks in one go, with Wait and Cancel prompts before it takes effect. It exists for the rare moment when you need an event that only happens in the other half of the cycle.
Otherwise, avoid it. Pure waiting converts time into nothing. If you genuinely need the clock to move, spending those ticks on skill purchases at least leaves you stronger on the other side.
Where to spend your 30 days
You cannot finish everything, and the design assumes you will not. The filter that works is simple — does this leave Coen measurably better placed against Brencis when the timer runs out?
- Worth the ticks: skill points, new allies, threads that unlock further quests, and equipment with real long-term impact such as a legendary silver sword.
- Usually not: digging up buried treasure, errands with no tangible payout, and one-off rescues that hand over a single piece of rare gear.
- Free, so do it constantly: scouting regions, climbing towers, clearing enemies, gathering, crafting and trading.
- Don’t chase completion: maxing out every tree and clearing every activity is not required to finish the game, and attempting it is what leaves players short at the end.
The game will happily let you spend ticks on things that never pay you back, and some of those choices carry a moral weight the systems never reward. Turning down the grieving mother or the missing-children hunt is a real decision the design puts in front of you, not an oversight.
Play it as a budget rather than a checklist and the pressure eases considerably. Scout everything for free, read the hourglass before every commitment, keep a quick save handy for anything ambiguous, and reserve your ticks for power, allies and the main thread. Do that, and 30 days is enough to arrive at Brencis ready to fight him.