

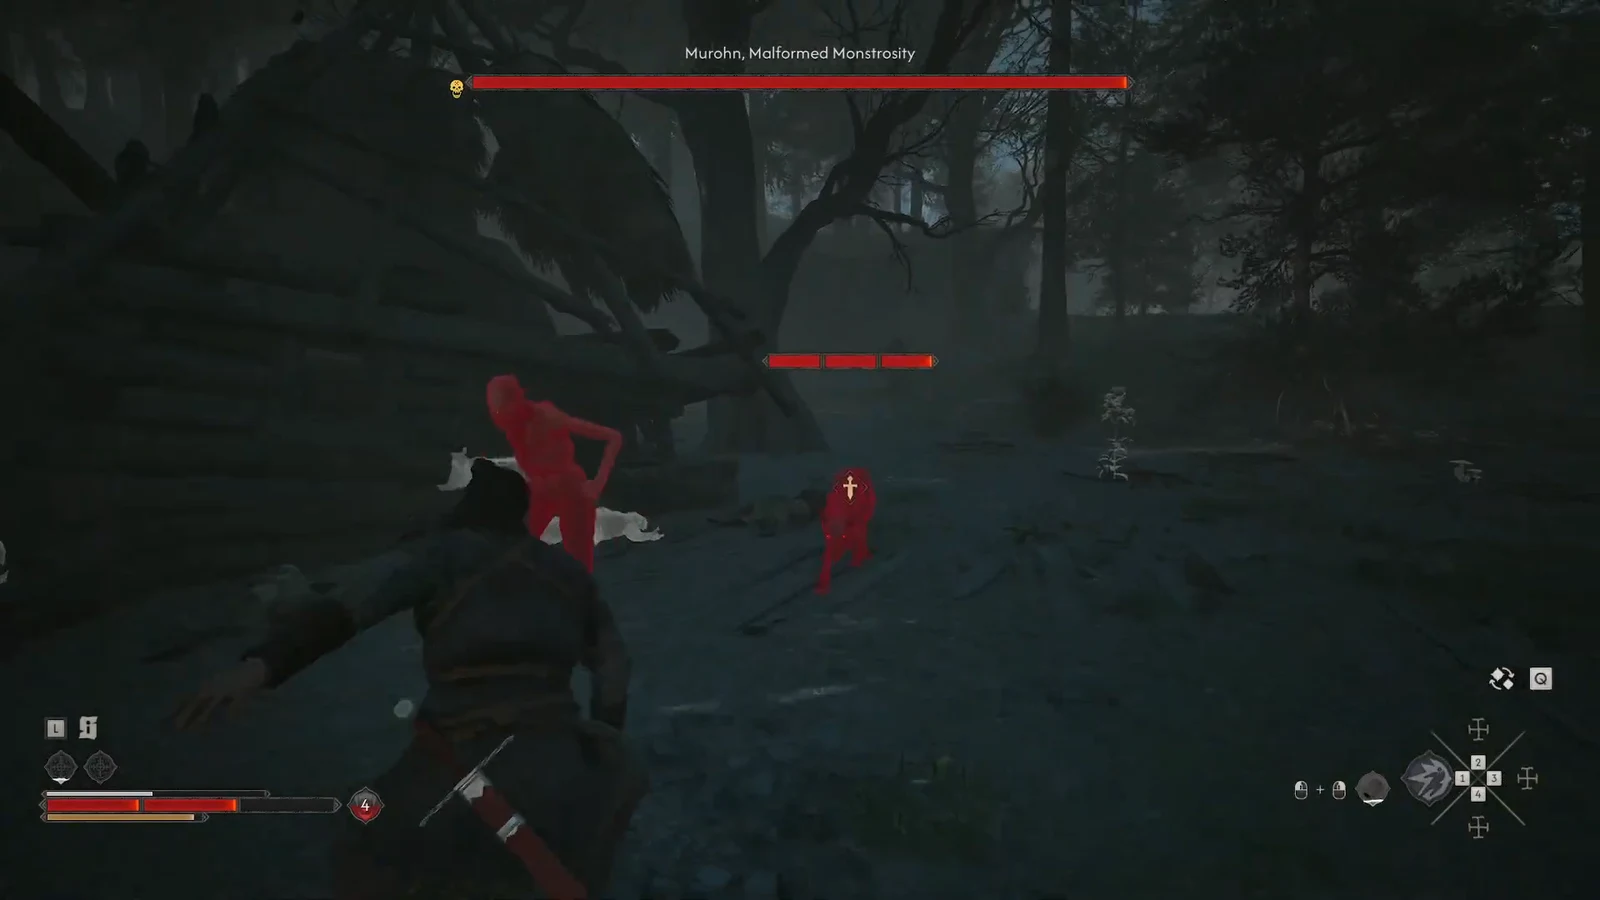
Murohn, Malformed Monstrosity is one of the optional lair bosses scattered across Vale Sangora in The Blood of Dawnwalker, and it is a common source of confusion because the cave can look completely empty. That is by design. Murohn’s Lair is a night-locked encounter, so arriving in daylight gets you an abandoned hut and nothing to fight.
Quick answer: Rest at the nearest shrine and advance time to Moonrise, then return to Murohn’s Lair. The boss health bar for Murohn, Malformed Monstrosity appears the moment it spawns, and killing it drops Murohn’s Blood.
Murohn’s Lair location and the night-only requirement
Monster Lairs are marked on the map with a white cave icon, and there are 32 of them in total. Several carry the Murohn’s Lair name, so more than one exists in the world. The forest lairs are usually the first ones players run into, and the map entry describes the site plainly: “A deadly beast lives here.”
Most lairs can be cleared at any hour. A handful are locked to a specific half of the cycle, and the map tells you which by placing a small sun or moon icon next to the cave marker. A moon icon means the boss only exists during the night. One Murohn is found inside a ruined hut northeast of the Briar Sloughs Crossing shrine.
If lairs are not showing up on your map at all, climb Towers. There are 11 of them, and clearing all 11 reveals the full set of cave markers.
How to skip to Moonrise and spawn the boss
Time in The Blood of Dawnwalker does not tick forward on its own. It moves when you take significant actions, with eight segments making up the day and another eight the night. That means you cannot stand outside the cave and wait it out, so you need a shrine to push the clock.
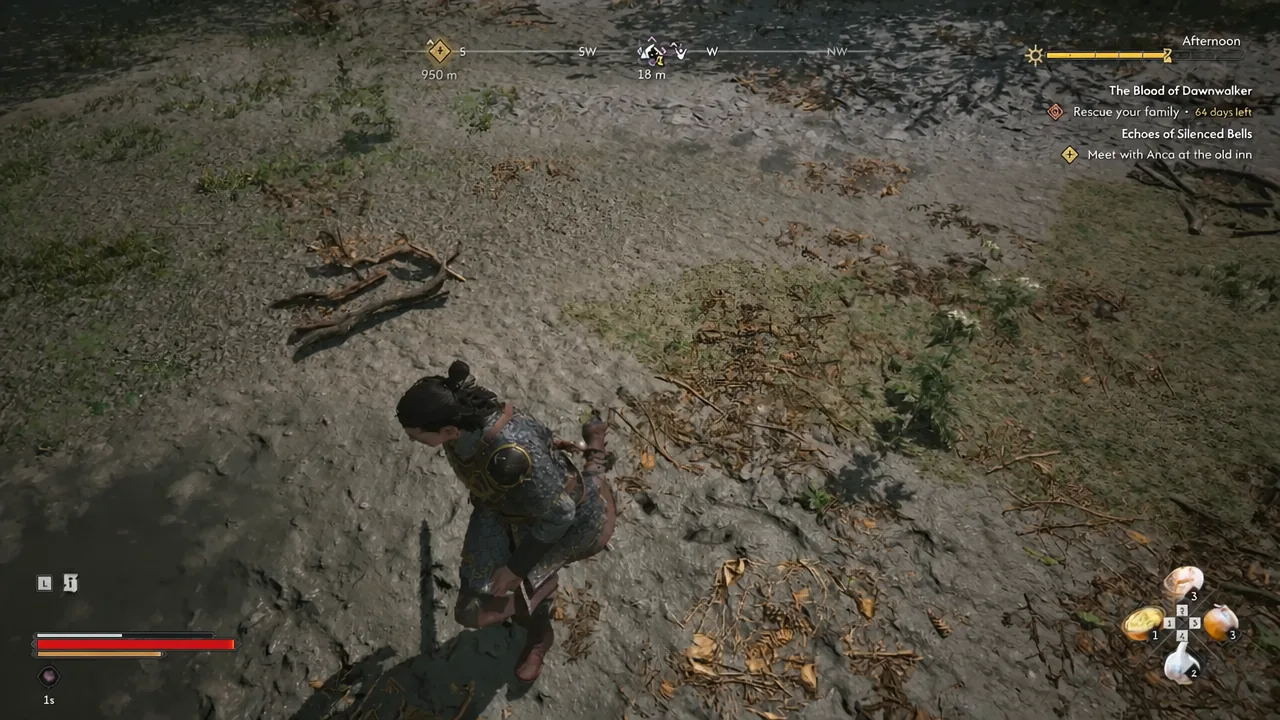
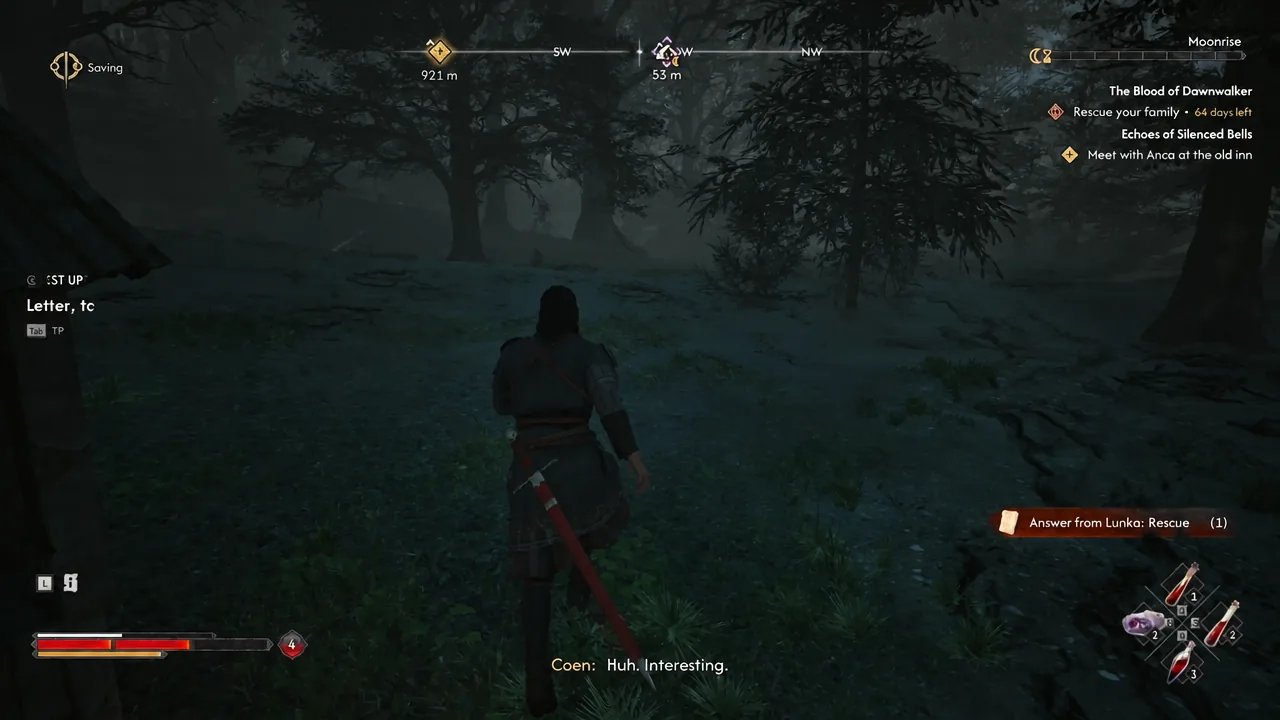
Note: night is also when Coen loses access to ordinary food and medicine. Blood is your only healing during those hours, so top up before the fight rather than expecting to eat your way through it.
Murohn attack patterns and how to counter them
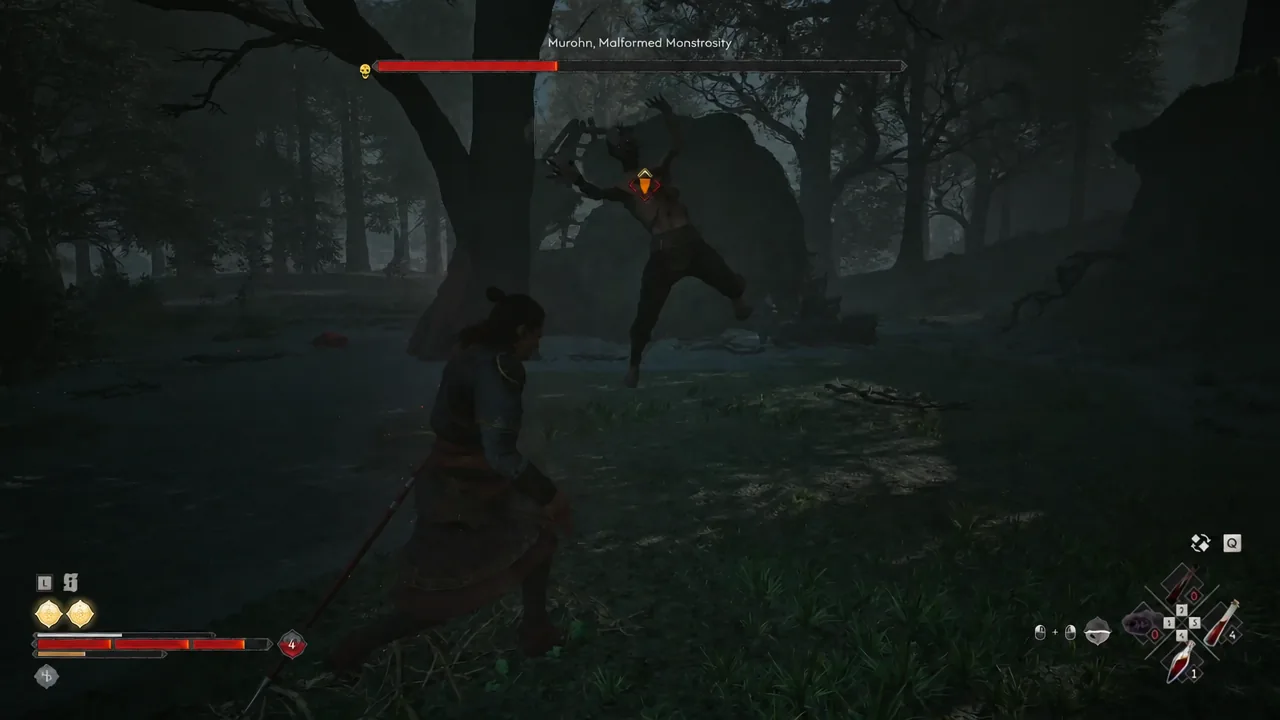
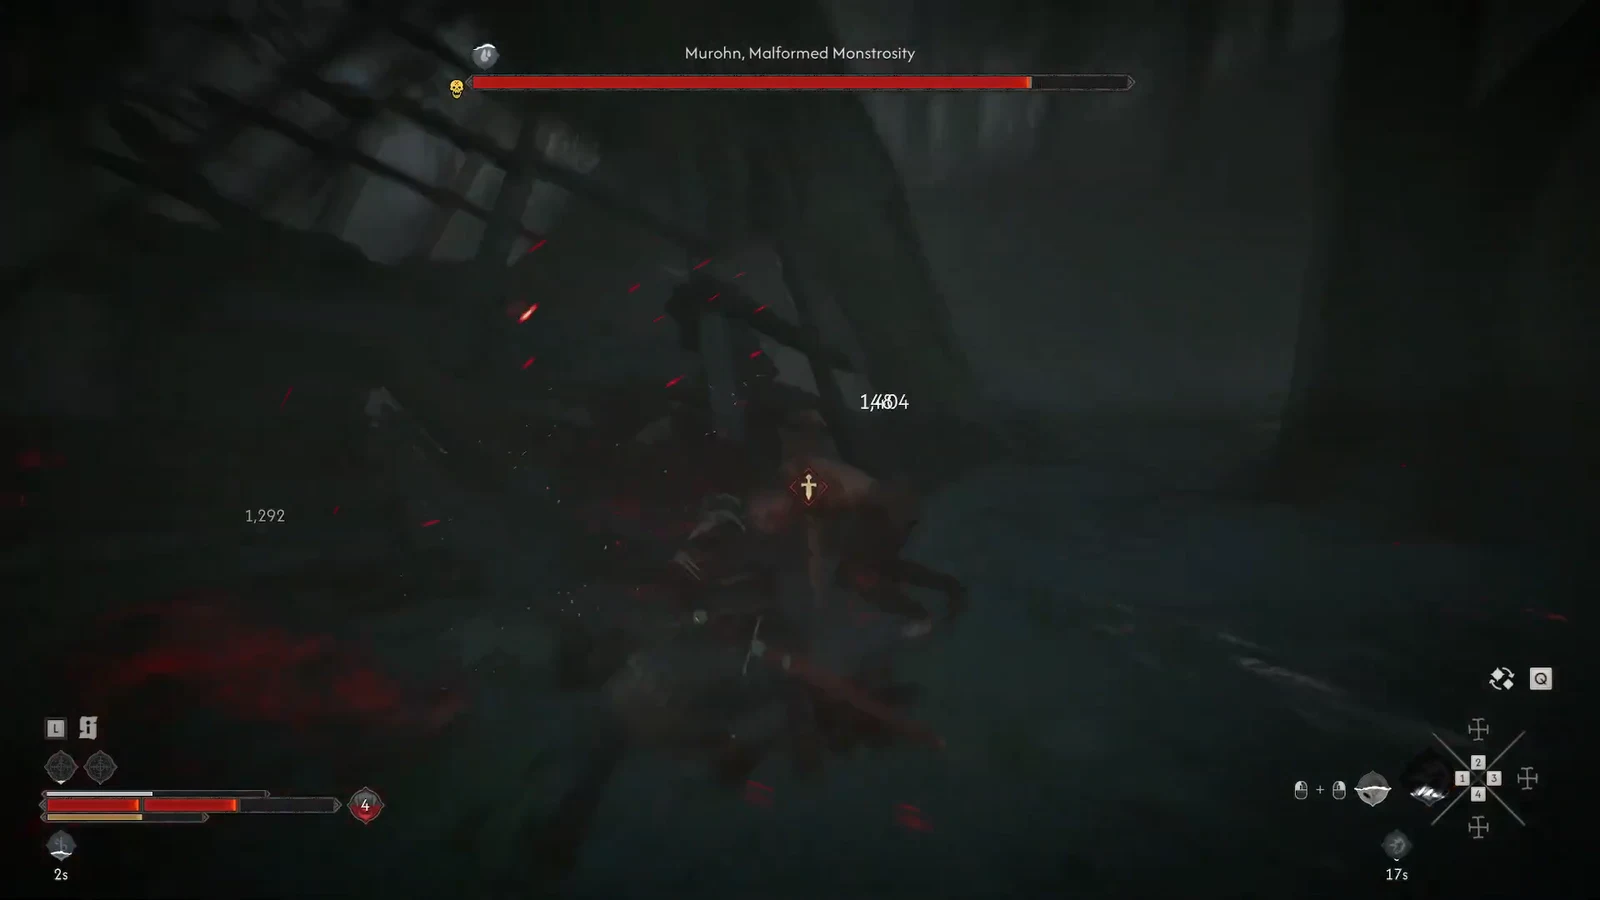
Murohn are failed vampire transformations, created when a Vrakhir’s fang lands somewhere other than the heart. That translates into a fast, twitchy fighter that leans entirely on claw swipes. It strings attacks together in flurries, and it dodges when you press too hard, then punishes the opening you just left.
Fight it defensively. Combat is directional, so every block and dodge has to match the angle the incoming attack comes from. Baiting the dodge-and-retaliate loop is the cleanest way to make its timing readable: throw a single strike, back off, and answer the counter.
| Attack | What it looks like | Counter |
|---|---|---|
| Leaping Slash | Closes the gap with a jump, finishing with a left claw swipe | Dodge away, or parry it for a retaliation window |
| Overhead Claw Slash | Raises both claws above its head, then brings them down | Unblockable. Strafe sideways or step out of range |
| Upward Claw Slash | Fast rising swipe with the left claw | Dodge away rather than attempting a parry |
If the directional inputs are getting away from you, a non-directional block always works and is guaranteed to hold, but it burns noticeably more stamina. There are also accessibility options that let incorrect directional inputs register with a stamina penalty, and that open your full consumable inventory mid-fight instead of limiting you to quick slots.
Murohn’s Lair rewards and loot
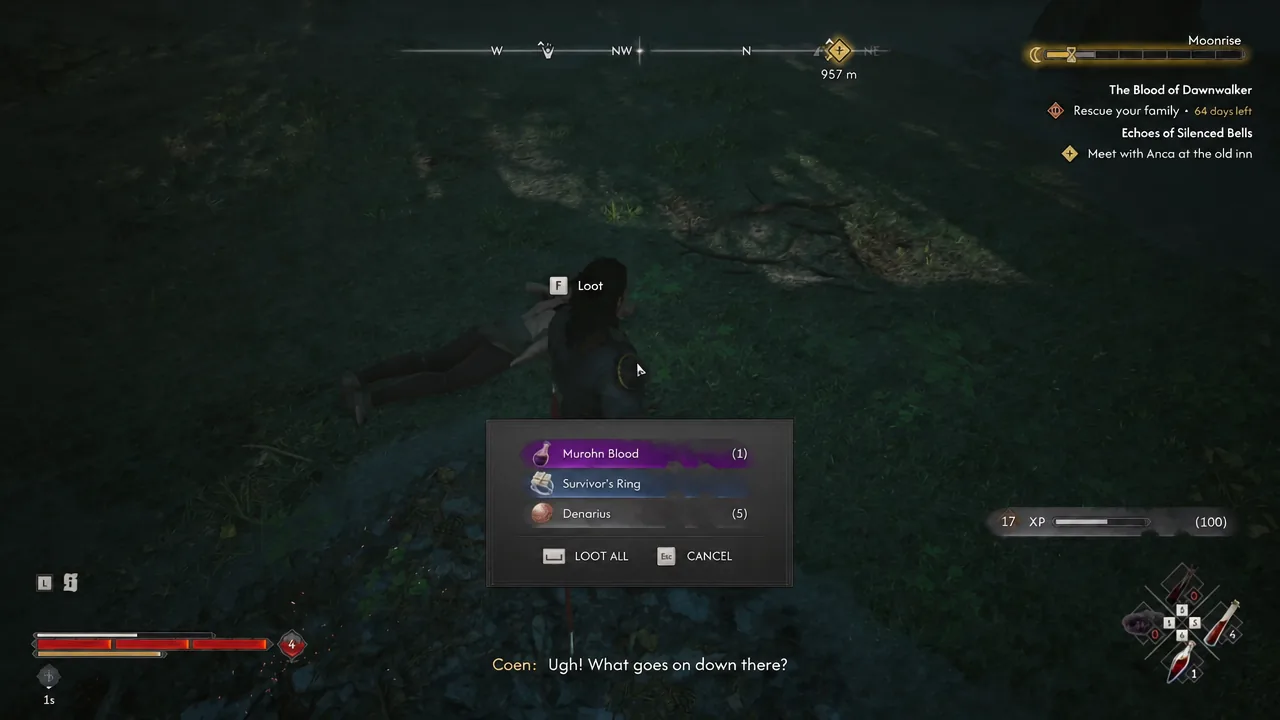
Clearing the lair pays out XP and a Skill Point, and contributes toward your Level. The headline drop is Murohn’s Blood, a consumable that restores 100% of a Vampiric Health Segment, which makes it worth saving for a night-time fight rather than burning on the walk home.
The rest of the haul depends on which Murohn’s Lair you cleared. Sweep the interior after the kill instead of fast travelling out, since containers and bodies around the hut hold the extras.
| Item | Notes |
|---|---|
| Murohn’s Blood | Restores 100% of a Vampiric Health Segment |
| Hunter’s Journal | Readable found in the lair |
| Blacksmith’s Bracers | Armour piece |
| Survivor’s Ring | Accessory |
| Human Slayer’s Pendant | Accessory |
| Second Letter from Rozalia | Readable |
| Minor Powder of Sharp Mind | Consumable |
| Golden Tableware | Valuable |
| Denarius | Currency |
| Rags | Junk or crafting material |
Why Murohn is not spawning
There are only a few reasons the fight fails to start, and all of them are easy to check before you make another trip.
- It is still daytime. The moon icon beside the cave marker means the boss simply does not exist until Moonrise.
- You waited instead of resting. Time only moves on meaningful actions, so the clock will not roll over on its own.
- The lair is not on your map yet. Climbing all 11 Towers reveals the cave icons across the world.
- You already cleared this particular lair. Multiple sites share the Murohn’s Lair name, so check the marker you are standing on.
Lairs also scale with the region, and the ones further south belong to higher-level areas. If Murohn is shredding you in three swipes, that is usually a signal to clear closer lairs first and come back with a few more Skill Points behind you.





