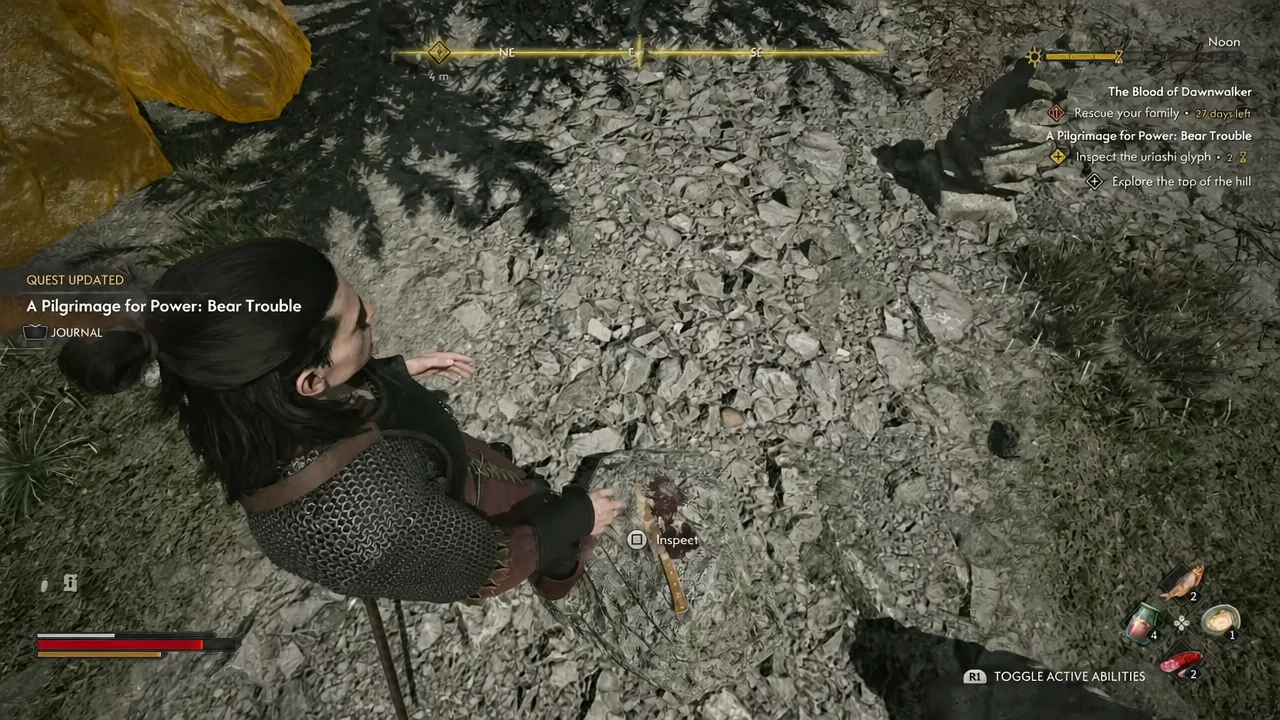
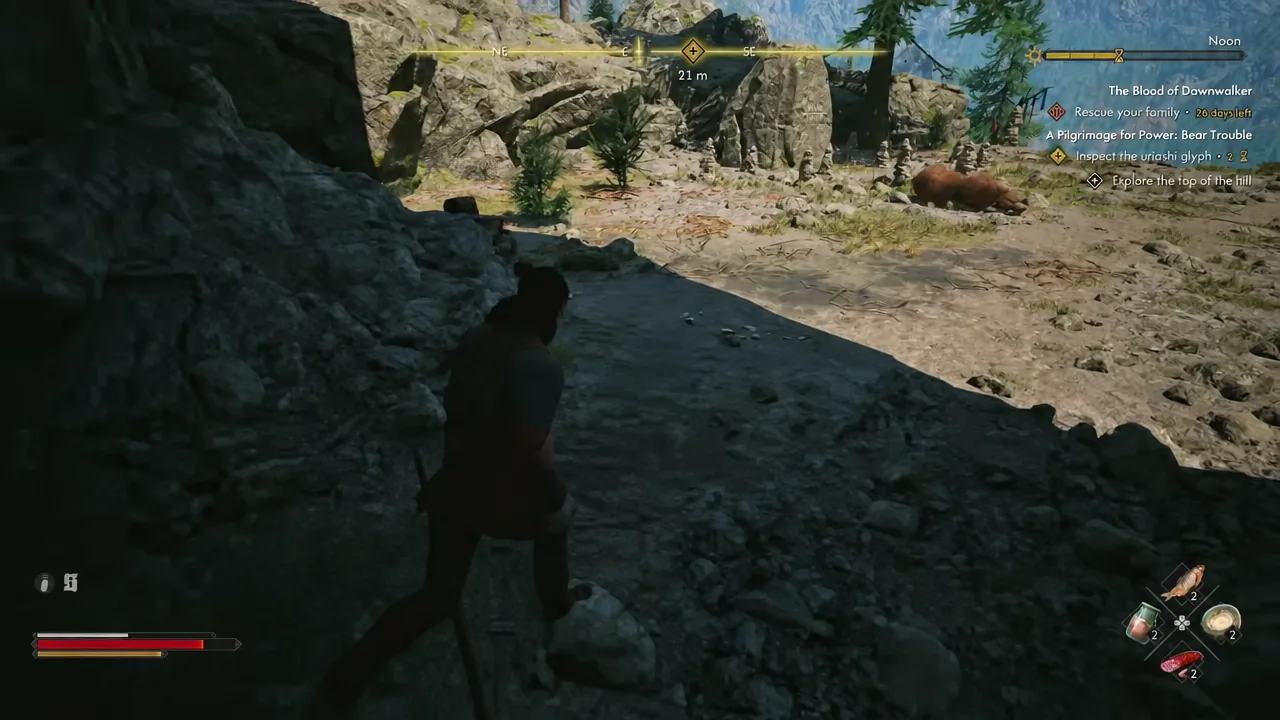
The hilltop leg of “A Pilgrimage for Power: Bear Trouble” is an investigation stop rather than a fight. Coen arrives at a rise scattered with stone cairns, a dead bear, a cave mouth, and the remains of a pilgrim who did not survive the trip. Nothing on the hill is hidden behind a skill check, but the objective only clears once every clue has been examined.
Quick answer: Inspect the bloody knife, the mutilated corpse inside the cave, the uriash glyph on the large stone, and both stone cairns. The corpse gives the Quickcast Amulet, copying the glyph gives the Ravenous Flock Manual, and the quest ends with “Find all the sacred stones” as the new objective.
Every inspection point on the hilltop
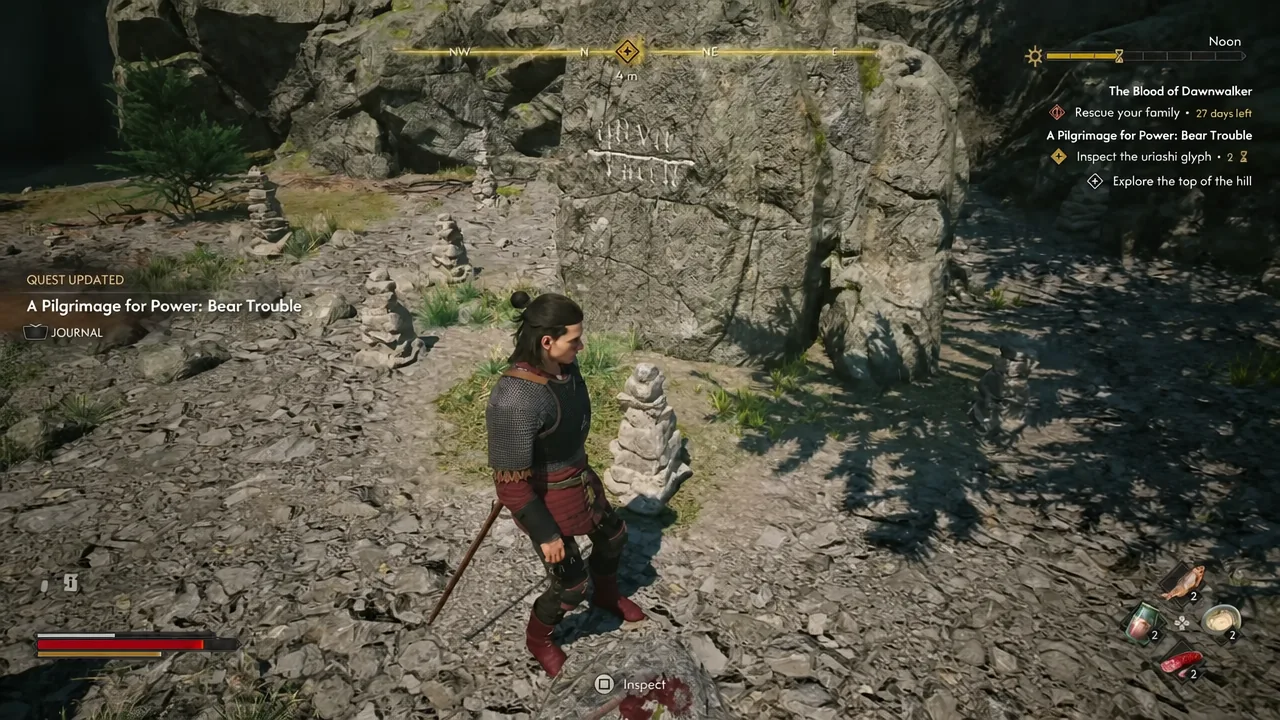
Four interactive points sit within a short walk of each other. The knife and the cairns are out in the open near the summit, the body is a few steps inside the cave, and the glyph is carved on the large standing stone. The quest tracker keeps “Explore the top of the hill” listed until they have all been checked, and adds “Inspect the uriash glyph” as a separate line once the stone is found.
| Inspection point | What Coen finds |
|---|---|
| Bloody knife | A well-kept blade covered in engravings Coen cannot read |
| Corpse in the cave | Fresh forearm wound, torn stomach, deep facial gashes, a bead necklace |
| Large stone | A uriash glyph patterned like the hexes Anca demonstrated |
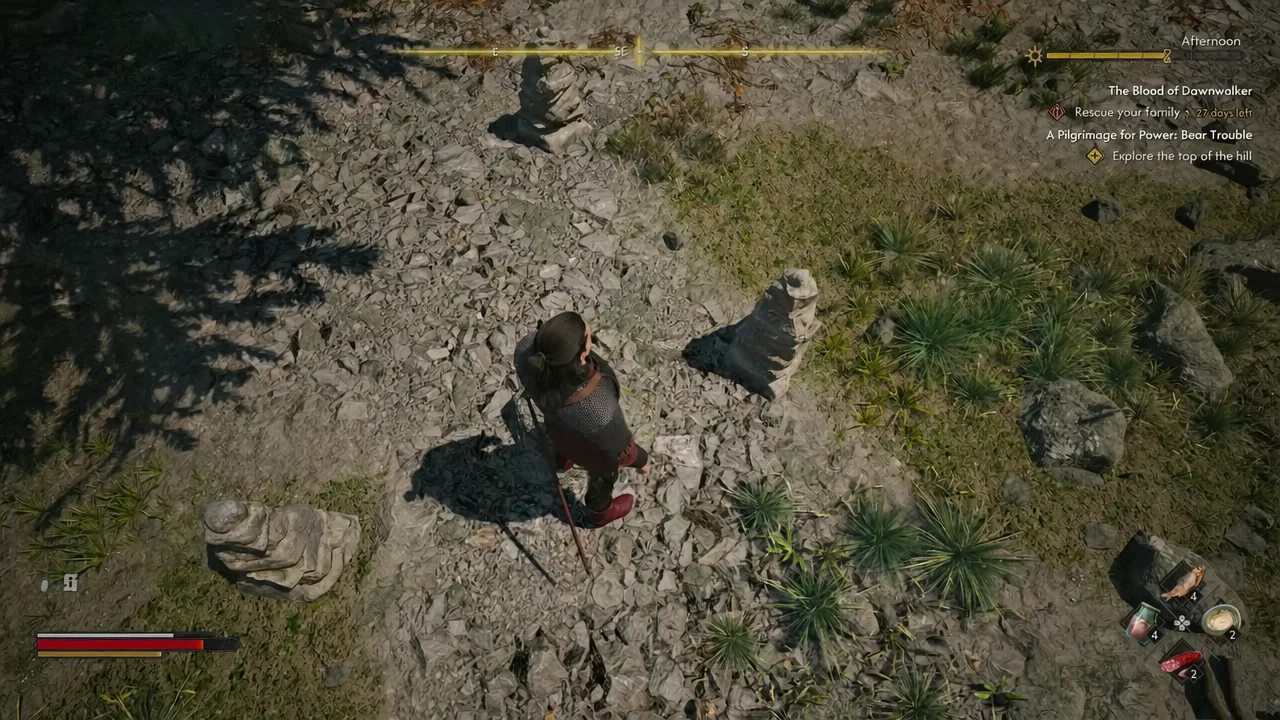
| Stone cairns (two) | Days-old dried blood, linking the knife to the marks carved on the dead man’s arm |
Order to work through the hilltop clues
Rewards from the Bear Trouble hilltop
| Reward | How it is obtained |
|---|---|
| Quickcast Amulet | Taking the bead necklace from the corpse in the cave |
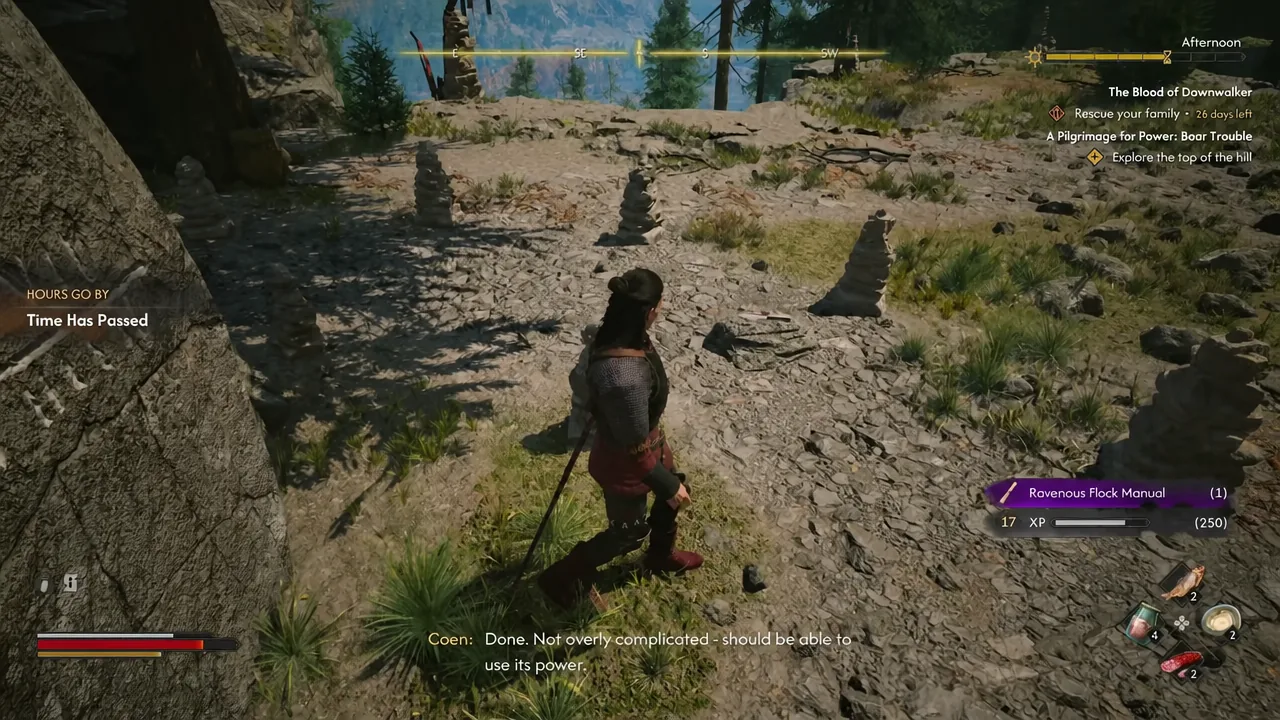
| Ravenous Flock Manual | Copying the uriash glyph from the large stone |
Neither reward is optional if you want the full return from the hill. The amulet comes from a clue the objective already asks you to inspect, and the manual is tied to the separate “Inspect the uriash glyph” line rather than to finishing the quest itself.
Copying the glyph moves the clock forward
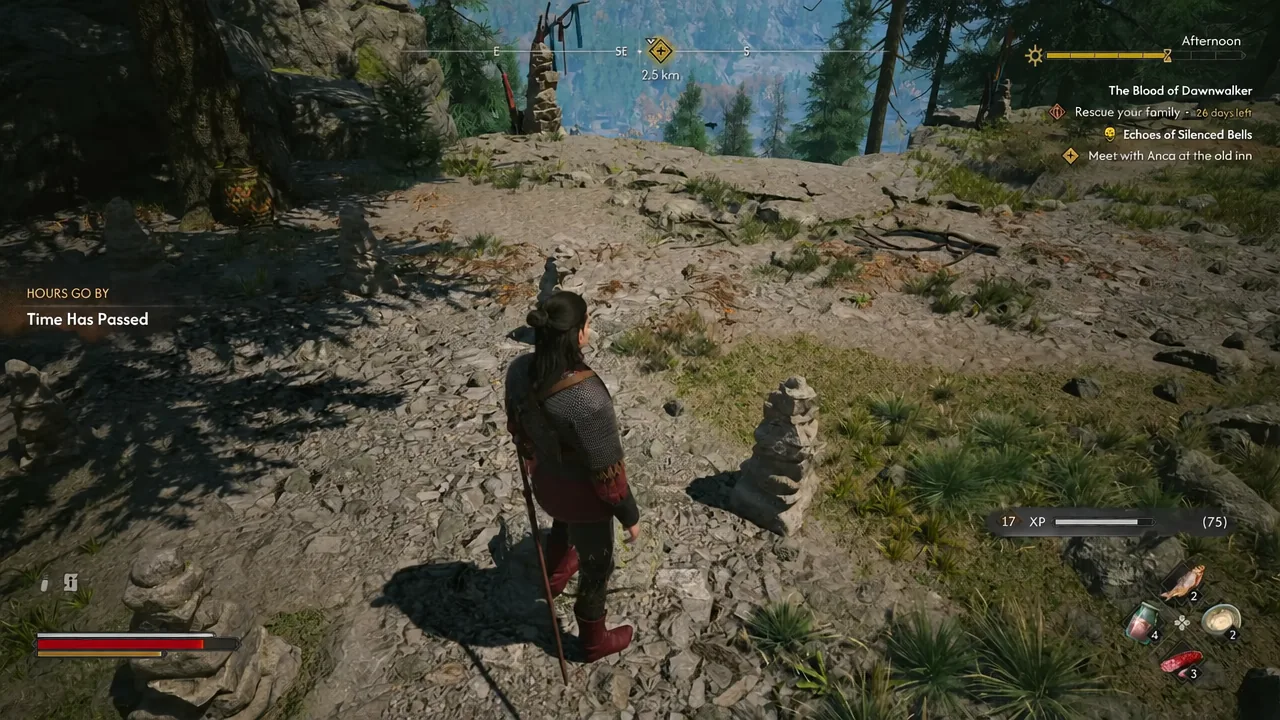
Copying the carving is not instant. The screen cuts to a “Time Has Passed” transition while Coen works, and the day rolls from Noon into Afternoon before he steps back and confirms the pattern is simple enough to use. If you are managing your remaining daylight segments carefully, do the glyph knowing you will lose a slice of the day to it.
How to confirm the objective is complete
The second cairn is the last piece. Once Coen concludes the knife was used for self-mutilation, a QUEST ENDED banner appears for “A Pilgrimage for Power: Bear Trouble” and the tracker refreshes with a QUEST UPDATED prompt.
The replacement objective is “Find all the sacred stones,” which carries the pilgrimage line forward from the hill. If that line has not appeared, you still have an uninspected clue on the summit, and in almost every case it is one of the two cairns rather than the body or the glyph.
Note: the hill is a daytime-friendly stop with no combat attached, so there is no benefit to waiting for nightfall before you climb it.
Once the sacred stones objective is live, the amulet and the manual are yours to keep regardless of how the rest of the pilgrimage plays out, which makes the hilltop one of the cheapest detours in the early stretch of Vale Sangora.