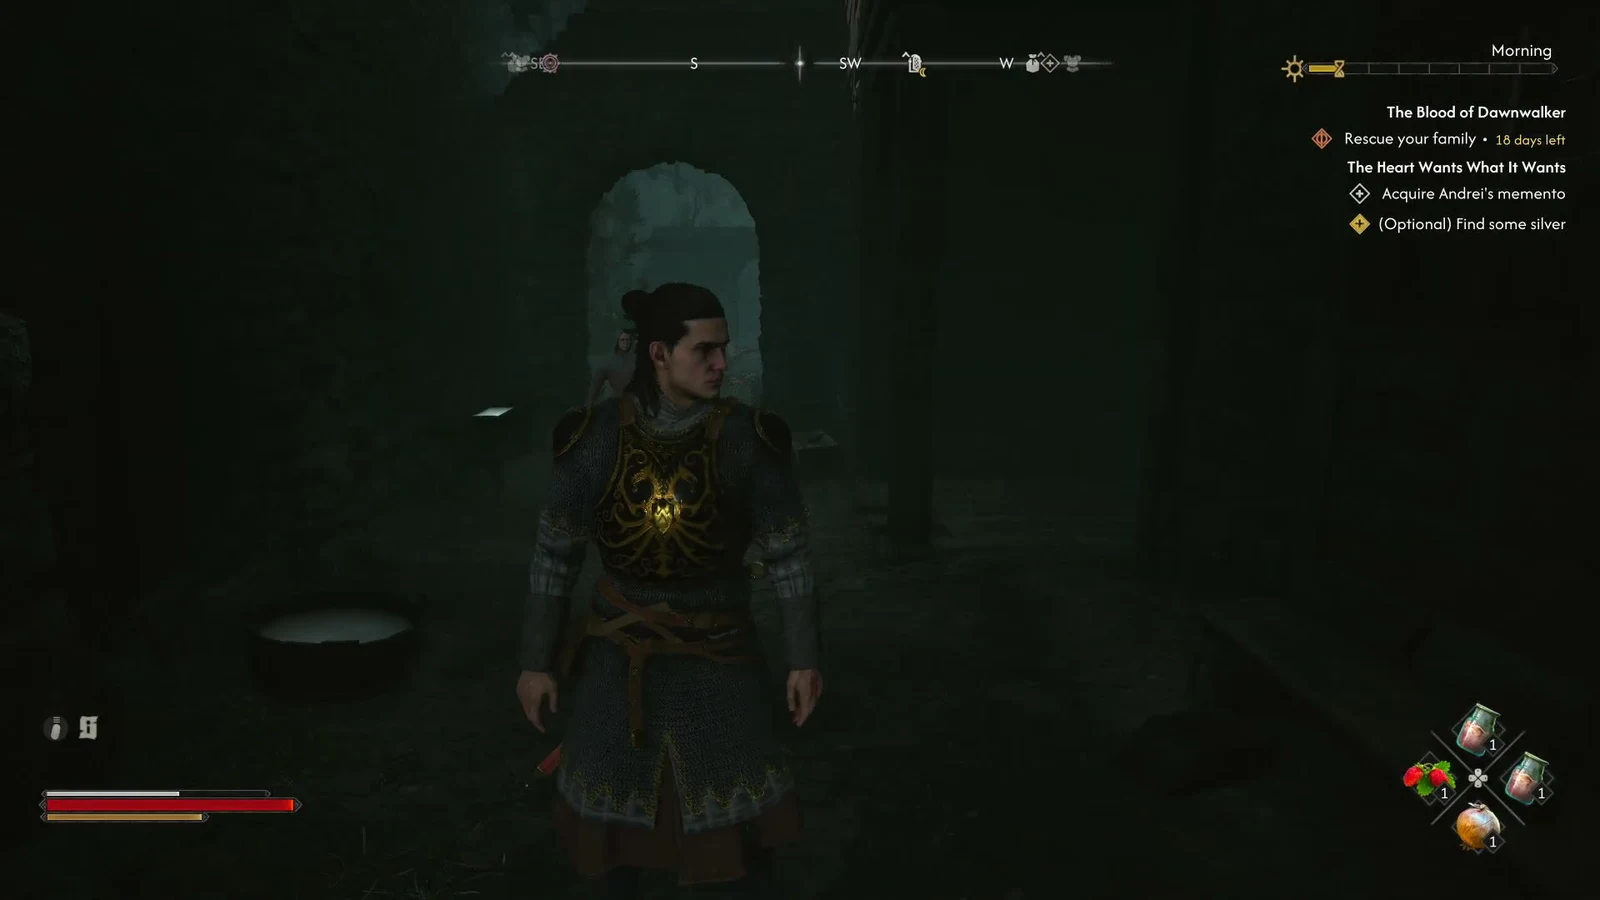
“(Optional) Find some silver” hangs off the quest The Heart Wants What It Wants, alongside the main task to acquire Andre’s memento. It sounds like an open-ended hunt across Vale Sangora, but it isn’t. There’s a stash tucked into a wall in Svartrau City that hands you exactly what the objective wants, and you can grab it in under a minute if you know where to stand.
Quick answer: Loot the Silver Cross from the wall niche in Svartrau City, southeast of the central market alley. Picking it up ticks off the optional objective immediately.
What actually counts as silver
Only items in the silver category satisfy the objective. The Silver Cross is filed under Master Silver and is described in your inventory as “A cross made of pure silver. Once a religious decoration – now a contraband.”
That contraband tag matters. Brencis outlawed silver across the region because it can hurt the vrakhiri who run Vale Sangora, so ordinary merchants won’t touch it. Shiny loot that looks valuable does not qualify — Golden Tableware is a valuable, not silver, and a purse of Denarius coins won’t move the objective either.
How to get the Silver Cross in Svartrau City
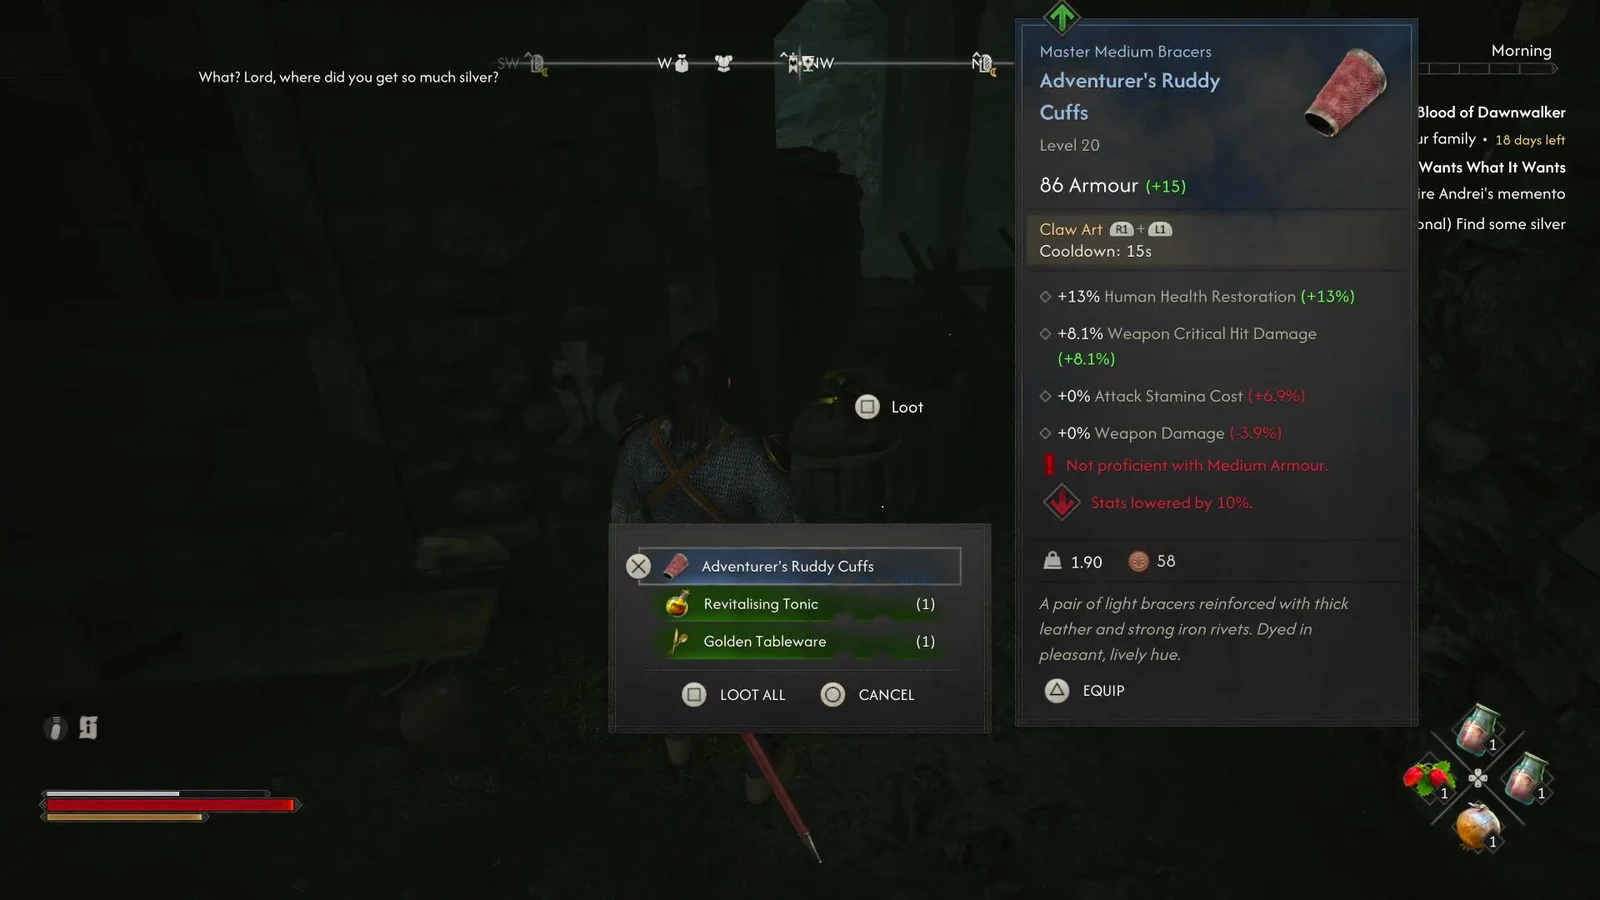
The Ruddy Cuffs are worth a look before you close the menu. They sit at 86 Armour and won’t slot alongside Heavy Armor or Light Armor, so they only fit a medium loadout.
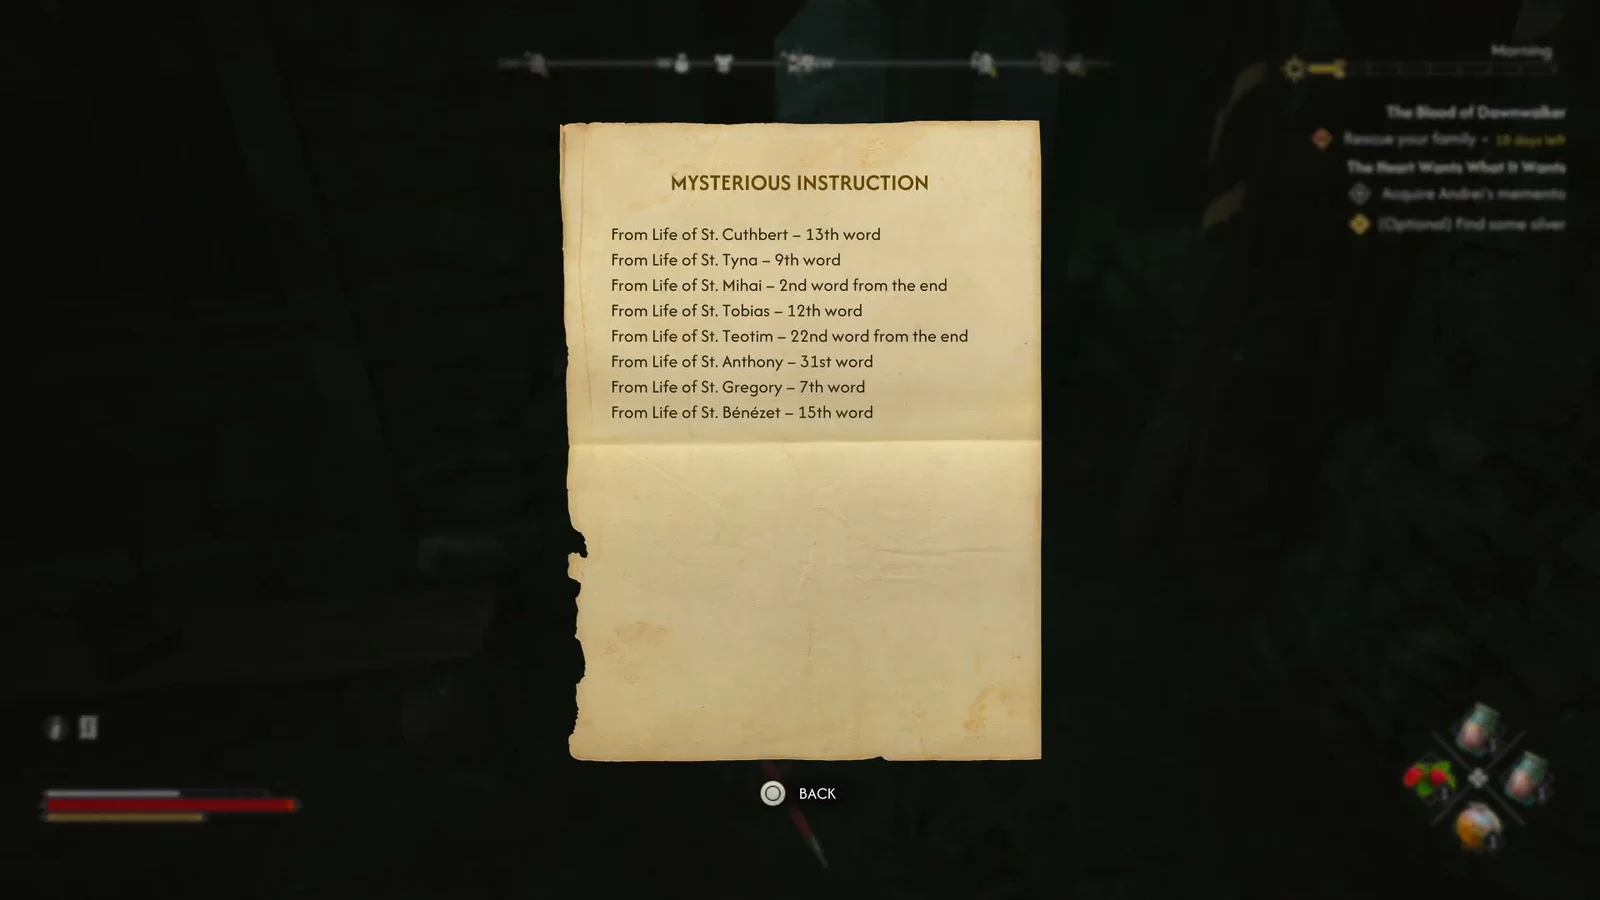
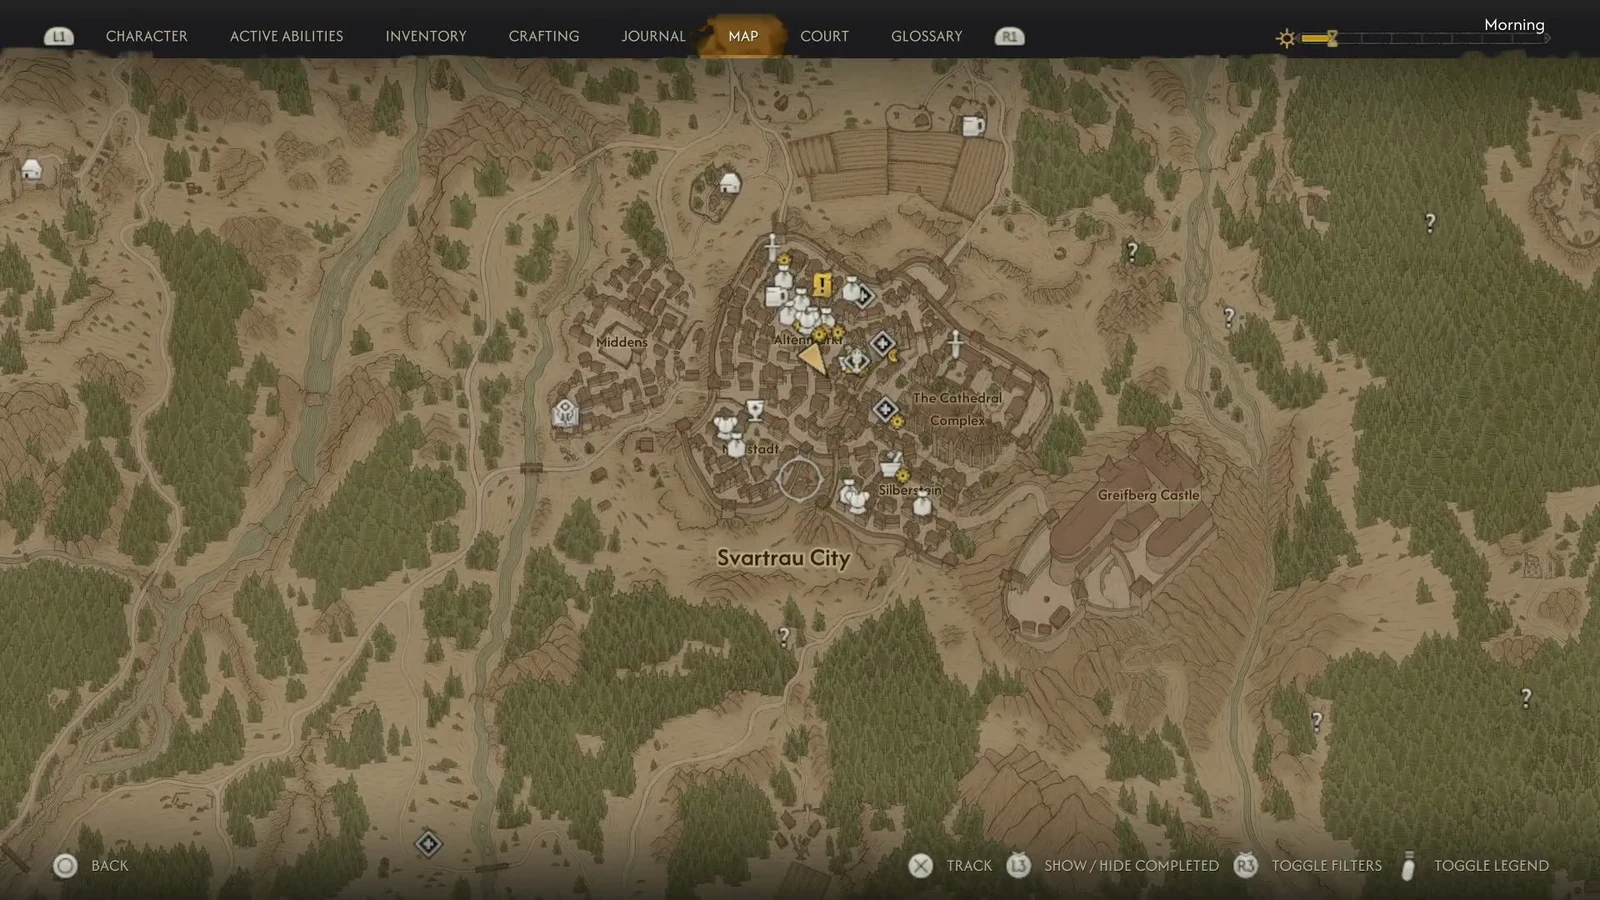
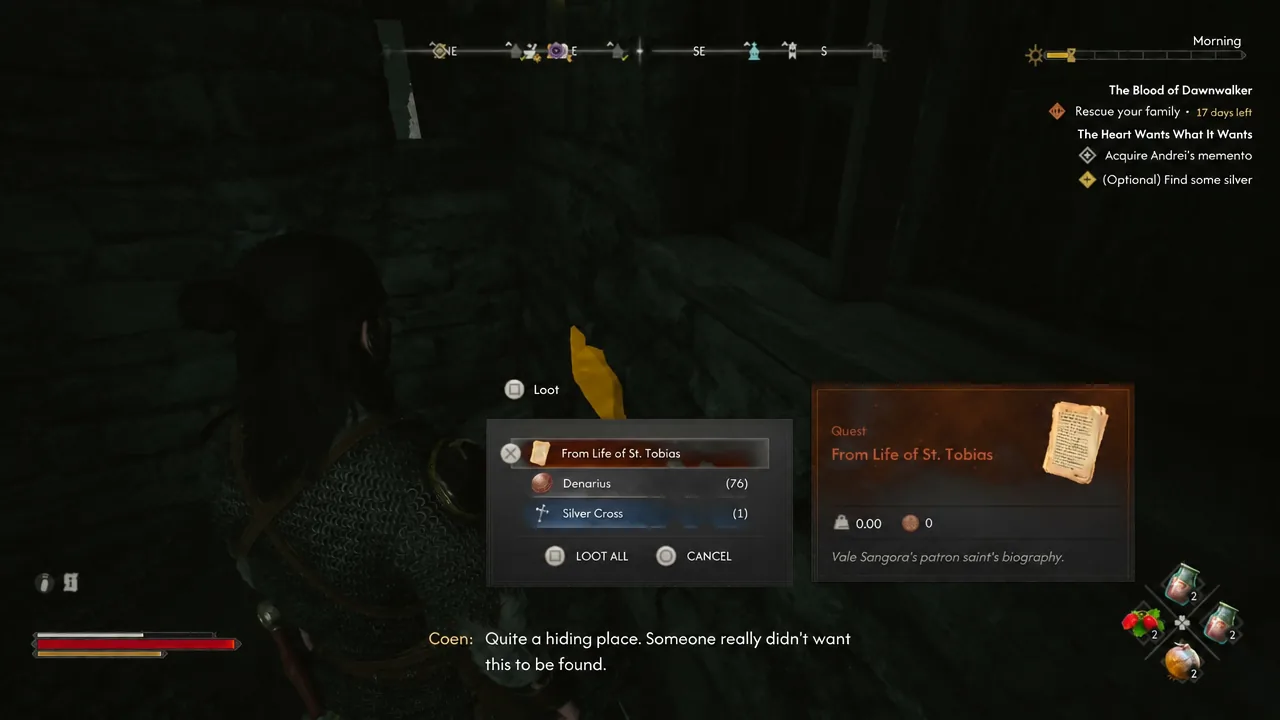
Hang on to the St. Tobias volume. It’s one of the eight saint biographies the Mysterious Instruction pulls words from, and it doubles as a lore entry on the one-armed monk who lost an arm to a ghoul in the Swamps of Maragir and became Vale Sangora’s most honored patron.
What’s in both Svartrau City stashes
| Stash | Contents |
|---|---|
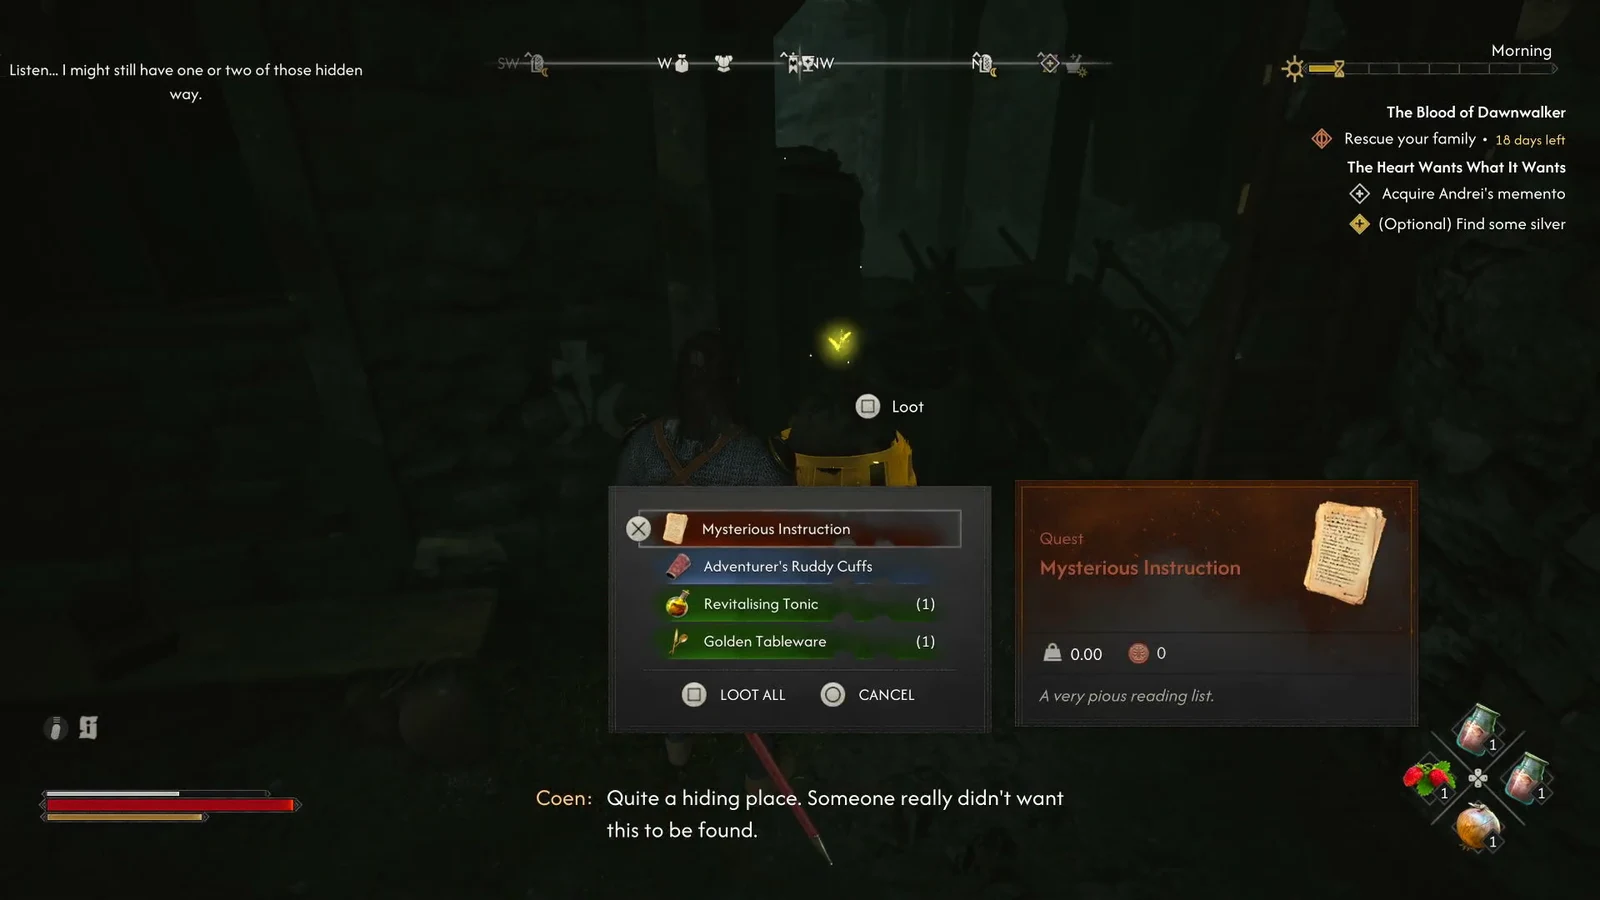
| Yellow barrel, dark alley near the central market | Mysterious Instruction, Adventurer’s Ruddy Cuffs, Revitalising Tonic, Golden Tableware |
| Wall niche, southeast of the alley | From Life of St. Tobias, 76 Denarius, Silver Cross |
How to confirm the objective is done
There’s no cutscene and no dialogue trigger. The moment the Silver Cross lands in your inventory, the “(Optional) Find some silver” line under The Heart Wants What It Wants resolves in the quest tracker. Open your inventory and check that the Silver Cross is there if the tracker doesn’t refresh on screen right away.
If it hasn’t ticked, you almost certainly picked up the wrong thing. Denarius coins and Golden Tableware are the usual culprits — they come out of the same stashes and look like the payoff, but neither is silver.
Where to sell silver once you have it
Silver is only worth carrying if you can offload it, and regular vendors will refuse it outright. There’s one Silver Trader, and he’s also in Svartrau City, inside a house you enter from the street just down the road from the western gate. He shows up as a white goblet icon on the map.
He won’t admit what he deals in until you give him a reason to. There are two ways to open his shop.
| Unlock method | What it takes |
|---|---|
| The note | Complete Into the Den, which hands you a note naming him. Then pick the “I know you trade in silver” line to force the issue. |
| Reputation | Reach Infamy Level 4 (Notorious) by running Court Activities. At that point he recognizes Coen and trades without prompting. |
At Infamy Levels 1 through 3 — “Insignificant” — he simply turns you away. You can check your current level at the bottom of the Court menu.
Note: selling silver worth 1,000 denarii in total unlocks the Smuggler trophy and achievement, so a single cross won’t get you there. More silver turns up through world looting and treasure quests, and The Cursed Chasm leads to a dedicated Silver Cache with several silver valuables in it. The trader also stocks high-quality weapons, armor, accessories, and consumables, so the denarii tend to go straight back over his counter.