The Cursed Chasm is a side quest in The Blood of Dawnwalker that ends with one of the game’s strongest early weapons in your hands. It begins near a collapsed bridge in the Briar Sloughs, above the chasm below Greifberg Castle, and it exists for one reason: Knyaz Skender’s lost treasure, a legendary longsword called Durandal, is still sitting in the wreckage at the bottom.
Quick answer: Inspect the broken cart at the bridge to pick up Dimitar’s Orders, take the ledge path down the east side of the chasm, kill the wolves and the red Vidmo boss Echo, then inspect the broken wagon remains under the bridge to loot Durandal. That costs 2 time segments and pays out 100 XP and 1 Skill Point.
The Cursed Chasm requirements, level, and rewards
The quest unlocks after the prologue mission Smoke and Ashes, and it has no fail state, so there is no timer pressuring you once it starts. Approaching either the broken end of the bridge or the wreckage on the chasm floor triggers it.
| Detail | Value |
|---|---|
| Starting location | Briar Sloughs, chasm below Greifberg Castle (near the Coward’s Path shrine) |
| Quest giver | Spirits |
| Requirement | Complete Smoke and Ashes |
| Objectives | Investigate the broken bridge and its surroundings; find Knyaz Skender’s lost treasure |
| Enemies | Wolf pack, two standard Vidmo, Echo (red Vidmo) |
| Time cost | 2 time segments, spent when you loot Durandal |
| Fail state | None |
| Reward | 100 XP, 1 Skill Point, Durandal |
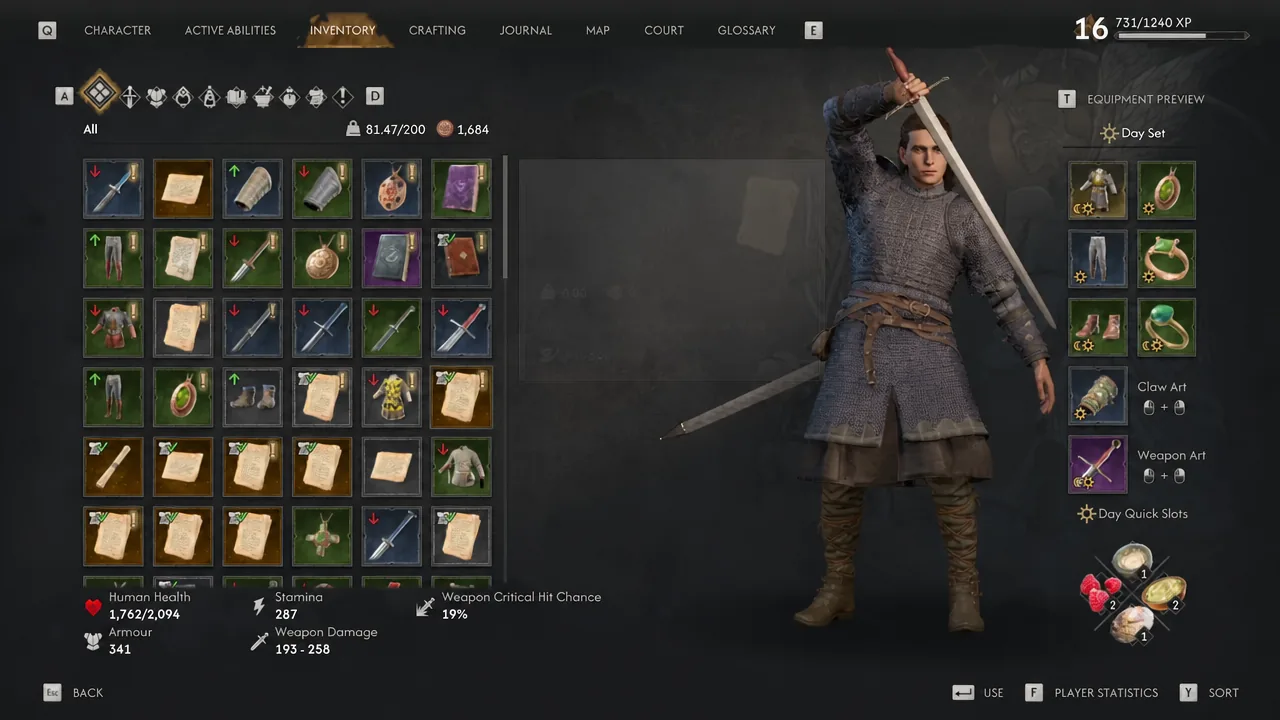
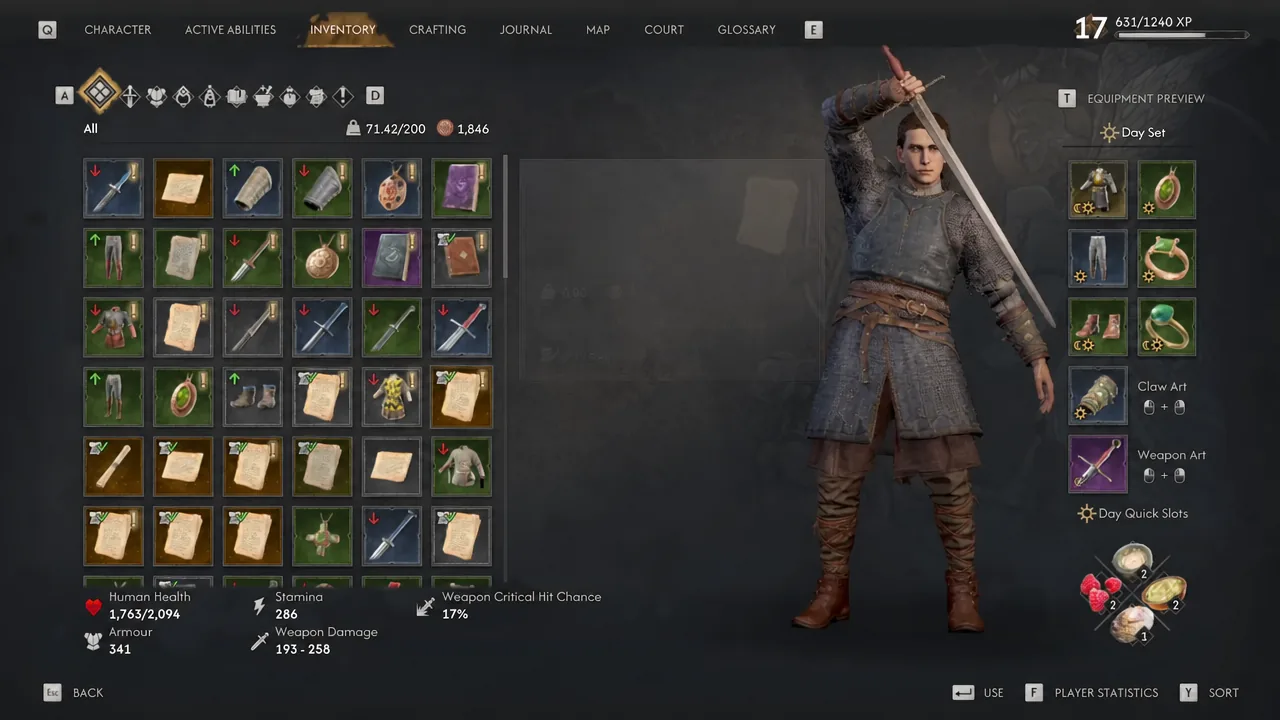
Level is flexible here. The fight is manageable from around level 11 with decent gear, since the enemies sit in roughly that range, and it is trivial by the high teens. Check your armour and weapon damage before dropping in, because there is no easy retreat once the Vidmo appear.
Investigate the broken bridge and climb down
How to beat Echo and the Vidmo in the chasm
Head for the wreckage beneath the bridge and a pack of wolves will notice you and attack. Shortly after combat starts, two ordinary Vidmo and a blood red Vidmo named Echo materialise and join in. The wolves and the Vidmo are hostile to each other, so pulling them into the same space and letting stray attacks land on the wrong target thins the fight considerably.
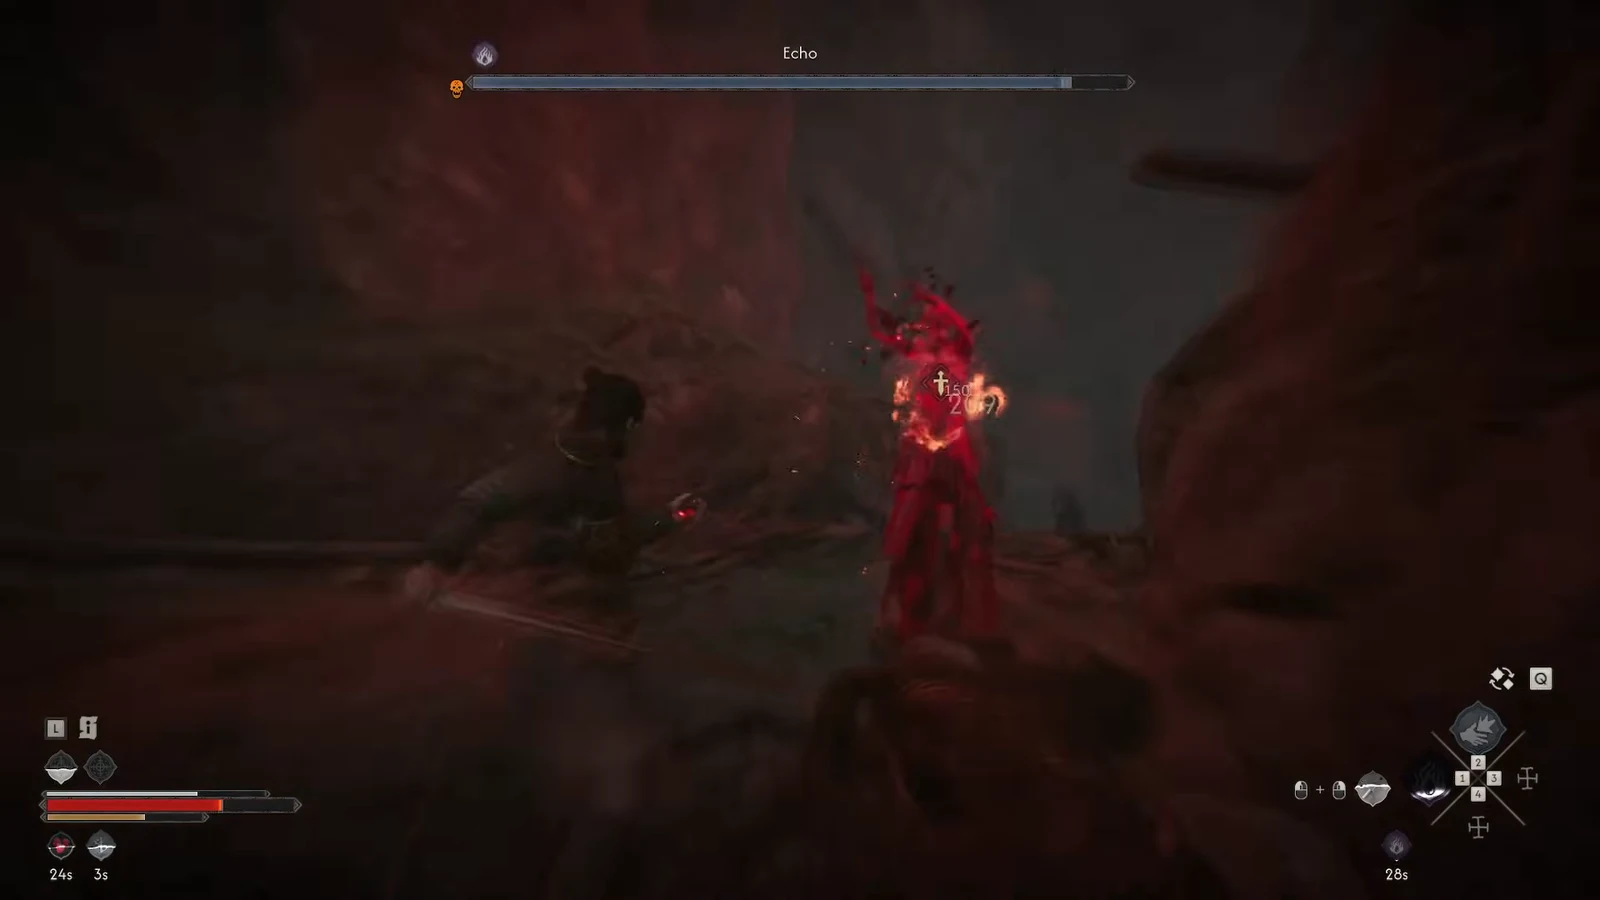
Both Vidmo types wind up an unblockable frenzy attack. You cannot parry it, so dodge away from the swing rather than trying to trade through it. The wolves stick to their standard lunges and can be dealt with between Vidmo attacks.
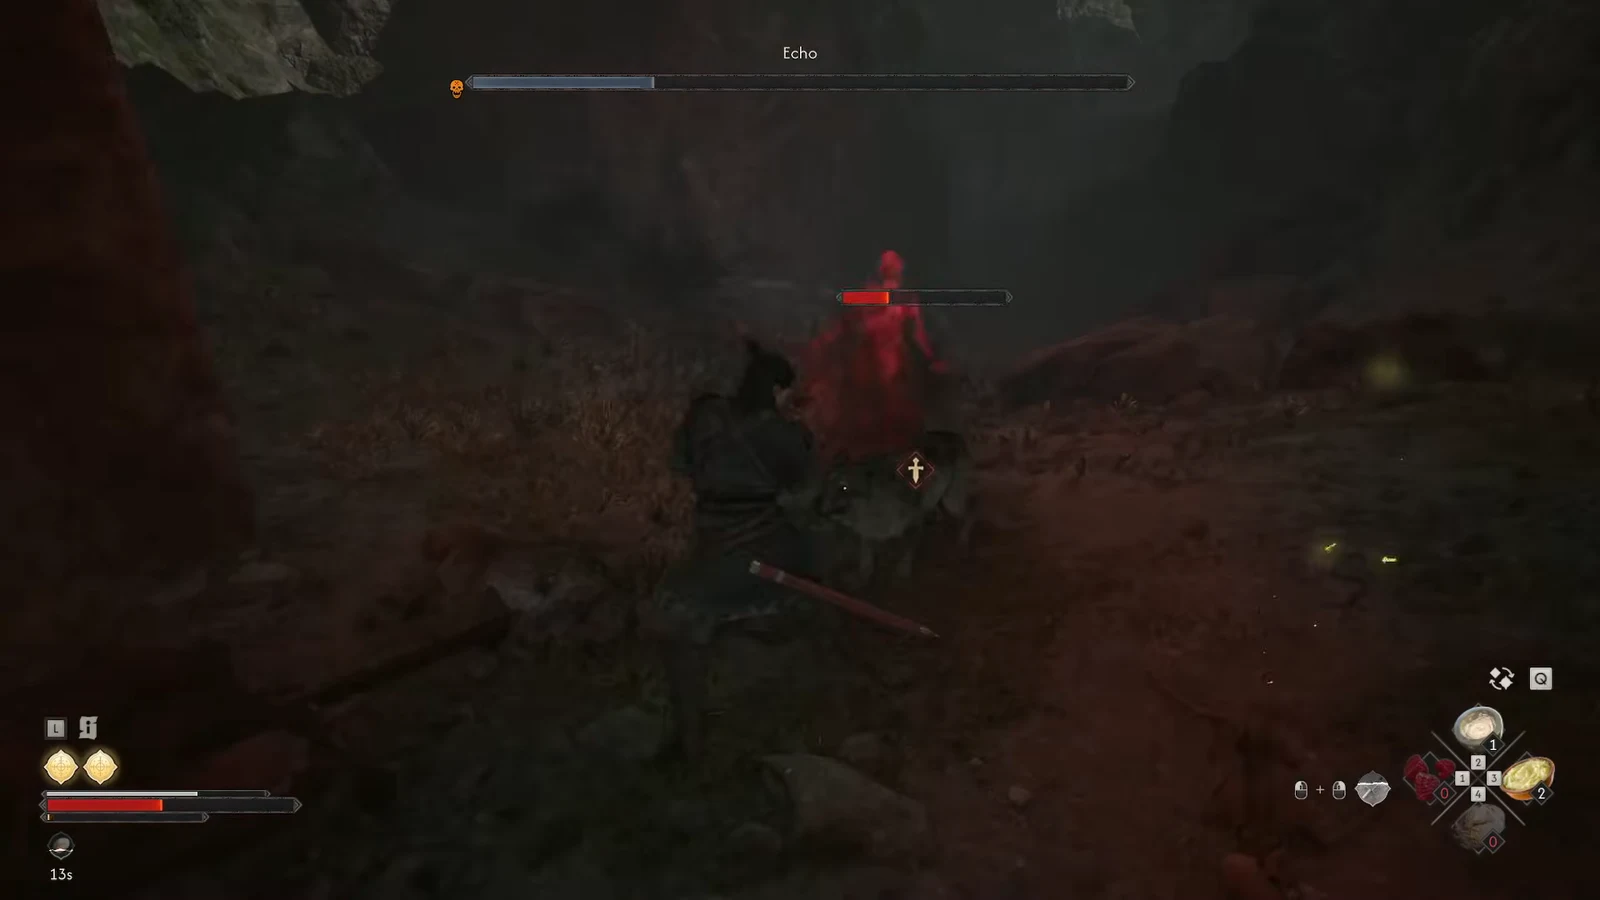
Echo’s one dangerous trick is a ranged blood drain that heals it when its health gets low. The tell is obvious: blood visibly streams off your character toward the boss. Stop whatever else you are doing and hit Echo immediately to interrupt the siphon, otherwise it claws back a large chunk of the damage you have already dealt.
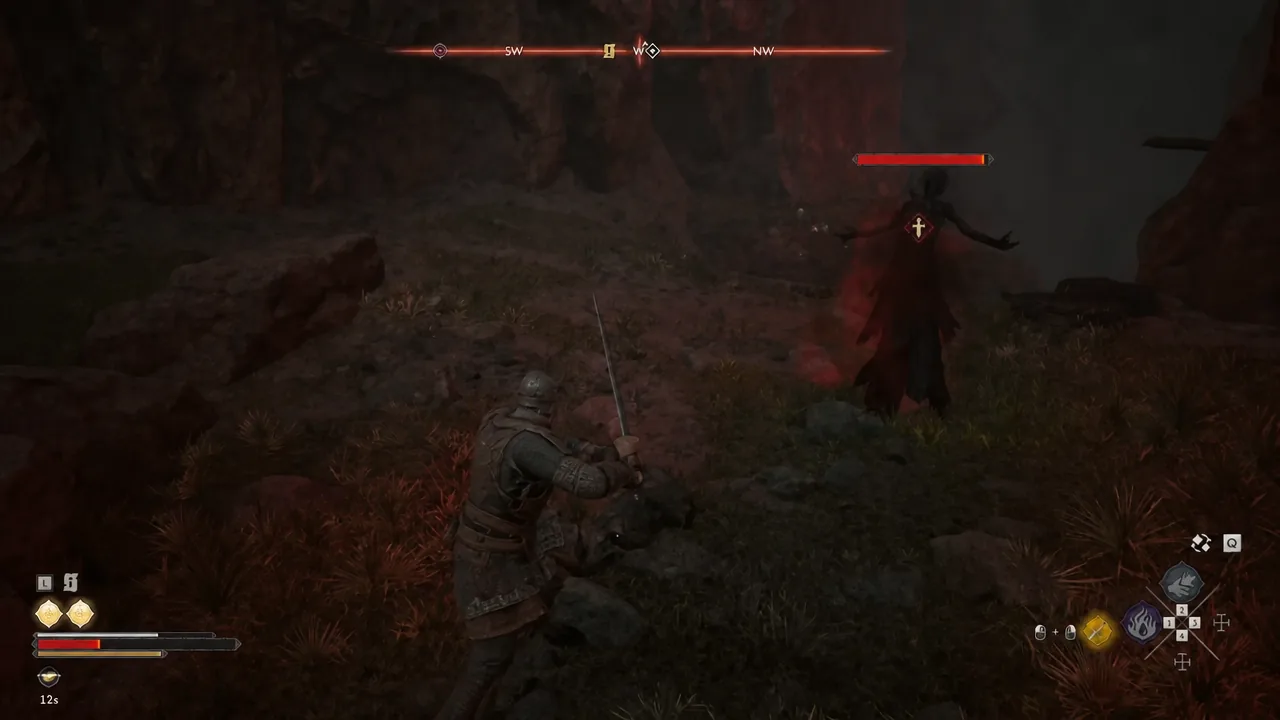
Tip: clear the remaining wolves and standard Vidmo after Echo drops. Looting with enemies still active is what usually gets players killed here.
Where to find Durandal in the wreckage
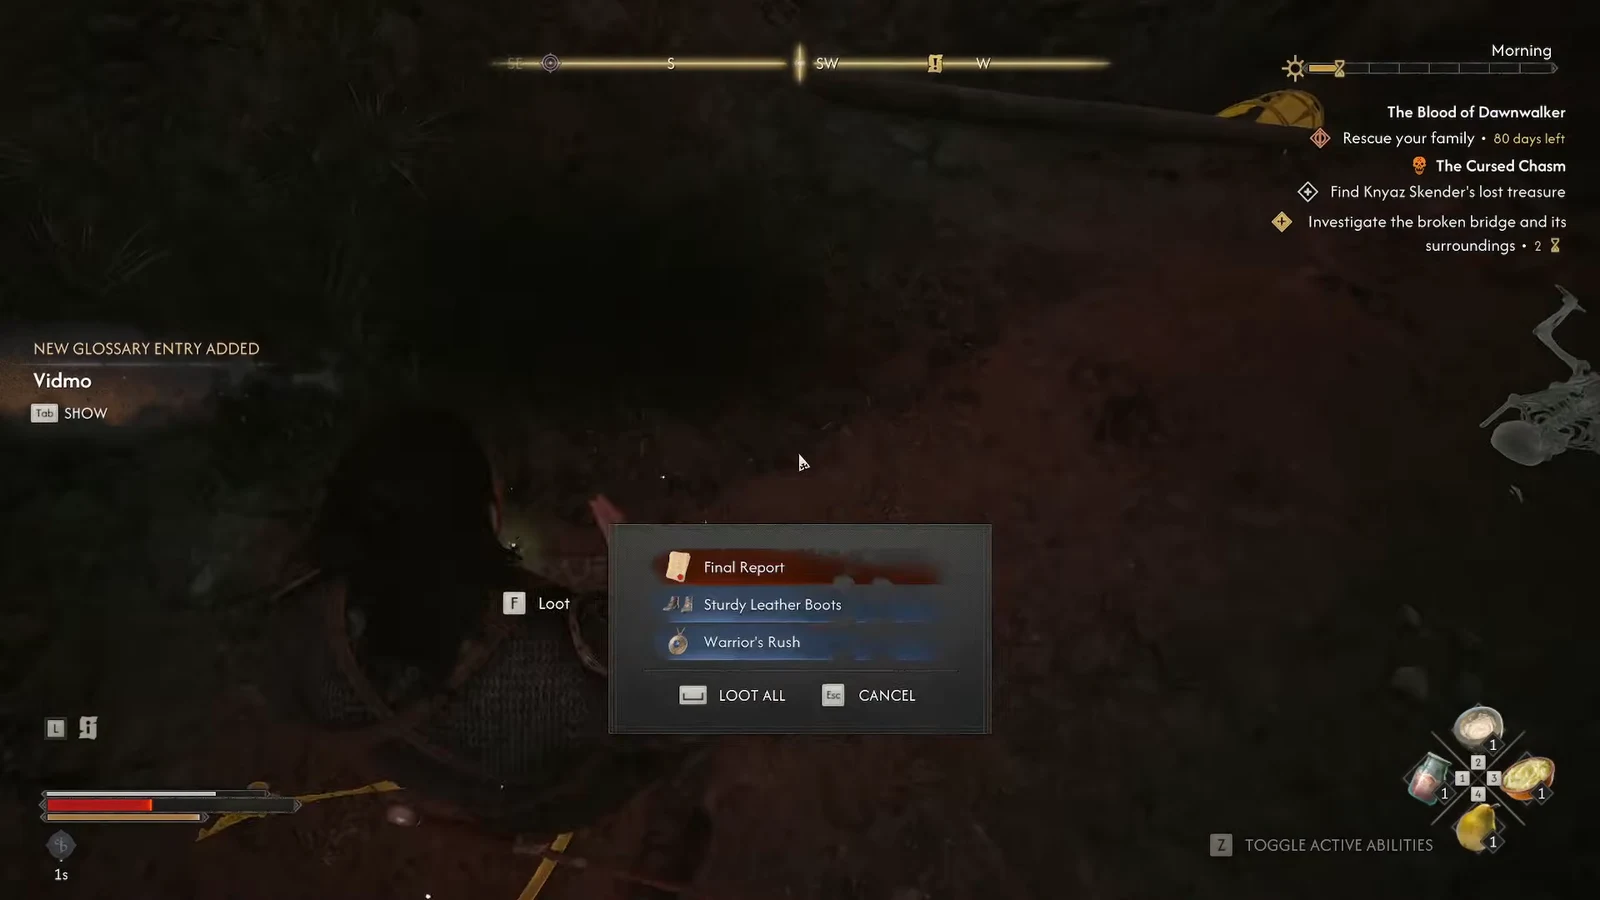
You will know it worked when the Skill Point notification appears and the quest leaves your active tracker. Durandal shows up in your inventory as a legendary longsword and can be equipped straight away.
Grab Durandal early without fighting Echo
If you want the sword before you are strong enough for the fight, there is a night-only route. You need the Clawride, Planeshift, and Shadowstep abilities, and it has to be night for the vampiric traversal to work.
Note: skipping the fight means skipping the treasure map next to the debris. Return once you are around level 11 or higher to clear the enemies and collect it.
What else to pick up before leaving the chasm
The small pile beside the main wreckage holds a treasure map that starts the side quest Finders Keepers, and the nearby gold barrel is tied to the same thread. Sweep the rest of the highlighted containers on the chasm floor while you are down there, since climbing back in later costs you time you could be spending on Court Activities.
Further along the chasm sits Ancient Circle: North-West Pass, which is close enough that it makes sense to finish it in the same trip. Once the wreckage is emptied and Durandal is equipped, there is nothing left holding you in the gorge.