The Imbued Sword of St. Mihai is the payoff at the end of one of the longest side chains in The Blood of Dawnwalker. It starts as a ruined hilt on a dead saint, passes through three cave-bound shards, and only becomes a Legendary Greatsword after a blacksmith reforges it and a ritual tempers it. Four separate map regions are involved, and the back half of the chain is not tuned for a low-level Coen.
Quick answer: Beat Mihai in the crypt under Svartrau Cathedral for the Broken Sword, collect three Sword Shards, hand all four pieces to the Uriashi blacksmith, then clear the Echoing Anger waves at the ruins northwest of her hermitage.
Imbued Sword of St. Mihai stats and effects
The finished weapon is a Legendary Greatsword with a slow swing and the highest raw damage output in its class. It leans on crit rather than speed, which is why the listed DPS looks so high.
| Stat | Value |
|---|---|
| Type | Legendary Greatsword |
| DPS | 456 |
| Damage | 297–419 |
| Attack speed | Slow |
| Scaling | Strength B, Dexterity E |
| Crit chance | 15% |
| Crit damage | 2.0x |
| Weapon Art cooldown | 15s |
Four effects define it: Swordmastery cooldowns are shorter, weapon critical chance increases, critical hits deal more damage, and supernatural targets take extra damage. Its Weapon Art bathes the blade in your blood. That combination excels against Vrakhiri and similar supernatural enemies, but contributes less when a Witchcraft- or Vampirism-based build fights normal humans and beasts. Because the weapon swings slowly, directional blocks are tougher; every attack leaves you committed for longer.
The four pieces you need
- Broken Sword of St. Mihai — the hilt, looted in the cathedral crypt during “A Monk and a Saint”
- Sword Shard 1 — a Kobold cave in the Maragir Wealds
- Sword Shard 2 — a Kobold burrow near Shrike’s Crag, guarded by Munch-Munch
- Sword Shard 3 — stolen from a cave near Tantari Woods and stashed in a soldier camp
“Forge It Anew” opens the moment you pick up any one of these pieces, so it is easy to trip the quest early without realizing it. The hilt is still mandatory, and the blacksmith will accept shards one at a time if you prefer to upgrade in stages.
Each Sword Shard pickup burns 3 Time Segments, so the shard hunt alone costs 9 against the “rescue your family” clock. Several steps inside the cathedral cost 1 segment each on top of that.
Get the Broken Sword of St. Mihai in “A Monk and a Saint”
You receive the hilt as the reward for “A Monk and a Saint” in Svartrau. That quest becomes available after Anca’s “Echoes of Silenced Bells” sends you to a monk called Albertus. Start it before Infamy gets too high, because at Infamy IX the related Edict closes the city’s gates and prevents daytime entry to the cathedral.
Answer Albertus’s riddle in the Middens
| # | Correct answer |
|---|---|
| 1 | Abelard the Sorrowful |
| 2 | Svartrau plaza |
| 3 | …the site of his penance and redemption |
| 4 | …never once set foot inside it |
| 5 | St. Mihai, renowned as a great warrior, came to Vale Sangora… |
Find St. Mihai’s sigil on the cathedral grounds
The quest only lets you open the crypt once Coen knows what St. Mihai’s mark looks like. It is a set of weighing scales, and there are several ways to learn it, so you do not have to do all of them.
- Inspect the mural of Sanctus Mihai high inside the cathedral, reached by climbing the scaffolding on the broken tower at night with Shadowstep and walking the rafters
- Find St. Mihai’s Chalice behind a bookshelf in the Treasury, opened with the Treasury Key hidden in a book in the bell tower
- Read the Cathedral Chronicle and the Annals in the library, entered at night by Shadowstepping to the second-floor balcony
- During the day, carry the Shards of Stained Glass from the Caretaker’s Shed to the craftsman beside the boarded-up window
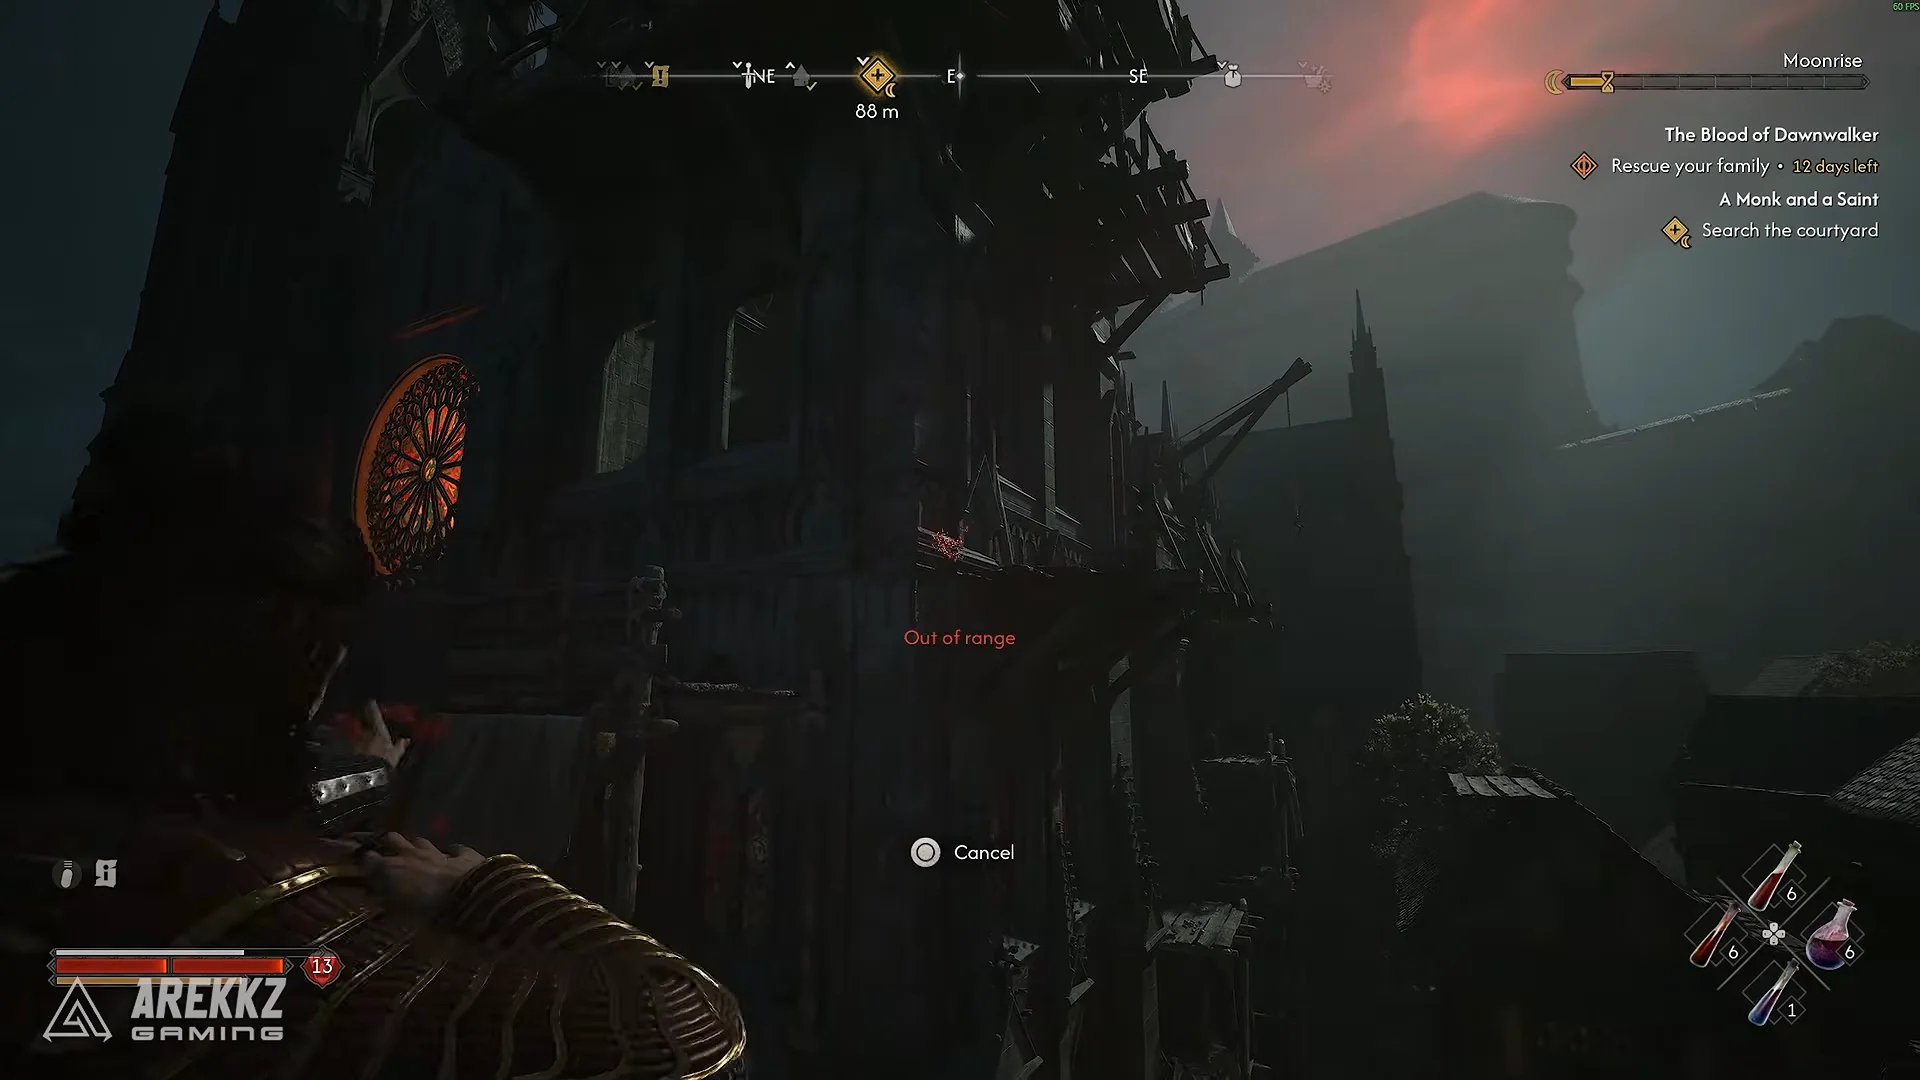
The courtyard well is the other thread. Moving the boards off the dry well in the northern courtyard starts “Night Terrors” and costs 1 Time Segment. Below, you deal with kobolds, inspect the dead thief slumped against the wall for another segment, and push the boulder blocking the exit, which drops you out in the cemetery behind the cathedral.
Open the memorial stone and beat Mihai
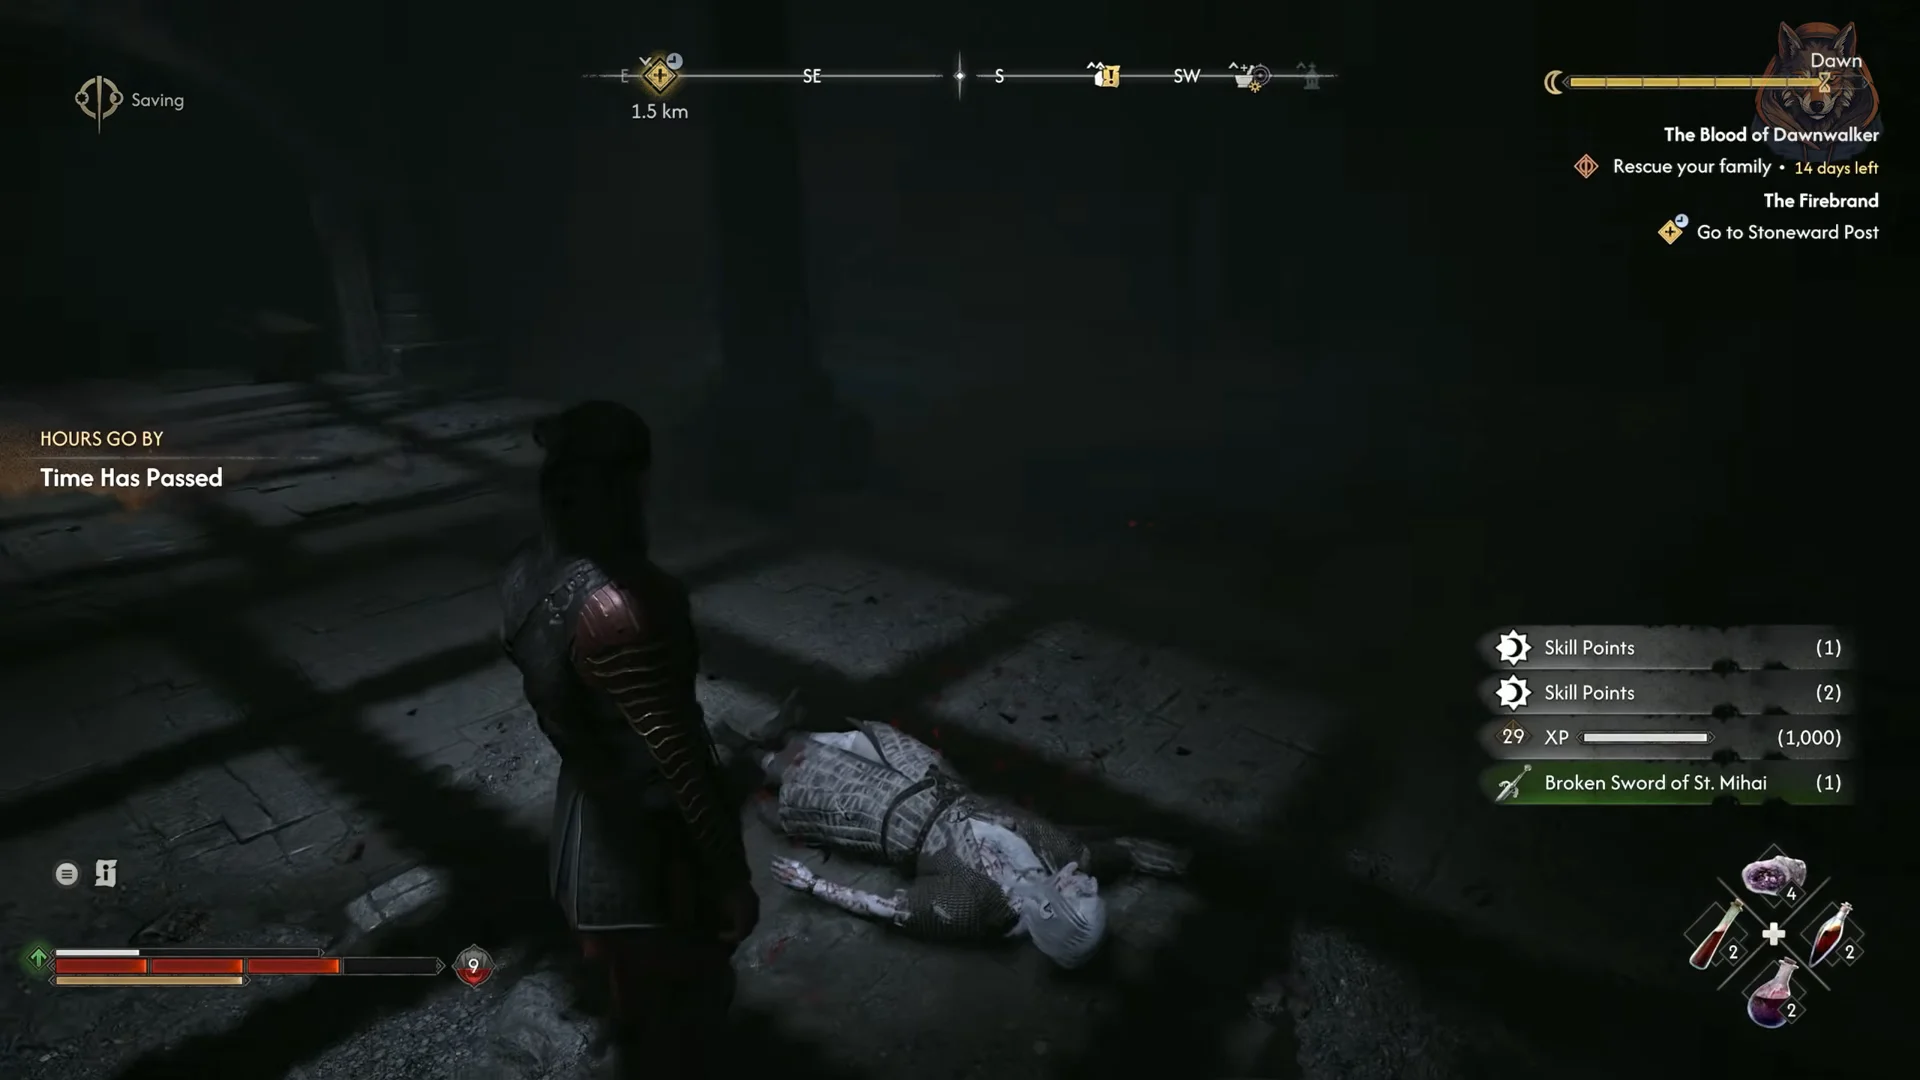
If it is daytime, use Compel Soul on Mihai’s corpse for lore about your affliction, along with the Worn Sheathe and Broken Chains.
All three Sword Shard locations in “Forge It Anew”
Each shard sits in a different corner of Vale Sangora, and each has its own quest stage. You can collect them in any order.
| Shard | Quest stage | Where |
|---|---|---|
| 1 | Do Not Disturb | Cave in the Maragir Wealds |
| 2 | Hostile Takeover | Burrow northwest of Shrike’s Crag |
| 3 | Executive Order | Soldier camp south of Tantari |
Shard 1: The Maragir Wealds cave
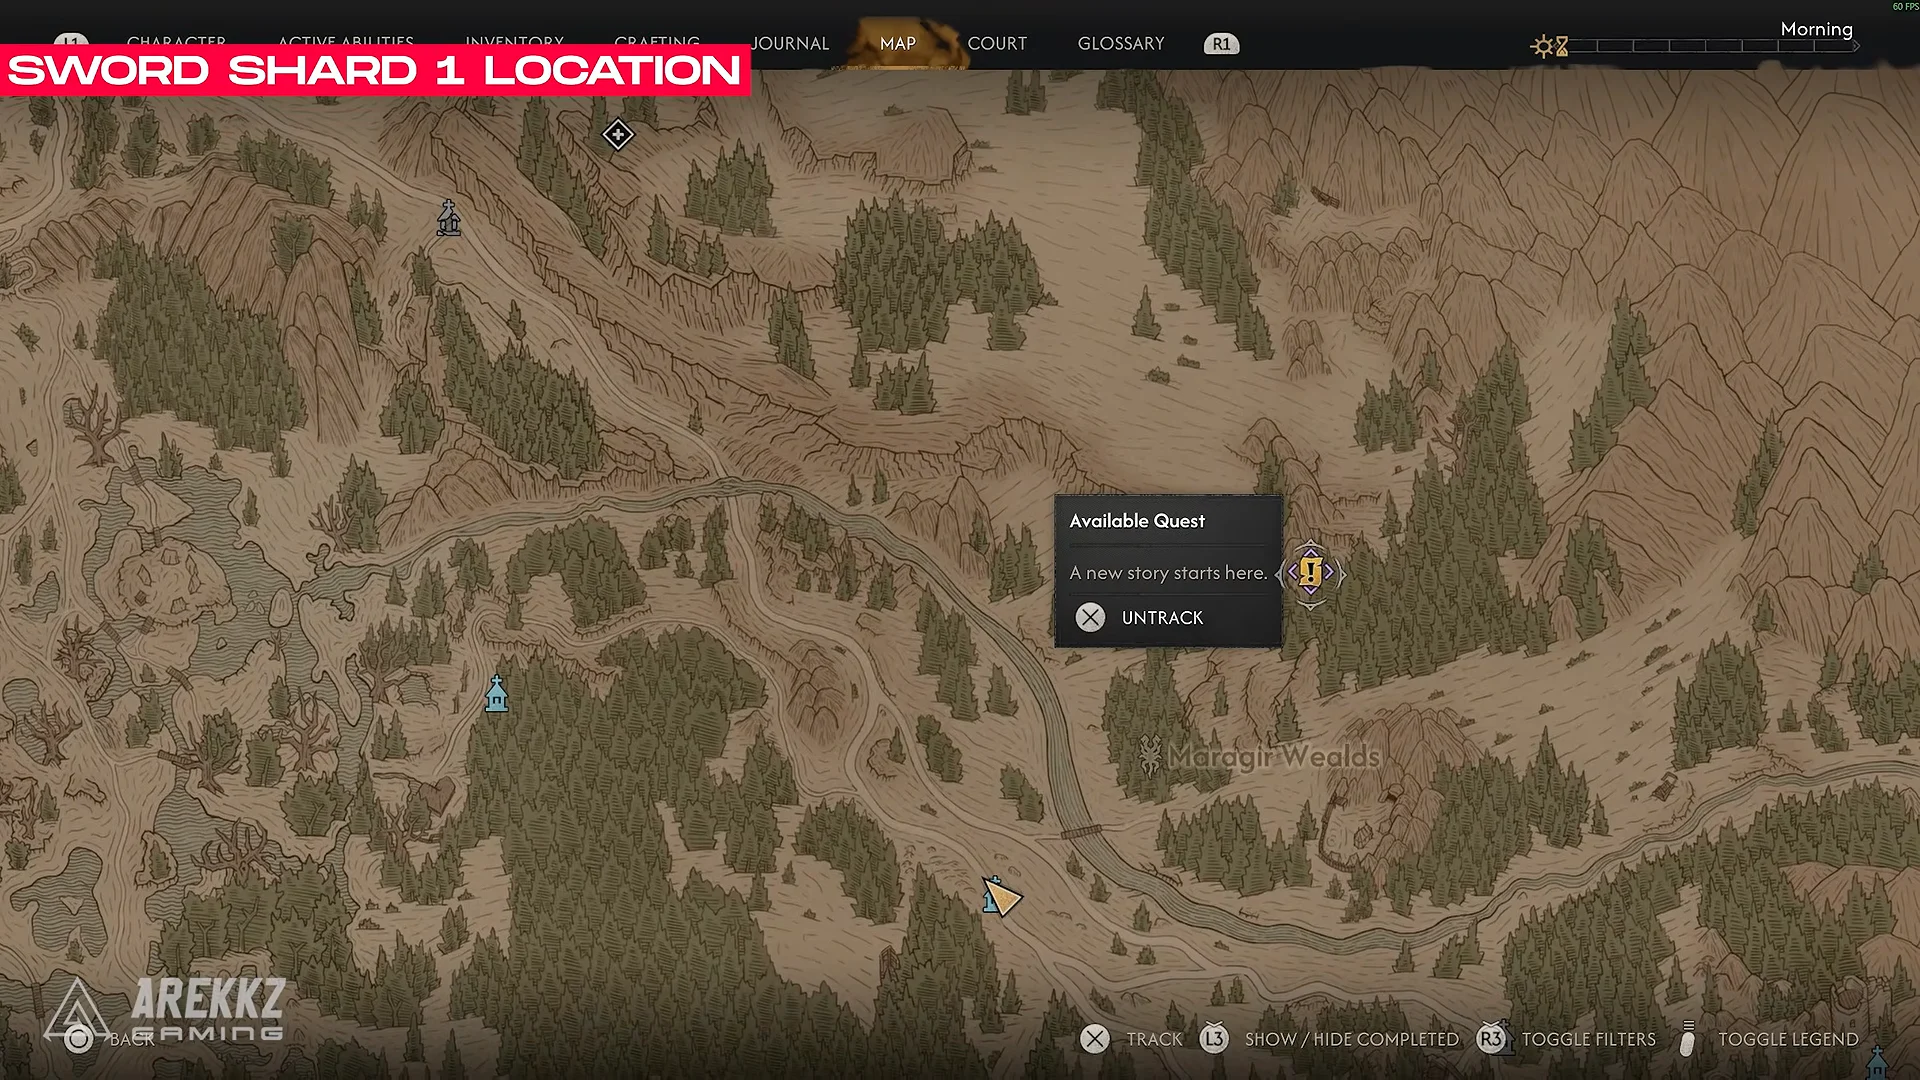
The first shard is the one you can stumble into by accident. Head far east of Mert’s Mill and north of the Upper Maragir Wealds Shrine, into the woods. Follow the mountainside road to a campsite, investigate it with Focus Mode, then follow the trail to the Kobold cave entrance and clear the enemies inside.
At the room’s rear, examine the defaced shrine with the broken cross; the shard rests next to it. A crudely drawn map is also there, adding approximate markers for the remaining two caves to your world map.
Shard 2: Munch-Munch’s burrow near Shrike’s Crag
The second cave sits high on a cliffside northwest of Shrike’s Crag and north of the Rockfells, in the mountains near Boar’s Back. Getting up there is fiddly, so Haste and Planeshift save time on the climb. Corpses outside mark the spot, and the entrance is small enough that you have to crouch to slip in.
The cave’s occupant is Munch-Munch, the game’s largest Kobold by a wide margin. Its poison spit and powerful blows make careful blocking and dodging essential when you lack strong gear. Unless you have invested heavily in Vampirism, tackle the battle during daylight, when healing items work more reliably. Afterward, search the nest at the room’s rear for the shard.
Shard 3: The ransacked cave and Xanthe’s camp
Reaching this one requires two visits. Find the cave southeast of the Crossroads Inn—the place where you meet Anca after departing Laslea—between St. Tyna’s Grove and the Tantari Woods. The exterior camp is empty when you arrive, and the shard has already been taken.
Inspect the corpse and learn that troops wearing Xanthe’s colors took it away. Their route finishes at a bog camp south of Tantari, near the Drunken Bear Inn. Kill the camp’s occupants, enter the main tent, and look on the barrel to your right for a small box holding the shard.
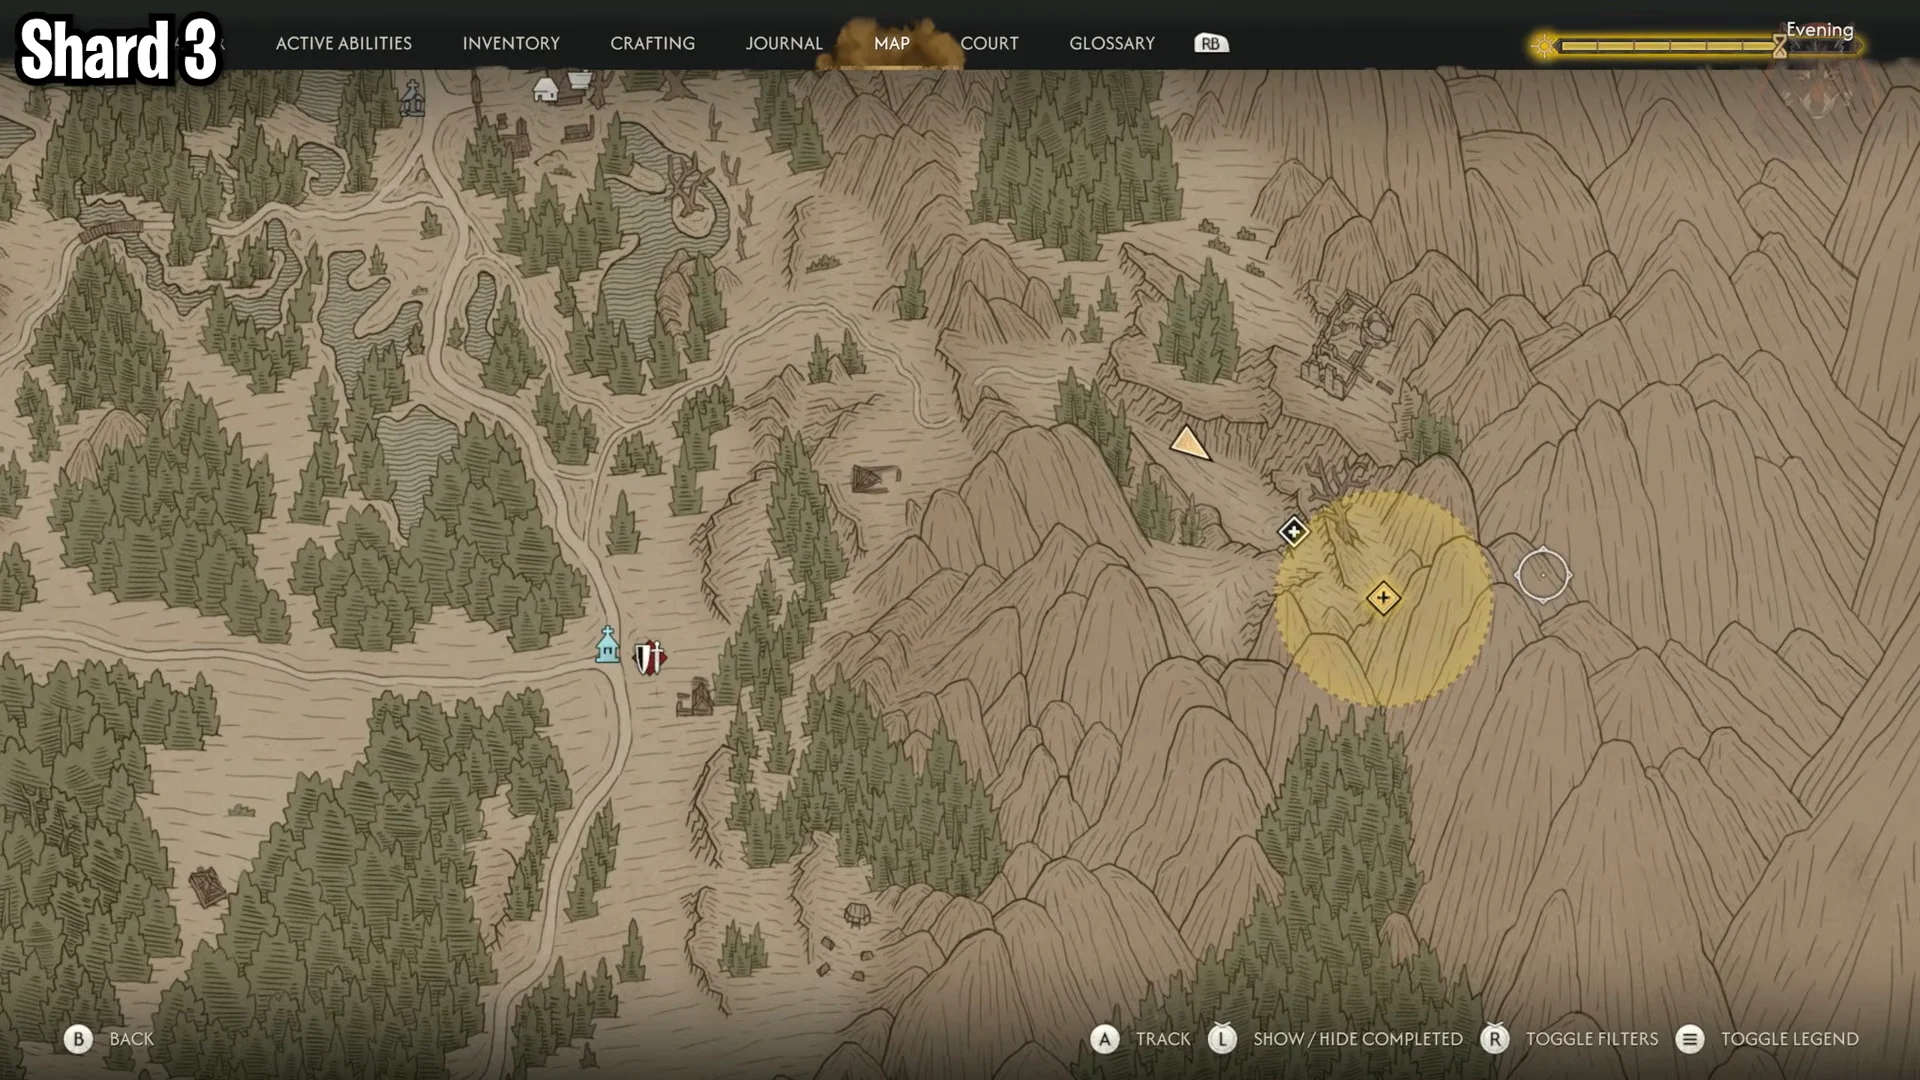
Xanthe’s troops hit considerably harder than the bandits and kobolds you have been fighting. One soldier in this camp drops The Kingslayer, another Legendary Greatsword, so loot every body before you leave.
Reforge the sword at the Uriashi Hermitage
Only one smith in Vale Sangora can rebuild a silver blade like this, and she lives out at the edge of the map. The Uriashi Hermitage sits on the treeline in the northwestern part of the Briar Sloughs, far northwest of Mert’s Mill and the Military Camp, through the woods.
Temper the blade at the ancient ruins
The transformation is complete when the cutscene finishes and the inventory calls the weapon Imbued Sword of St. Mihai, not Restored, showing the Legendary tier and all four bonuses. Completing the chain also awards the rare Arbiter’s Blade trophy and achievement. The natural follow-up is the matching Arbiter armor set, obtained through the crossover quest “A Bulwark Against the Darkness”.