Vale Sangora hides most of its content until you climb for it. The 11 Scouting Towers scattered across the valley are the switch that turns a mostly empty world map into one covered in question-mark icons, and clearing all of them wraps up the Bird’s-Eye View trophy and achievement.
Quick answer: At night, use Shadowstep and Planeshift to reach the top ledge of each of the 11 towers, press the prompt to scout the area, then look at and confirm every highlighted point in the distance. Do that at all 11 and the trophy unlocks.
What you need before climbing towers
Towers are a night activity, full stop. The climbs depend on vampiric traversal, so the daytime version of Coen simply cannot get up them. Hold R2/RT to Shadowstep up to ledges, and use Planeshift to walk up and along walls. Shapeshift from the Vampirism tree is not required, but it cuts the travel time between regions considerably.
The other reason to do this early is cost. Scouting Towers do not advance the clock, so they take nothing off the 30-day timer you are spending on quests, dialogue, and skills. Once the prologue is behind you, the whole set can be knocked out in a single night if you are efficient about it.
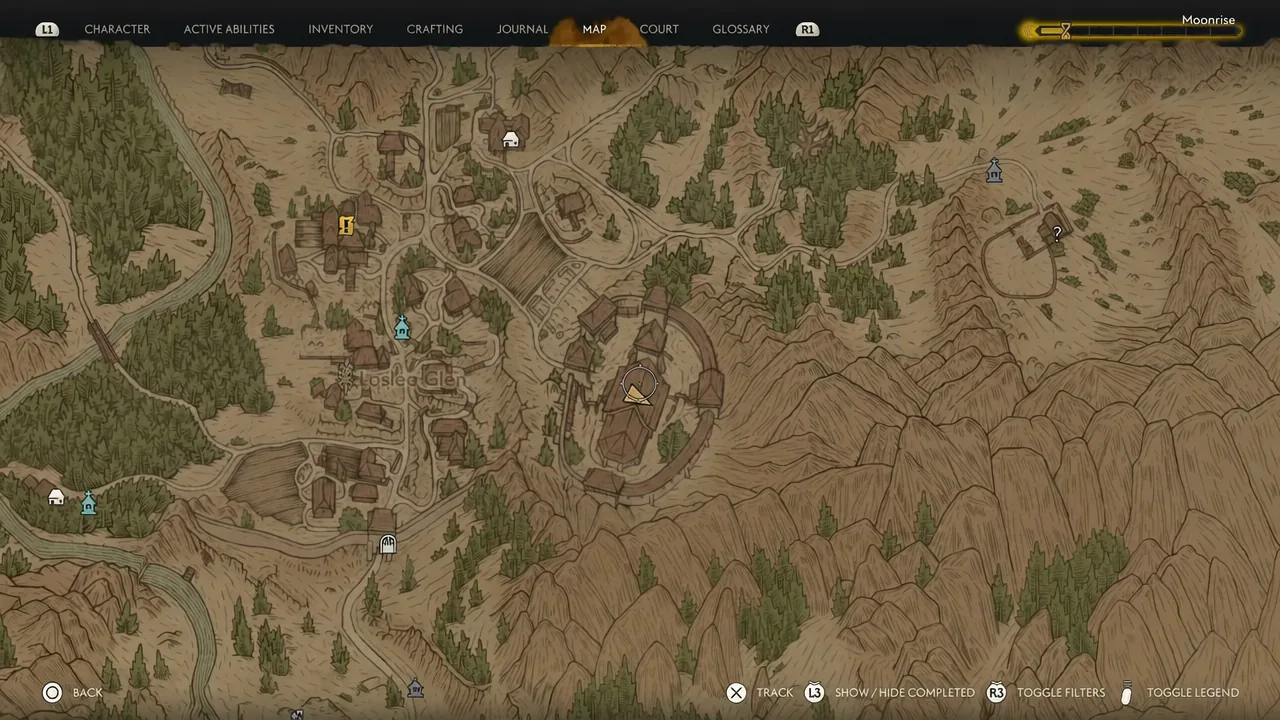
Towers appear on the map as a white tower icon. Most of them also have a container or two at the top holding a skill manual, so look around the summit before you drop back down.
How to unlock a tower
All 11 Scouting Tower locations and rewards
Three of the towers sit inside Svartrau City and give no chest reward, so they are worth batching together in one trip. The other eight are spread across the valley’s outdoor regions and each hold a manual or an accessory.
| Tower | Where it is | Reward |
|---|---|---|
| Church Tower | Laslea Glen, the church from the prologue’s Blood Mass | Aether Flow Manual |
| Briar Sloughs Tower | South out of Laslea Glen, near the river | Amalgam Manual |
| Maragir Wealds Tower | Easternmost edge of Maragir Wealds | Blasphemous Echo Manual |
| Boar’s Back Tower | Shrike’s Crag, west of Svartrau City | Potent Blood Manual, Duelist’s Pendant |
| Neustadt Tower | Southwestern battlements of Svartrau City | None |
| Market Tower | North-central Svartrau City | None |
| Cathedral Tower | The cathedral complex in Svartrau City | None |
| St. Tyna’s Grove Tower | Between an Ambrus outpost and an Ancient Circle | Forbidden Sigils Manual |
| Tantari Tower | Northwest of Tantari Woods | Lasting Medication Manual |
| Rockfalls Tower | South of Oghasti, west of the Lunar Manor | Blasphemous Echo Manual |
| Silts Tower | The Silts, also known as Aurelius Tower | Unnatural Resilience Manual |
The climbs that need extra care
Maragir Wealds Tower
A Vidmo specter is waiting inside this one on the eastern edge of the region. Clear it before you start scaling, because getting knocked off partway up costs more time than the fight does.
St. Tyna’s Grove Tower
Undead patrol the ground around the base. You can skip the fight entirely by climbing the rock formations nearby and Shadowstepping across onto the tower itself.
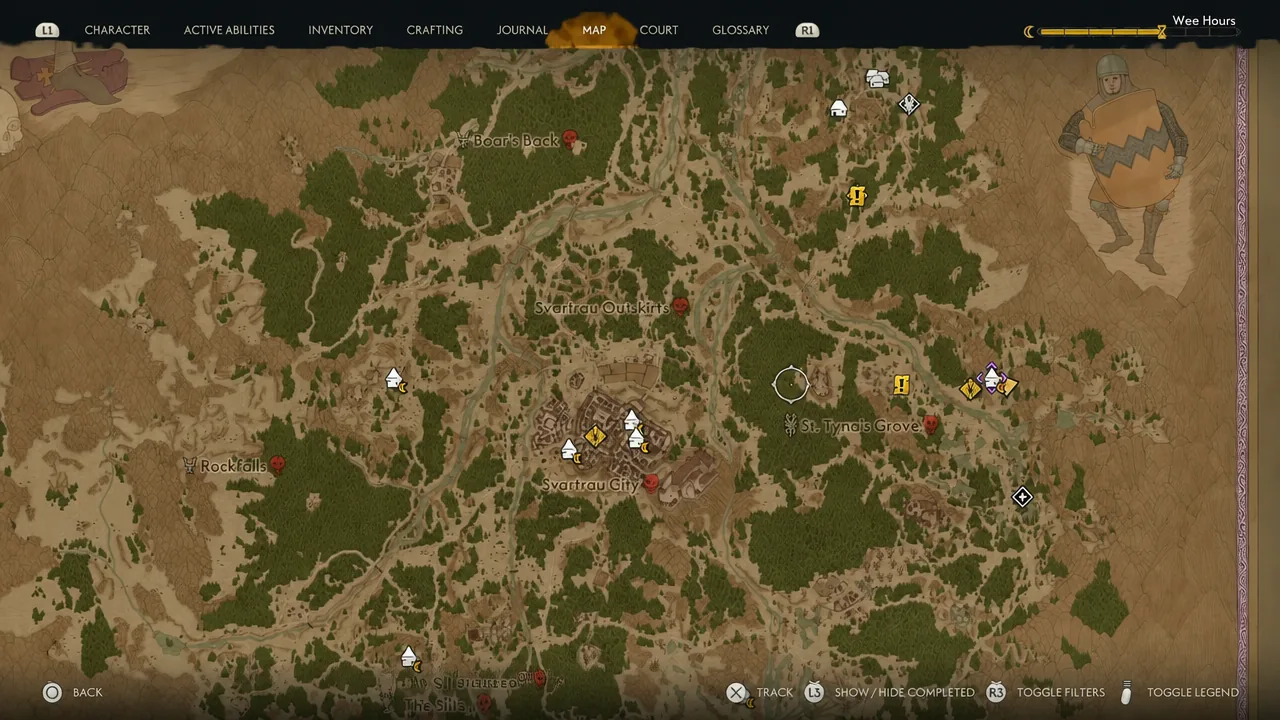
The three Svartrau City towers
Neustadt Tower is the trespassing one. Get onto the battlements in the southwest of the city and Shadowstep straight to the rooftop before the guards turn hostile. Market Tower in the north-central district is a simple climb by comparison. The Cathedral Tower takes the longest, since you scale the scaffolding to the roof and then take a teleport prompt up to the cross.
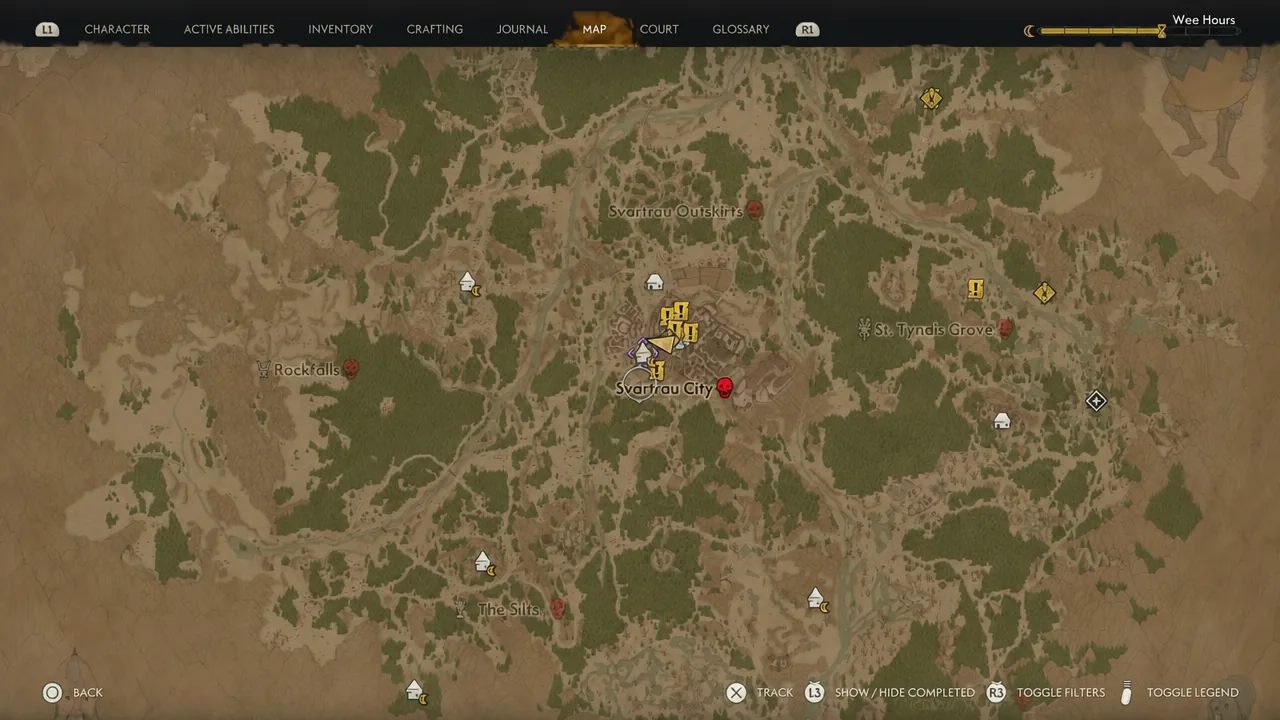
Boar’s Back Tower
Found at Shrike’s Crag west of the capital, this is the most generous stop on the route. Alongside the Potent Blood Manual there is the Duelist’s Pendant, an epic amulet, so open everything at the top.
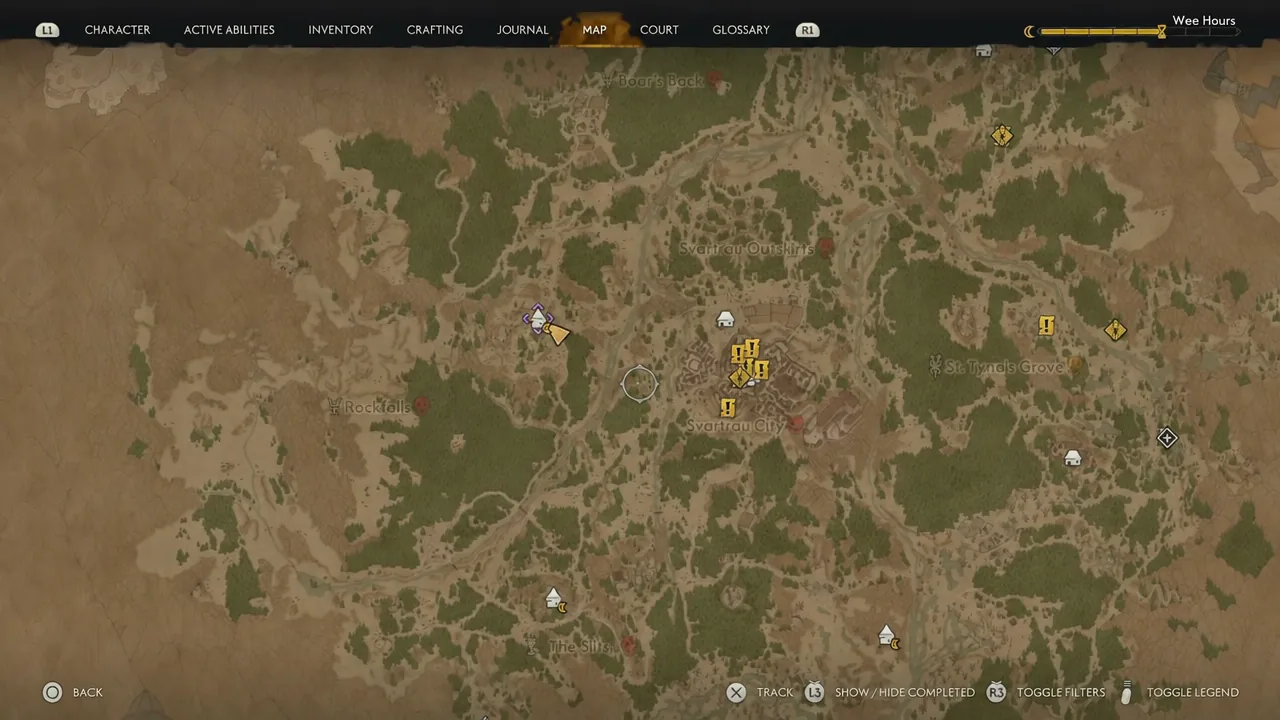
Rockfalls Tower
Do not try to Planeshift up the outside here. Your stamina will not carry you along the outer walls, so go in through the interior and Shadowstep from one wooden board to the next until you reach the top.
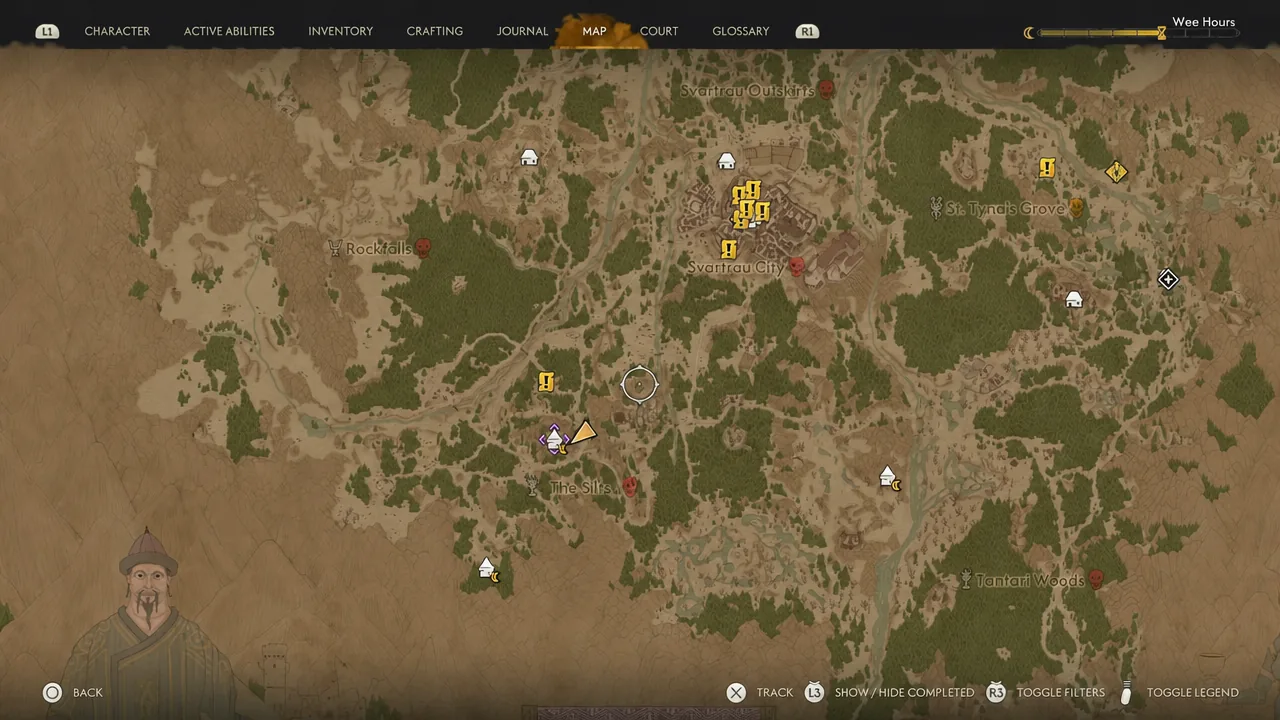
Silts Tower
The odd one out. A ritual is underway here, and interrupting it triggers something unusual. If you would rather not get involved, walk the outer walls and ledges up to the roof, then drop onto the balcony below to grab the chest.
How to tell a tower actually counted
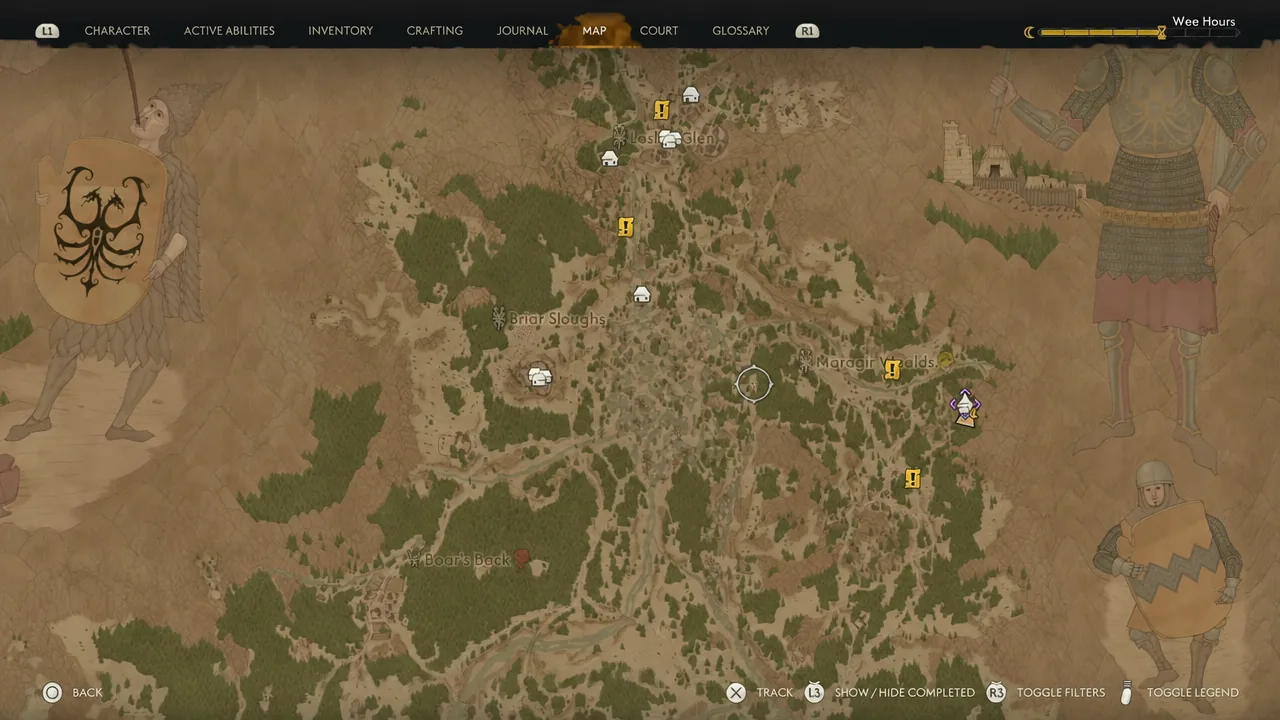
A tower registers the moment you finish confirming its points of interest, not when you reach the roof. The confirmation is the map itself. Open it and the surrounding region should be dotted with question-mark icons for camps, lairs, shrines, and activities you had not visited yet.
After the eleventh tower, Bird’s-Eye View pops and the From Above questline closes out.
Why a tower does not unlock
- You are there during the day. Shadowstep and Planeshift are night-only, so there is no way up.
- You stopped at the top interior floor instead of the vantage ledge above it, so the scout prompt never appeared.
- You scouted but did not confirm every white dot on the horizon. Each one has to be investigated separately.
The From Above quest teaches the pattern
From Above opens once Smoke and Ashes ends, when Coen spots a tower in the distance and decides to use it as a vantage point. Leave Laslea village and head roughly 200m southwest to reach it. Soldiers sit around a bonfire at the base, and the scaffolding you need is around the back.
Planeshift up the scaffolding, then look above once you are on the top floor. There is one more ledge to reach on the broken walls, and from there three white dots are visible in the distance. Investigate all three and the quest closes.
That first climb is the whole loop in miniature. Everything after it is a matter of routing, and the fastest approach is to finish the prologue, wait for nightfall, and treat all 11 towers as one long night of travel before you start picking through the question marks they leave behind.