

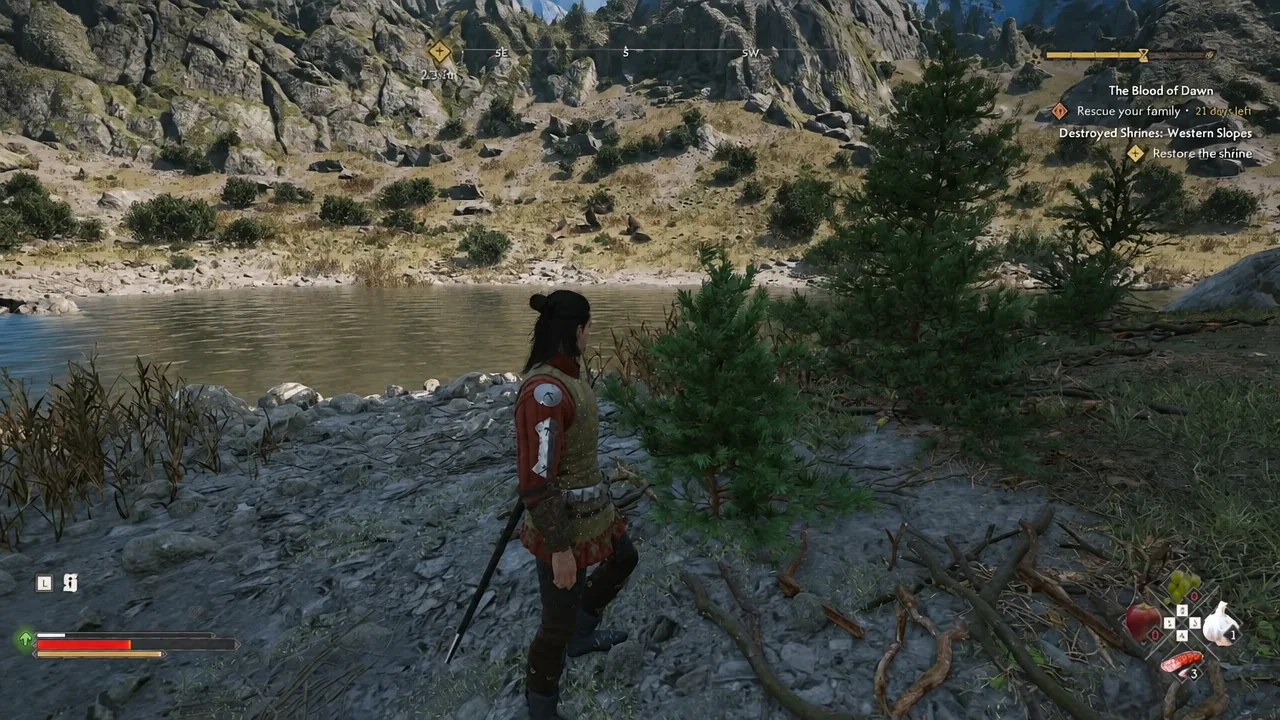
Treasure maps in The Blood of Dawnwalker rarely point at anything obvious, and the Pond Islet one is a good example. The drawing shows a rockfall-strewn shoreline and a scrap of water, which is not much to go on until you realize the dig site sits almost on top of the camp you looted the map from.
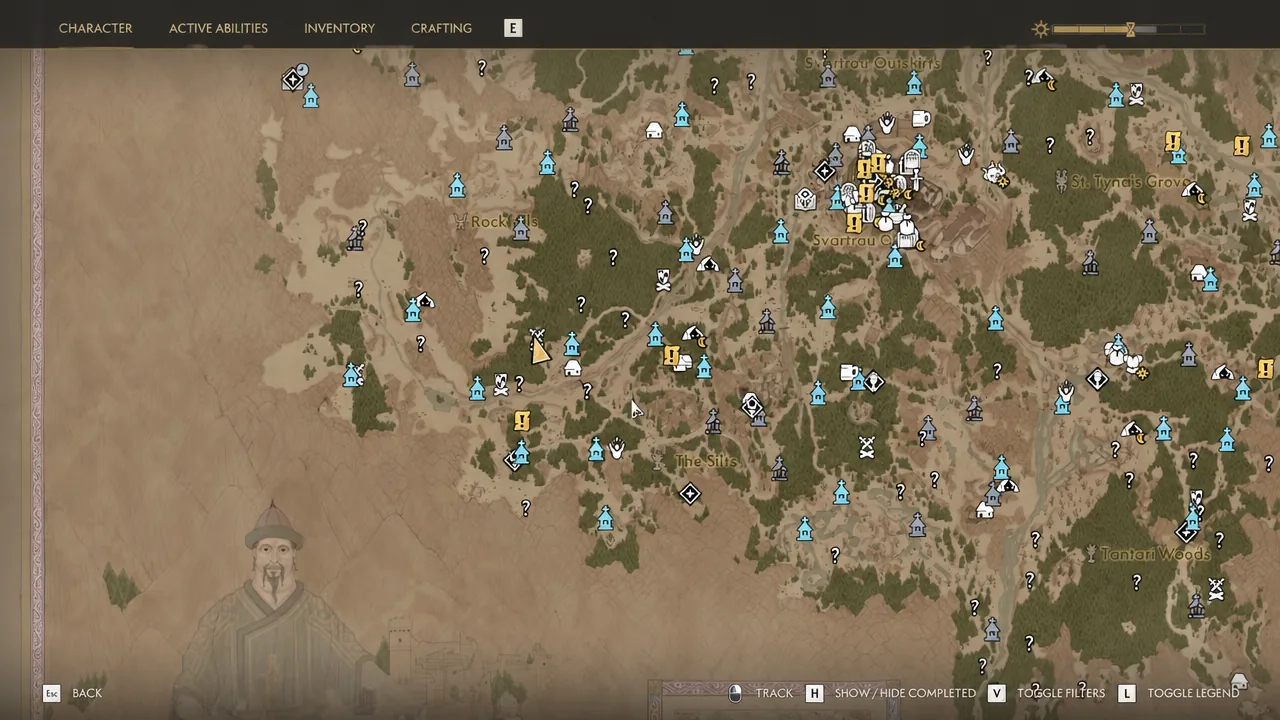
Quick answer: Loot the sack beside the wooden chests at the Bandit Camp northwest of Burners’s Clearing to get Treasure Map: Pond Islet, then head due west to the small islet in the middle of the water and dig the dirt mound there.
Treasure Map: Pond Islet location (Bandit Camp northwest of Burners’s Clearing)
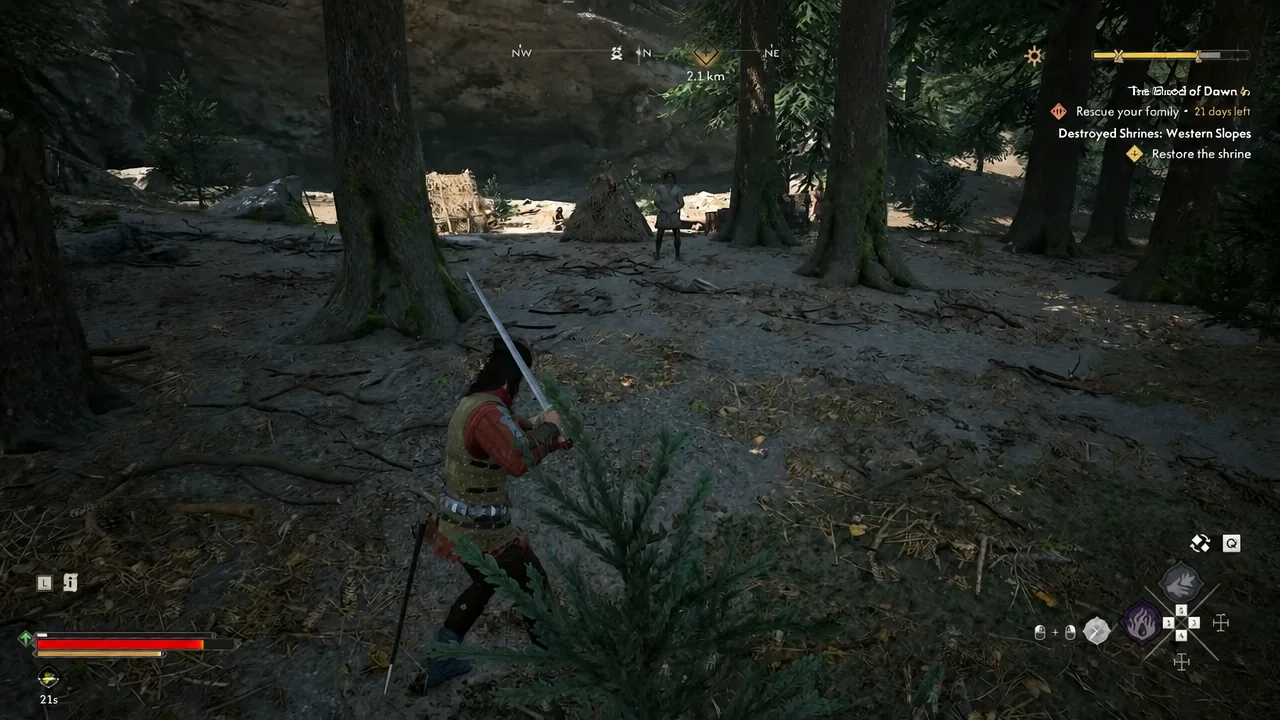
The rest of the camp is worth a sweep before you leave. The containers and shelves scattered around it hold a mix of currency, consumables and a skill manual.
| Camp pickup | Type |
|---|---|
| Walking Fortress Manual | Manual |
| Vitality Balm | Consumable |
| Denarius | Currency |
| Hammer | Tool |
| Wild Strawberry | Ingredient |
| Saffron Milk Cap | Ingredient |
Where the Pond Islet treasure is buried
Open the map item and you get a sketch of rocks and a waterline rather than a usable grid reference. Ignore the drawing and go west. The chest is on the tiny islet sitting in the middle of the water directly west of the Bandit Camp, which is close enough to walk in under a minute.
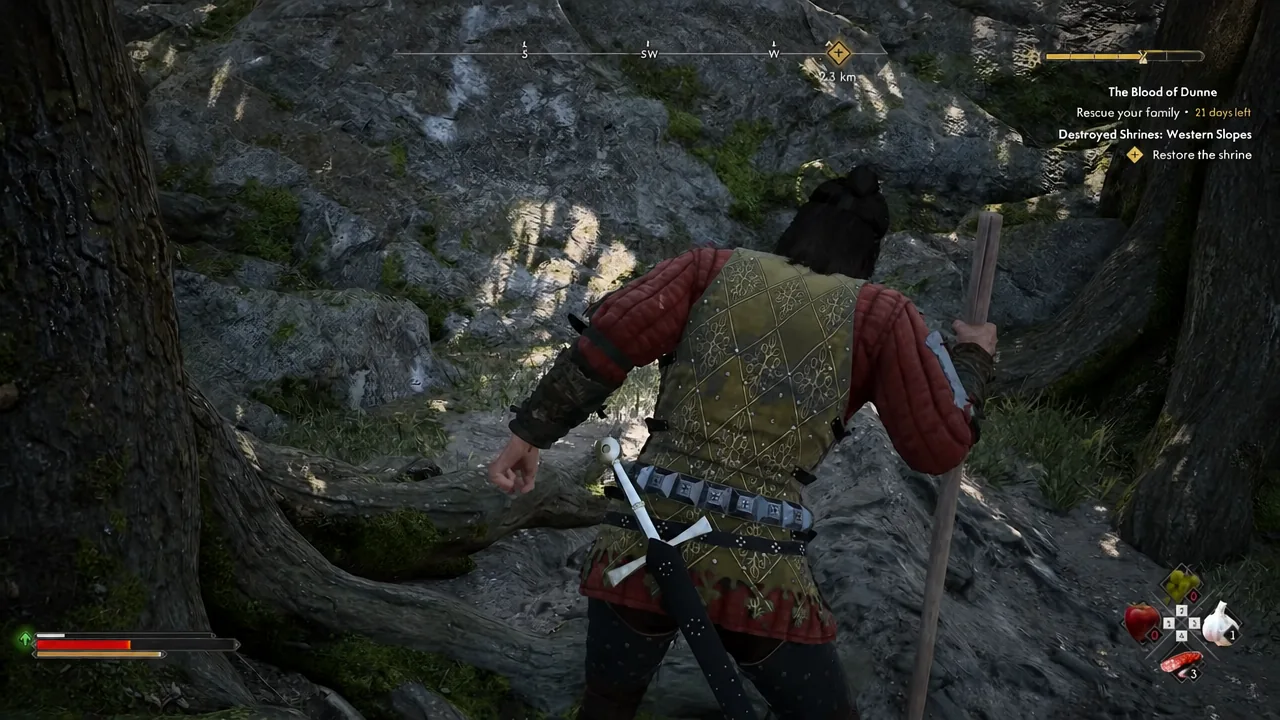
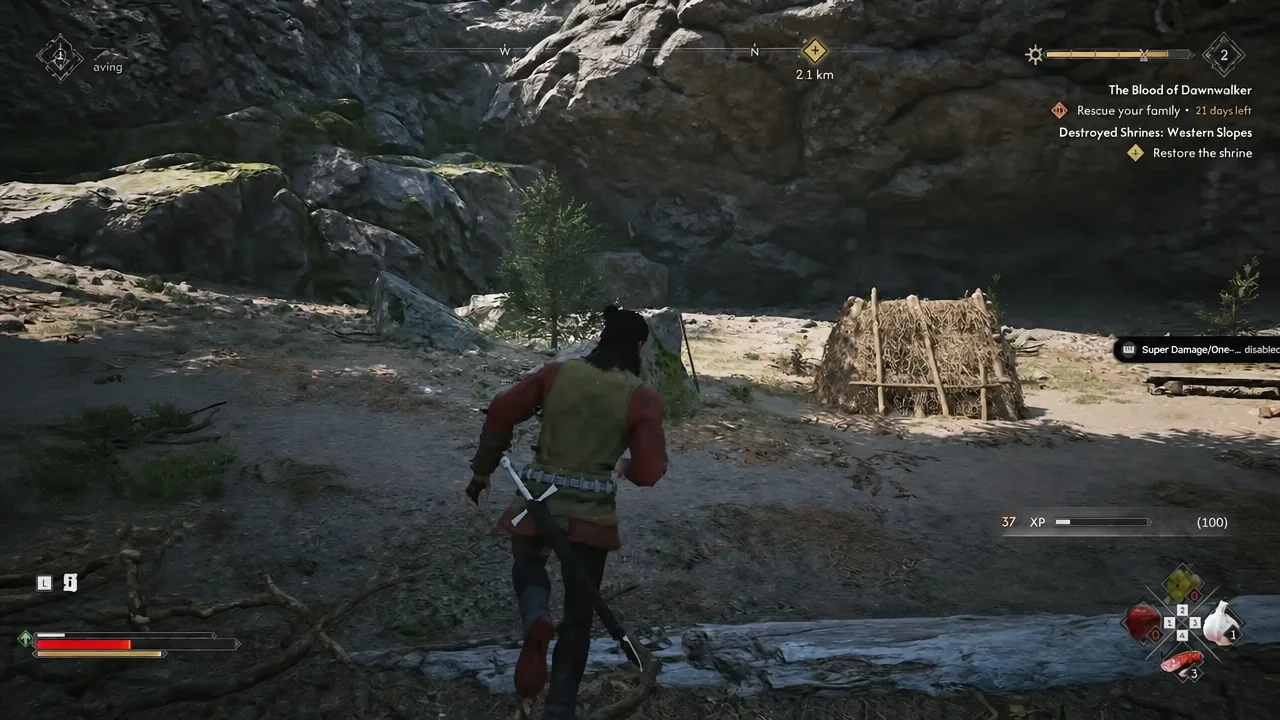
Note: if the interaction tells you a shovel is missing, look around the immediate area. The game usually leaves one lying near dig sites for players who haven’t picked one up yet.
Pond Islet treasure rewards
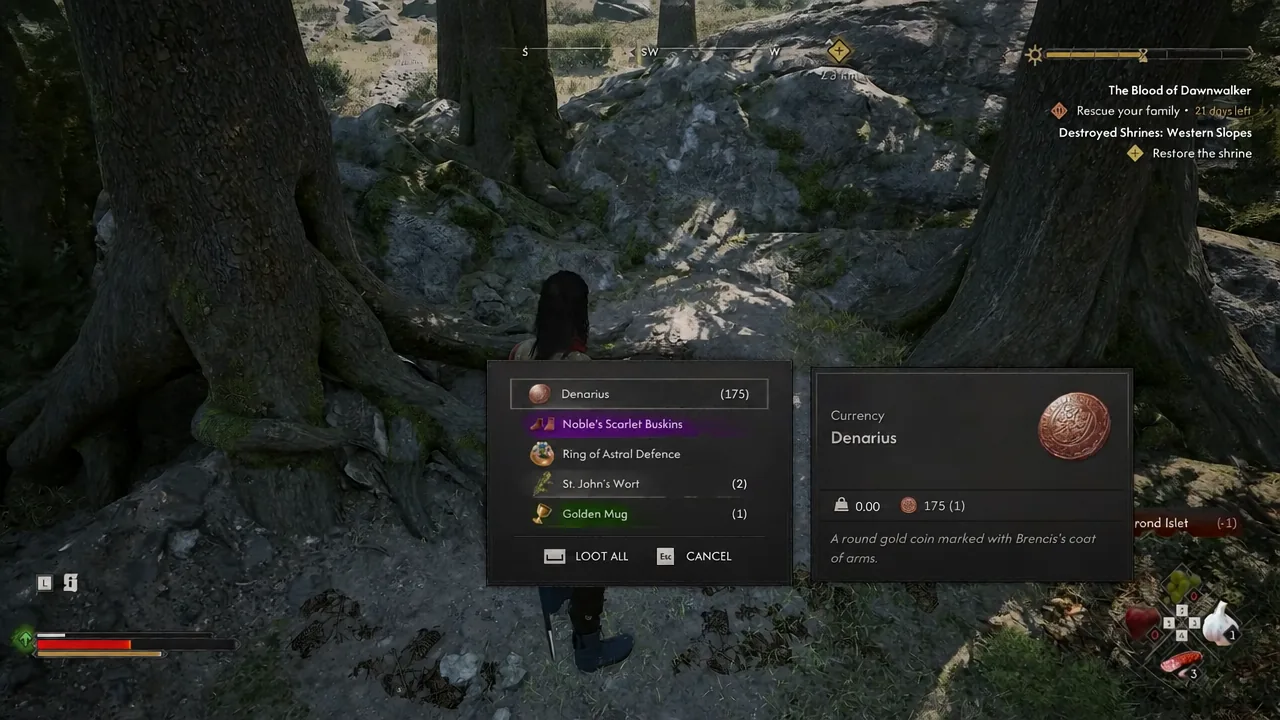
The chest pays out better than most early bandit maps, mainly because of the boots and the ring.
| Reward | Type |
|---|---|
| 175 Denarius | Currency |
| Noble’s Scarlet Buskins | Epic medium boots |
| Ring of Astral Defence | Ring |
| St. John’s Wort | Herb |
| Golden Mug | Miscellaneous item |
Confirming the activity is complete
Emptying the chest closes out Bandit’s Treasure Map: Rockfalls – Pond Islet. You’ll see the activity tick over as completed once the loot window is cleared, and the map item stops occupying a quest slot in your inventory.
If nothing updates, the usual culprit is a partial loot. Take every item rather than cherry-picking the Denarius, since the completion fires on the chest being emptied and not on reaching the islet.
Because the dig burns clock time, it’s worth folding this one into a trip you’re already making through the region rather than travelling out for it alone. The camp and the islet are close enough together that both can be handled in a single stop.





