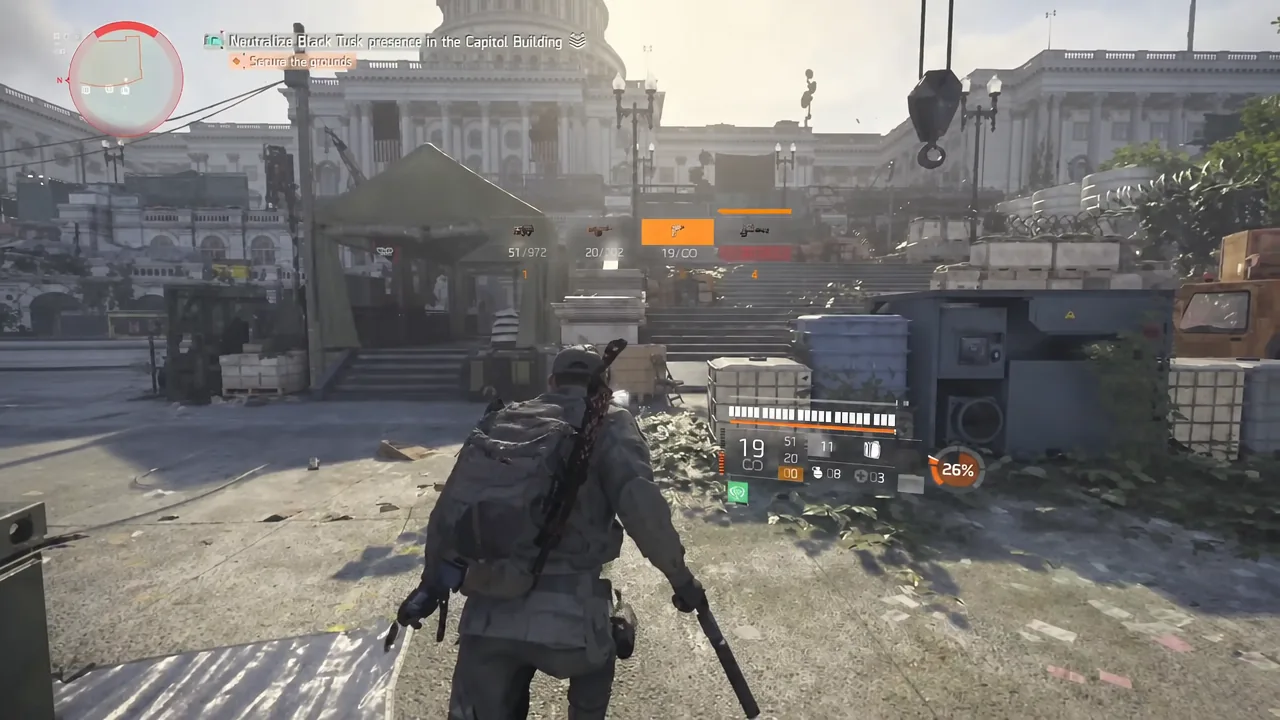
Striker’s Battlegear is still the most reliable damage set in The Division 2 for solo PvE, but the version that survives Heroic and Legendary content is not a pure red-core glass cannon. The setup below pairs four Striker pieces with Deathgrips gloves and Turmoil kneepads, trading a few damage rolls for roughly 1.3 million armor and around 329,000 armor restored per kill. The result is a build that keeps stacking while you push forward instead of forcing you back into cover every few seconds.
Quick answer: Equip Striker’s Mask, Harness, Pack, and Holster, add Deathgrips gloves and Turmoil kneepads, run Gunner specialization, and roll two to three blue cores so you land near 1.3M armor, 59% Critical Hit Chance, and 119% Critical Hit Damage.
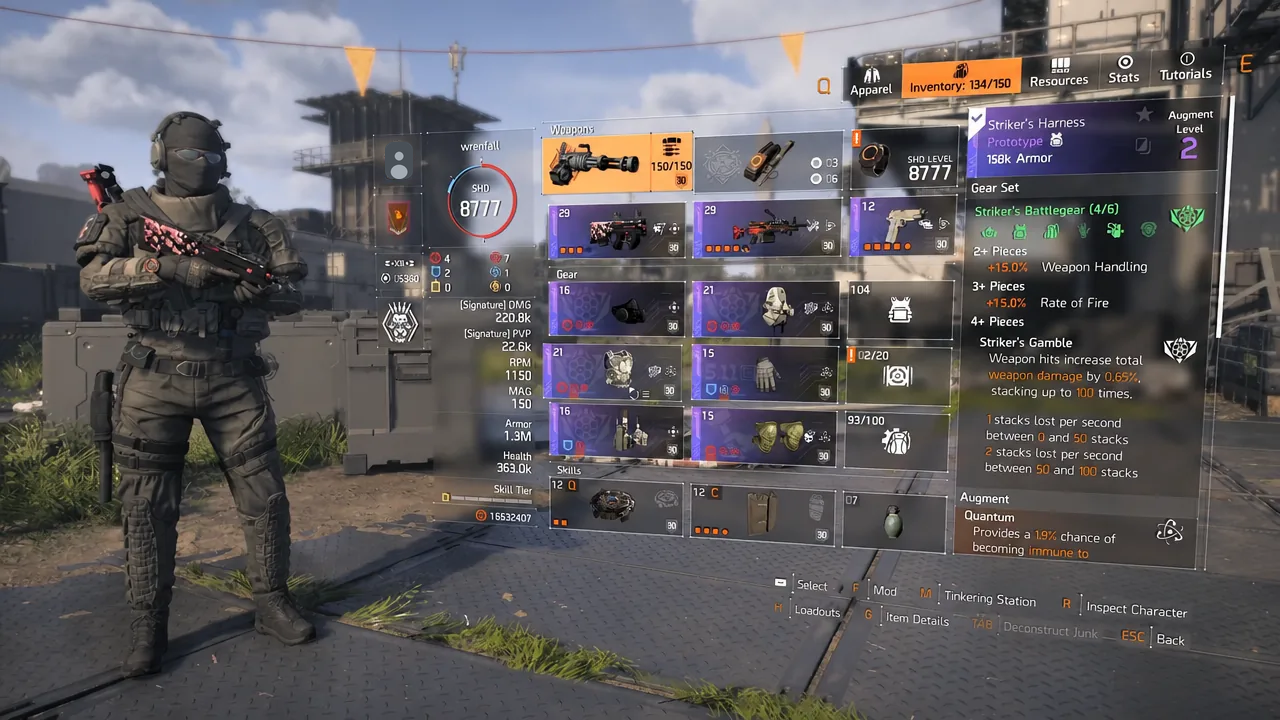
Full loadout for the solo Striker build
Six gear slots, three weapons, two skills. The four Striker pieces include the chest and backpack, which is the part that matters most, because those two slots are what let the set’s stacking mechanic reach full value instead of leaking damage into unrelated talents.
| Slot | Item |
|---|---|
| Mask | Striker’s Mask |
| Chest | Striker’s Harness |
| Backpack | Striker’s Pack |
| Holster | Striker’s Holster |
| Gloves | Deathgrips (5.11 Tactical) |
| Kneepads | Turmoil (Česká Výroba s.r.o.) |
| Primary | First Bloom (Assault Rifle) |
| Secondary | Gear Shift (LMG) |
| Sidearm | Sheriff |
| Skills | Ballistic Shield, Decoy |
| Specialization | Gunner |
Talents across the setup are Striker’s Gamble, Press the Advantage, Bewildered, Blossom Harvest, and Perfectly Measured. Augments used are Quantum, Echo, and Amalgam.
Why Deathgrips and Turmoil replace the last two Striker pieces
Dropping to four Striker pieces costs you nothing meaningful on the stacking side, and the two open slots do far more work elsewhere. Deathgrips is the 5.11 Tactical named gloves, and it brings a 10% Protection from Elites brand bonus along with a high Armor on Kill attribute. Elite damage is what actually kills solo players on Heroic and Legendary, so that mitigation is the difference between pushing an angle and getting deleted at it.
Turmoil, from the Česká Výroba s.r.o. brand, carries the Bewildered talent. It transfers a portion of your weapon damage onto enemies near your target, which quietly speeds up clearing packed rooms without changing how you aim. Palisade Steelworks pieces work as a substitute in that slot if you have not landed a usable Turmoil roll.
Stat targets to hit before you take it into Heroic
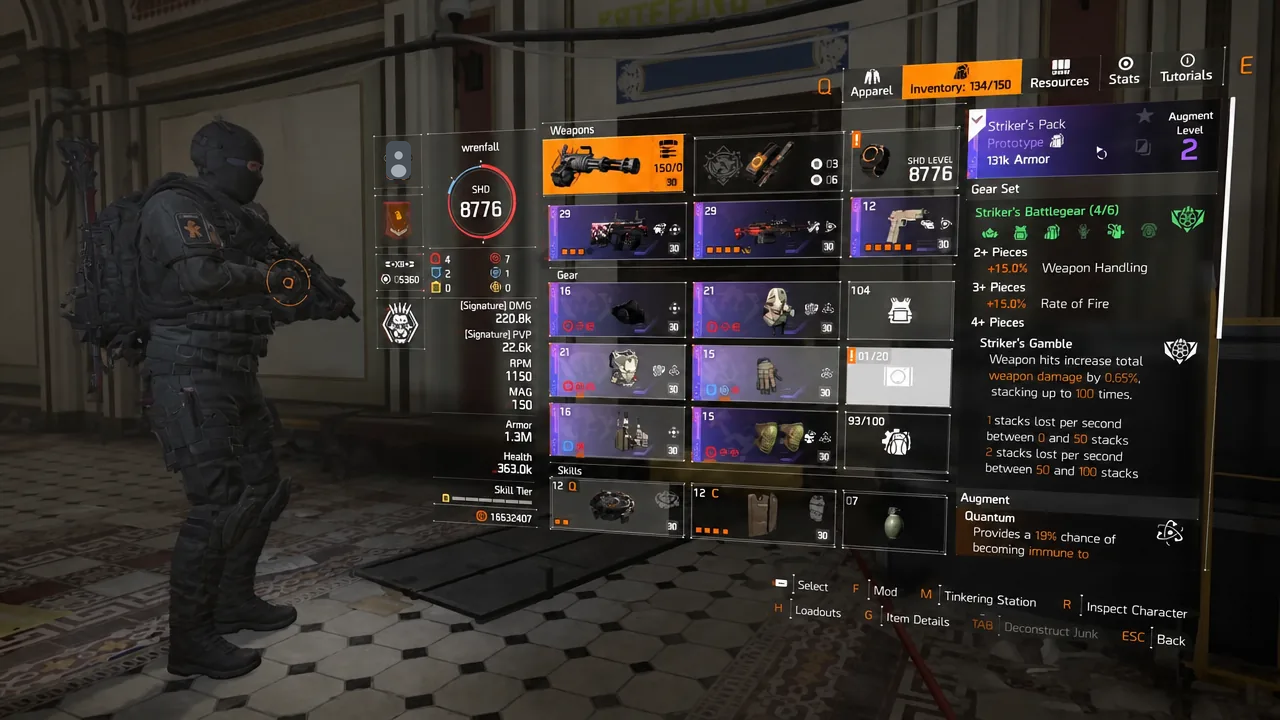
The core split is where most solo Striker builds go wrong. Two to three blue cores is the sweet spot here. Fewer and you fall out of the armor-on-kill loop the moment a heavy pushes you; more and enemies live long enough to reset your stacks.
| Stat | Value |
|---|---|
| Total Armor | 1,317,821 |
| Armor on Kill | 329,000 |
| Protection from Elites | 12.0% |
| Critical Hit Chance | 59.0% |
| Critical Hit Damage | 119.4% |
| Weapon Damage | 148,596 |
Body damage lands above one million with stacks running. Gunner is the specialization to take, since its armor-on-kill bonus stacks on top of what the gear already provides and keeps the sustain loop going through long fights.
Weapons: First Bloom and Gear Shift
First Bloom is the primary assault rifle, running the Blossom Harvest talent. It handles the medium-range work where Striker builds stacks most efficiently, and it is accurate enough that you are not wasting half a magazine and stalling your own stack generation.
Gear Shift is the LMG in the second slot, with Perfectly Measured. Its magazine size is what carries hallway and corridor fights, where you need to keep firing through a suppressed group rather than stopping to reload and losing stacks. The Sheriff fills the sidearm slot.
How to play it and how to tell it is working
Common reasons the build underperforms
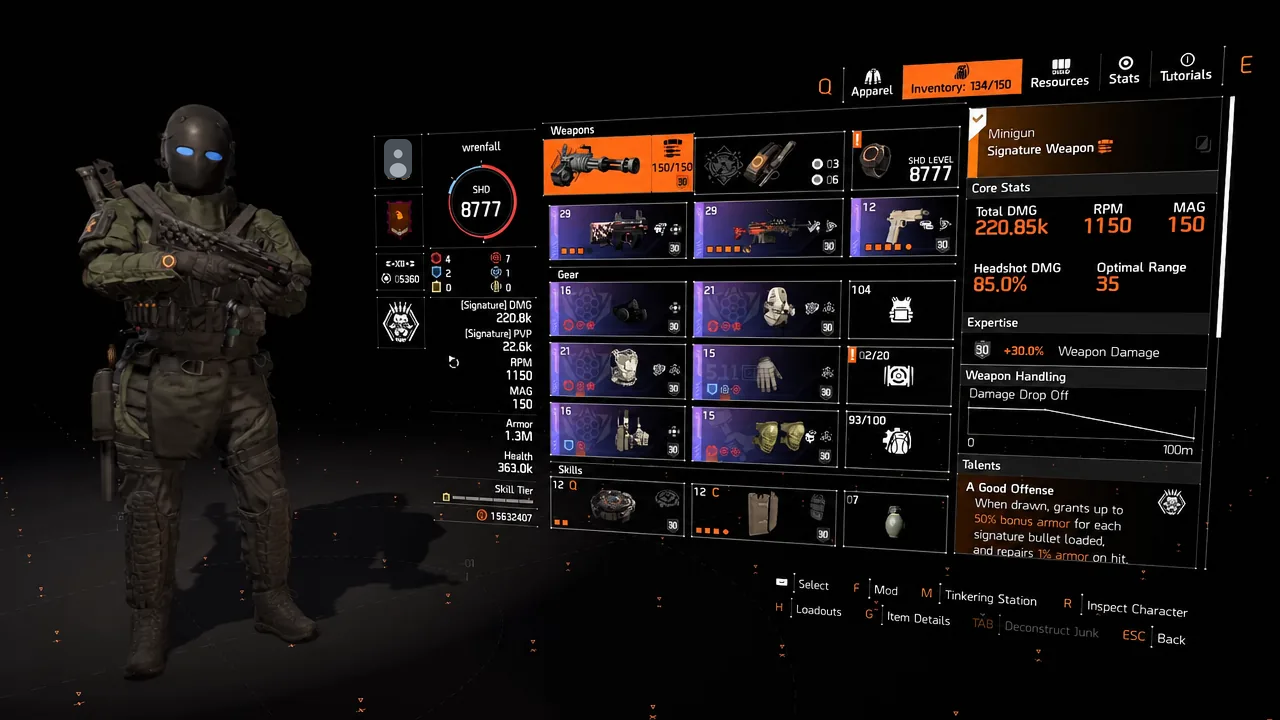
Striker punishes sloppy shooting more than any other set. Missed shots mean slower stack generation, lower sustained damage, and wasted ammunition, so weapon handling matters as much as your rolls.
- Too many red cores. Without two to three blue cores, armor on kill cannot outpace incoming elite damage on Legendary.
- Playing entirely from cover. Armor on kill only returns armor when things die, so passive play starves the sustain loop.
- Splitting the Striker set. Dropping the chest or backpack weakens the stacking mechanic the whole build is designed around.
- Skipping Gunner. Another specialization loses the extra armor-on-kill contribution that keeps the loop running.
Note: Prototype gear and the Quantum, Echo, and Amalgam augments improve the numbers, but the build works without them. Treat them as an upgrade path rather than a requirement, and get the four Striker pieces, Deathgrips, and Turmoil in place first.
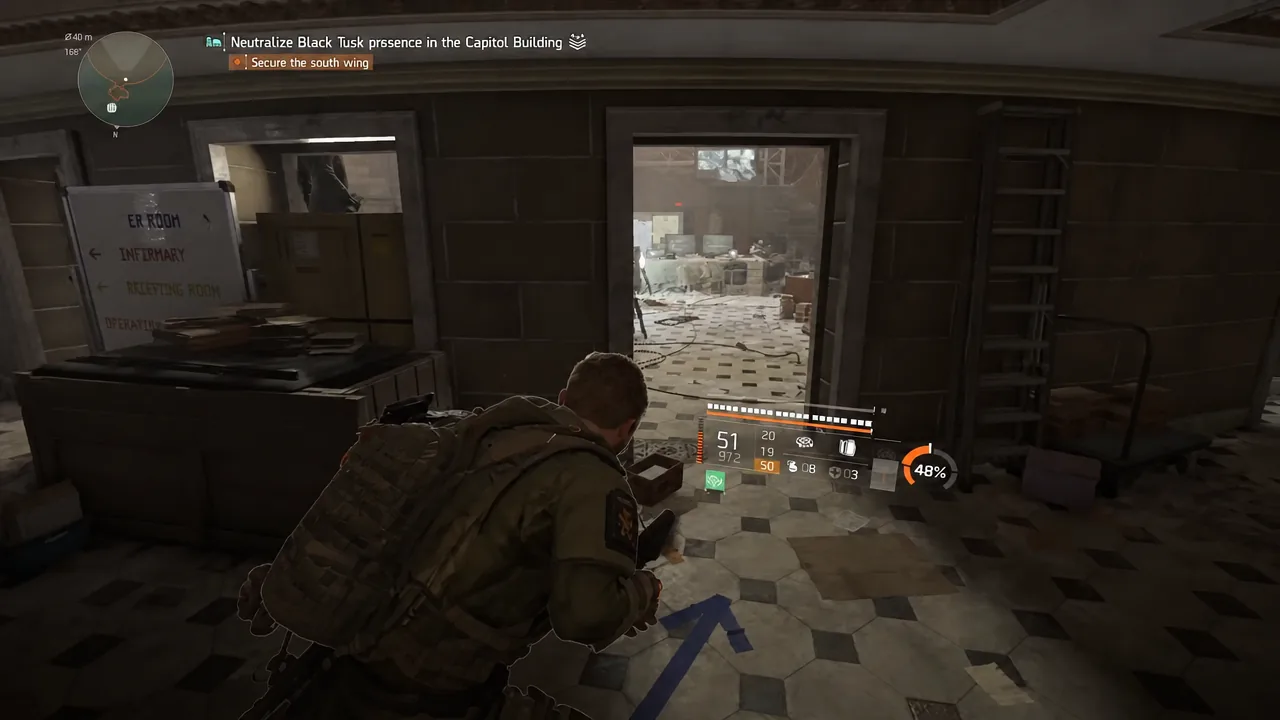
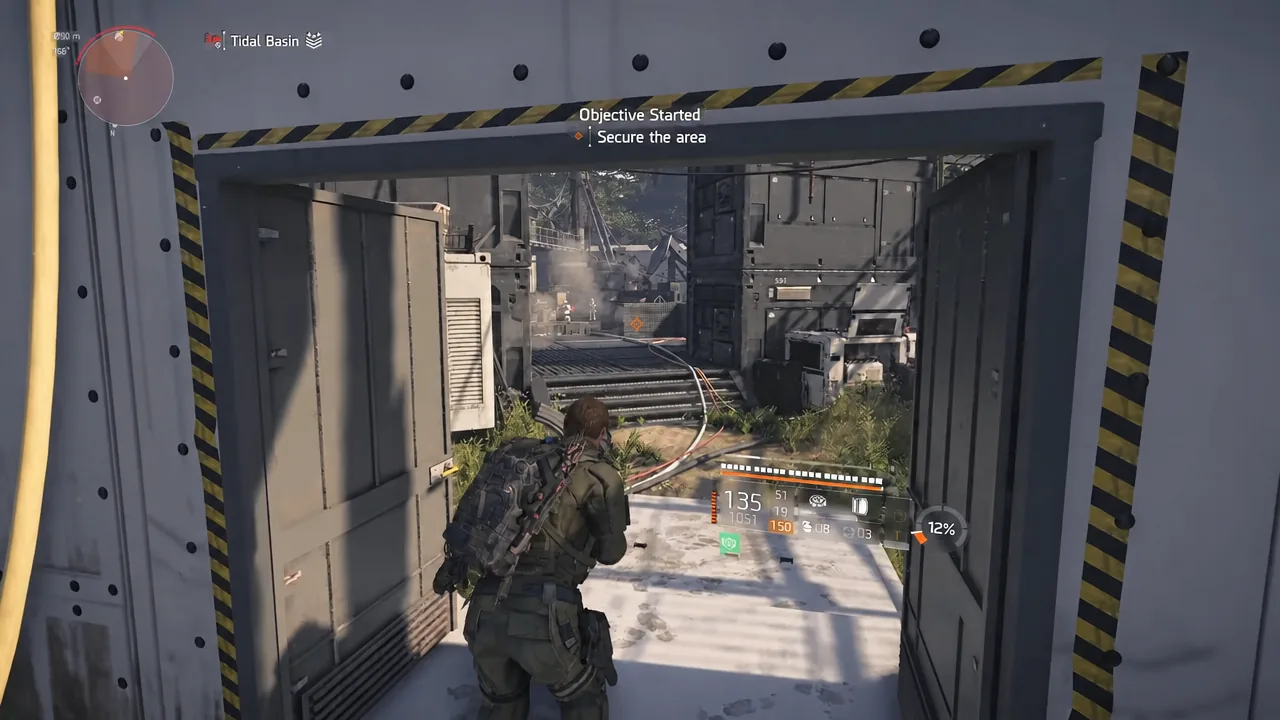
Under Pressure as a global modifier does not break the setup, and the same loadout holds up through control point defenses on Heroic as well as open-world clears in Tidal Basin. The pattern stays the same wherever you take it. Keep stacks up, kill something, get your armor back, and move to the next target before the ramp resets.