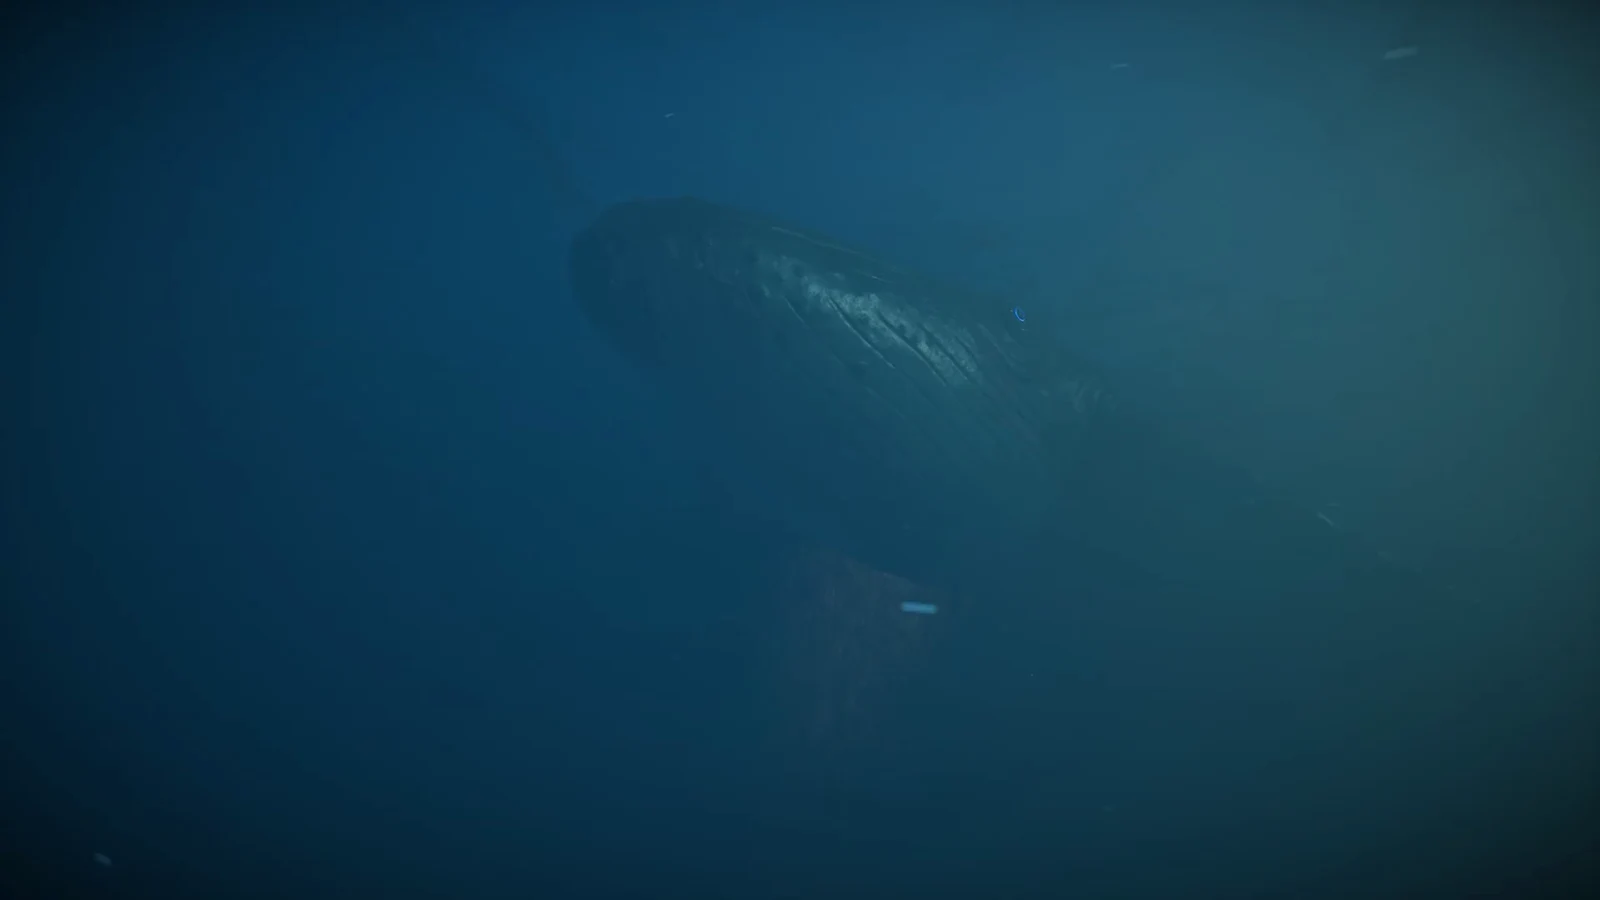
Project Jonah is the quest that turns a sunken bio-engineered whale into your personal oil rig. The objective text is blunt about what it wants: discover the control chamber below Platform Omega, connect a grown human to the control socket, and send the call into the water. The tricky part is that the “control socket” needs an actual finished human in an Incubation Pod, and once that pod goes down the shaft, it is staying there.
Quick answer: Carry a grown human pod down the hatch in front of Tower 4 at Platform Omega, seat it in the circular floor socket, then trigger the switch on the yellow column above it.
Project Jonah requirements before you sail
Three things gate this quest, and all of them are easier to sort out at home than at the platform.
- A fully grown human in an Incubation Pod, not a raw seed.
- Parts for a Typhoon wind generator and a Medium Battery, plus spare Electric Cable and at least one Electric Cable Extender.
- A weapon you trust — the Rifle TRI handles the platform’s crawling spider drones without much fuss.
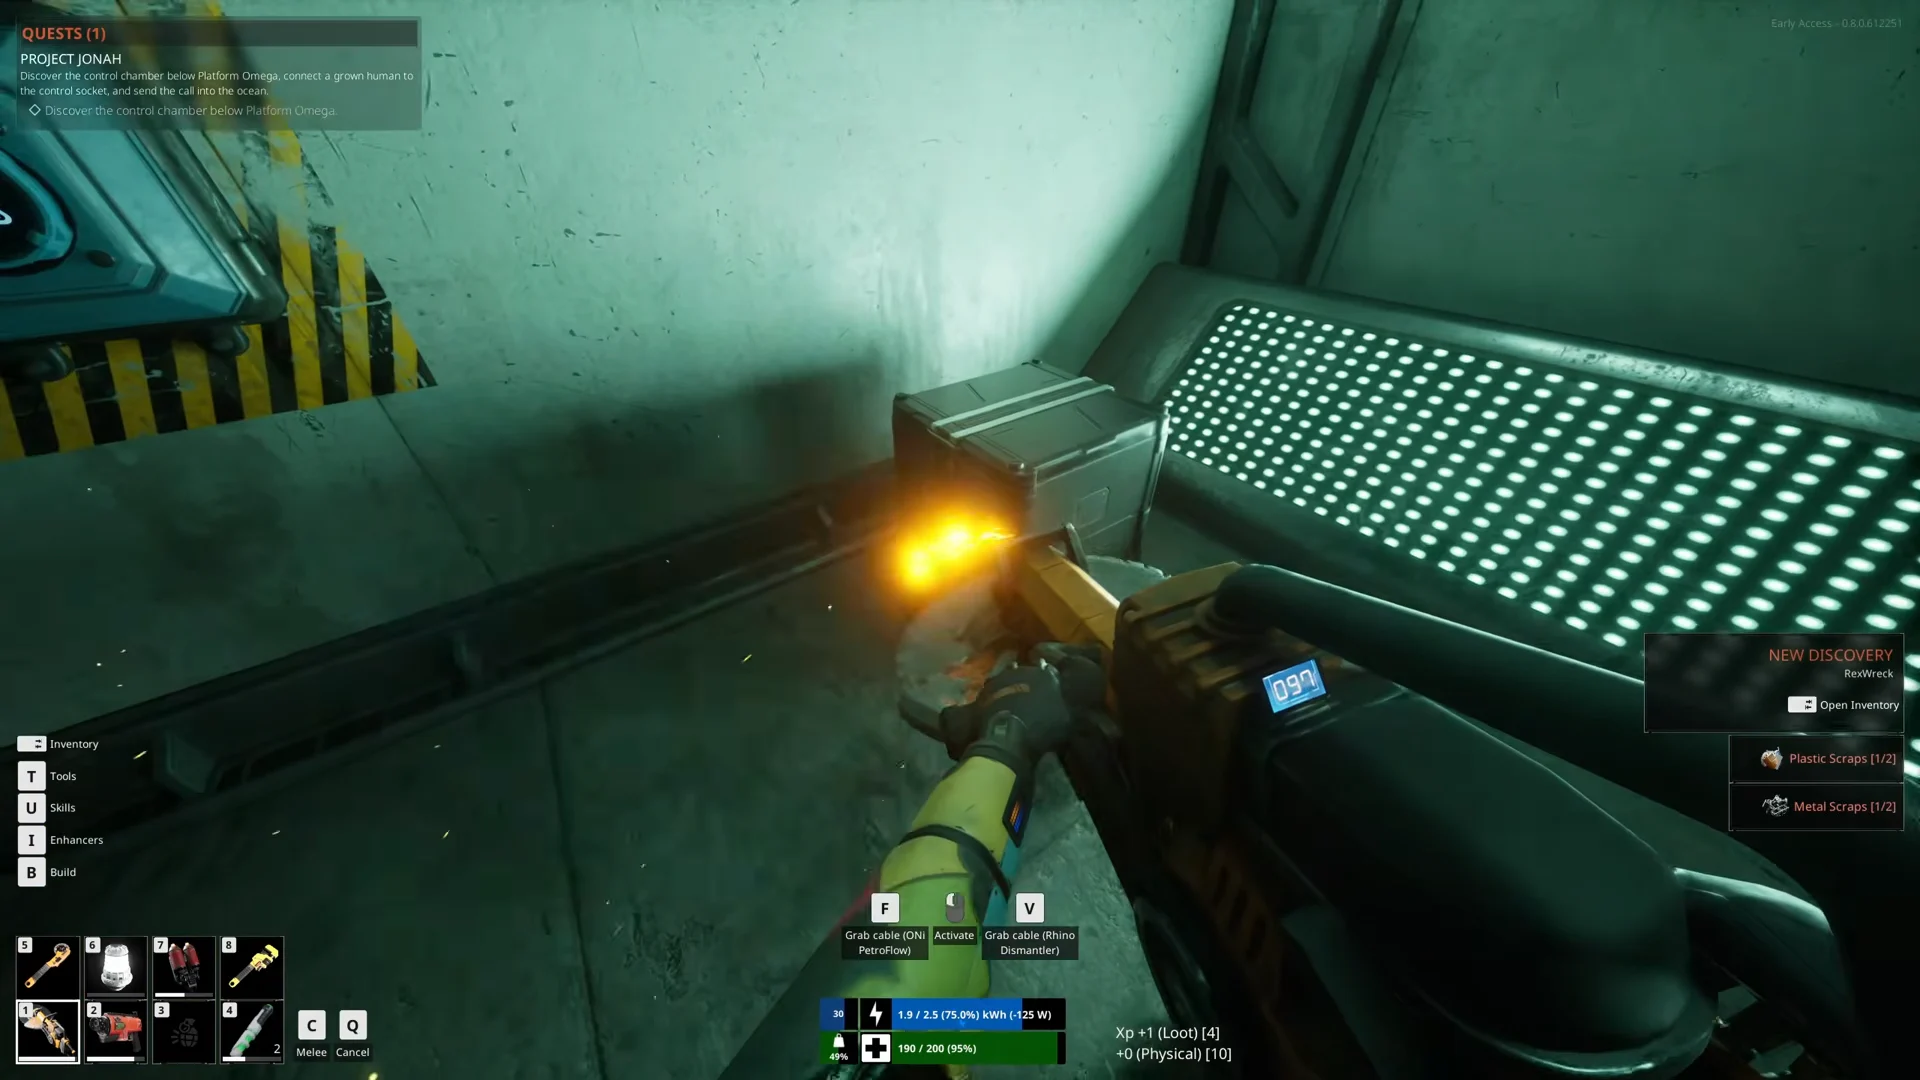
Growing the human requires the Lazarus Complex to be online, with racks running. Seeds are plentiful from the various Seed Vaults, so the bottleneck is the food and memory items you feed the growth pod to clear its minimum requirements. If you are short on salvage for the turbine and battery, the Rhino Dismantler — a fuel-fed dismantling saw unlocked through the Skills menu — strips crates and benches far faster than hand tools.
Pick a human you do not care about. A duplicate, or a cheap profession like a Room Supervisor with only the bare minimum nutrients, is the smart choice. The pod cannot be carried up a ladder once it is in the lower chamber, so anything you send down is effectively gone — do not use a human you were planning to launch into space.
Platform Omega location and landing
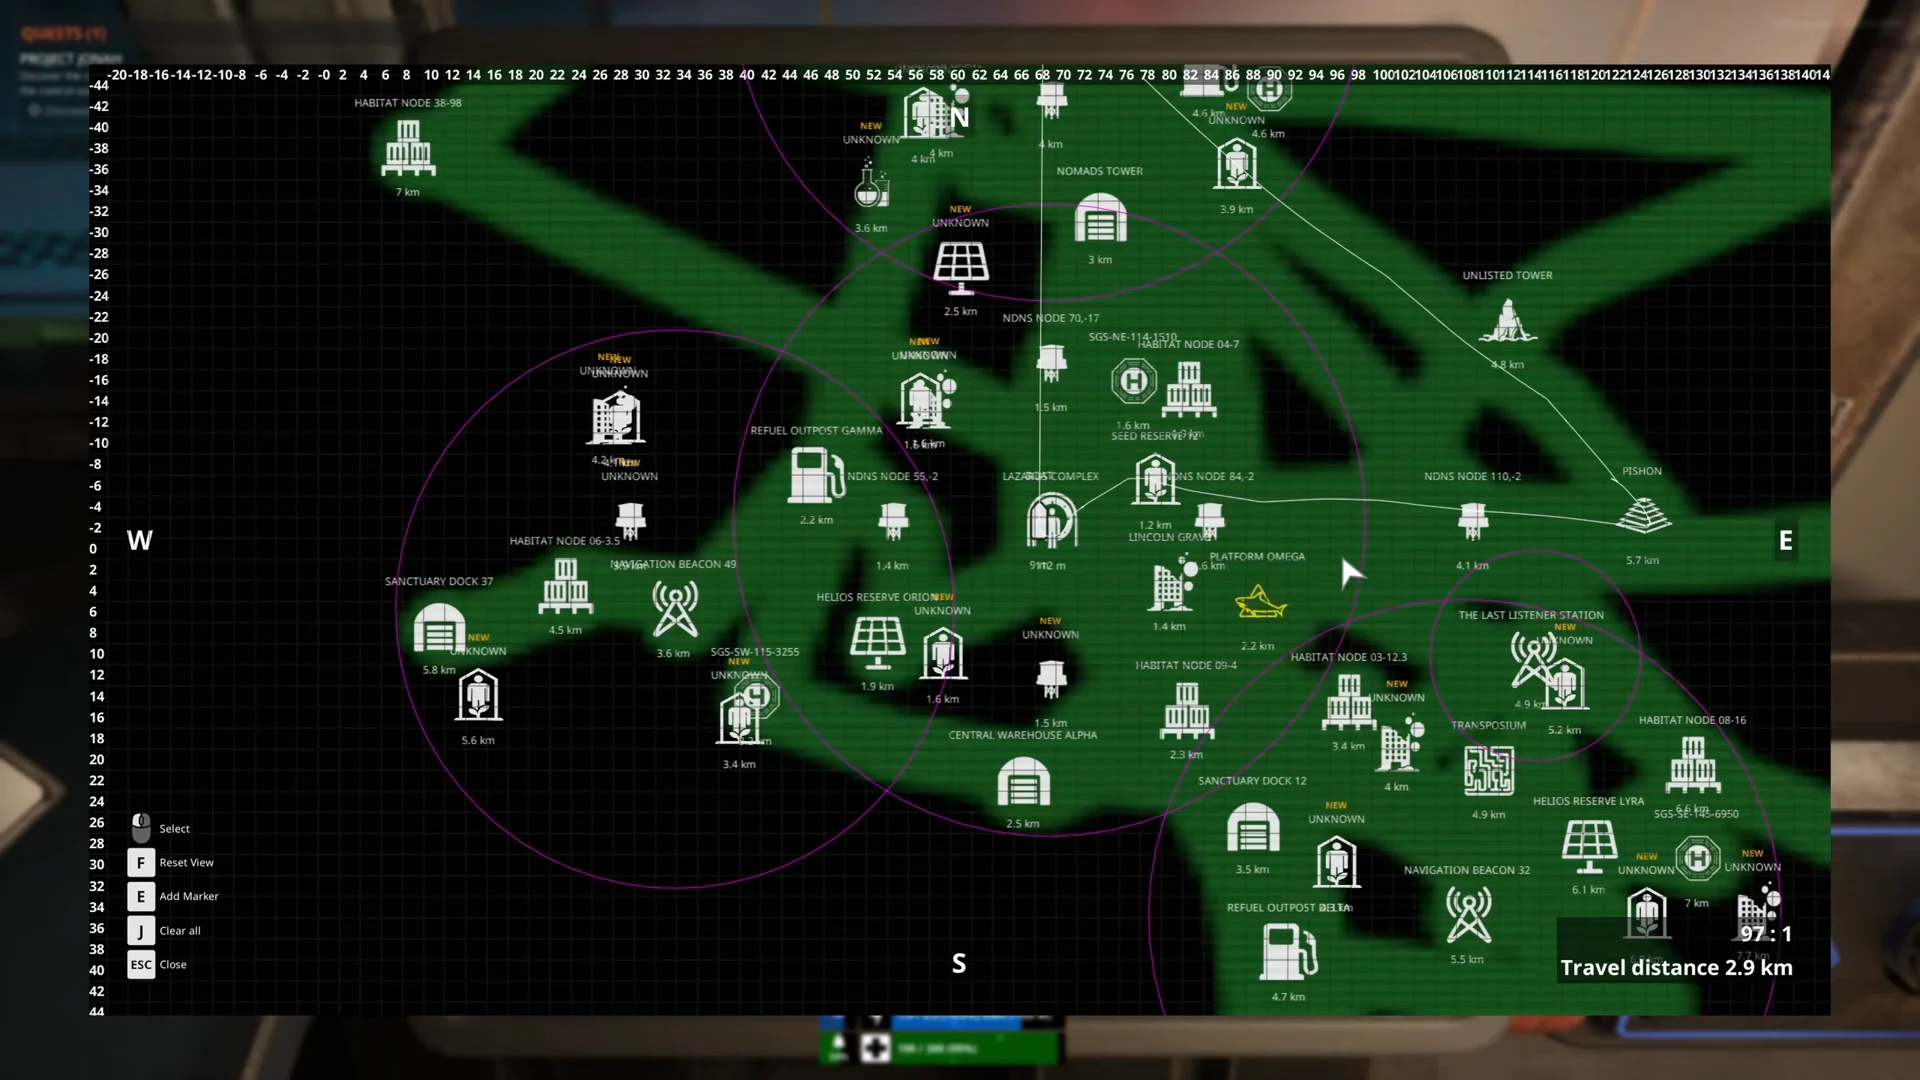
Platform Omega sits directly east of the Lazarus Complex, flagged on the navigation map with the shark icon. If you already ran the shark-hunting errands here, it is the same site. Load the pod onto your boat before you leave, then steer in and drop anchor near the ladder marked with a yellow 1.
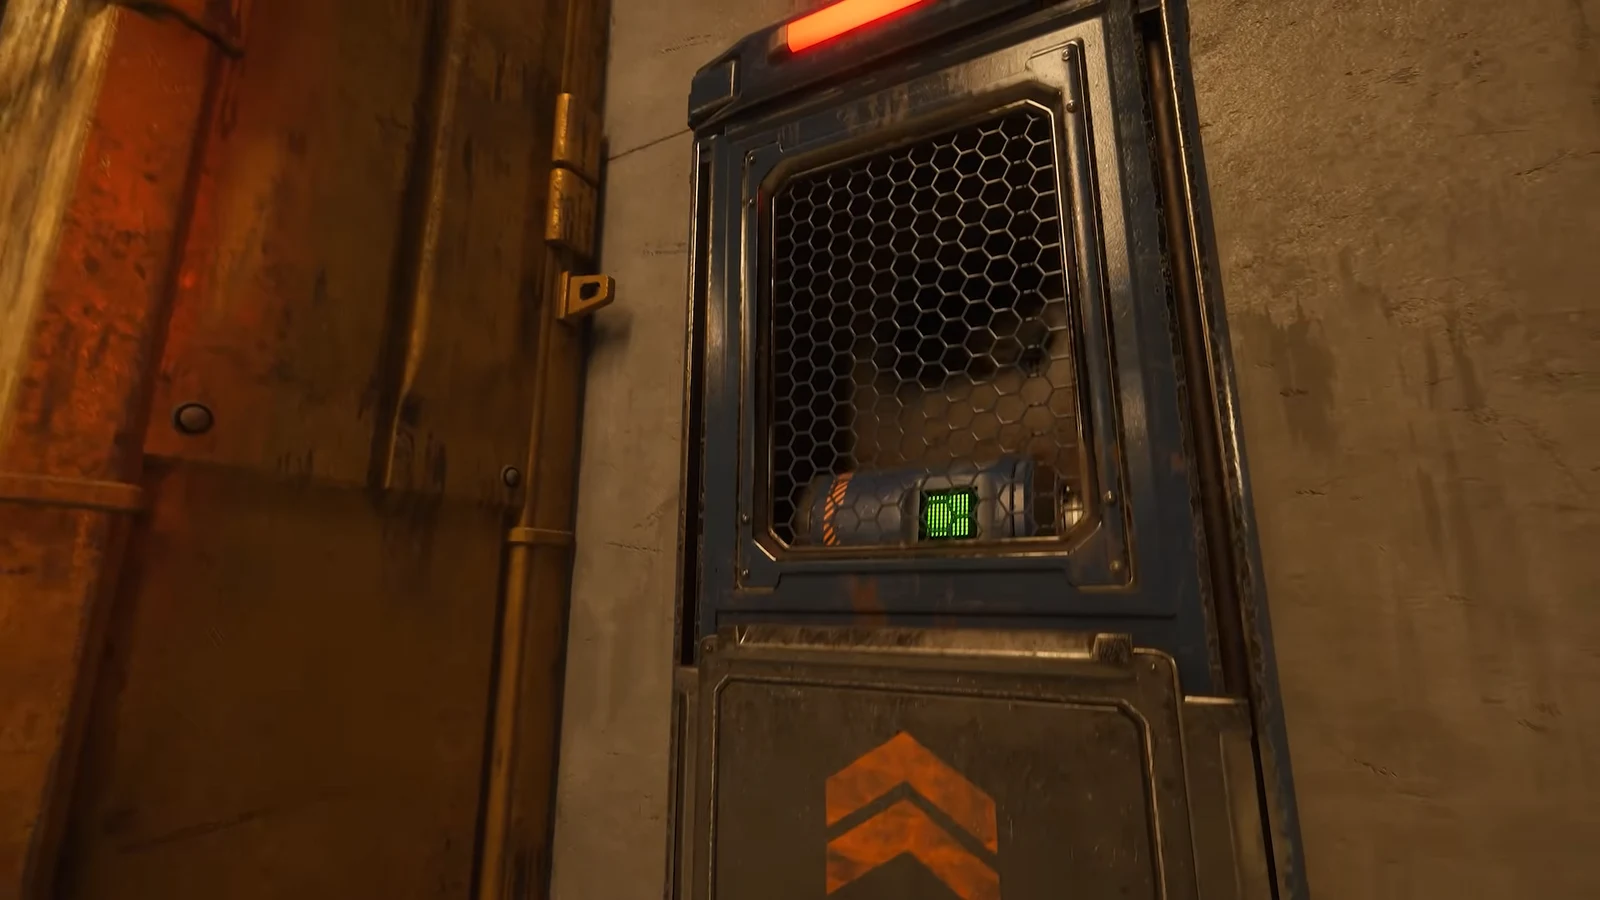
Climb up empty-handed first and clear the deck. Small robotic spider drones patrol the catwalks in clusters, including a group on the northern walkway between the towers. Dealing with them before you start hauling a heavy pod around saves you from being knocked about mid-carry.
Restore power to the Platform Omega control room
The generator roof area near the landing ladder is marked as needing electricity. Building a small power loop there switches on the platform’s electronics and opens the interior rooms, which hold scrap worth grabbing on the way past.
| Part | Role |
|---|---|
| Typhoon | Wind generator, the power source |
| Medium Battery | Buffers charge overnight and in low wind |
| Electric Cable | Links turbine, battery and junction box |
| Electric Cable Extender | Bridges the run through the wall indoors |
The locked towers are a separate quest
Touching Tower 1’s sealed door pops a dialogue about entry criteria and hands you the Omega Nursery objective. It is a side task tied to feeding the bays, and it has nothing to do with the whale — you do not need any tower open to finish Project Jonah.
| Bay | Delivery |
|---|---|
| Bay 1 | 4 Shark Carcasses |
| Bay 2 | 7 Shark Carcasses |
| Bay 3 | 1 Talon Shark – Dorsal Model |
Find the hatch below Tower 4
Cross the elevated bridges, run past locked Tower 2, and follow the long catwalk to the far side of the complex. On the walkway directly in front of the door marked 4 there is an open floor grate with a yellow maintenance ladder dropping into darkness. That shaft is the only way into the Jonah control chamber.
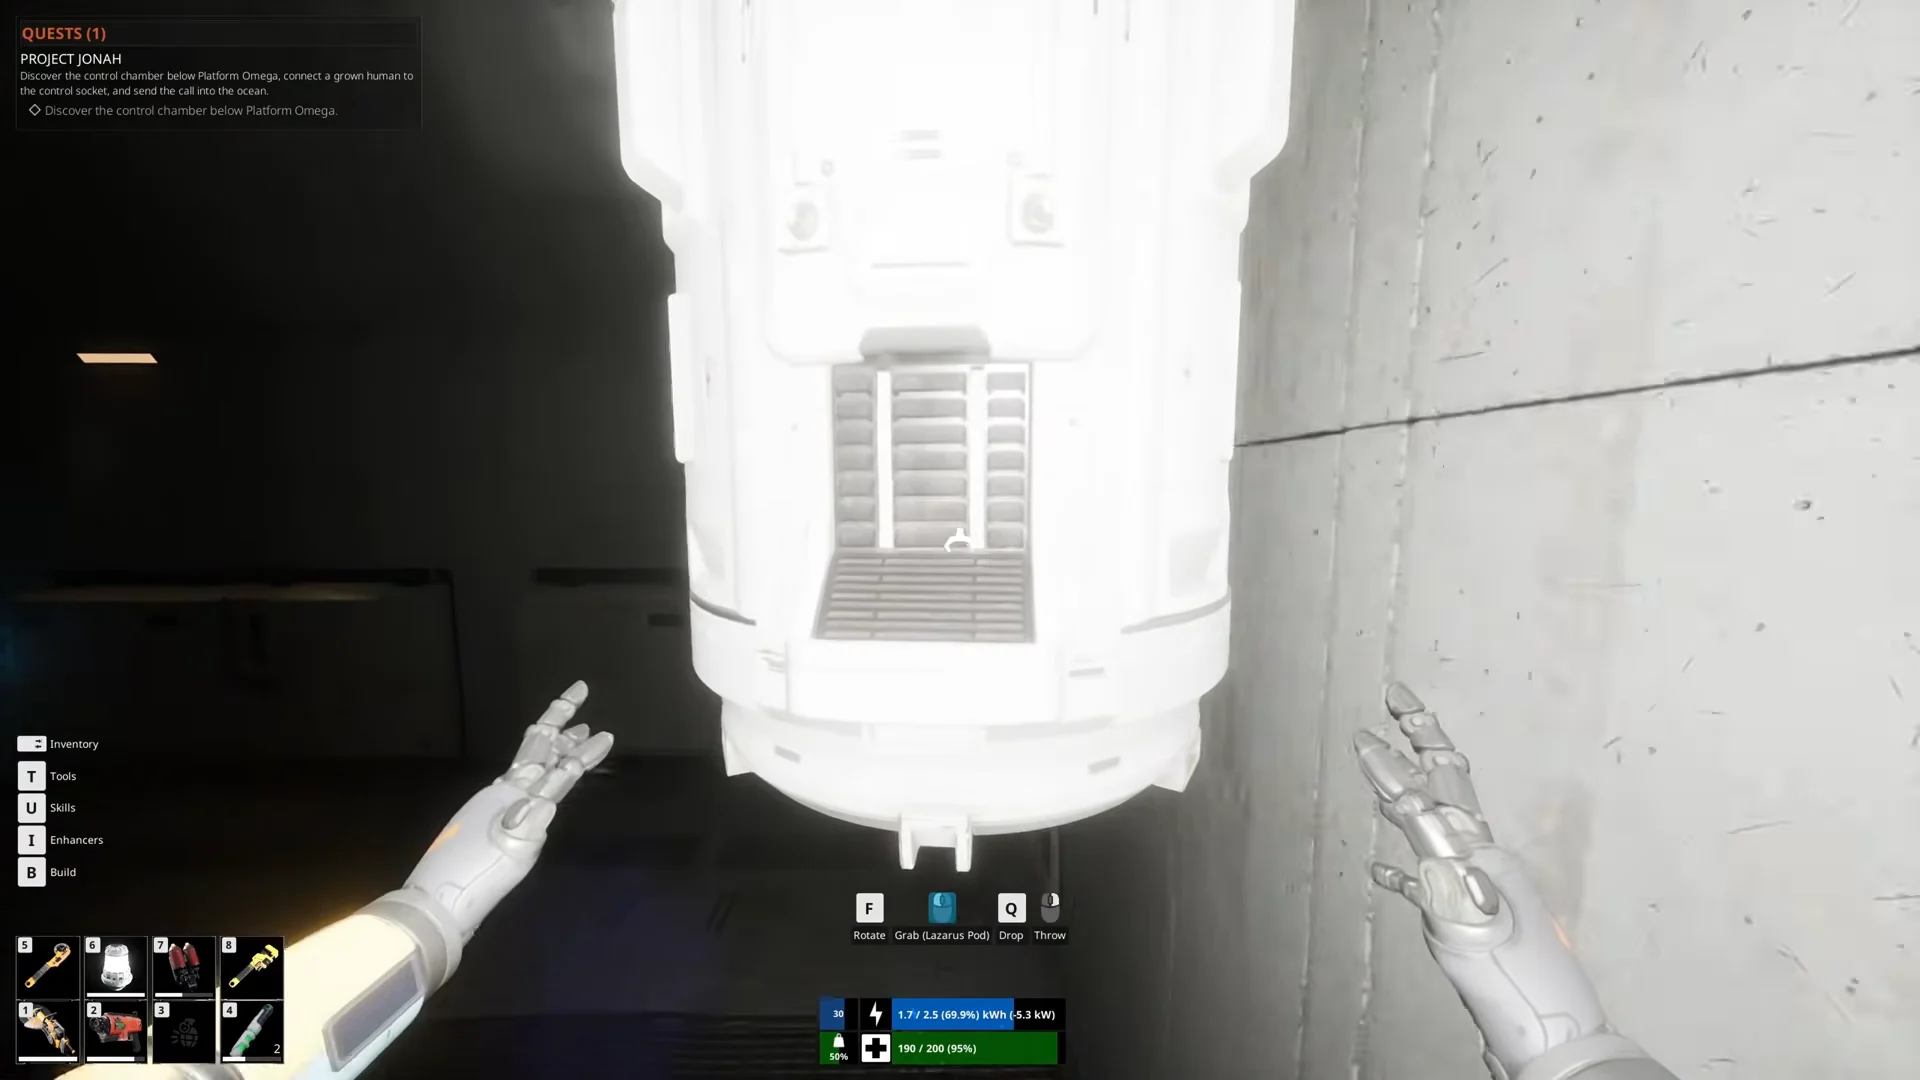
It is worth walking down once before you fetch the pod. The ladder leads into service tunnels, then a blast door, then a stairwell that opens into the chamber itself, with a wall of shutters facing the sea. On the floor is a circular biological socket — inspecting it confirms the system will only send the call with a grown human attached.
Move the Incubation Pod into the Jonah chamber
How to confirm Project Jonah is active
The blast shutters roll open and an enormous whale glides past the window underwater. On-screen you get a “Project jonah is active” notification, the quest entry closes out, and the experience payout is large enough to trigger a level-up with fresh skill and enhancer points. If the shutters stay shut, the pod is not properly seated in the socket — reposition it and hit the switch again.
Do not waste time trying to retrieve the pod. It cannot be carried up the maintenance ladder, and wrestling it through the shaft opening is a long, unreliable job. Leave it in the socket.
Harvesting oil from the whale
Climb back up to the platform, board your boat, and look for the whale on the surface nearby. Its flank has docking points, so you can moor against it and climb on top, where an oil extraction point and a power terminal sit on a metal platform.
Building wind turbines or solar panels on the whale’s back has been unreliable — most of its surface refuses construction, and even the metal platform may reject placement. Ferrying charged batteries over from your boat is the dependable approach.
Once the loop is running, the whale is the fastest oil source in the game, which matters a great deal if you are working through the Eden Frames and would rather not grind the Recovery Grinder for every last liter.