Chapter 2 of The Sinking City 2, “The Wake-Up Call,” holds 20 Codex entries scattered across five distinct areas. These lore documents sit on shelves, desks, corpses, blackboards, and inside locked chests, and every one of them is missable. Once you finish the chapter, you cannot return to any of its areas, so grab them all before you move on.
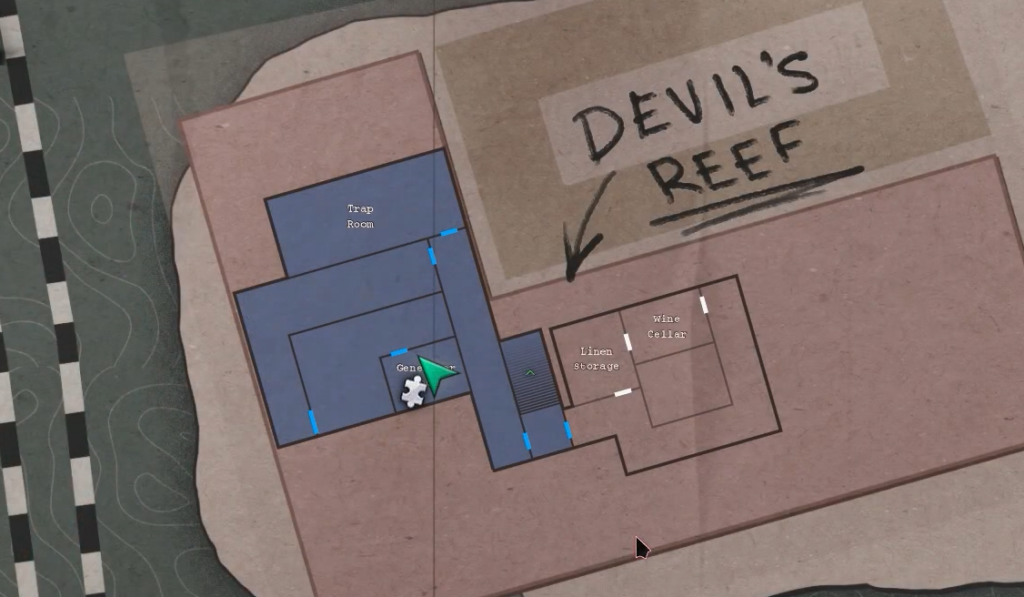
Quick answer: The 20 Codex entries are split across the Annex (4), the Church grounds (4), the Printing House (3), a residential building near College St. (1), and the Devil’s Reef Hotel (8). Check that every room shows blue on the map before you advance, since there is no chapter select.
All 20 Codex entry locations in The Wake-Up Call
| # | Codex entry | Location |
|---|---|---|
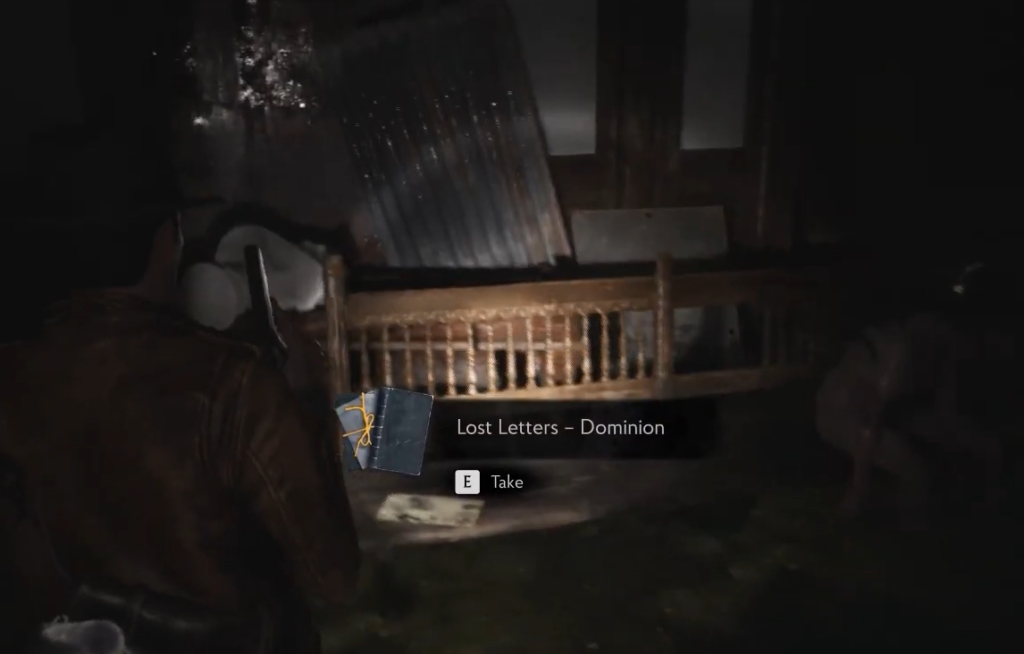
| 1 | Lost Letters – Dominion | Annex Registry / Corridor (1F), on a bench near the northern wall |
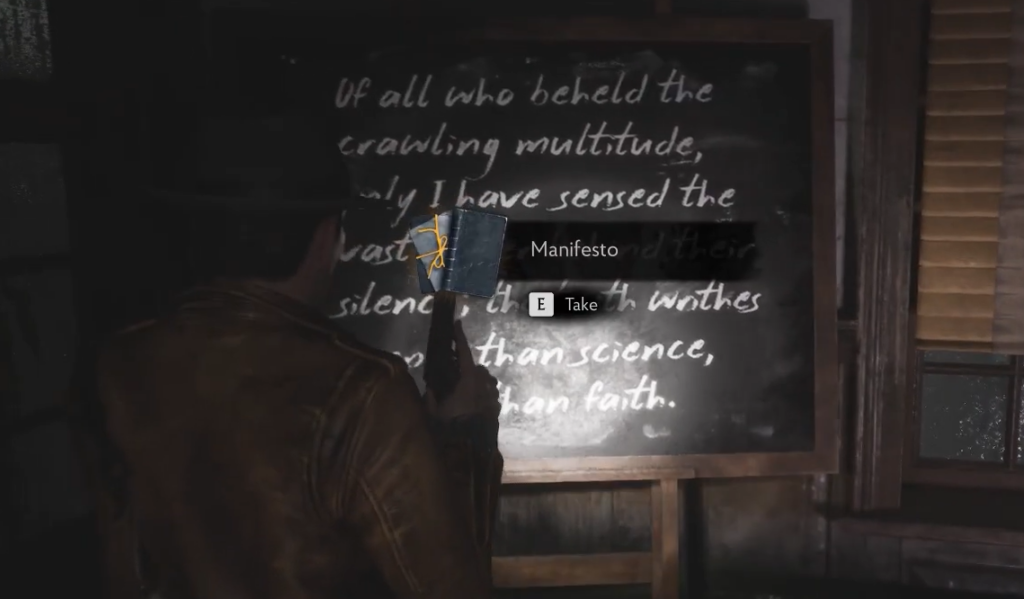
| 2 | Manifesto | Annex Conference Room (1F), examine the blackboard |
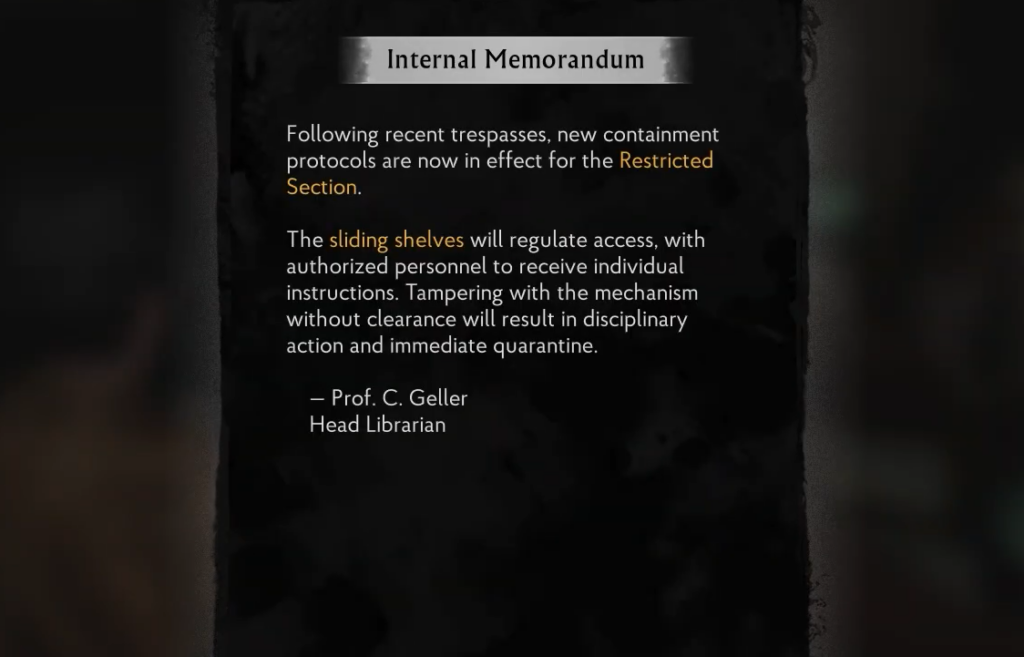
| 3 | Internal Memorandum | Annex Reading Hall (1F), on a desk with green lamps |
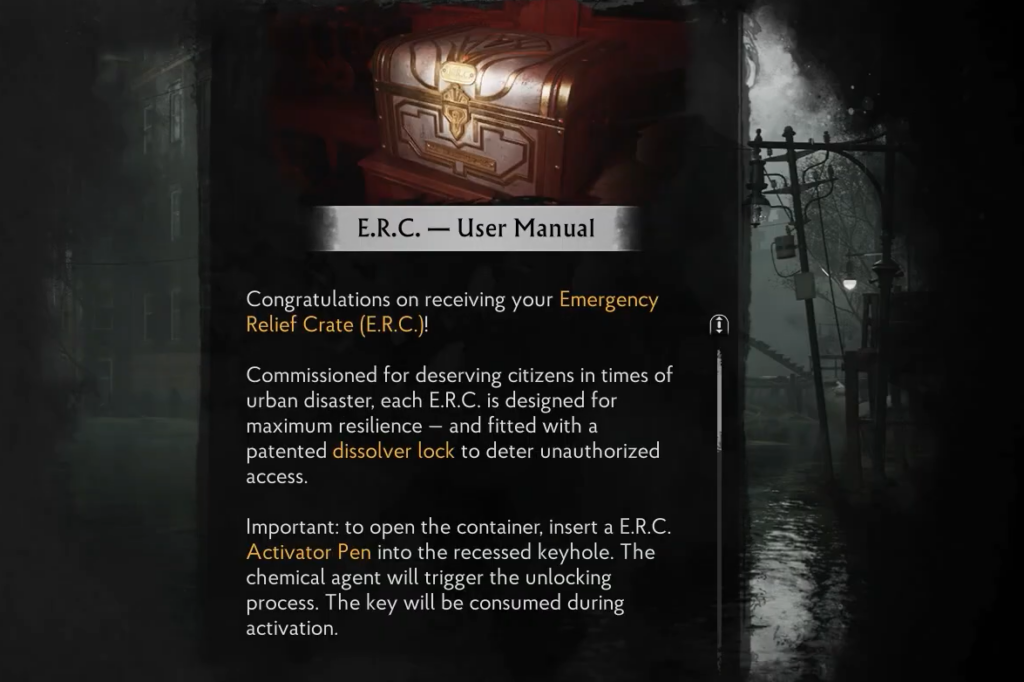
| 4 | E.R.C. – User Manual | Annex Library (1F), inside an open red E.R.C. crate |
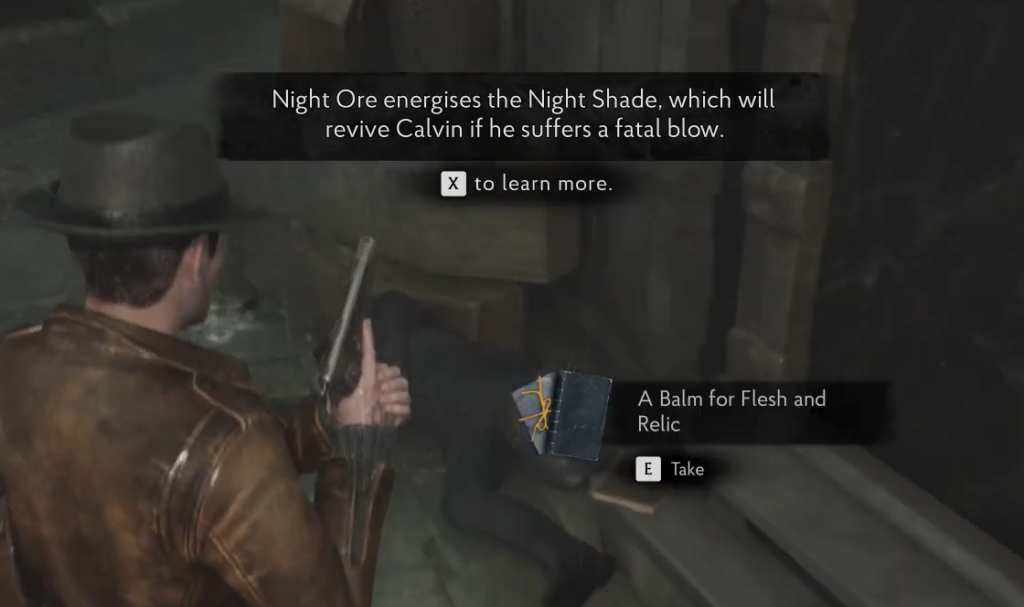
| 5 | A Balm for Flesh and Relic | South of the Church on Cathedral St., on a corpse near a boat |
| 6 | Stained Note | Northeast of the Church, on a stone step near the water |
| 7 | Look for Dream Essence! | Inside the Church behind the glowing green symbol door, on a table |
| 8 | Lost Letters – The Conduit | North of the Church, on a stone pedestal outside |
| 9 | Adventure Awaits for Arkham’s Academics | Printing House (1F), on a table in a back room |
| 10 | Lost Letters – Staying With You | Printing House (2F), on a nightstand in a room entered through a window |
| 11 | Floodwaters Rise! | Printing House Main Office (2F), on a desk |
| 12 | Lost Letters – Meet Me At Dawn | Building near College St. (1F), on a body in a ruined room |
| 13 | Gerda Lost Her Head | Building near Devil’s Reef (2F), inside a yellow chest |
| 14 | Your Last Game | Devil’s Reef (2F, Room 215), on a chair beside a corpse |
| 15 | Lost Letters – An Artifact | Devil’s Reef (2F, Room 204), on a table |
| 16 | Lorelei’s Request | Devil’s Reef (2F, Room 202), on a dresser |
| 17 | Run for Your Life | Devil’s Reef (3F, Room 303), on a corpse on the floor |
| 18 | Ventilation System Schematic | Devil’s Reef basement (-1F), on a wall |
| 19 | Carruthers the Crook | Devil’s Reef basement (-1F, Generator Room), on a bench |
| 20 | Mustard Gas | Devil’s Reef basement (-1F, Generator Room), on a table next to gas canisters |
Annex Codex entries (1–4)
The chapter opens inside the Miskatonic University library Annex. Four Codex entries sit across the ground floor before you climb up to the Restricted Section.
Lost Letters – Dominion is in the long flooded Corridor just off the Registry. Turn left when you see the hanging body and check the bench against the far wall.
Manifesto is inside the Conference Room. Walk to the blackboard at the back and interact with the chalk writing to log it.
Internal Memorandum waits in the Reading Hall. Pass through the restroom and classroom, then look for the desk near the broken ceiling you use to climb higher.
E.R.C. – User Manual sits in an already-open E.R.C. crate deeper in the Library, in the same area where you meet Corentin. Grab the nearby E.R.C. Activator Pen so you can return to the reception crate for the Voss Compensator pistol upgrade.
Church grounds Codex entries (5–8)
After leaving the Annex through the window and taking the boat, you dock near a church. Four entries are spread around the exterior grounds and inside the building.
A Balm for Flesh and Relic is south of the church on Cathedral St. Look for a corpse next to a boat and take the note there.
Stained Note is northeast of the church. Head into the flooded section, look left for the hole in the stonework, and pick up the note resting on a stone step near the water.
Look for Dream Essence! is inside the church safe room, reached through the door marked with the glowing green symbol. The note is on the table to the right, alongside a Dream Essence.
Lost Letters – The Conduit sits north of the church on a stone pedestal outside. Follow the steps back up toward the building and round the corner to find it.
While clearing the church, watch the ground for hidden bear traps as you move between the exterior collectibles.
Printing House and College St. Codex entries (9–12)
The Printing House holds three entries across its two floors, and a nearby residential building near College St. hides one more.
Adventure Awaits for Arkham’s Academics is a newspaper clipping on a table in a back room on the first floor of the Printing House.
Lost Letters – Staying With You is on the second floor. Enter the room through the window and check the nightstand.
Floodwaters Rise! is another newspaper clipping, found on a desk in the Printing House Main Office on the second floor.
Lost Letters – Meet Me At Dawn is in a building near College St. on the first floor. Look for a body in a ruined room and take the letter from it.
Devil’s Reef Hotel Codex entries (13–20)
The Devil’s Reef Hotel contains the largest cluster, with eight entries spread across the upper floors and the basement. Sweep every numbered room and the Generator Room before you leave.
Gerda Lost Her Head is in a building near Devil’s Reef on the second floor, tucked inside a yellow chest.
Your Last Game is in Room 215 on the second floor, sitting on a chair next to a corpse.
Lost Letters – An Artifact is in Room 204 on the second floor, resting on a table.
Lorelei’s Request is in Room 202 on the second floor, on a dresser.
Run for Your Life is up in Room 303 on the third floor, on a corpse on the floor.
Ventilation System Schematic is in the basement (-1F), attached to a wall.
Carruthers the Crook is in the basement Generator Room (-1F), on a bench.
Mustard Gas is also in the basement Generator Room (-1F), on a table next to the gas canisters.
How to confirm you collected all 20
Every collectible in a chapter is missable, and the game does not offer a chapter select. Before you complete “The Wake-Up Call,” open the map and confirm each room shows as blue, which means you have finished everything possible in that space. If any room is still uncleared, backtrack while you still can, since the whole chapter remains accessible until you progress out of it.
New Game Plus only carries over your learned talents, so anything you skip here will have to be recollected on a fresh run. Confirm all 20 entries appear in your Codex before moving toward the next chapter.