The Sinking City 2: How to Reach the Library Annex in Part One
Sail the flooded streets, gather the electrical fuses, solve the gate puzzle, and get Calvin through to the Annex.
Sail the flooded streets, gather the electrical fuses, solve the gate puzzle, and get Calvin through to the Annex.
by AllThingsHow Staff · Edited by Pallav Pathak
Part one of The Sinking City 2 opens with Calvin Rafferty leaving his home to find a ritual book at the University’s Library Annex, the key to breaking the curse on Faye. The problem is the route there. Arkham’s streets are flooded, the district is being evacuated, and reanimated bodies attack as you go. Reaching the Annex comes down to opening two floodgates, and the first one needs three electrical fuses you have to track down and install.
Quick answer: Leave the house and boat to the closed library gate, dock by the “No Trespassing” sign, and find the fuse box has no power. Grab the electrical fuses from the Radio Store (reached through the neighboring apartment building), return to the fuse box, place the straight, L-shaped, and T-shaped fuses in the correct slots, then pull the lever. Sail on, cross the monster-filled building at the second gate, drop its ladder to your boat, and continue the single path to the Annex.
Image credit: Frogwares
Leave the house and reach the boat
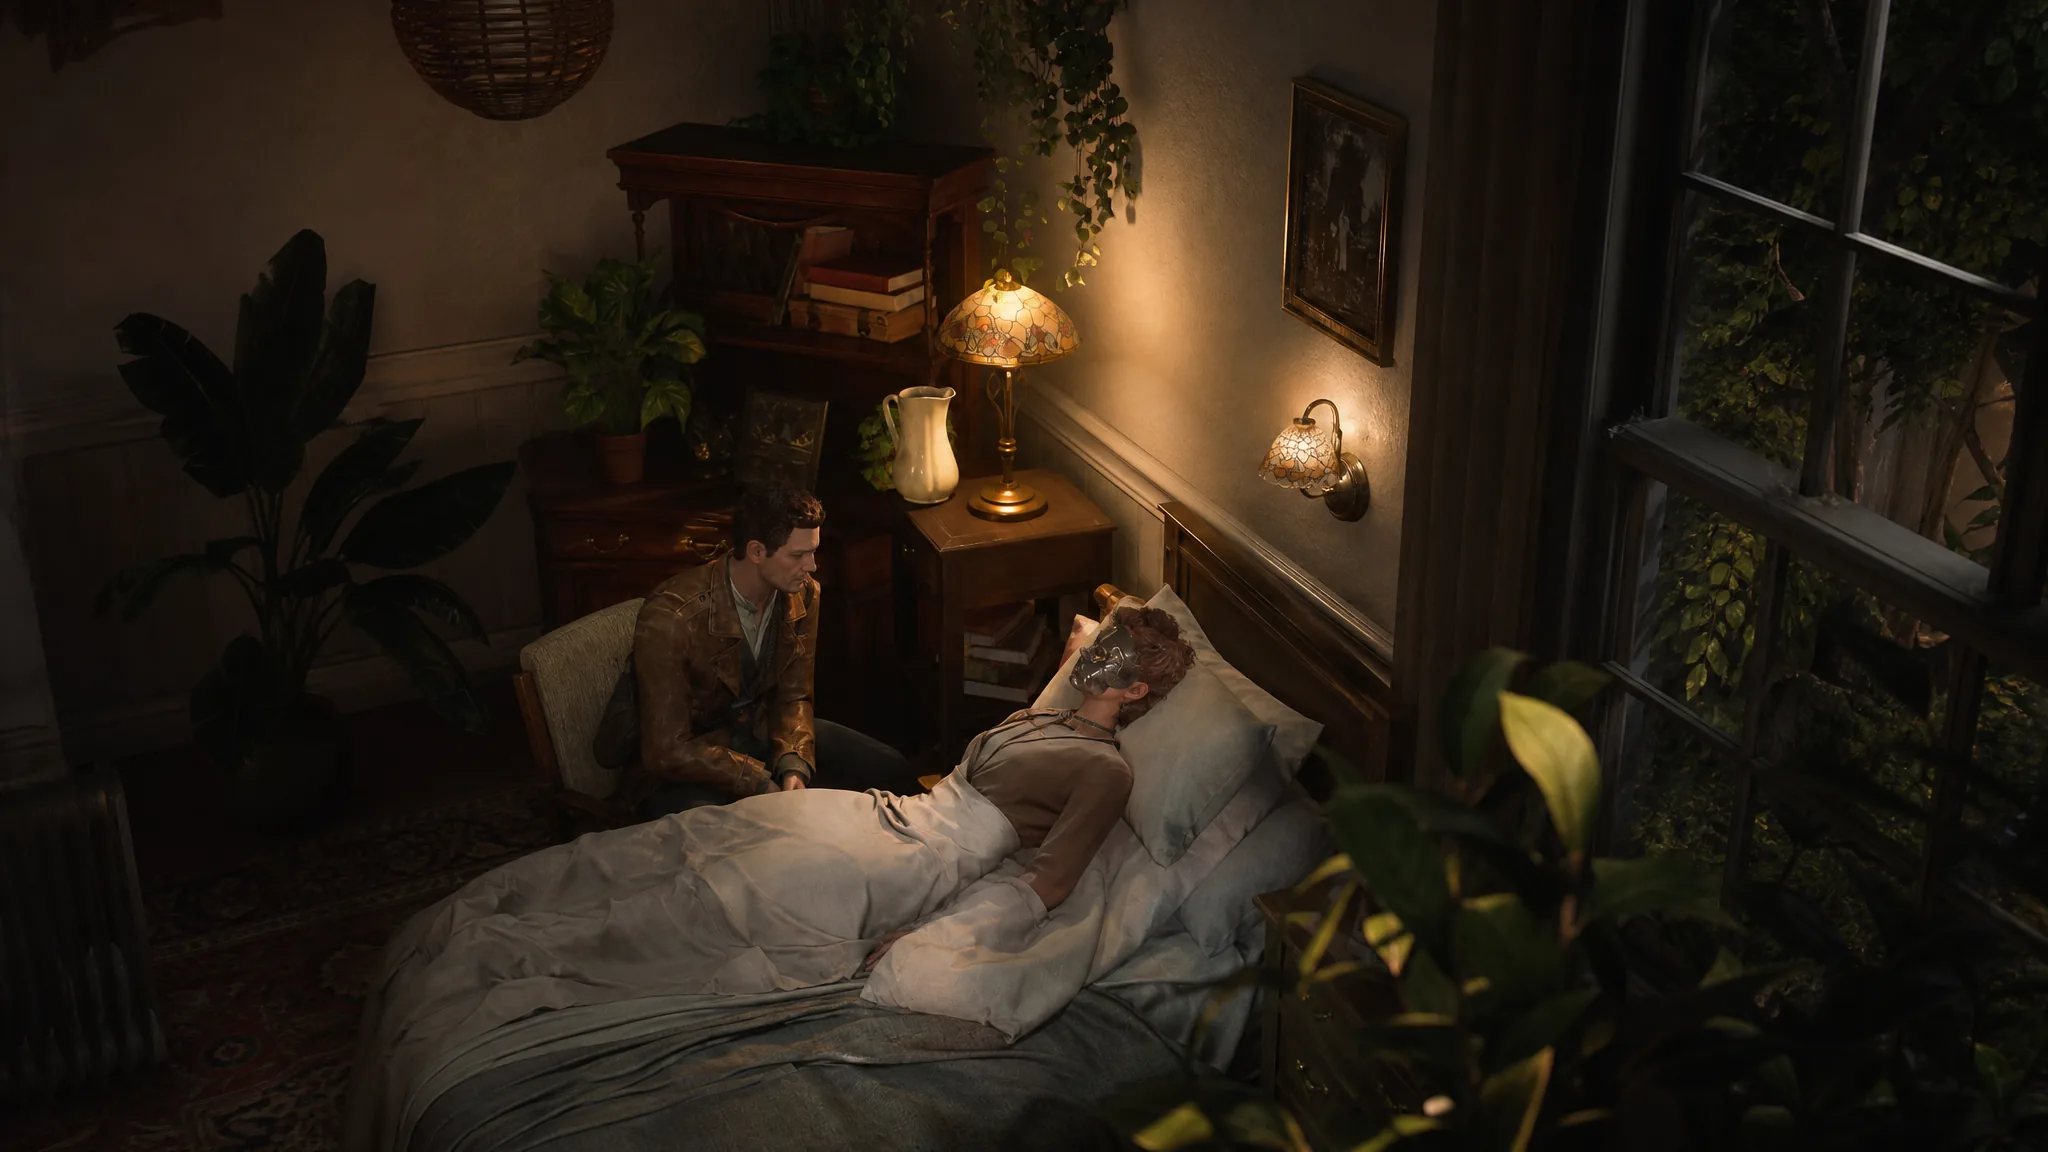
After the opening cutscene at Faye’s bedside, you take control of Calvin in the study. The whole first stretch is about getting outside and into your boat, with several Codex documents to pick up on the way. Only items that show an on-screen name get logged in the Codex.
In the study, grab the Excerpt from ‘The Dream Realm’ on the table to your left, then read About the Mask on the desk against the opposite wall. This second note explains the Night Shade mask Faye wore in the intro.
Go out the door and take the first left into the kitchen, where Final Warning! sits on the far wall. Pass the boarded door and enter the room at the end of the hall to find Restricted Section Inventory on the desk beside the door.
Exit onto the patio to receive your map, then climb down the ladder. Farewell, Arkham! is on the table near the ladder’s landing, and checking the window to the right afterward reveals the Please! collectible.
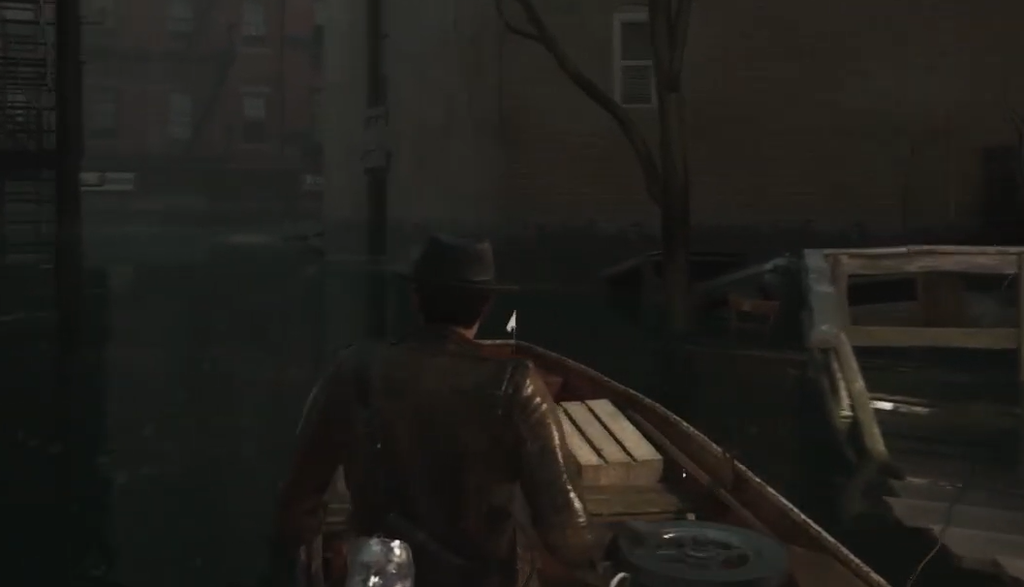
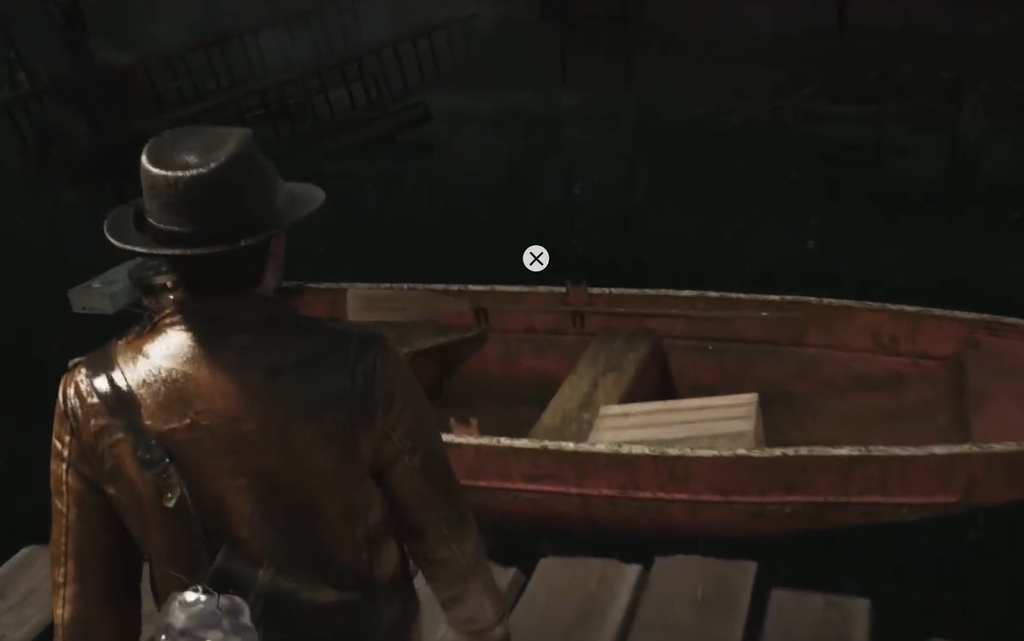
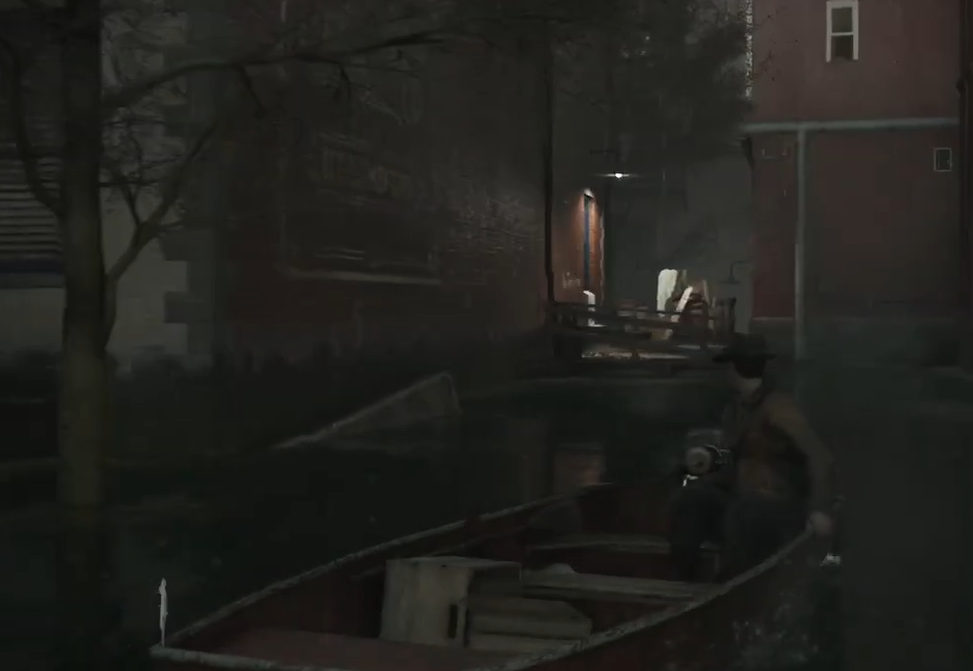
Board the small boat and sail the flooded canals toward the library. When you reach the closed library gate, dock on the right near the “No Trespassing” sign and climb through the window to get inside.
Image credit: Frogwares
Find the gate control and your first Safe Room
Inside, work past the boarded doors, learn the flashlight, and follow the wooden path to the gate control panel. It will not run without the right fuses. Head into the broken wall on the right to find your first Safe Room, where you can save at the record player and stash items in the suitcase.
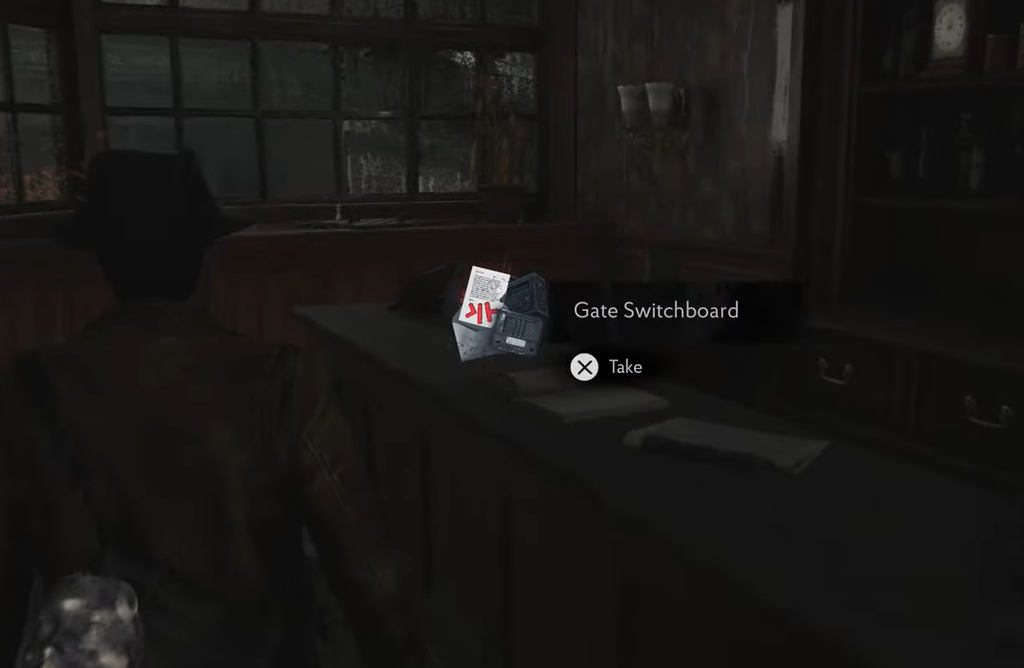
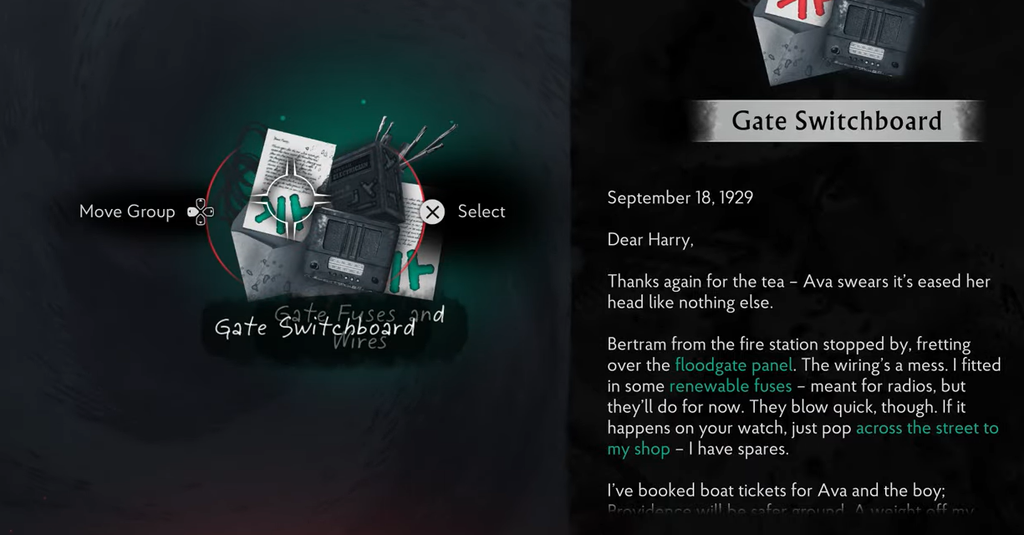
Leave through the opposite door, go down the stairs, and enter the bar. On the counter is the Gate Switchboard note, which unlocks the Investigation Space and points you to fuses at the Radio Store across the street. The Radio Store door is blocked, so you have to reach it from the side.
Image credit: Frogwares / Gamerpillar
Get the electrical fuses through the apartment building
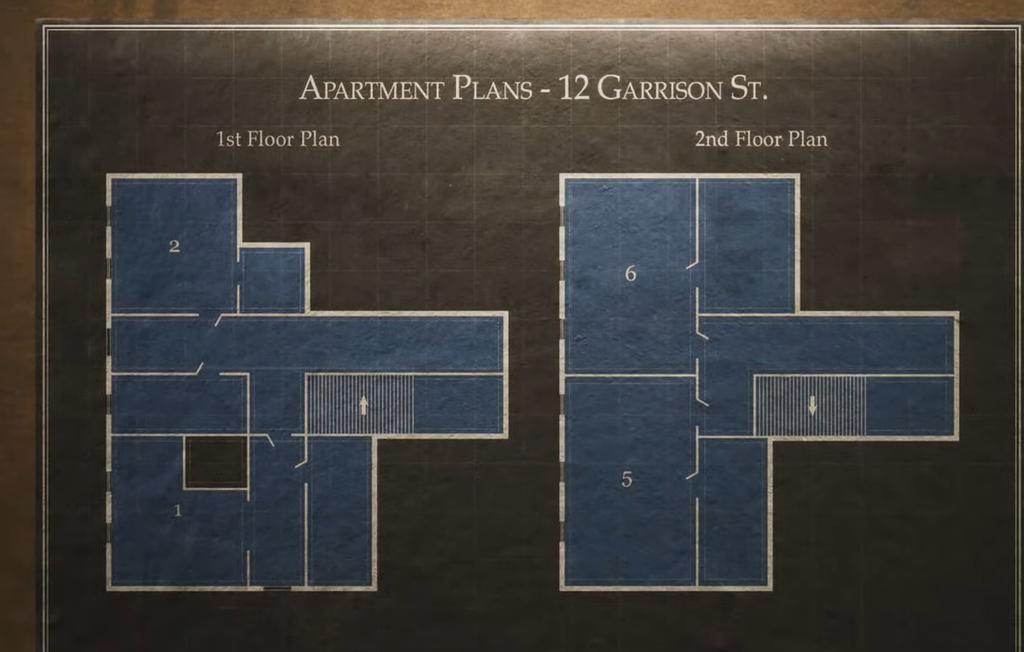
Navigate around the construction area to the left of the Radio Store and enter the apartment building at the end. In the room on the right, take the apartment building map from the wall and the metal scrap from the drawer beside it.
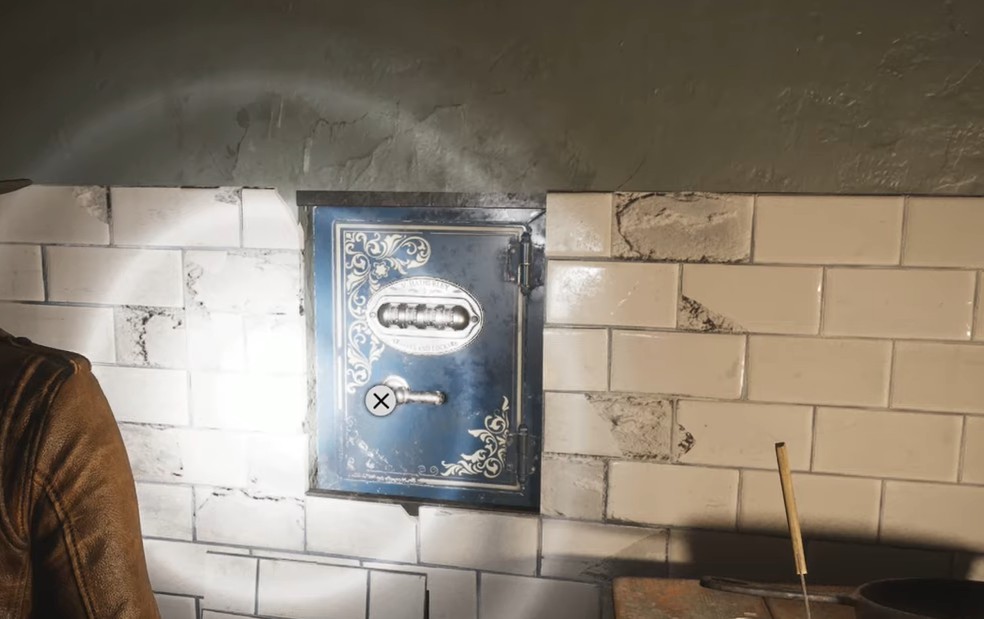
Go upstairs to the two upper apartments. One holds a kitchen wall safe with the To Martin note and a clue for the code. Leave To Martin for now, since the rest of the code is elsewhere.
Enter the adjacent apartment, kick the barrels near the hole in the floor, and drop through. Grab the gunpowder (chemicals) from the cabinet on the right, then read the Gate Fuses and Wires note on the table just inside the next area.
Open the Investigation Space and link the Gate Switchboard note with Gate Fuses and Wires for a Talent Point. Then crawl through the hole in the wall to reach the back of the Radio Store.
Image credit: Forgwares
Radio Store: fuses, the first fight, and the 1908 safe
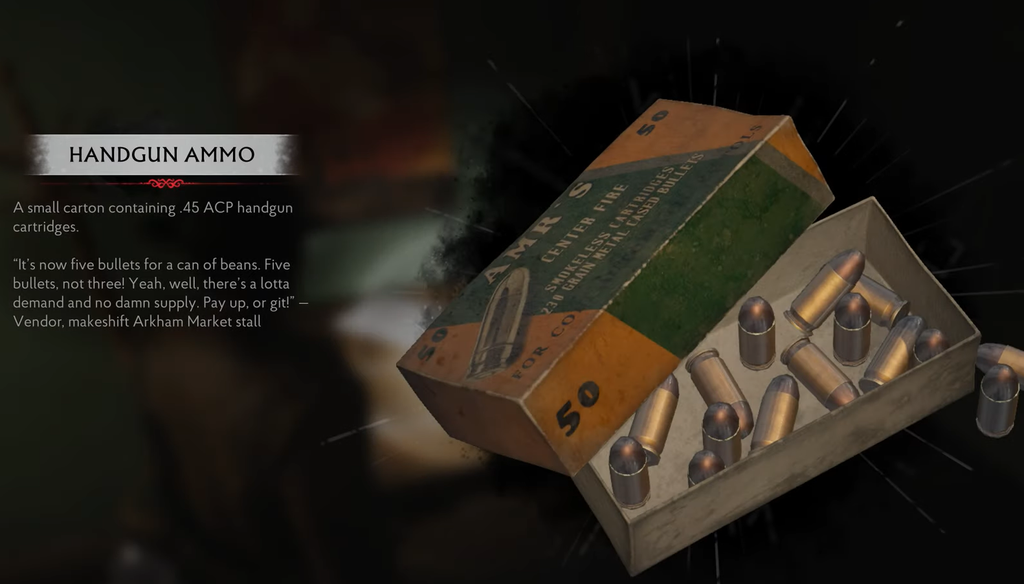
Take the handgun ammo from the yellow box, then head to the back wall and grab the electrical fuses from the red box. Closing the item menu triggers your first combat encounter, so be ready.
Ammo is limited, so aim for the red glowing weak points on the body to deal extra damage. You can stun the monster and finish it with a melee attack to save bullets. The number of shots needed depends on your chosen difficulty.
Pick up the From a Sister note near the register and connect it to the To Martin note in Investigations. Together they give the wall safe code. Clear the blockage at the shop’s front door and head back to the apartment safe.
The year in-game is 1929, and the store had been open for 21 years, so the safe code is 1908. Opening it yields handgun ammo and Dolorocide pills for healing, and it may pop your first achievement. Expect new monsters to spawn when you open it.
Image credit: Frogwares
Solve the fuse box puzzle and open the gate
Leaving the building again, worms will have infected more bodies, so expect fights in the street. A room to the left before the exit holds ammo and your first Mushroom Jack Broadcast, which unlocks The Woman at the Door in the Codex. Then cross back through the Safe Room to the fuse box at the gate.
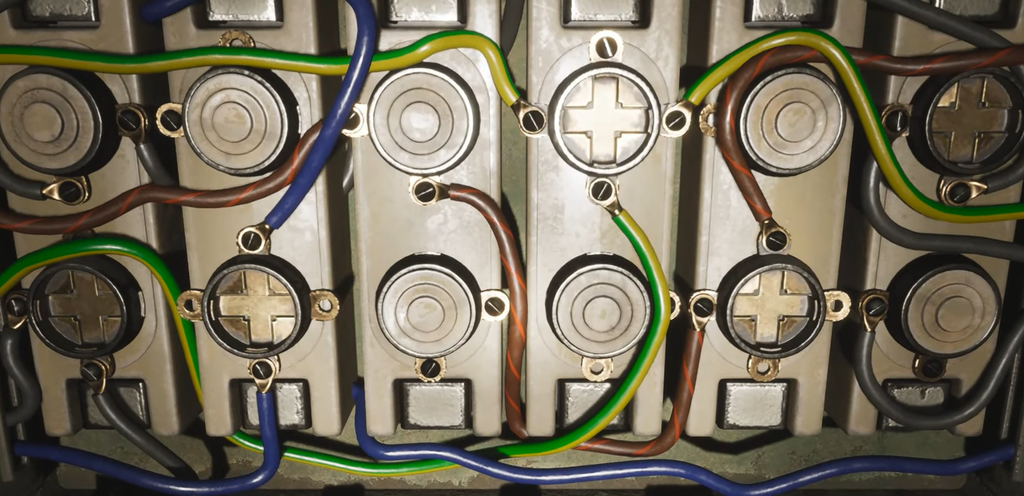
Use the fuses to start the placement puzzle. The note about minding the colors is the clue. Match each fuse to the wires below.
Fuse
Position
Rotation
Straight fuse
Bottom row, second terminal from the left, joining the two blue wires
Rotate once so it sits vertical
L-shaped fuse
Bottom row, second terminal from the right, joining the two red cables
Rotate until it connects the red cables
T-shaped fuse
Top row slot with the trio of yellow and green wires, in the panel with screws on all four sides
Rotate three times to form a T
With all three fuses placed, pull the lever on the right to open the library gate.
Return to your boat and sail the newly opened path until you reach a second gate. Dock at the pier right after the explosion. Before heading up, grab the medicine and the Lost Letters – Death Awaits document on the suitcase near the gate.
Enter the building, but be ready to sprint. It is packed with monsters and there is only one route through, so run the path rather than burning ammo. Jump out through the broken wall in the cutscene when you reach the dock.
Follow the single path ahead and dock at the pier by the Annex. When the cutscene triggers as Calvin steps toward the building, part one is complete and you have reached the Library Annex.
The fuse box will not respond until all three fuses are installed in the correct slots and rotations, and the wall safe stays locked until both the To Martin and From a Sister notes are linked. If either refuses to work, recheck those clues in the Investigation Space before backtracking. From the Annex, the story pushes on toward the ritual book and the search for Lorelei at the Devil’s Reef Hotel.