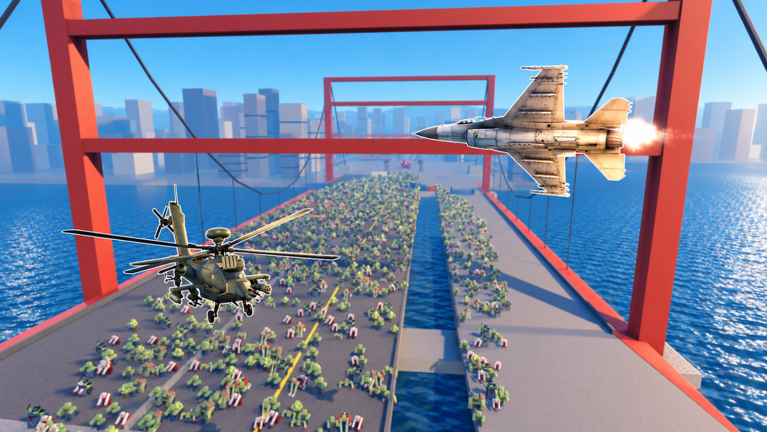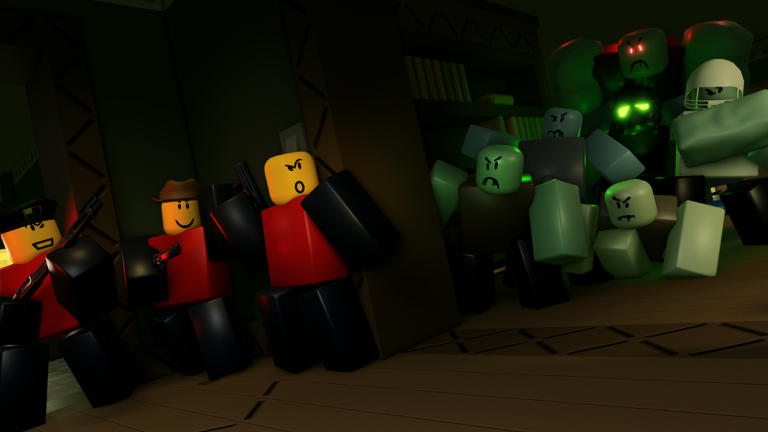
The Undead Coming drops you into round-based survival where you hold out against zombie waves, buy stronger guns with bricks, and try not to get cornered on the ground floor. A clean start comes down to three things: finish the short training tutorial, spend your first bricks on the right weapons, and learn where to stand once the round begins.
Quick answer: Complete the training tutorial for 60 bricks, work up the weapon chain toward the Vulcan (8,000 bricks), and fight from rooftops while killing crawlers first.
Finish the training tutorial (earns 60 bricks)
The tutorial is a guided run that briefs you on movement, shooting, and gas zones before you join a real server. It pays out bricks on completion, so it is the fastest first bit of currency you will get.
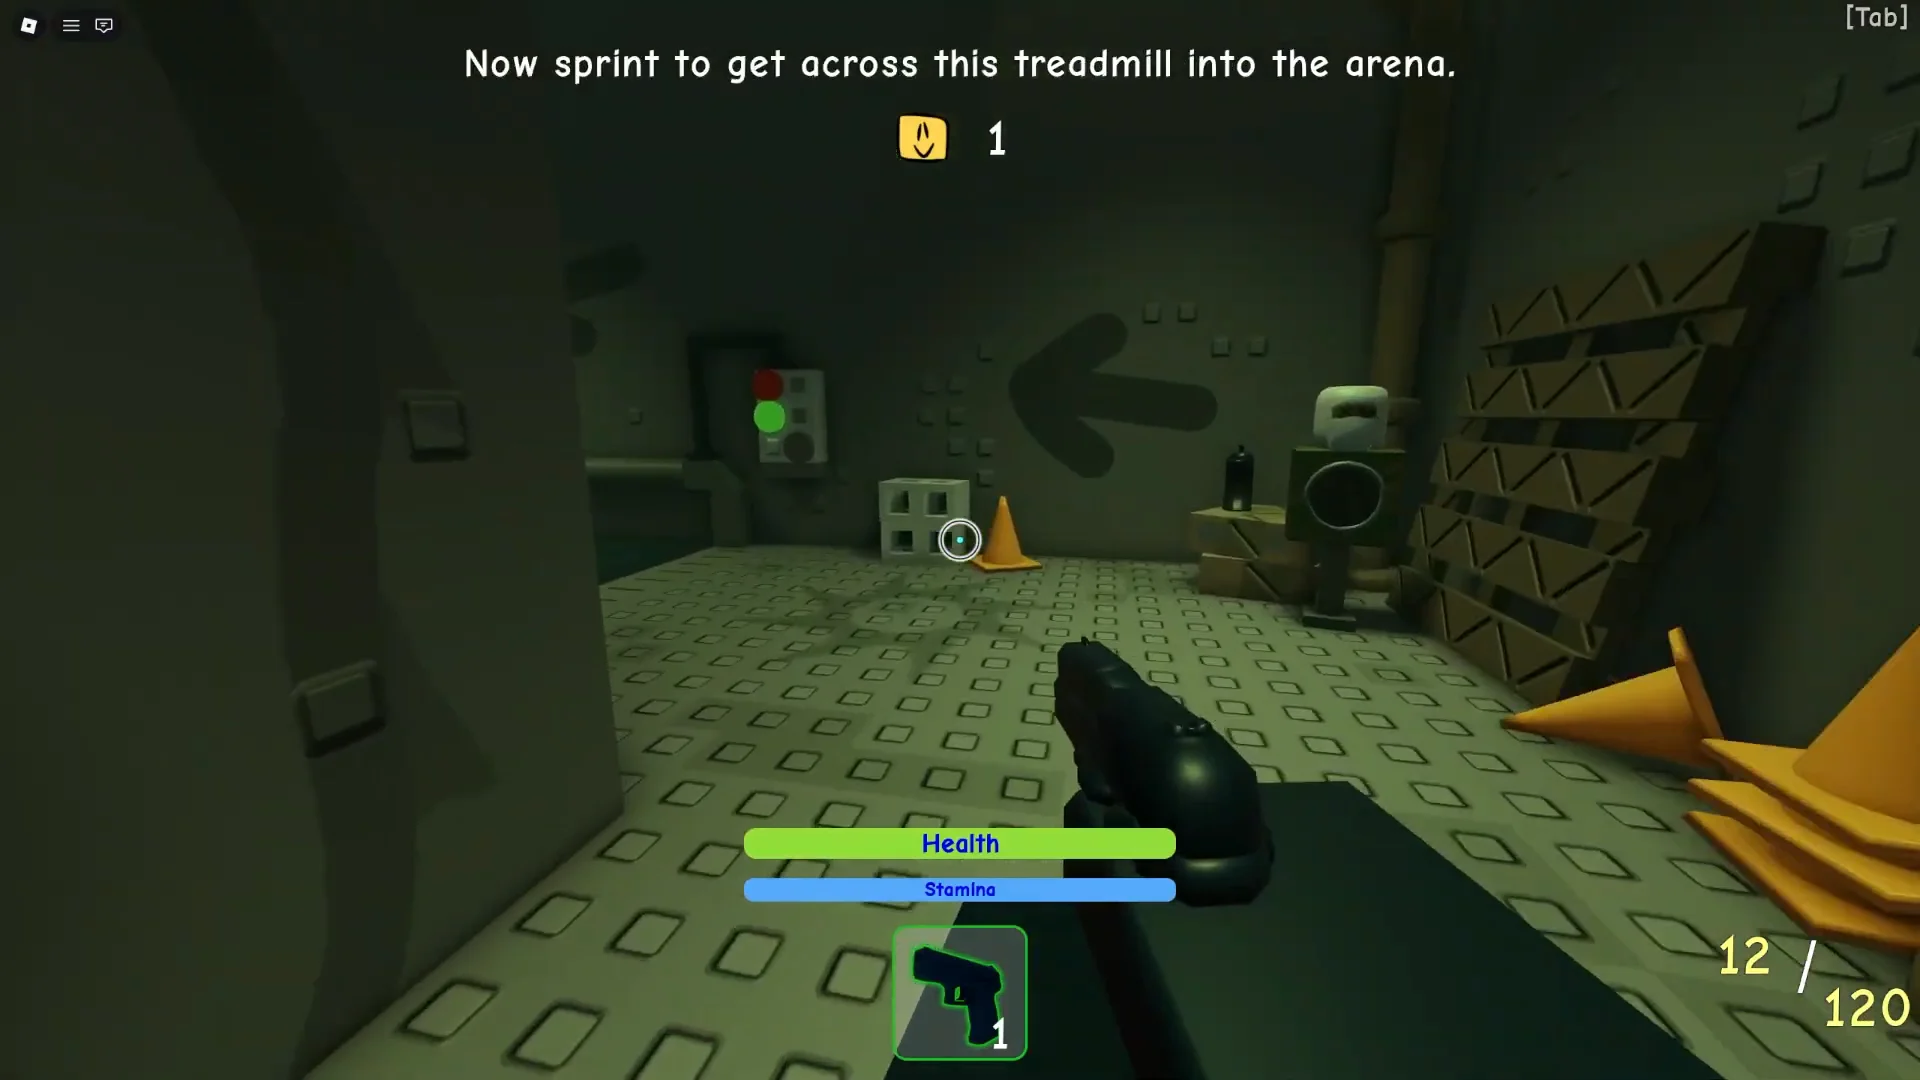
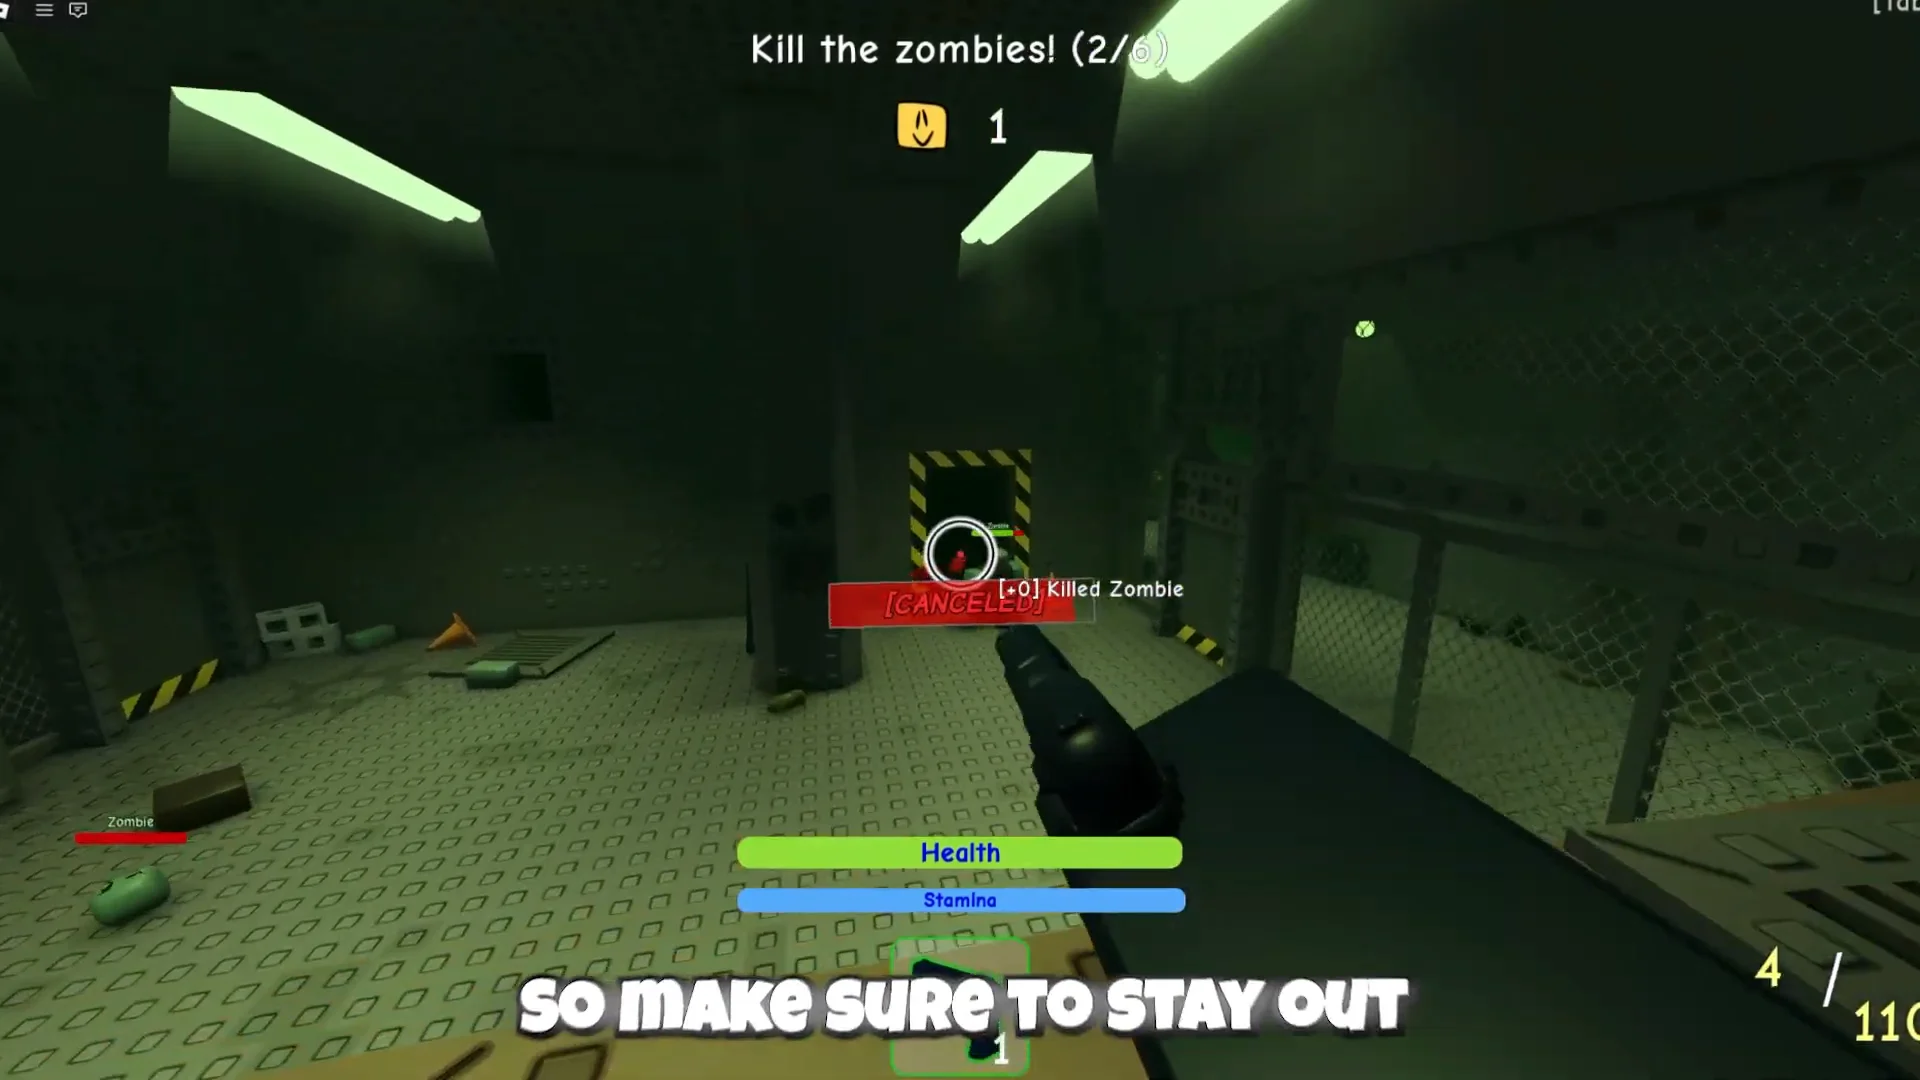
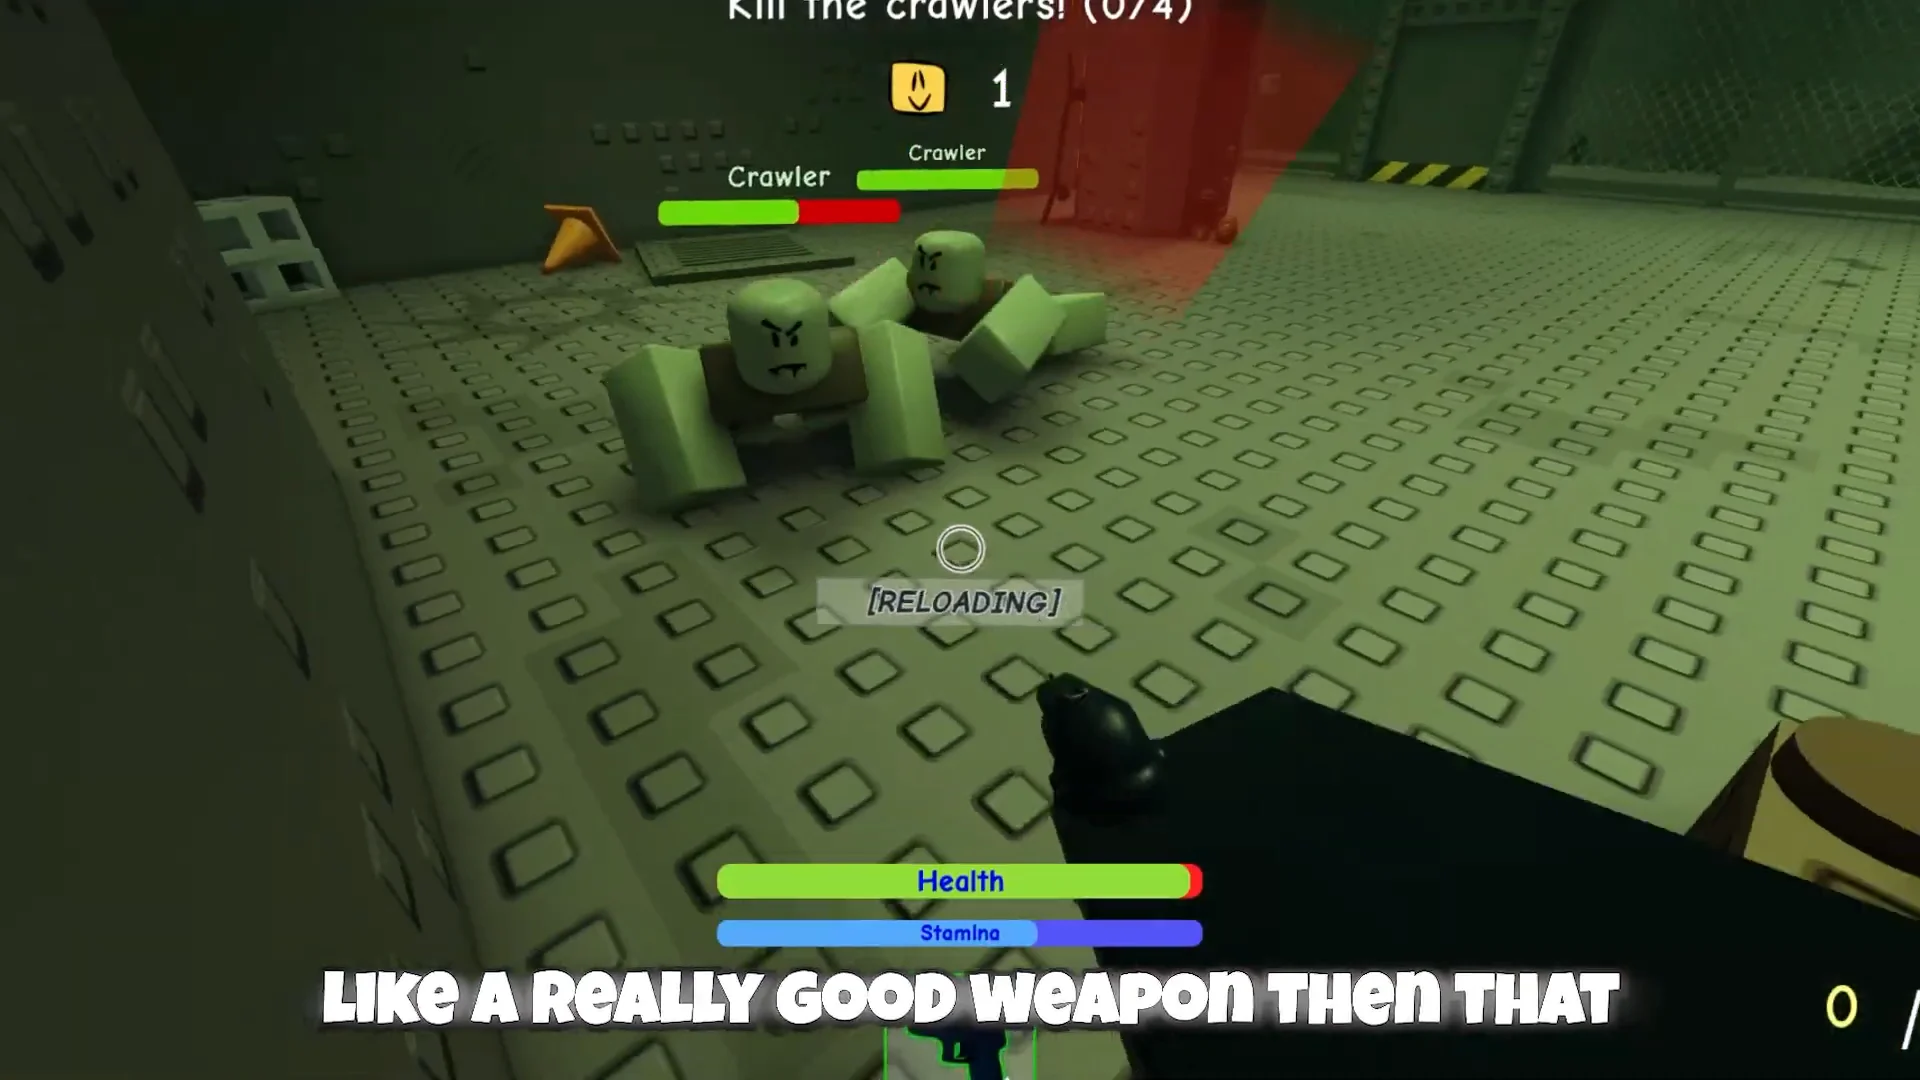
You will know it worked when the ROUND RESULTS screen appears and lists a total of 60 bricks earned for completing the tutorial. That currency carries into the shop in the lobby.

Best weapons and equipment to buy
Weapons unlock in a chain, so you cannot jump straight to the top-tier guns. The MP5 opens the early branch, the Raygun leads into the AK-47, and the heavy machine guns sit at the end. These are the purchases worth saving for.
| Weapon | Role | Price (bricks) | Unlocks after |
|---|---|---|---|
| Vulcan | Primary | 8,000 | M249 |
| M249 | Primary | 6,000 | AK-47 |
| Sniper | Primary | 4,800 | MP5 |
| AK-47 | Primary | 4,800 | Raygun |
| Raygun | Primary | 3,500 | MP5 |
| Vest | Utility | 2,500 | MP5 |
Vulcan is the strongest gun in the game. It carries a huge magazine and an extremely fast fire rate, but you must hold the mouse button to wind it up before it fires, and you cannot sprint while winding. Treat it as a hold-position weapon, not something you run around with.
AK-47 is the priority target on the way up the chain. It is a reliable assault rifle that handles most of a round comfortably and unlocks the M249, which in turn unlocks the Vulcan.
Raygun fires a continuous flamethrower-style beam with no reserve ammo and no reload, so it is best used in short bursts on grouped enemies at close range. Buying it also opens the path to the AK-47.
Sniper hits for 65 damage with a 2x headshot multiplier, which makes it the pick for picking off threats at range. It cannot aim down sights in close quarters, so keep it for long sightlines rather than panic defense.
Vest is the one piece of equipment worth prioritizing. It absorbs incoming damage and knockdown, but it only works once per round and takes a moment and a half to equip during which you cannot sprint.
The Vest does not block gas damage, so it will not save you in toxic zones.
How to earn bricks fast
Bricks are the currency you spend on weapons, equipment, and crates. You build them up by staying active through a round rather than hiding in a corner.
- Rack up kills, and aim for headshots where you can for extra value.
- Stay in the fight so you earn participation toward the end-of-round payout.
- Survive as long as possible, since lasting into later waves keeps the bricks coming.
- Complete the training tutorial once for its flat 60-brick reward.
Because surviving longer is what keeps your brick income going, the positioning tactics below do double duty. They keep you alive and they keep you earning.
Survival tactics: high ground, targets, and maps
Hold the high ground
Rooftops, scaffolding, and top-level platforms are where survivors last the longest. On the Restaurant map, the McBloxxer’s roof is a strong hold. Height forces zombies to funnel toward you along limited paths, which buys time to shoot and makes it much harder to get surrounded.
The ground and first floor are the opposite. Open windows, gaps, and multiple entry points let zombies breach from every side at once, and players caught down there get overwhelmed quickly.
Kill crawlers first, watch for Tanks
Crawlers are much faster than standard zombies and close distance in a hurry, so clear them before anything else. Keep an eye out for Tanks as well, since these high-health special zombies take far longer to bring down and can pin you if you ignore them.
Grab the glowing supply pickups scattered on floors and rooftops to top up ammo and gear between waves.
Vote for the right map
Restaurant is the best map to vote for thanks to its defensible roof. Town is a reasonable second choice, while House is the weakest option because its layout gives you few good places to hold. When the map vote appears in the lobby, pick Restaurant whenever it is available and set up on the roof as soon as the round starts.