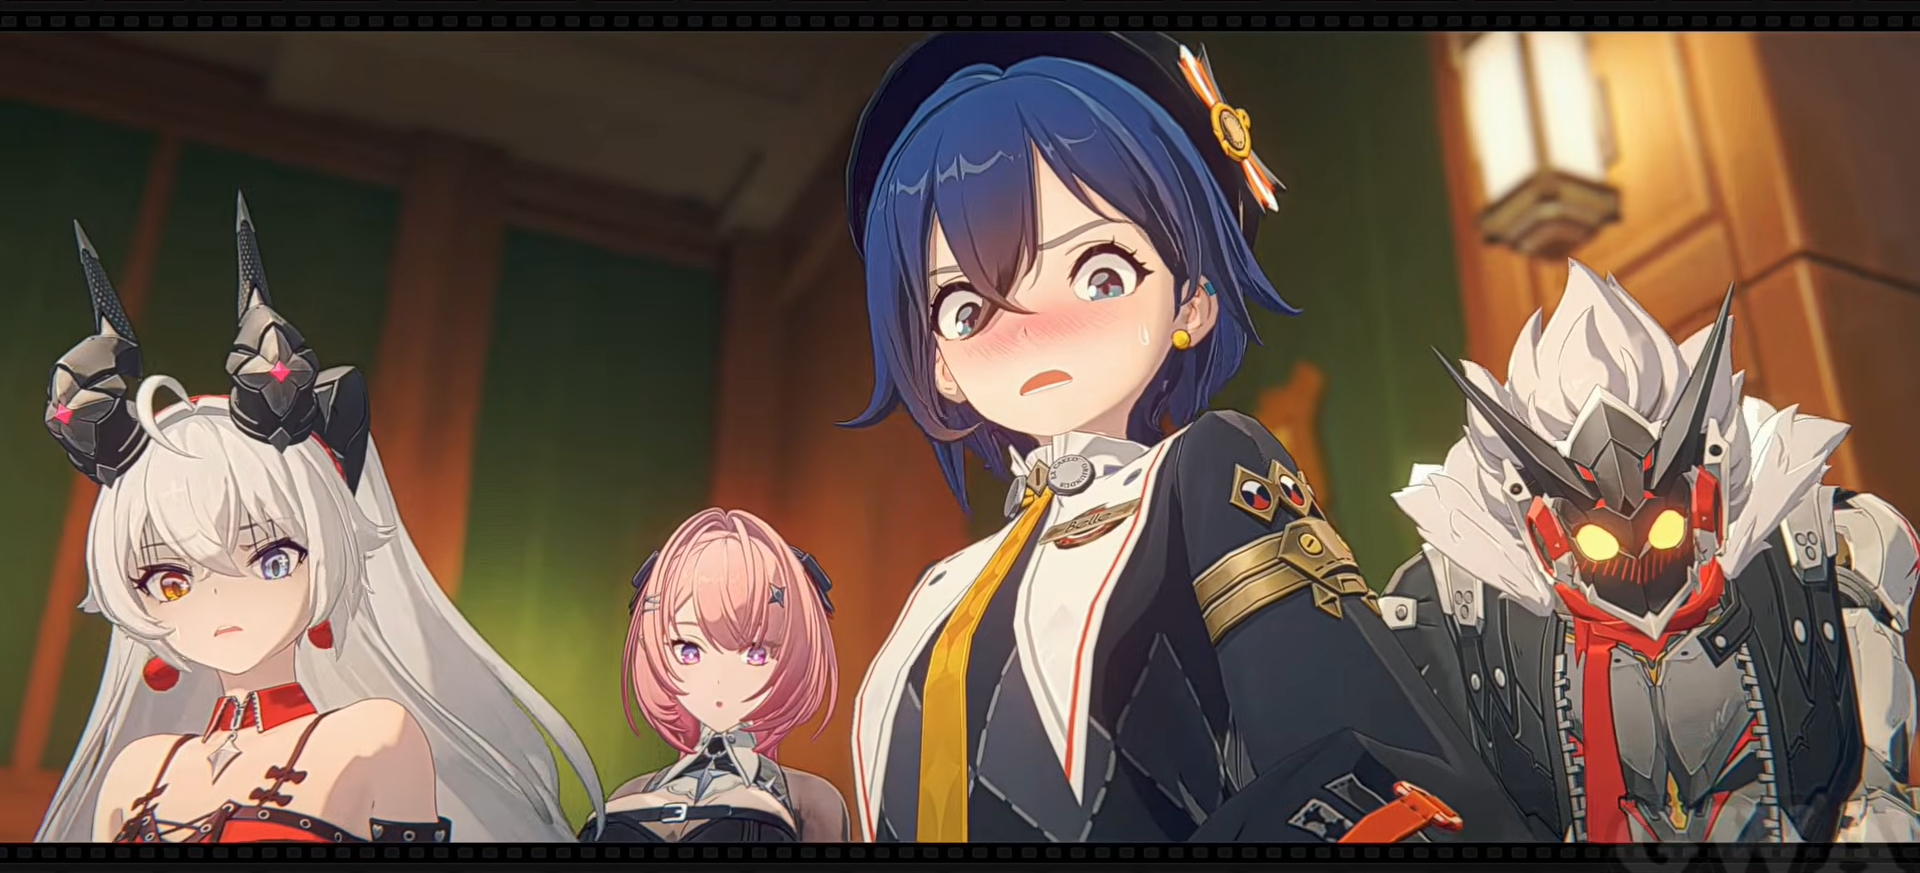
Season 3 Chapter 3 of Zenless Zone Zero, titled “Their Secret Histories,” carries the same name as Version 3.2 and runs its story through roughly seven minutes of cinematics. The chapter opens on a quiet gag at Amber Hall and closes on the largest mech fight of the season so far, with Belle, Lighter, and Lindverne working alongside Flint Workshop’s Claret and Roxy.
Quick answer: The chapter ends with the antagonist trapping the group in a circular chamber and deploying a giant white mech to seize a Karma Core. Lindverne awakens her power mid-fight and destroys the mech with a single massive energy strike, leaving the team in control of the site.
Note: everything below covers the full chapter, including the ending cutscene.
Where “Their Secret Histories” falls in the Season 3 story
The title card reads “S3-CHAPTER 003,” placing it directly after “A Sleepwalker’s Confession” and “The Long Goodbye,” the Season 3 chapter that arrived with Version 3.1 on July 29, 2026. The thread it picks up is the Bangboo manipulation case: the mastermind is still loose, and Lady Dracaene has not recovered after losing her Karma Core.
That trail points to Flint Workshop in Vyrium, which is why workshop director Claret and her assistant Roxy are attached to the investigation from the start. Version 3.2 released on September 9, 2026, and the chapter unlocks as part of it.
Full cutscene order in Season 3 Chapter 3
The cinematics play in a single chain with almost no downtime between them. Timestamps below are measured from the start of the chapter’s opening scene.
The warehouse chase and the stolen Porcelloy
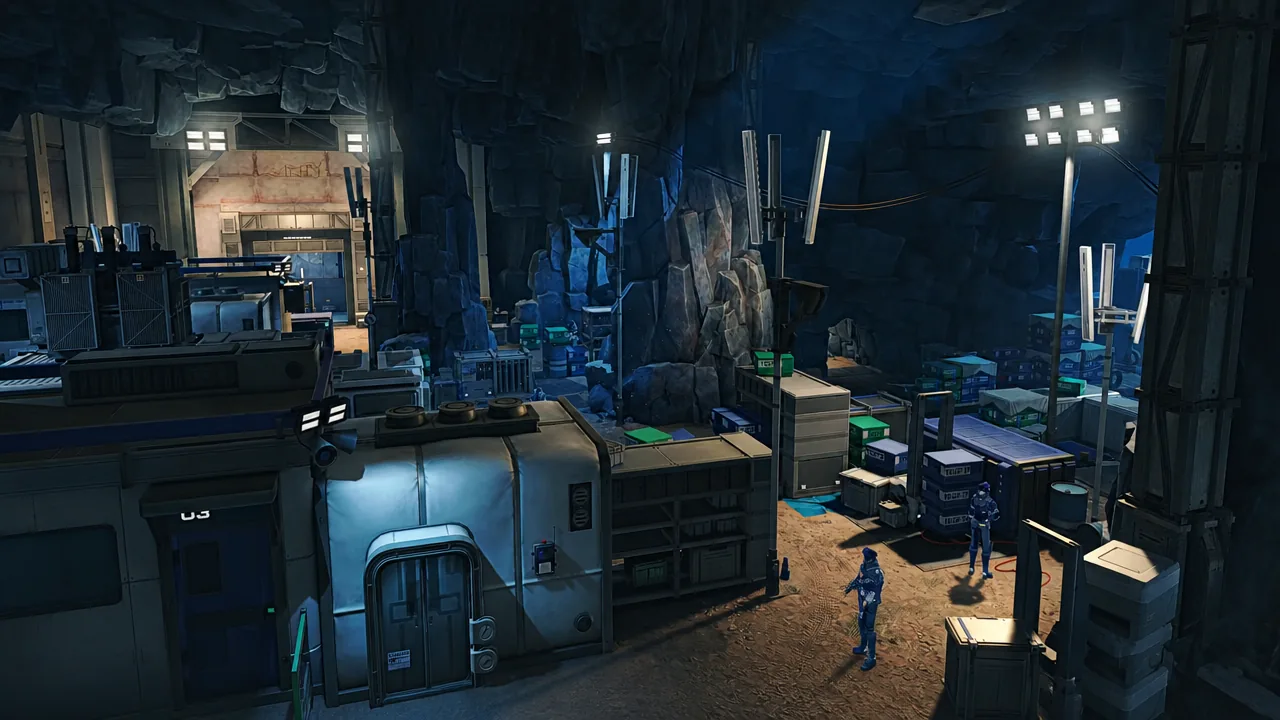
The bookshelf door is the hinge of the whole chapter. Behind it sits a girl held in a stasis pod, and the suspect who was watching over her runs the moment the group walks in. The pursuit leads out of the building and into a warehouse complex that is far better equipped than a smuggling front should be, complete with a standing security detail.
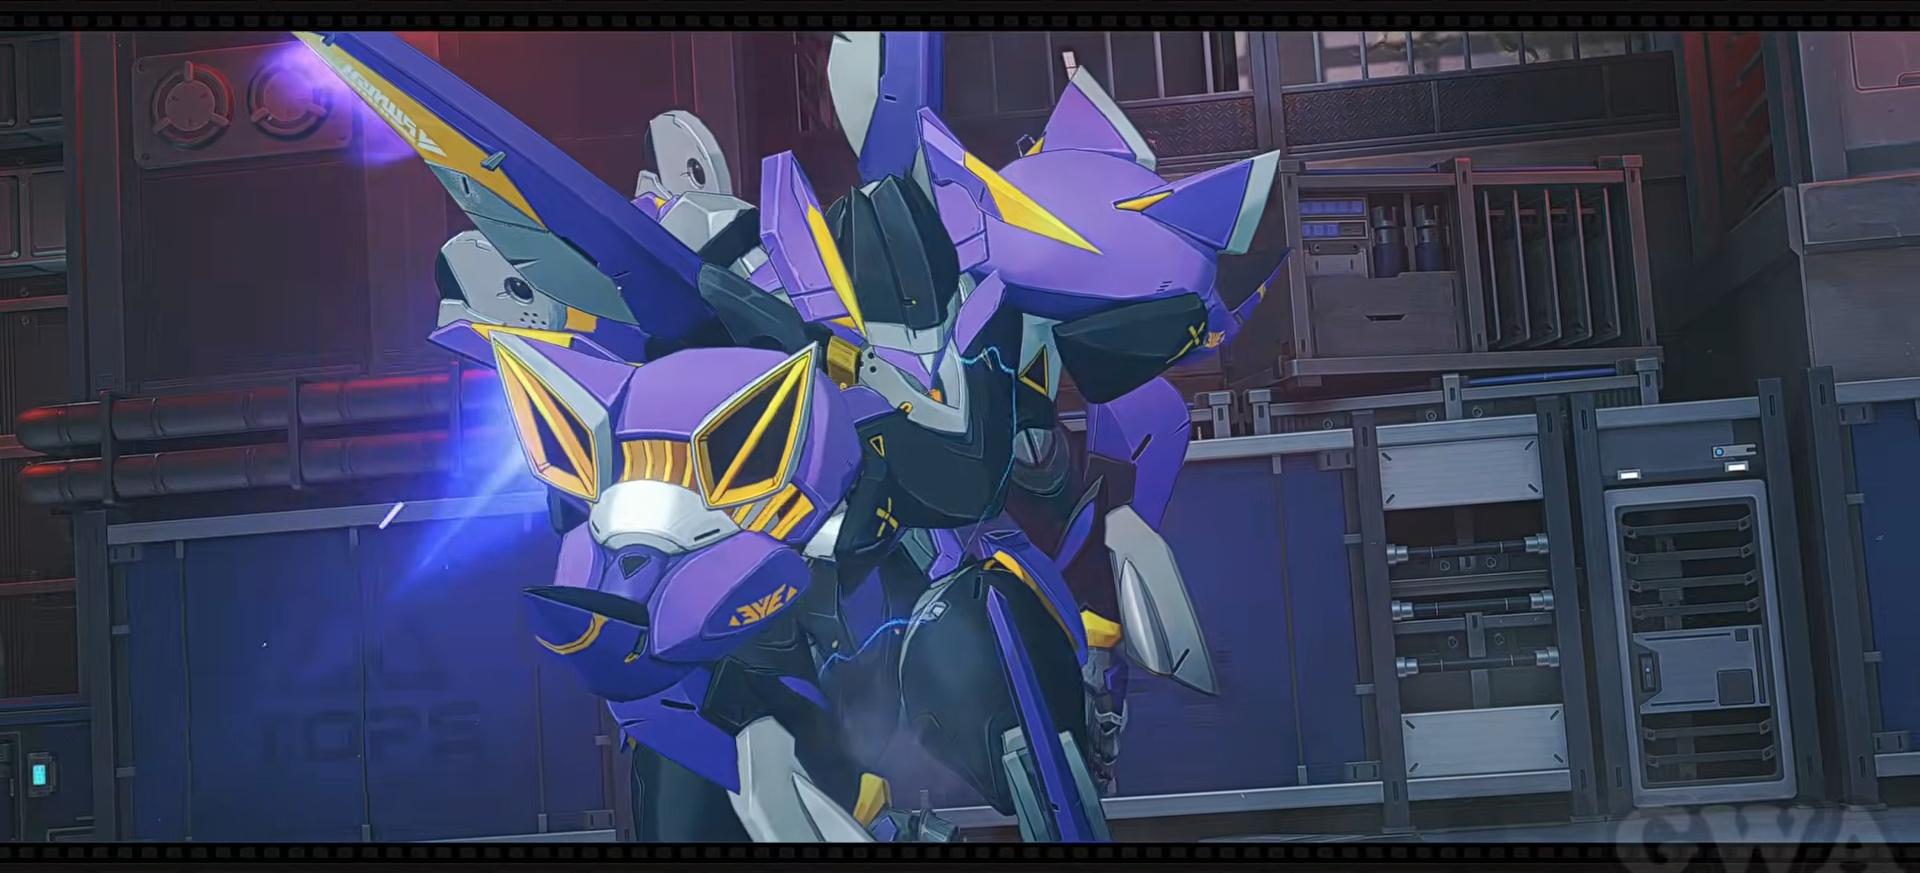
The purple security mech that activates inside the warehouse is not just an obstacle. Roxy recognizes the material it was built from as her own stolen Porcelloy, and she takes the machine apart with a giant axe as payback. That single detail links the facility directly back to the smuggling case Flint Workshop has been chasing.
Signage and locations inside the hidden facility
The route down through the complex is signposted heavily, and the labels are the clearest read on what the site was actually built for. Between the docks and the final chamber, the following text appears on screen:
- AMBER HALL
- PORT OUTPOST
- RESTRICTED AREA
- EVACUATION PLAN
- MECH BAY 01, MECH BAY 02, MECH BAY 03
- TOPS CONTAINMENT SECTOR
- DANGER – DO NOT ENTER
- UNDERGROUND TEST SITE
- ENBARR and “Roarin’” branding in the early scenes
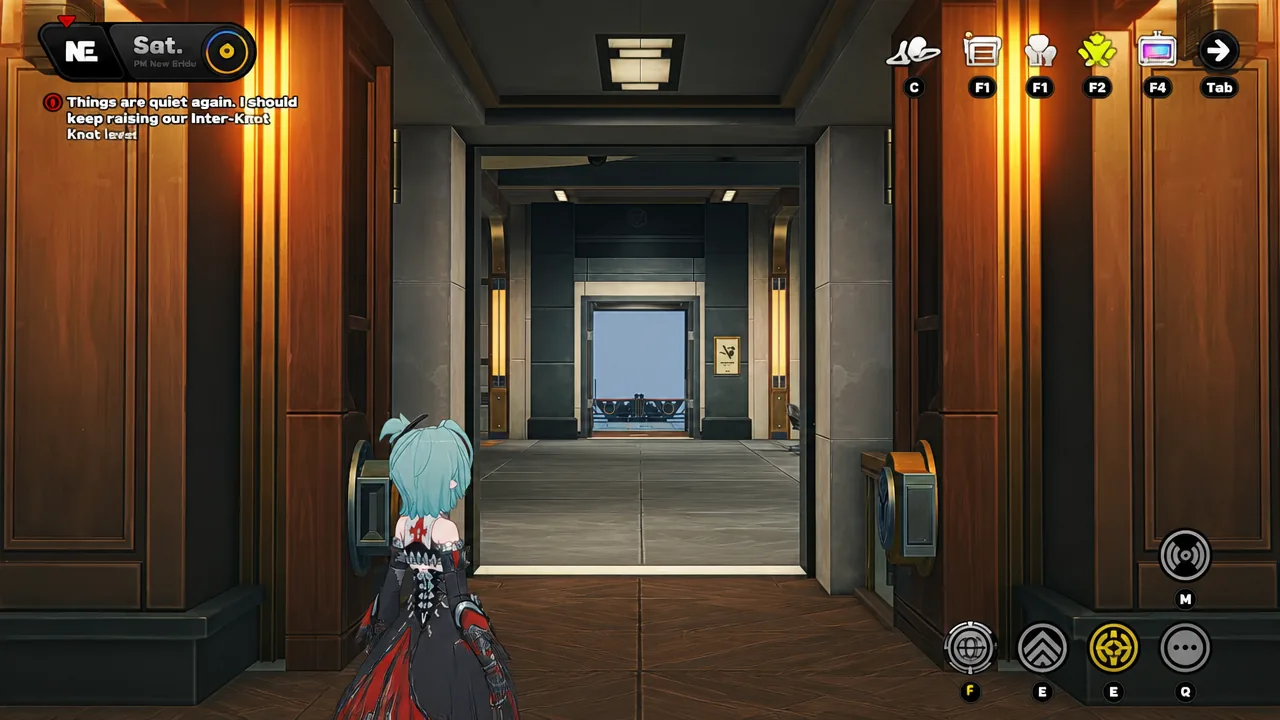
The descent runs on the facility’s own elevators, with the Inter-Knot objective tracking the chase the entire way down.
The ending cutscene: Lindverne’s awakening
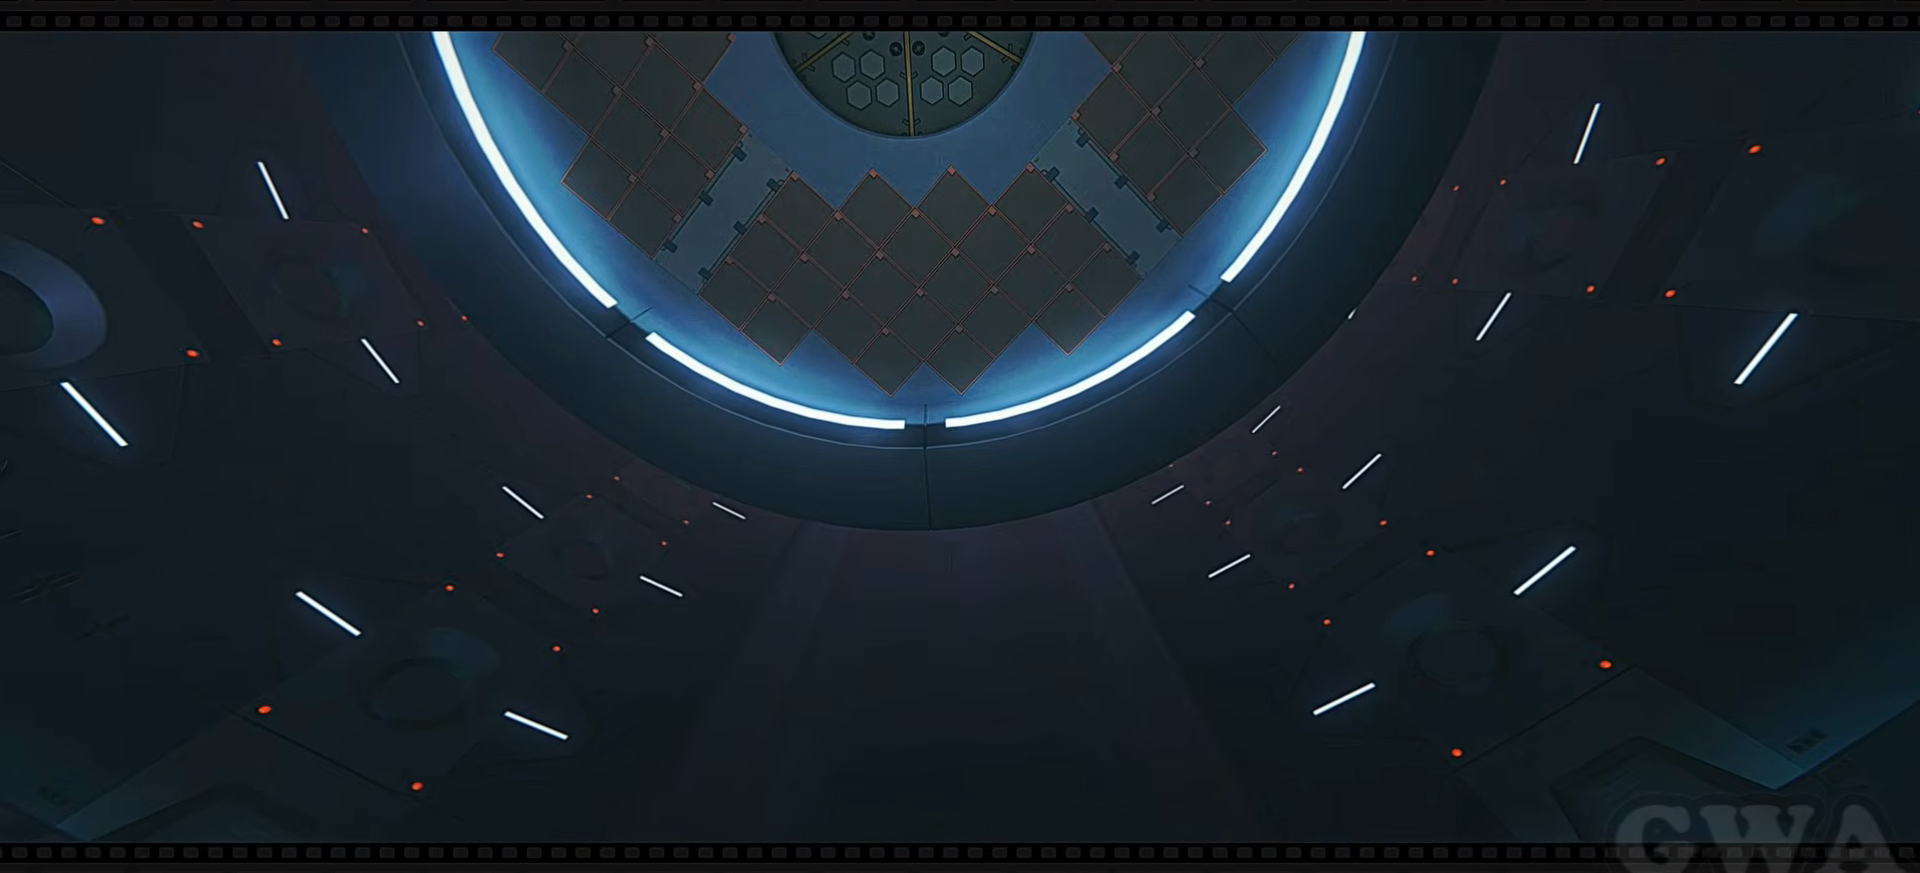
Cornering the suspect turns out to be the point. The circular chamber locks behind the group at 03:54, and the orange-haired antagonist uses the opening to bring out a giant white mech and go after a Karma Core.
Lindverne is the answer. She awakens her power in the middle of the fight and destroys the mech with one enormous energy sword strike, ending both the theft attempt and the chapter. There is no post-credits twist after it — the compilation runs straight to the outro at 06:56, so the awakening is the last story beat you see.
Who appears in the chapter’s cutscenes
| Character | Role in the cutscenes |
|---|---|
| Belle | Travels to the docks with the team and leads the investigation. |
| Lindverne | Awakens her power in the final chamber and destroys the white mech. |
| Lighter | Arrives by boat with Belle and Lindverne for the dock search. |
| Claret | Flint Workshop’s director, waiting at the docks with Roxy. |
| Roxy | Wrecks the purple security mech built from her stolen Porcelloy. |
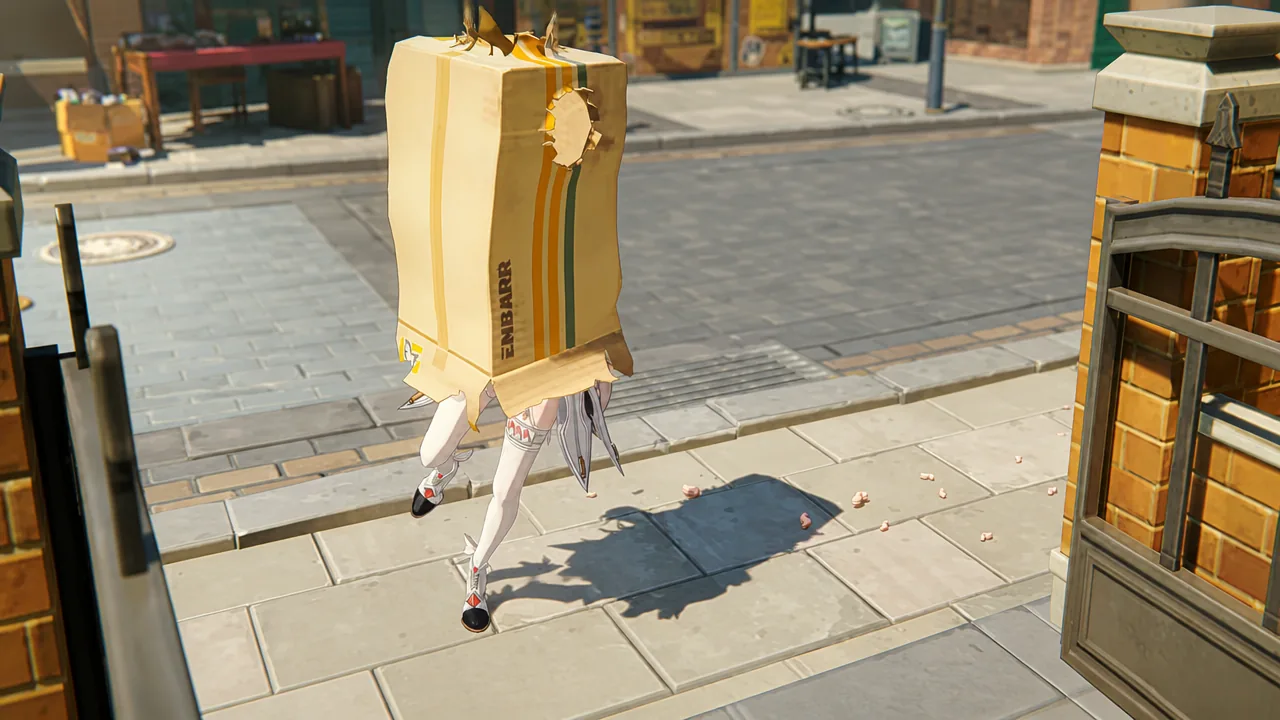
| Cissia | Knocks the box-wearing girl into the bushes in the opening scene. |
| Unnamed antagonist | Orange-haired suspect who springs the trap and deploys the white mech. |
Claret and Roxy both join the roster in Version 3.2, which is part of why the chapter hands them so much screen time. If you are working through the story fresh, the two-minute stretch between the bookshelf door and the mech bay is the section worth watching closely — it is where the stolen Porcelloy, the stasis pod, and the Karma Core theft all connect.