Under Watchful Eyes is the optional follow-up to The Firebrand in The Blood of Dawnwalker, and it drops Coen inside Stoneward Post with a prisoner to break out and a courtyard full of armed guards. The objective text tells you to escort Mert through the main gate, which makes the quest sound far messier than it needs to be.
Quick answer: Grab the prison key off Friedo at the top of the stairs, unlock Mert’s cell, then take the same key to the lit alcove on the north side of the overseer’s tower. Two doors there lead outside the walls and register as “escorted through the main gate,” ending the quest without a full courtyard fight.
Under Watchful Eyes quest requirements and start conditions
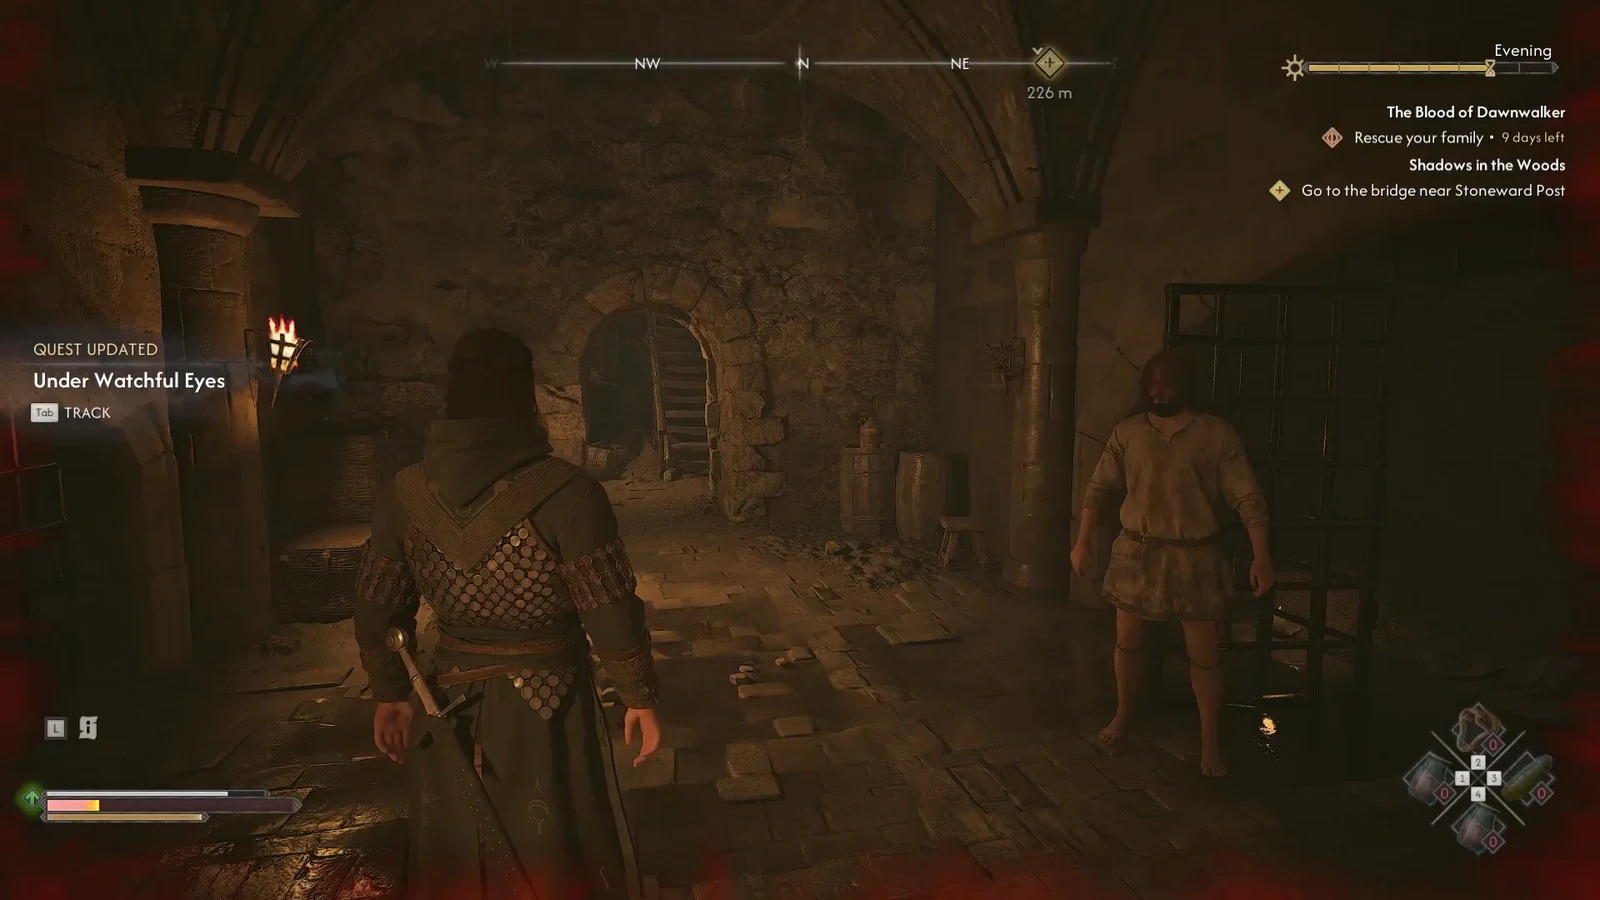
The quest only exists if Mert is alive. It begins on its own the moment you finish The Firebrand by speaking to him down in the dungeon, so there is no separate quest marker to hunt down beforehand. If Mert died earlier in the questline, this branch is closed to you.
| Detail | Value |
|---|---|
| Location | Briar Sloughs / Stoneward Post |
| Quest giver | Mert |
| Requirement | Mert must survive The Firebrand |
| How it starts | Automatically, when you speak to Mert in the dungeon |
| Reward | 250 XP |
| Time cost | 3 Time Segments |
| Fail state | None |
| Questline | Crake — after The Firebrand, before Taking Back What’s Mine |
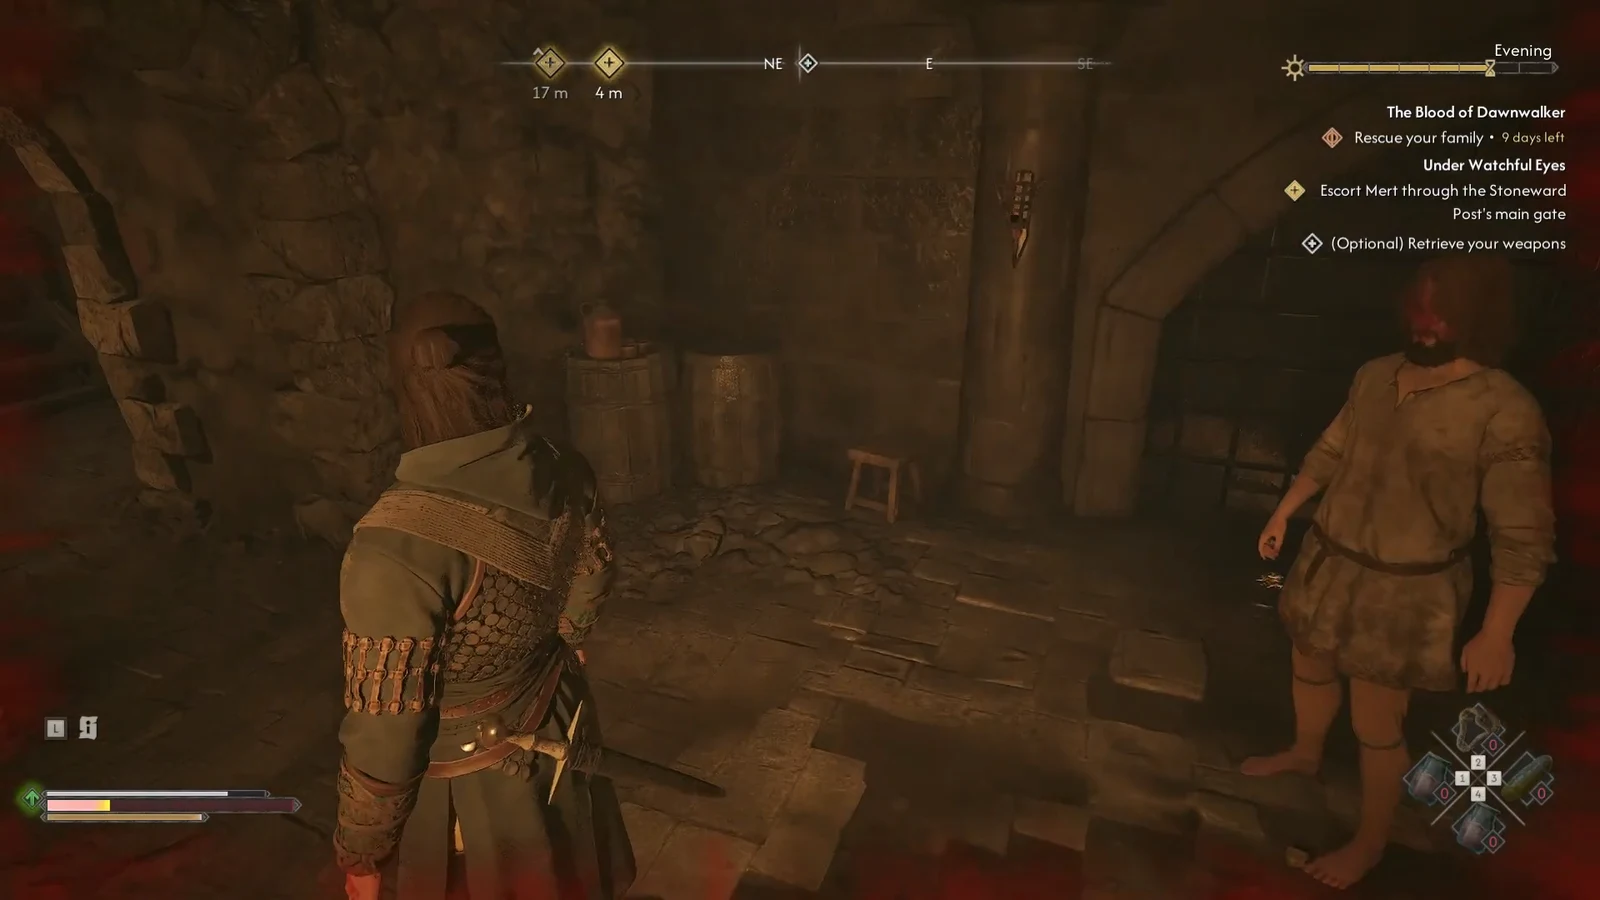
Three objectives run in order: get the key to Mert’s cell, free Mert, then escort Mert through the Stoneward Post’s main gate. If you left your gear at the gate on the way in, a fourth optional line to retrieve your weapons sits alongside them.
How to get the key to Mert’s cell
Coming straight up from your conversation with Mert, Friedo is standing at the top of the stairs with his back turned. That is the whole window. Walk up behind him and lift the prison key off him and he never reacts, which means no alarm and no extra guards pulled into the room.
Tip: hold onto that key. It is not just a cell key — the same one opens both doors on the shortcut route out, so do not treat it as a one-use item.
Arm yourself before you unlock the cell door
The guard sharing the room with Mert draws his sword the instant you turn the key, so sneaking the door open buys you nothing. This matters most if you entered Stoneward Post through a dialogue option that made you surrender your weapons at the gate, because you are otherwise about to start a fight empty-handed.
If you fought your way into Stoneward Post instead, that guard is already dealt with and you still have your own gear. Skip the longsword entirely and unlock the cell.
The cellar around the cell is worth a quick sweep on the way out. The barrels and sacks down there hold a Hammer, Cabbage, Penilla, and Plated Chain Leggings, and the leggings in particular are useful if you are heading into the courtyard rather than the side door.
The shortcut that skips the main gate fight
The escort objective is written misleadingly. You do not have to reach the main gate at all — the game accepts any exit that puts Mert outside the walls, and there is one tucked away on the north side of the overseer’s tower.
Taking this route removes almost all of the combat the quest would otherwise throw at you, and it still counts as a clean completion.
Escorting Mert out through the courtyard instead
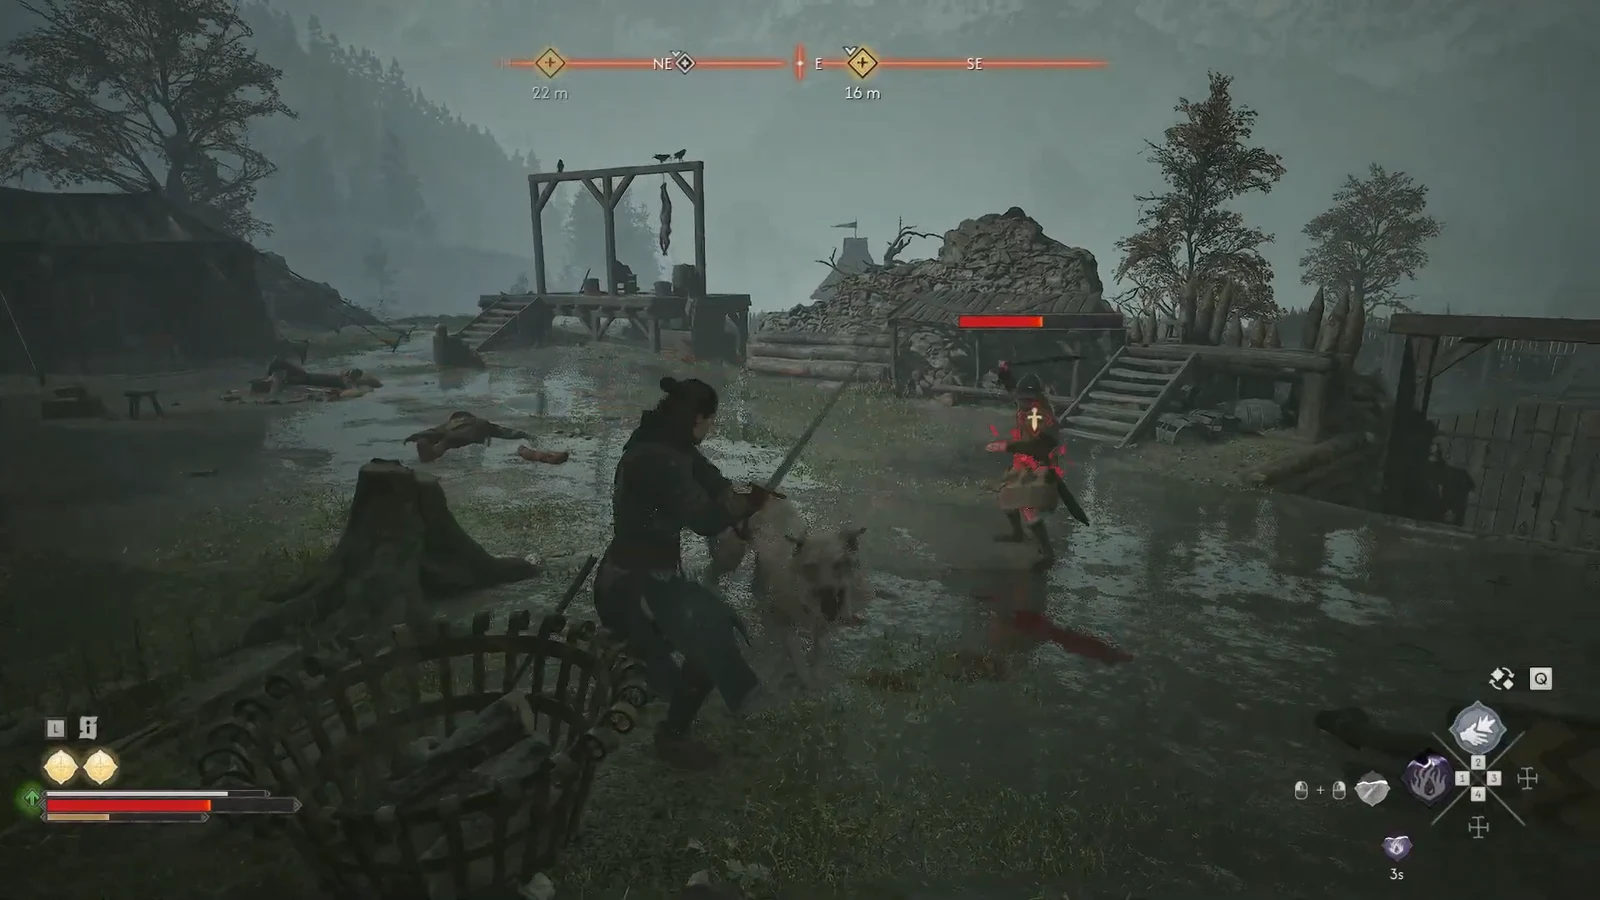
If you want the weapons you surrendered back, or you simply missed the alcove, the direct route runs up the wooden stairs out of the prison cellar and into the open. Expect a real fight the moment you step outside — several guards patrol the courtyard, and wolves join in as well.
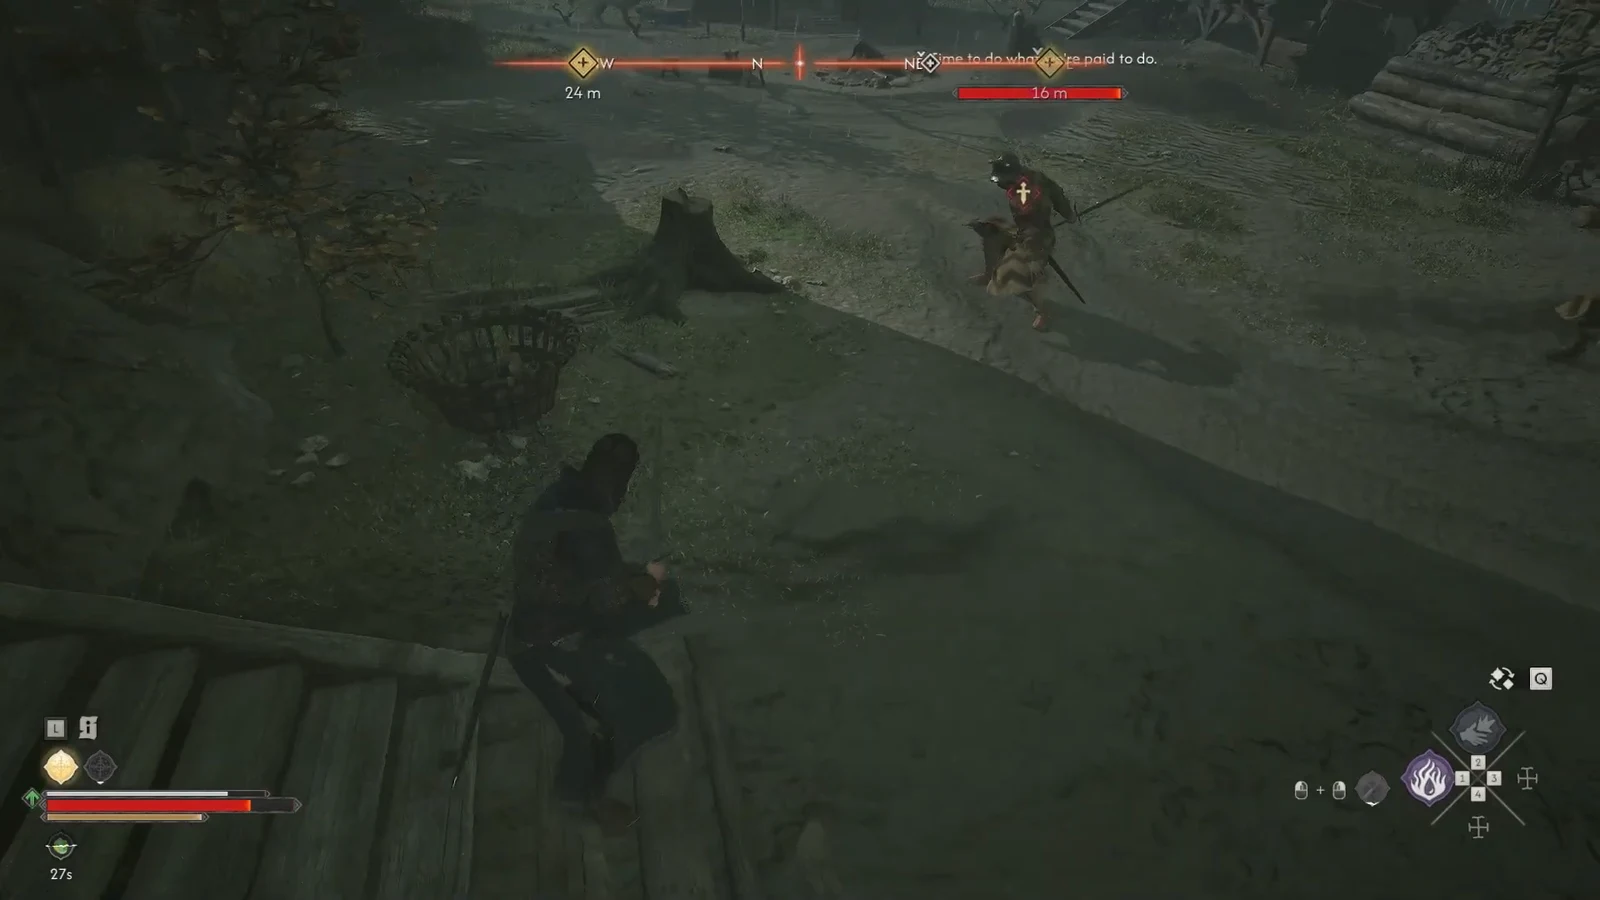
Clear the courtyard before you bring Mert out into it. He is listed as the Miller in interaction prompts, so the “Talk with Miller” prompt is the one you use to get him moving toward the gate.
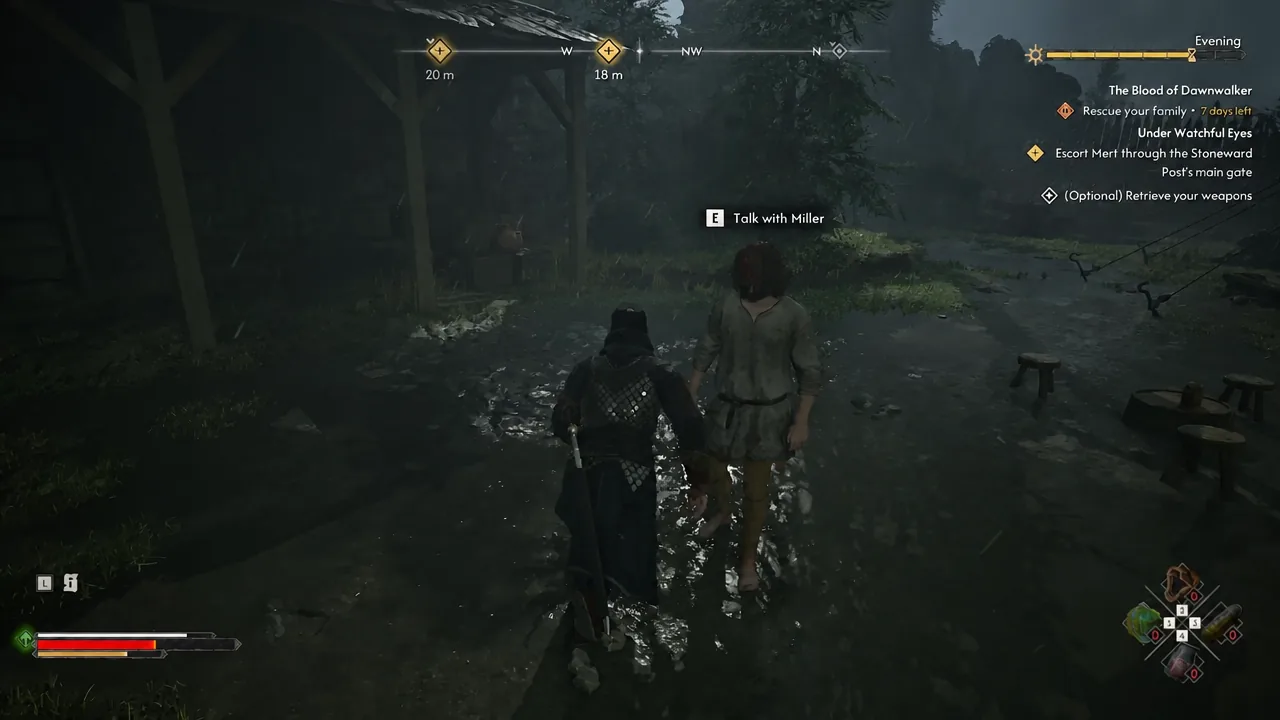
At the exit, the iron gate is locked and takes the Prison Keychain to open. Unlock it, step through with Mert in tow, and the quest hands off to a cutscene.
How to confirm Under Watchful Eyes is complete
Getting Mert outside the walls triggers a conversation between Coen and Mert, where Coen points him toward the almshouse in Svartrau to lie low. Once that scene ends, you get a QUEST ENDED notice for Under Watchful Eyes.
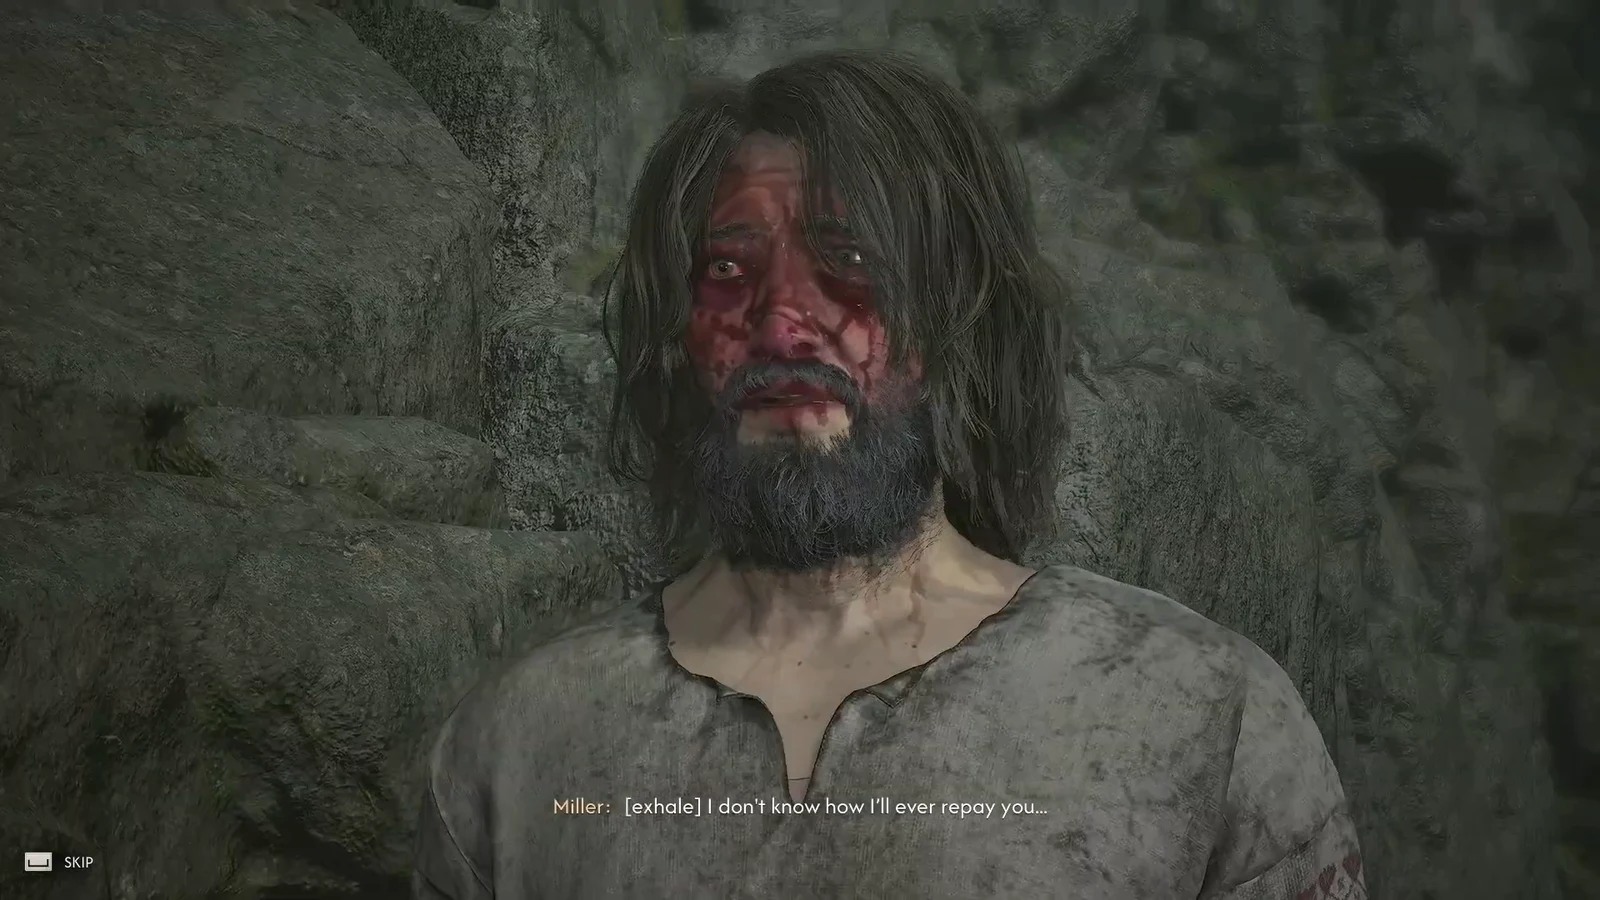
Watch for a second notification alongside it. The same escape also closes out Taking Back What’s Mine, so both quests clear together. If only one of them ends, or the escort objective is still sitting in your journal, Mert did not make it past the gate with you — reload and bring him through rather than running ahead.
From there the Crake thread continues into Shadows in the Woods, which points you to the bridge near Stoneward Post. Budget for the cost, though: this detour spends three Time Segments, and in a game where the clock keeps moving toward your family’s deadline, that is the real price of saving the miller.