Valor Mortis hands you three attributes to invest in the moment you rest at your first Rekindled Lantern, and the order you buy them in shapes how smoothly the early game goes. Each level is a single stat pick paid for with Catalysts, so there is no partial investment and no undo without a respec. That makes your first handful of picks the ones worth planning around.
Quick answer: Put your first picks into Maximum Health and Maximum Endurance, since both help every build. After that, follow the attribute that powers your damage — Might for melee, Endurance for firearms, Sufferance for transmutations.
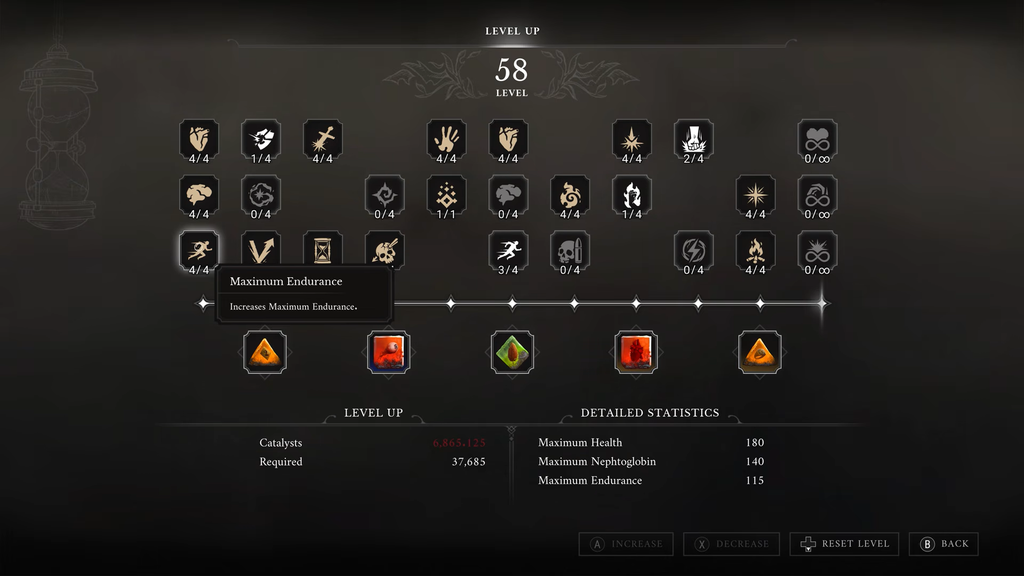
The three starting attributes in Valor Mortis
At the Lantern’s Level Up menu you start with three nodes, each capped at four points. Every node sits at the base of a wider attribute tree, so your first pick quietly commits you to a direction before the deeper upgrades open up.
| Starting node | What it raises | Base value | Attribute tree |
|---|---|---|---|
 Maximum Health Maximum Health | Your health pool | 100 | Might |
 Maximum Endurance Maximum Endurance | Your stamina pool | 80 | Endurance |
 Nephtoglobin Sufferance Nephtoglobin Sufferance | Maximum Nephtoglobin and your tolerance to it | 100 | Sufferance |
Might governs your Health and melee damage. Endurance sets your stamina capacity and recovery, plus the damage your Firearms deal. Sufferance determines your Nephtoglobin supply and tolerance to it, along with your Transmutation damage. Since each stat affects multiple things, one attribute can serve two purposes—a major factor when choosing a playstyle.
Spend your first picks on Maximum Health and Maximum Endurance
You start with 100 Health, which is enough to take two or three hits from most enemies, and even bosses need at least two swings to empty the bar. That buffer is small but real, and it keeps a single misread parry from sending you back to the Lantern while you are still learning an area.

Endurance is the tighter pinch early on. At 80 stamina you can only chain three or four swings before the bar is dry, which is barely enough to drop one enemy and leaves nothing for a dodge. Running out mid-fight forces you to back off and wait for the bar to refill, and against a group that gap gets you hit. Raising Maximum Endurance widens your action budget for attacking, dodging, and blocking all at once.
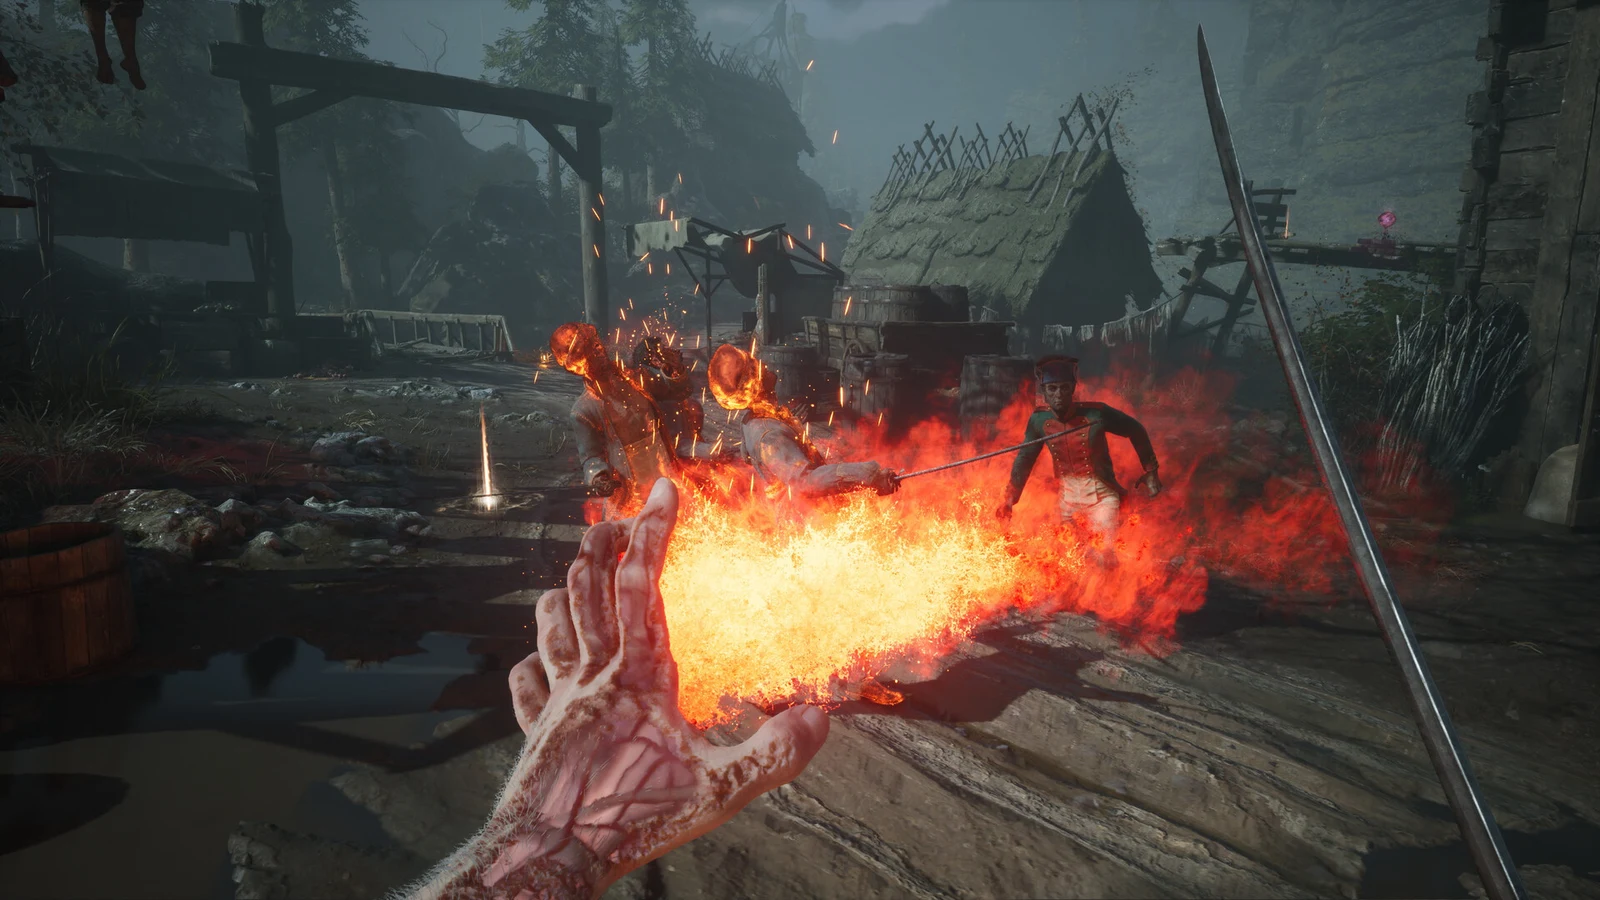
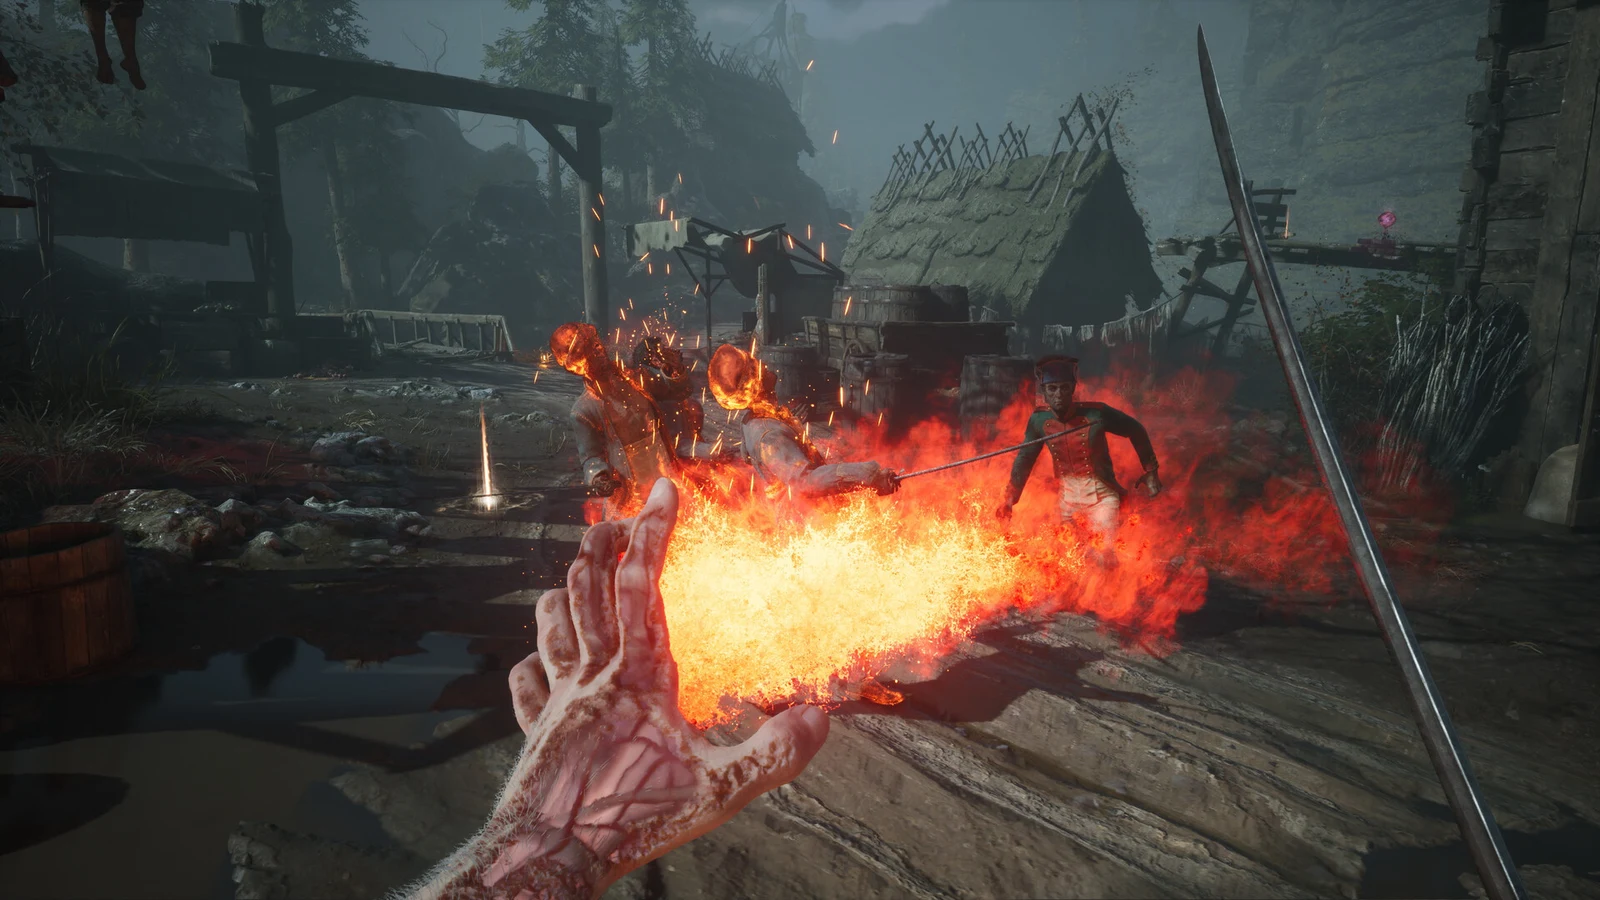
Nephtoglobin Sufferance is the one to hold off on at the start. The game gives you a healthy Nephtoglobin bar out of the gate, so you can keep casting Fire Transmutation and burning enemies without touching this node. Unless you plan to build around Transmutations, leave it until later.
What unlocks after four points, and how to branch by playstyle
Once you sink four points into any one first-tier node, the second row of upgrades opens. From there, every pick should feed how you actually fight. Pick the lane that matches your main weapon and work roughly in the order below.
Melee builds (Might)
If you win fights with the Saber, Rapier, or Claymore, Might carries your damage and your survivability together. Lead with raw melee output, then lean into the parry-to-critical window.
- Melee Damage — every swing lands harder.
- Maximum Health — stay in close range with room for one mistake.
- Critical Damage — makes the parry-into-Critical Attack window hit much harder.
- Parrying Impact — drains Posture more quickly, bringing Critical Attacks within reach sooner.
- Melee Endurance Cost — each swing uses less, letting you extend combos before fatigue sets in.
Firearms builds (Endurance)
Endurance governs your stamina reserve as well as Firearms damage, making Maximum Endurance valuable in two ways. Invest in it repeatedly, then add the precision bonuses.
- Maximum Endurance — your gun damage and your dodge budget in one node.
- Headshot Damage — boosts the accurate hits that underpin a gun-focused build.
- Critical Damage — raises burst output alongside weak-point strikes and critical hits.
- Maximum Health — enemies can still rush you; retain some extra room to take hits.
- Ammunition Drop Chance — maintain your supply to avoid switching to melee during a fight.
Transmutation builds (Sufferance)
Sufferance sets your Nephtoglobin capacity and how much of it you can withstand, giving casters room to operate. Raise capacity before investing in damage, then improve regeneration to sustain spellcasting in the gaps between battles.
- Nephtoglobin Sufferance — increases your available Nephtoglobin and the amount you can bear before it causes harm.
- Transmutation Damage — strengthens the damage dealt by each Transmutation you use.
- Status Buildup — fills burn, stasis, and other status meters more rapidly, an advantage in boss fights.
- Maximum Health — despite their fragility, casters should retain some extra survivability.
- Nephtoglobin Extraction — landing melee blows restores extra Nephtoglobin, supplying the caster with resources between spells.
If you are running a Saber-and-Fire hybrid, add Parrying Impact once your parries are consistent, then pick up Nephtoglobin Extraction once you are casting Fire regularly rather than only now and then.

Why early stat picks are worth front-loading
Catalyst costs climb steeply as you level, so your earliest picks are by far the cheapest ones you will ever buy. The table below shows what each of the first several levels costs.
| Reaching level | Catalysts to reach it |
|---|---|
| 2 | 400 |
| 3 | 480 |
| 4 | 576 |
| 5 | 691 |
| 6 | 899 |
| 7 | 1,168 |
| 8 | 1,519 |
| 9 | 1,974 |
| 10 | 2,566 |
The gap keeps widening from there. A single level in the hundreds costs well over a million Catalysts, since the curve runs all the way up to level 400. Because the cheap early picks and the pricey late ones both grant exactly one upgrade, spending your first levels on stats that help right away gives you the most value per Catalyst.
Respec is possible but not free. The cost starts at 50 Catalysts and rises with each reset, so plan your early picks rather than treating them as temporary.
How to spend picks and confirm the upgrade
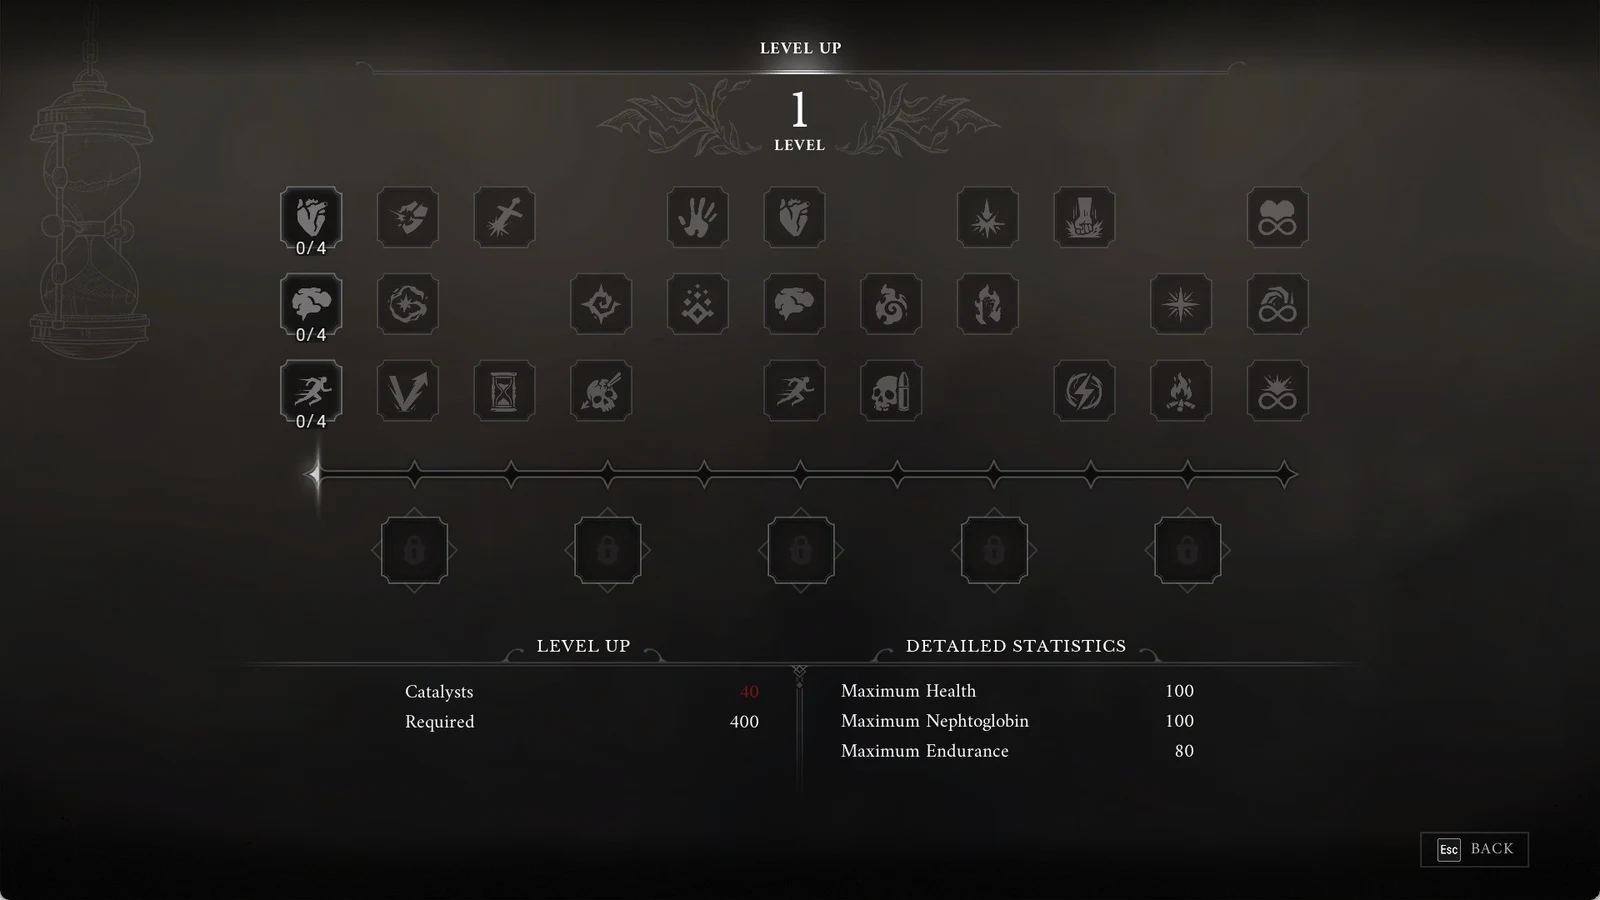
Once four points fill a first-tier node, the next row of that attribute tree becomes selectable, and you can keep spending from there. If the stat value does not move or the node stays locked, you are either short on Catalysts for the Required amount or you have not yet filled the four points needed to open the next tier.