Chapter V, CRIME, picks up the moment the Sphinx is behind you and sends you out of the Abandoned Church toward the city. It is the fifth of all 11 chapters in Valor Mortis, and its opening stretch drops you into the Vale of Wrath, a poisoned forest region full of French soldiers, hidden notes, and your first long-range weapon.
Quick answer: Talk to James in the Abandoned Church to receive the Outward Pass Key, open the Outward Pass Gate past the Cave Grotto Key door, and walk through to load the Vale of Wrath. Then cross the Vale of Wrath from Wolfsbane Field to the Poisoned Camp, the Ship Graveyard and the Old Windmill, and beat the Slaughtermill to finish the chapter.
How to start Chapter V, CRIME
Arriving in the Vale of Wrath
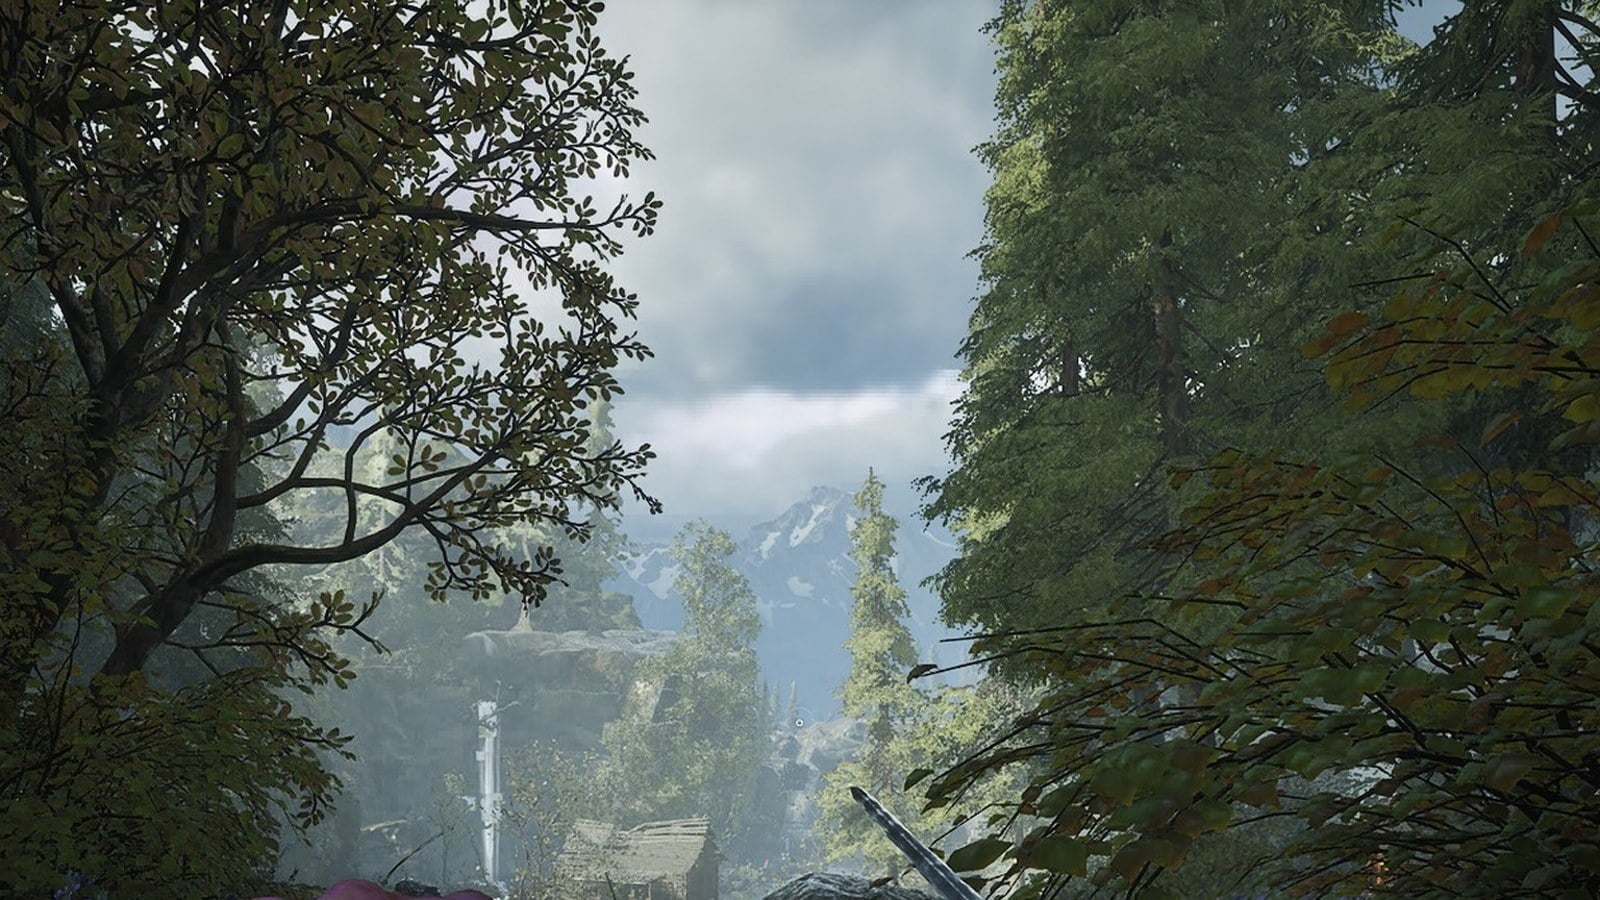
You begin on a forest track overrun with greenery, facing a waterfall and a hut. Behind you, the trail leads back to the Abandoned Church. For the exits and notable spots along the way, consult the Vale of Wrath map as you descend.
Wolfsbane Field and the Shrike’s notes
Continue down the slope to Wolfsbane Field, a meadow filled with tall purple wolfsbane blooms and scattered wooden huts. The Lantern is at the meadow’s boundary. Rekindle it and rest before searching the buildings.
Inside one of the huts, a note sits on a table with the “[E] TAKE” prompt. This is the Shrike’s first order.
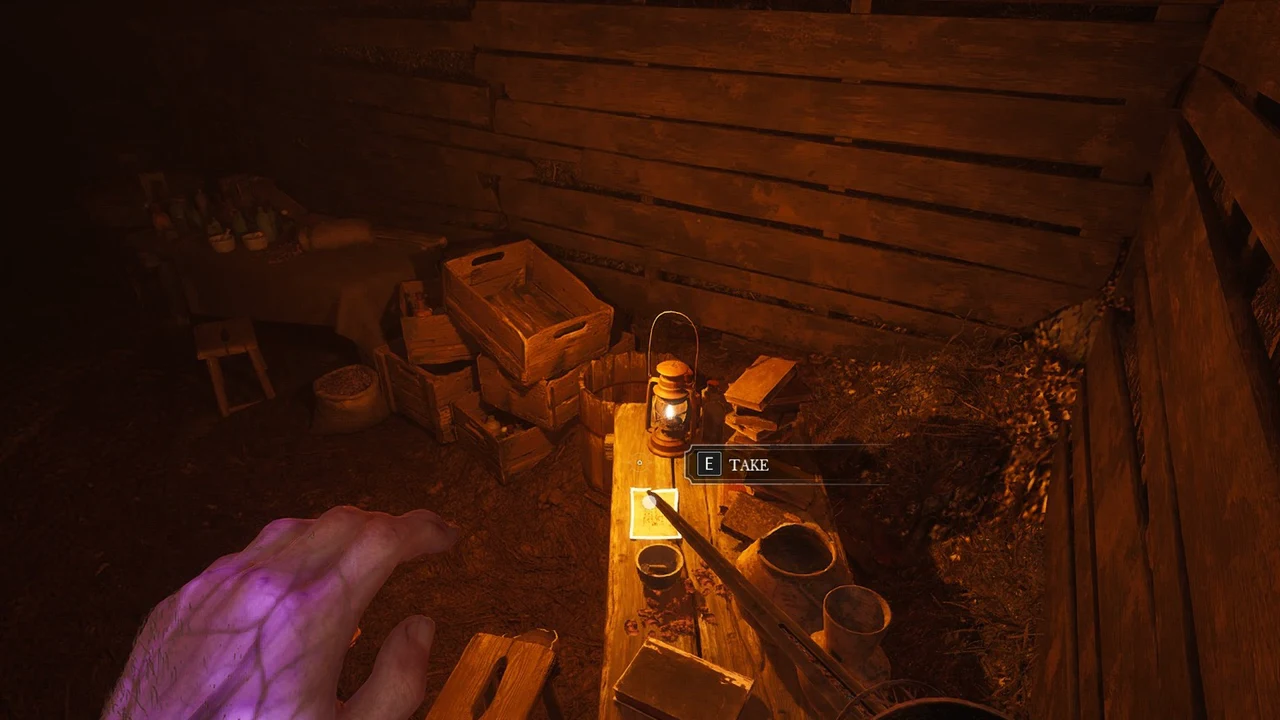
The order, “SHRIKE’S ORDER – CARGO”, tells you that the French in the forest camp are guarding a cargo the Emperor treasures, that it must be found and destroyed, and that the soldiers in the camp must be dealt with. It also names a helper: “Find the Wolf, he shall help you.”
A second note nearby gives a “QUEST UPDATE CRIME” toast when you take it. “SHRIKE’S APPEAL – JOIN THE RESISTANCE” is the Shrike’s call to the people of Carpathia to rise against Napoleon’s army after the plague ruined their crops, animals and families.
Under the Bridge and Lucjan
Beside the river, beneath a high wooden trestle bridge, you’ll find the Under the Bridge Lantern. Light it to trigger “LANTERN REKINDLED” and the “QUEST UPDATE CRIME” notification, confirming the checkpoint is active.
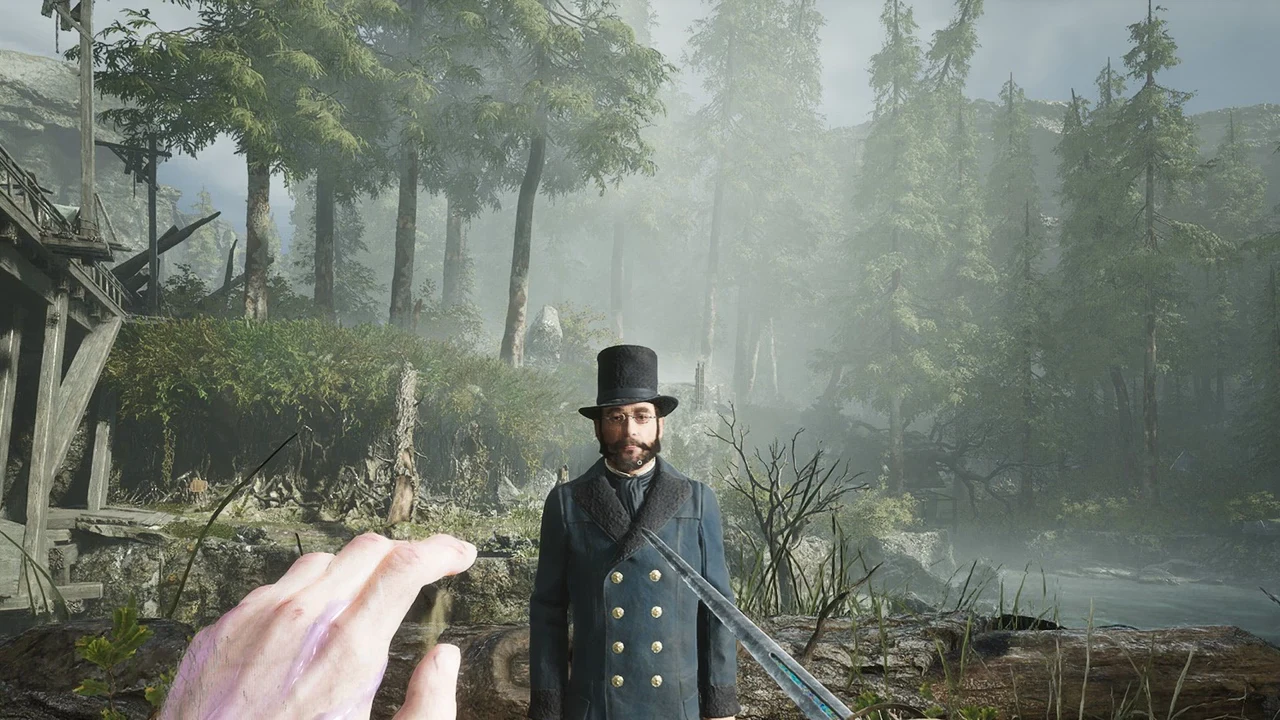
Lucjan Skawinski, wearing a top hat and a long blue coat, is waiting here. Face him to bring up the “[E] TALK TO” prompt, then start the conversation. Choose a response by highlighting its line and pressing E. You don’t need to talk with him to advance the chapter. For his inventory, see what Lucjan, James and Louis sell.
The Poisoned Camp and the cargo order
Canvas tents and wicker fencing mark the French army’s Poisoned Camp, which has its own Lantern. Inside one tent, candles surround a gilded altar. The tent blocks access on three sides, so enter through the open side to find a paper on the ground with the “[E] TAKE” prompt.
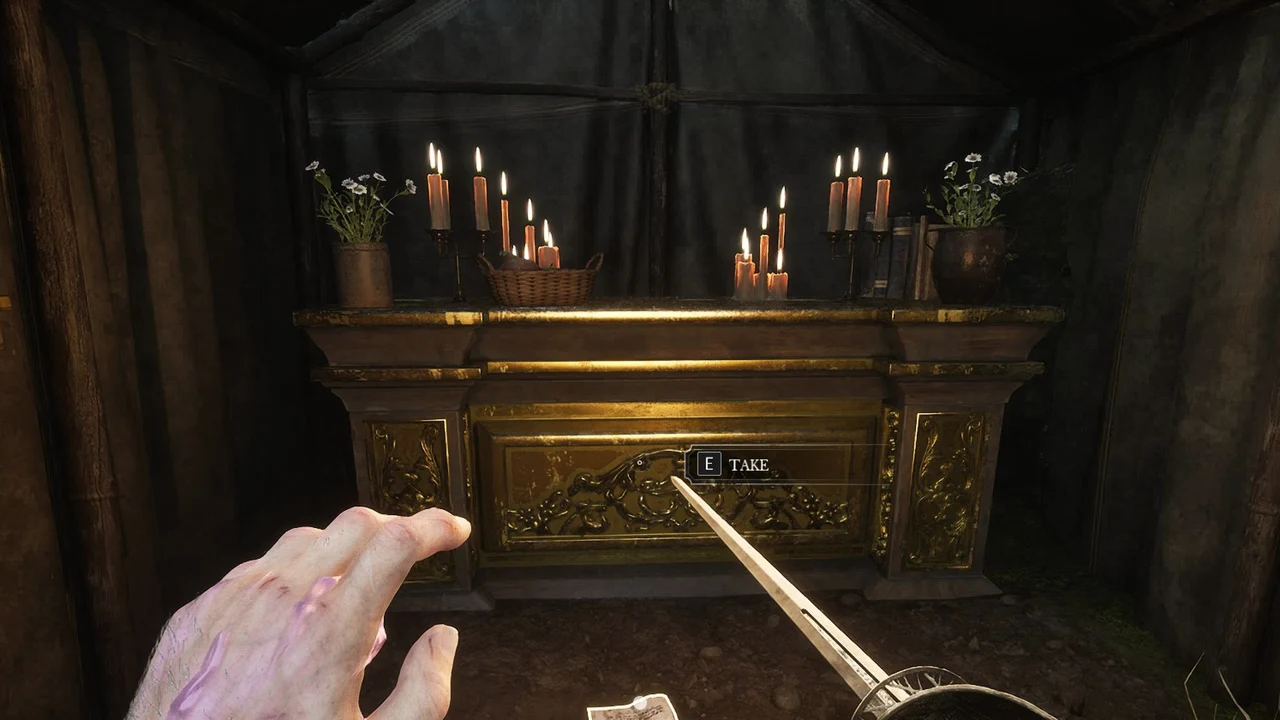
The paper, “HEADQUARTERS’ ORDERS – NEW TROOPS”, is an order to a Captain Lefevre: move the cargo at once, sick men or not, hide it somewhere safe and wait for further instructions.
Read alongside the Shrike’s order, this confirms the cargo the French are hiding somewhere in the forest camp.
Picking up the Musket
Enter the house beside the Poisoned Camp Lantern. Inside, a staircase and purple growth stand against walls covered in crimson-and-gold wallpaper. The Musket sits on a blue, cushioned display case. Look at it and press “[E] TAKE”.
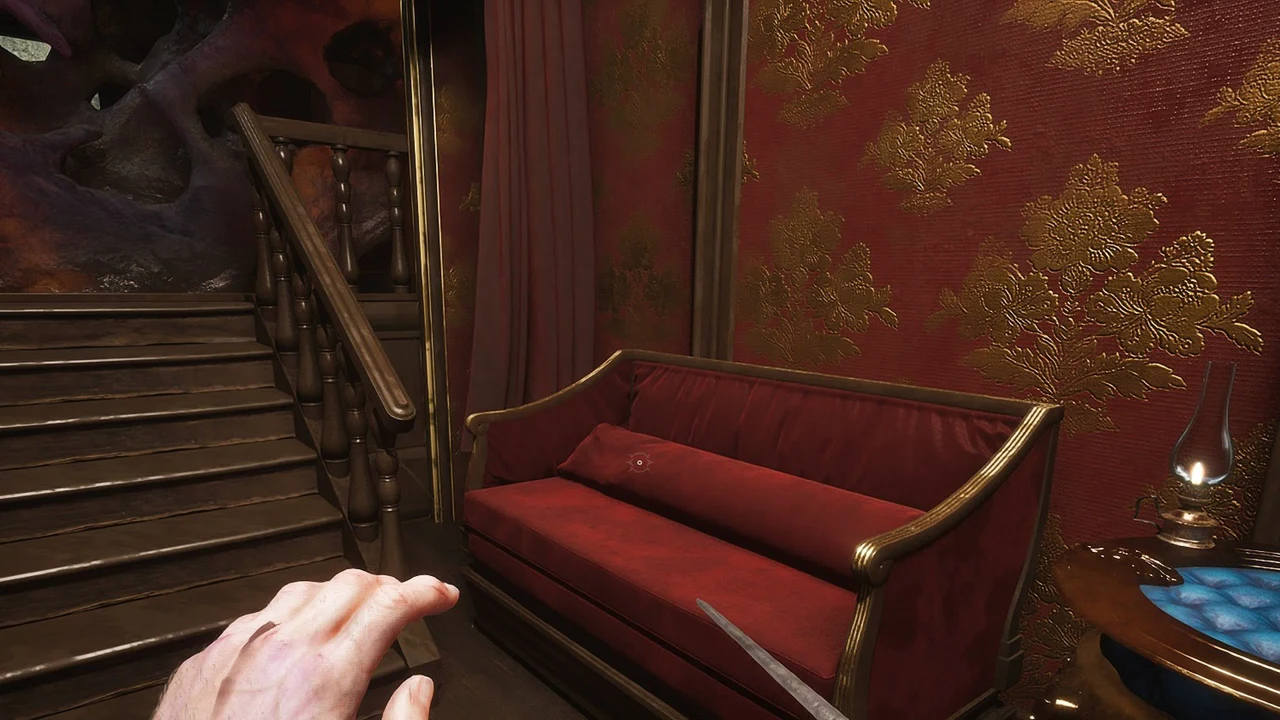
Taking it gives William’s line, “One clean shot with this beauty… can go a long way,” followed by the tutorial note: “The Musket is a long-range firearm that focuses on taking out single targets.”
Clear the infected military camp
With the Musket in hand, head back out into the camp clearing. A post supports an hourglass-shaped Lantern displaying LANTERN REKINDLED—the Poisoned Camp Lantern. Move into the yard to make Special Ammunition pickups appear.
Watchtowers, tents, crates and barrels fill the camp’s wooden palisade, where soldiers stand guard. Use the Musket for precise shots at the figures posted on the towers. If a red, fleshy mass seals the route between tents, clear it using Fire Transmutation.
Climb the ladders to the rampart walkways to look down on the tents and shoot patrols. A tower top holds Mighty Rounds. Inside the tents, ghostly scenes replay sick soldiers blaming the water, and two notes explain the camp’s fate.
- “HEADQUARTERS ORDERS — POISONED TROOPS” — the command will not move the sick men, because transport is tied up with the cargo.
- “HEADQUARTERS ORDERS — NEW TROOPS” — the captain receives instructions to relocate the cargo before dawn and conceal it somewhere secure.
Following the Shrike’s command, the rebels laced the camp’s water with wolfsbane in an effort to capture the cargo. The soldiers managed to retrieve it just in time, then concealed it in a fishing village nearby.
Cross the gorge bridge and the cabin
A path along the cliff descends toward a fortified bridge spanning the gorge. On the bridge, a hulking creature bearing wooden stakes in its back attacks. Set it alight with Fire Transmutation and fire Musket rounds at it. Should you die, your Catalysts remain on the spot where you fell.
A cabin stands beyond the bridge, but its door is locked from the outside. Scale the rocky ledges, get onto the roof and drop through; from inside, you can unlock the entrance. The room beyond contains a chest.
Work through the ruined gorge village
Rock serves as the village’s foundation, with fishermen’s cottages, sheds, and timber walkways perched above the river. Spectral scenes appear inside several homes, while infected villagers and a heavily armored creature attack in the alleys and along the main road.
At the beginning, collect Crude Blade Material from the gorge ledge; later, find Legendary Catalyst Clot in a garden filled with beehives. Look behind the shed next to the vine wall for a red chest. In another shed, sacks hold the note “SHRIKE’S APPEAL — INFORMANTS”. A second red chest is inside a dark house. One house has an interior door marked “[E] INTERACT”; opening it creates a shortcut back to the square.
Go along the river, passing the wheel. A small camp beneath the collapsed wooden debris contains “SHRIKE’S ORDERS — CARGO” and the amber Dilated Moment; collecting it adds a new journal entry. Continue into the cave tunnel to find “THIEF’S NOTE — LOOT”.
At the cove’s broken bridge, swing over the water by using [E] GRAPPLE on the wreckage wrapped in black matter.
Rekindle the Ship Graveyard Lantern
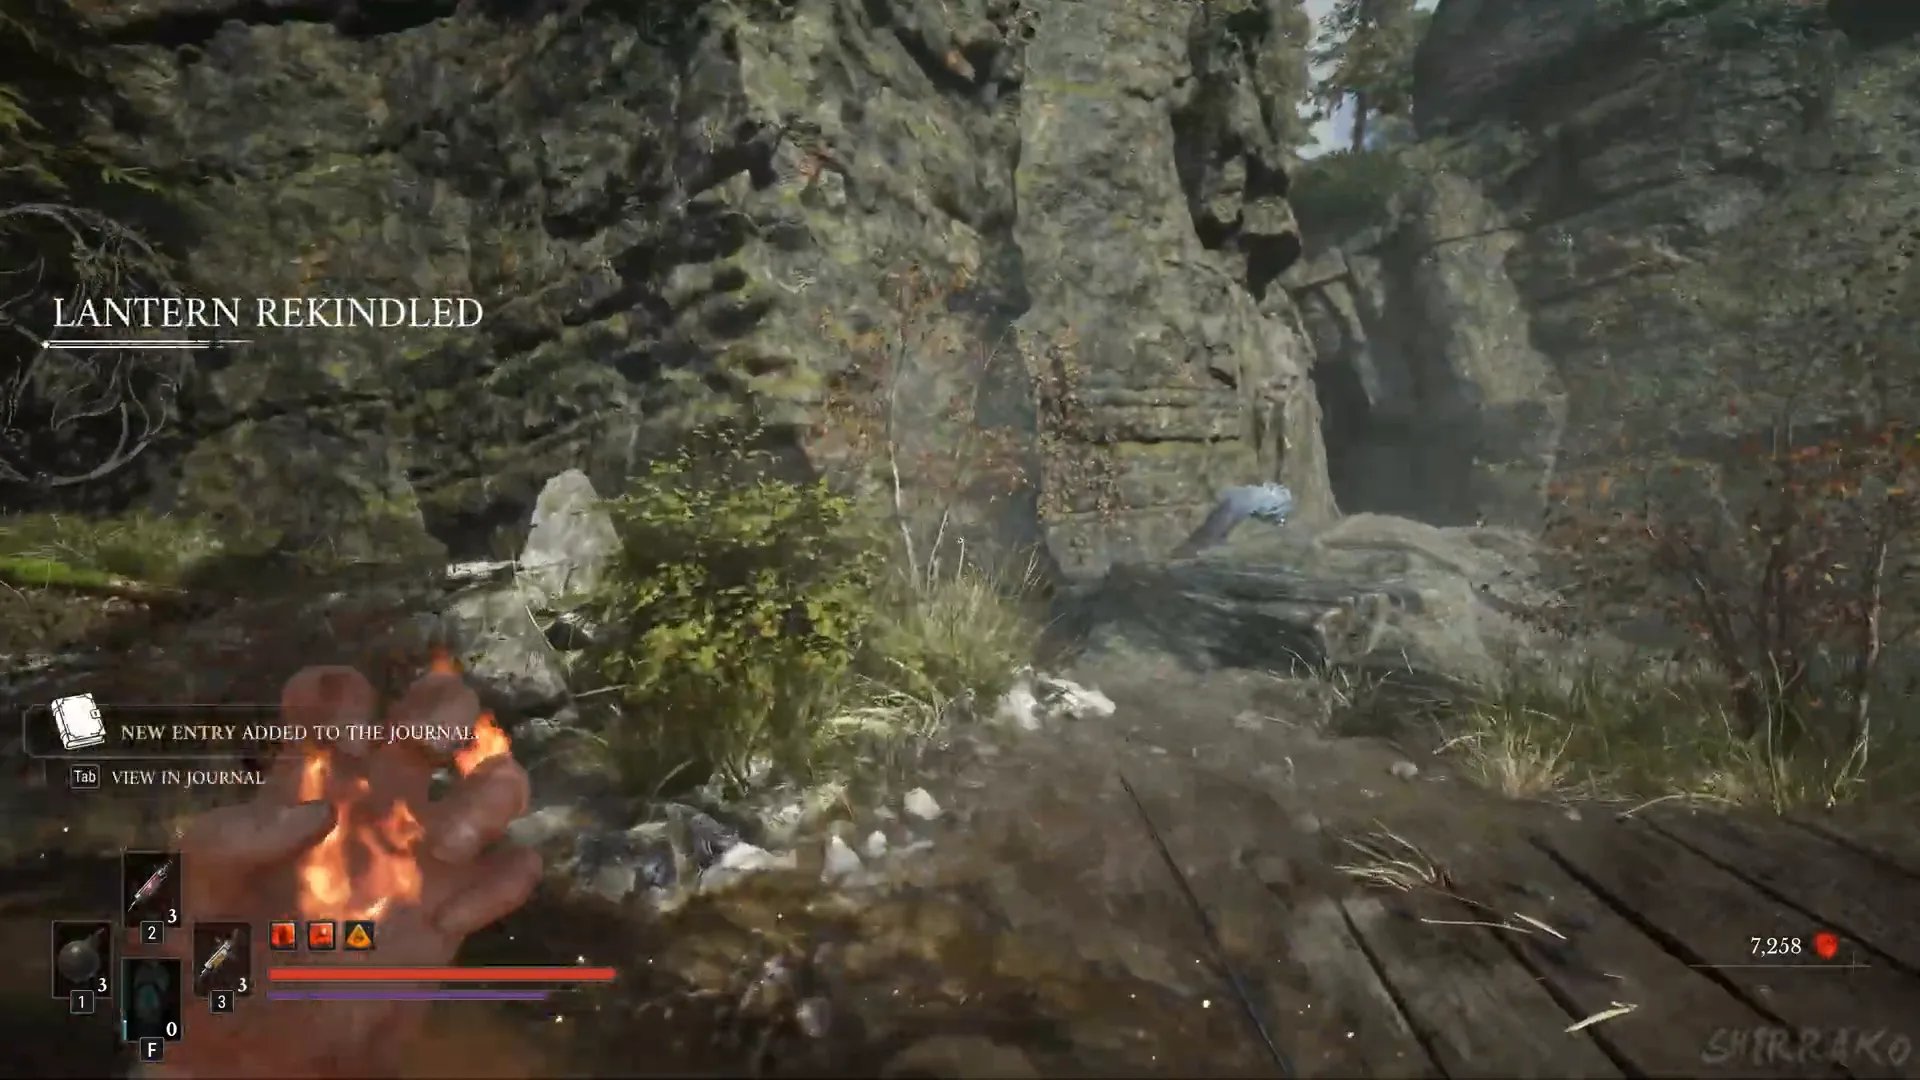
On the forest road past the bridge, a Lantern reads LANTERN REKINDLED and a journal entry appears. This is the Ship Graveyard Lantern, and the road beyond it leads into the shipwreck area. From here you can fast travel and return through the Lantern menu; arriving back at the trail shows the VALE OF WRATH banner.

Use Nephtoglobin Formations to reach the cliff cave
Near the Lantern, a body lies tangled in roots among the wrecks. Touch it and a blue substance runs into William’s arm, opening a tutorial: “Press [E] when looking at a Nephtoglobin Formation to activate it.”
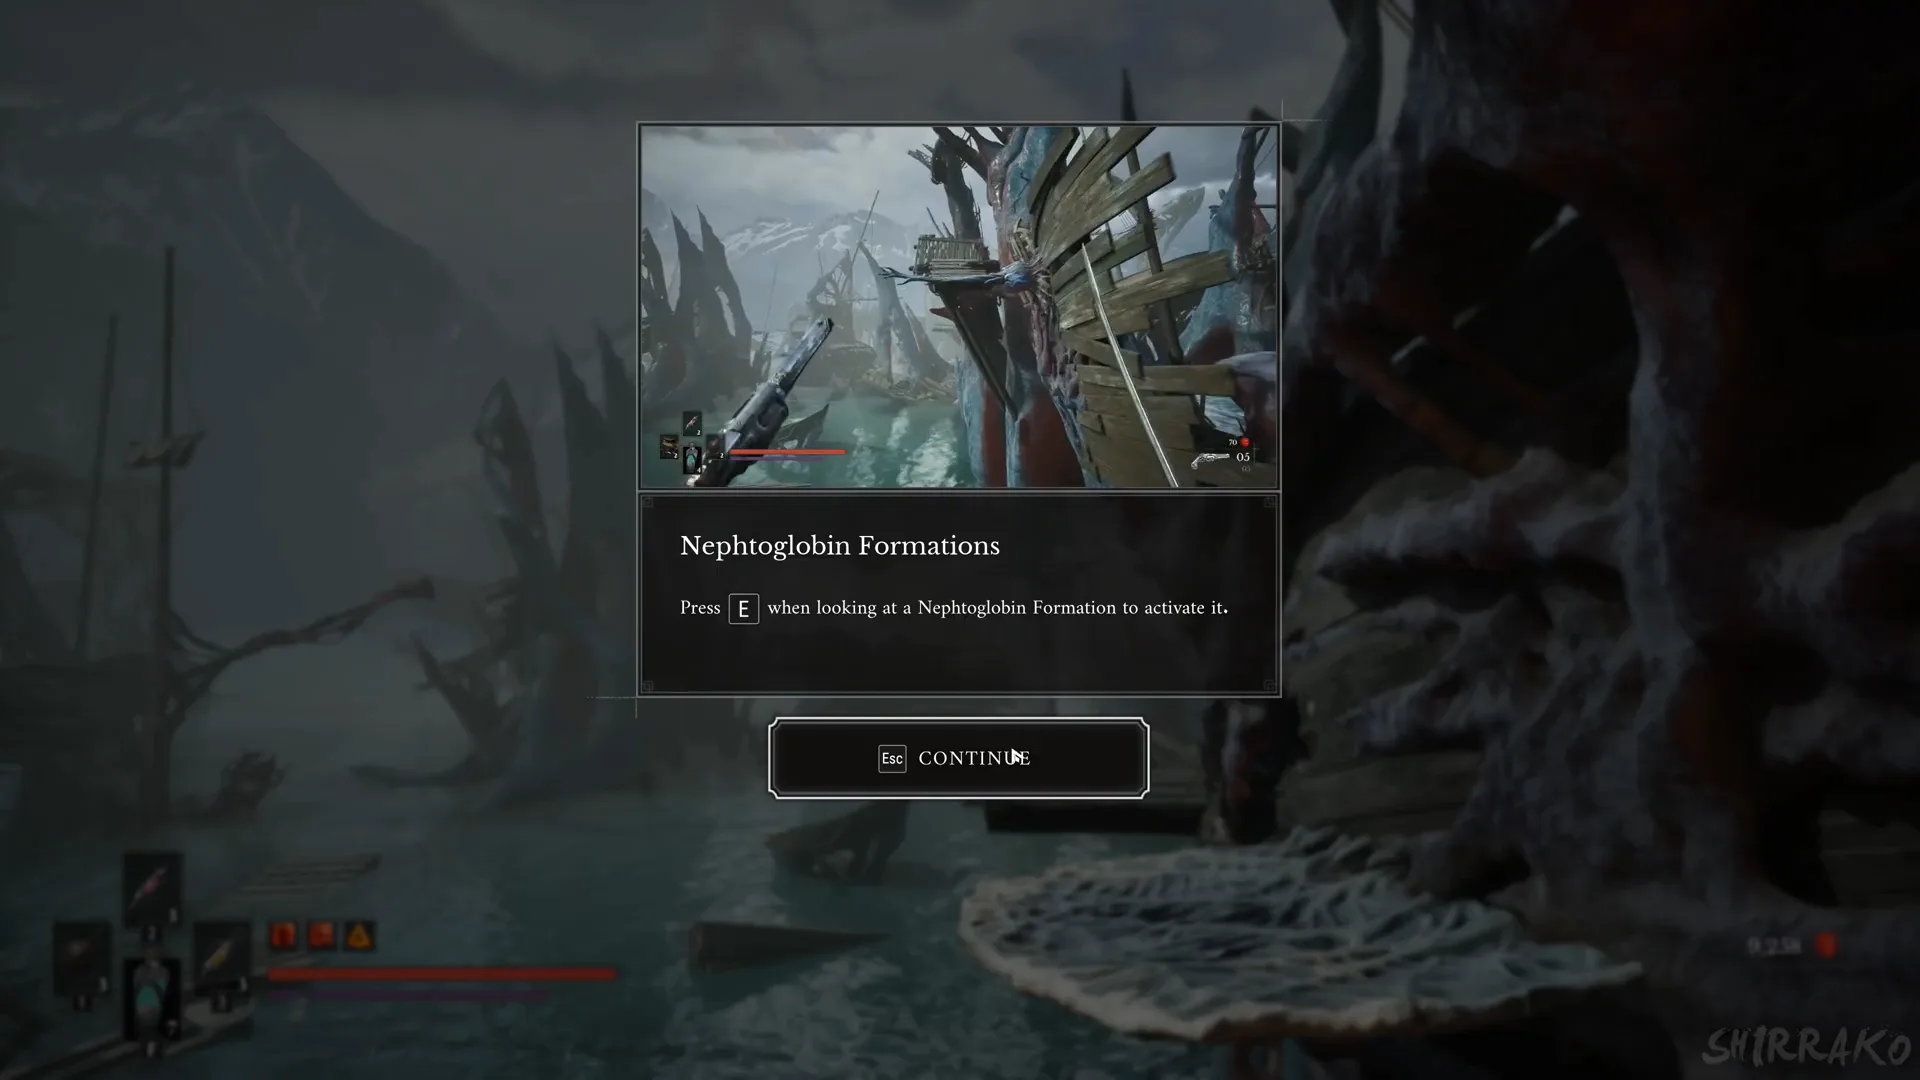
On the cliff face, find a pale frond that serves as a Nephtoglobin Formation. Face it and press “[E] ACTIVATE” to create a platform, then leap across to the cliffside cave. Enemies occupy its ledges and pool area; a red chest lies on the floor, while a ledge holds “THIEF’S NOTE — WARNING”. Outside the cave exit, another formation lets you descend to the dirt path.
As you return along the path toward the wrecks, gathering enough may trigger the message “Your Nephtoglobin reserve is full.”
Cross the swamp of shipwrecks
A graveyard of wrecked ships rises out of shallow water, overgrown with dark flesh. You move through it three ways: grapple between masts with “[E] GRAPPLE”, grow bridges from Nephtoglobin Formations with “[E] ACTIVATE”, and walk the planks. Fleshy growths and purple masses block some paths — shoot them with the Musket or Pistol until they burst. Soldiers patrol the decks.
- Loot glowing on a deck.
- Epic Catalyst Clot along the wrecks.
- Ferrofluid Flask Power Upgrade and Pistol Ammunition in a dark ship cabin.
- Pure Blade Material in another cabin.
Use the grapple point on a boom above the water to swing over to floating platforms. Ascend a slanted deck and read “Rebel’s Note — Mistake” to receive a QUEST UPDATE / CRIME. The rebels failed to take the cargo; they wrecked its crate instead, releasing the plague and contaminating their own land. Shoot the red membrane sealing a hull passage to get through.
On the rocky shore below, pick up Standard Firearm Parts from the rocks. Afterward, follow the trail uphill through misty woodland as the Shrike speaks.
Rest at the Old Windmill Lantern
In a forest clearing, the hourglass Lantern displays LANTERN REKINDLED and “[E] REST”. You have reached the Old Windmill Lantern. Its menu lists Level Up, Travel, Upgrade Ferrofluid Flask and Leave. Before continuing, use any catalyst clots you have, improve the flask and level up.
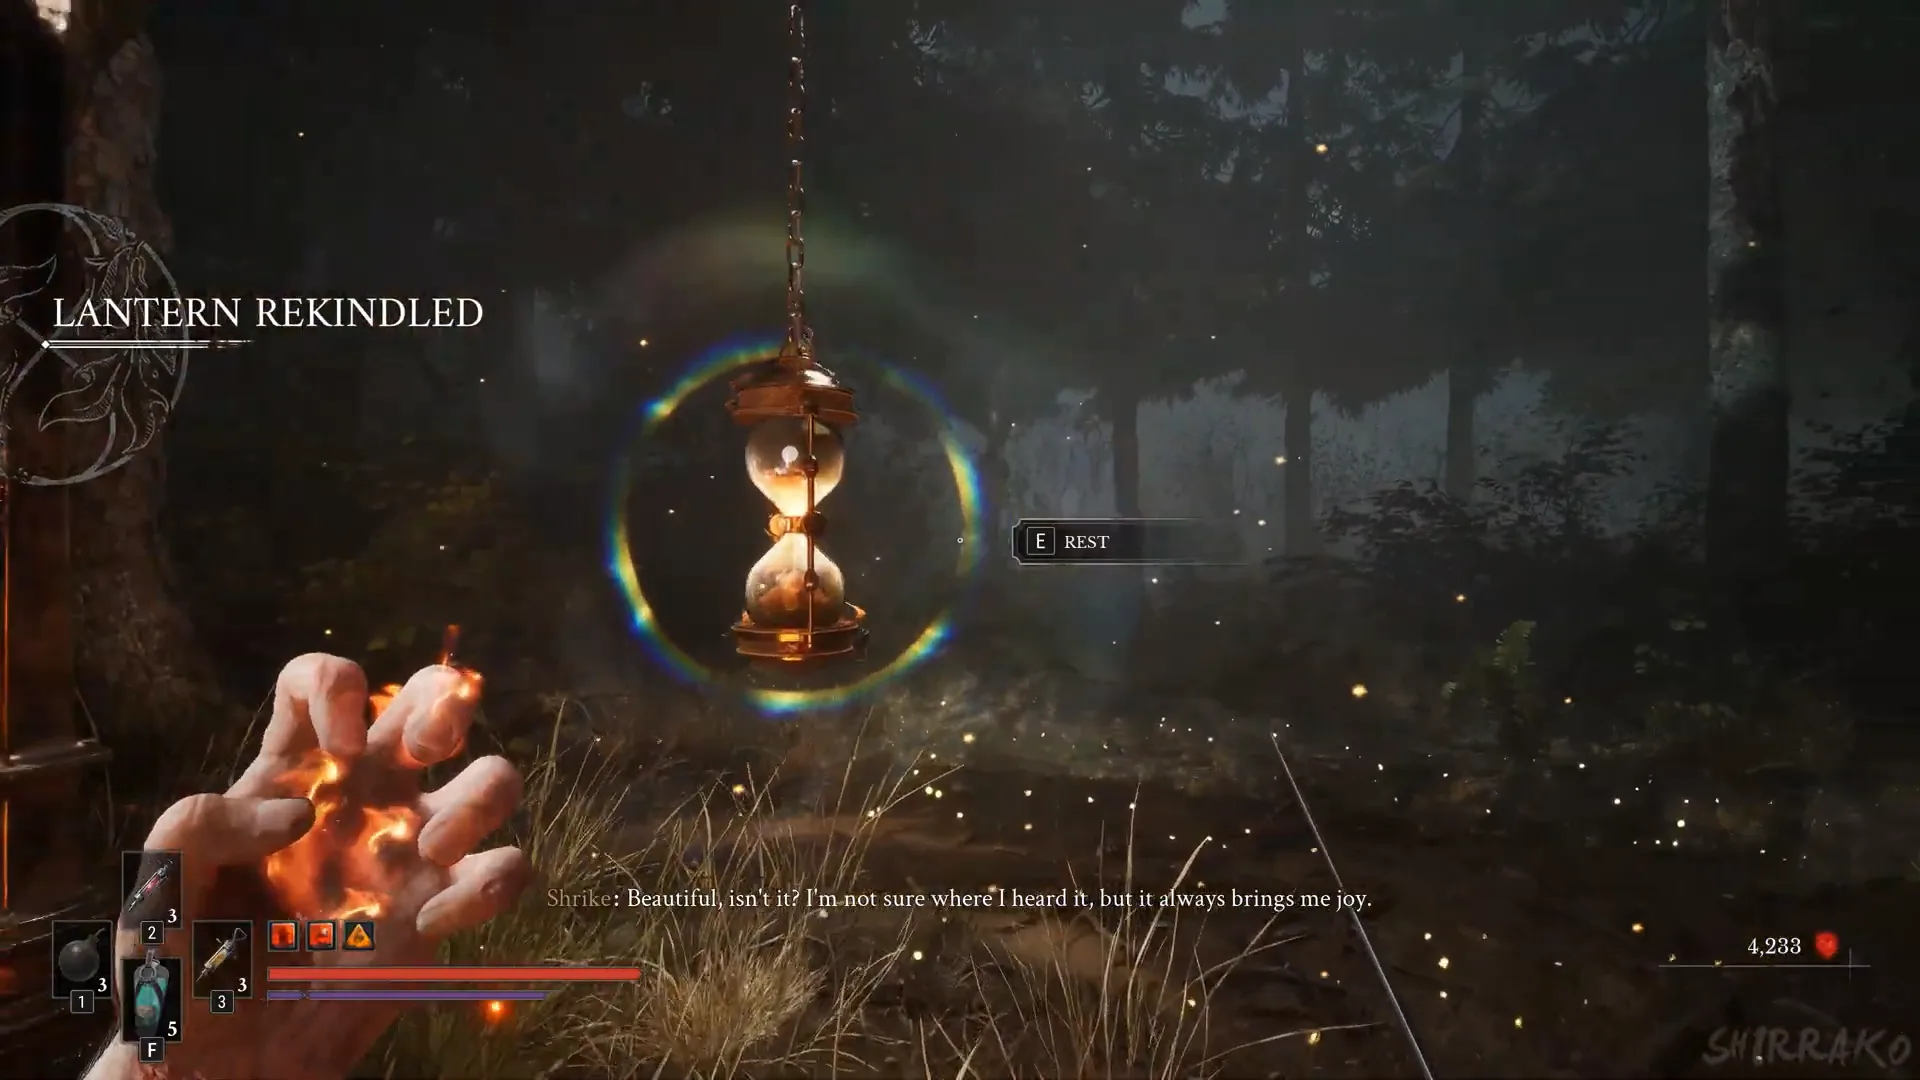
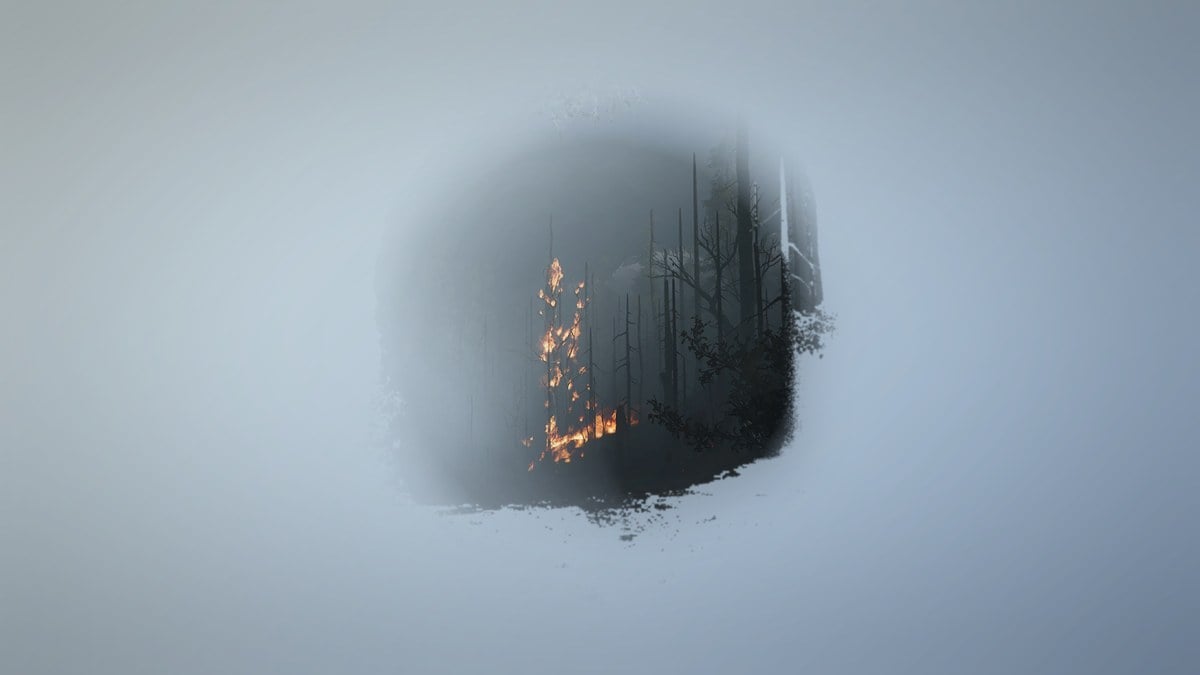
As you depart from the Lantern, another QUEST UPDATE / CRIME appears. The forest ahead is ablaze, with the windmill in a clearing surrounded by burning ground.
The Slaughtermill at the end of the chapter
The burning windmill is the Slaughtermill. Its health bar appears as you approach, along with the prompt [E] PULL (HOLD). That marks the start of the boss fight. See how to beat the Slaughtermill for every stage of the fight; beating it completes Chapter V.