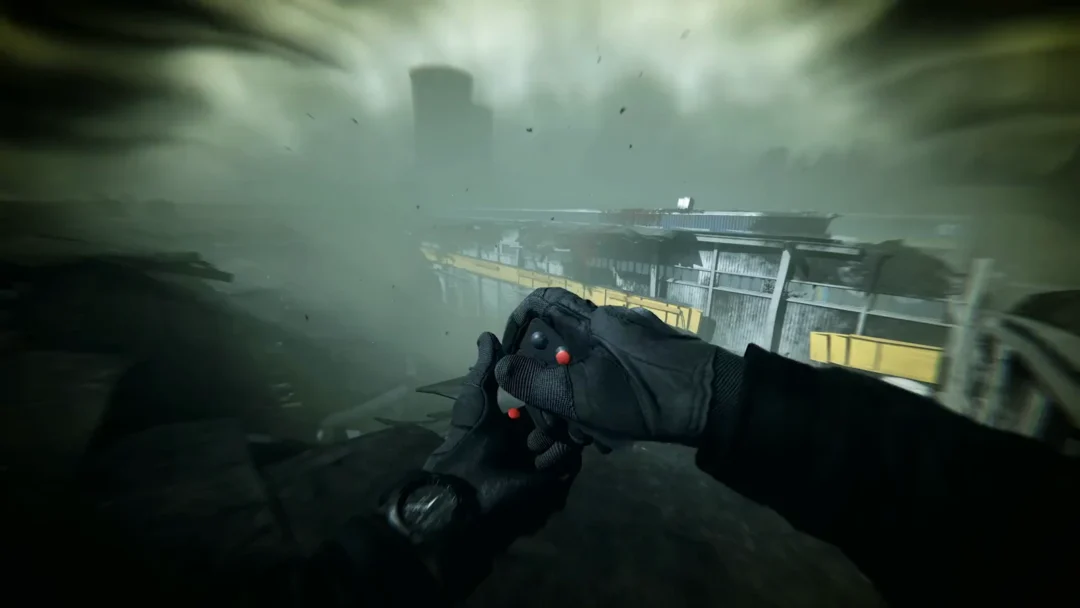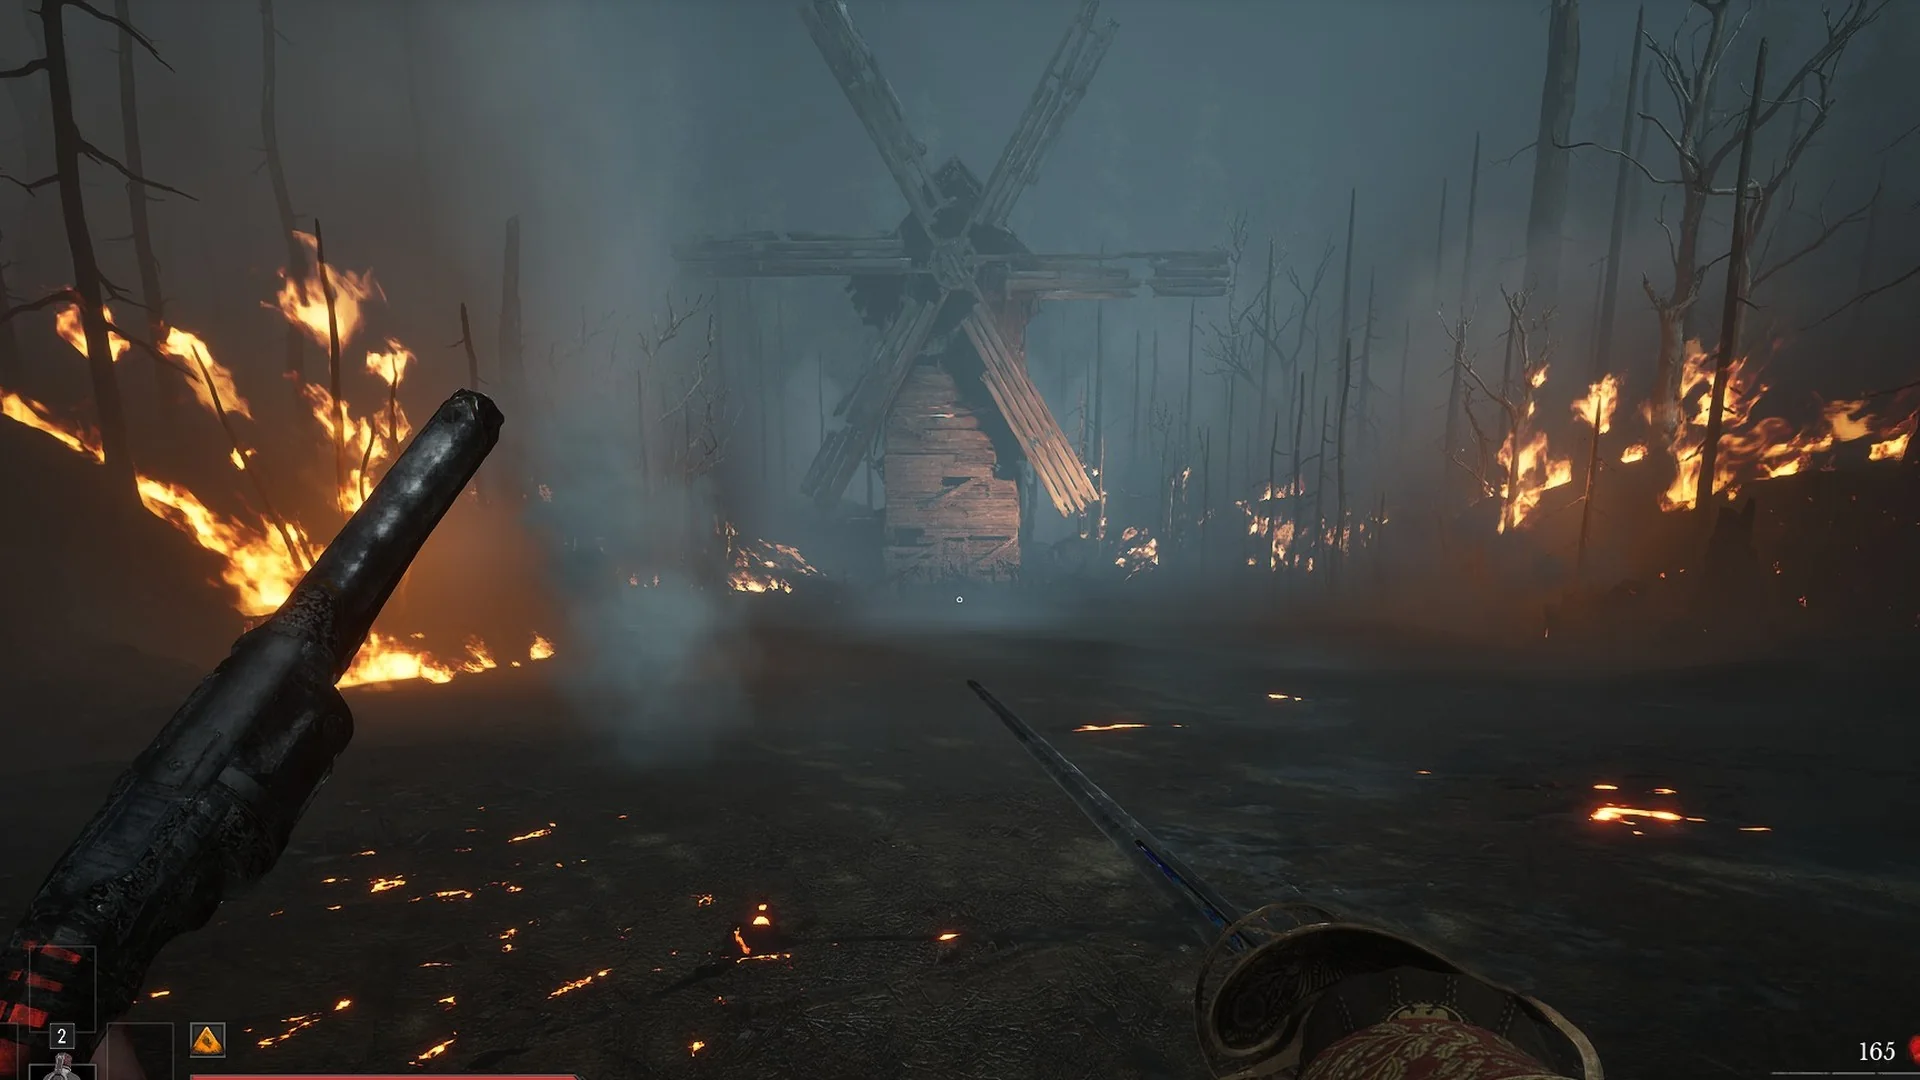
In the Vale of Wrath, the Slaughtermill stands as a timber windmill engulfed in fire and fused with living flesh. Sails, a fan, and limbs jut from its base. Most of what you hit does nothing to it: only the right spots take damage. Its health bar at the top is labeled “SLAUGHTERMILL”. This guide covers the phases, vulnerable targets, and ways to avoid being blown off the battlefield.
Quick answer: Only the glowing red bulbs take damage. Switch to the Pistol, aim down the sights with the right mouse button, pull the wooden boards off hidden bulbs while the fan is idle, then shoot the core inside the mill. After four more bulbs on the burning mill, shelter behind a raised Nephto wall in the firestorm, pull the support plank, and fight on in the cavern below. Finish it in the cavern by shooting the eye in the mill house’s upper window; the kill pays 30,000 Catalysts.
Where you fight the Slaughtermill
The Slaughtermill is the boss of Chapter V, Crime, and the mill itself is the boss. You can see exactly where it sits on the Slaughtermill on the Valor Mortis map, and the surrounding area is laid out on the Vale of Wrath map. It is one of the all 10 bosses in the game.
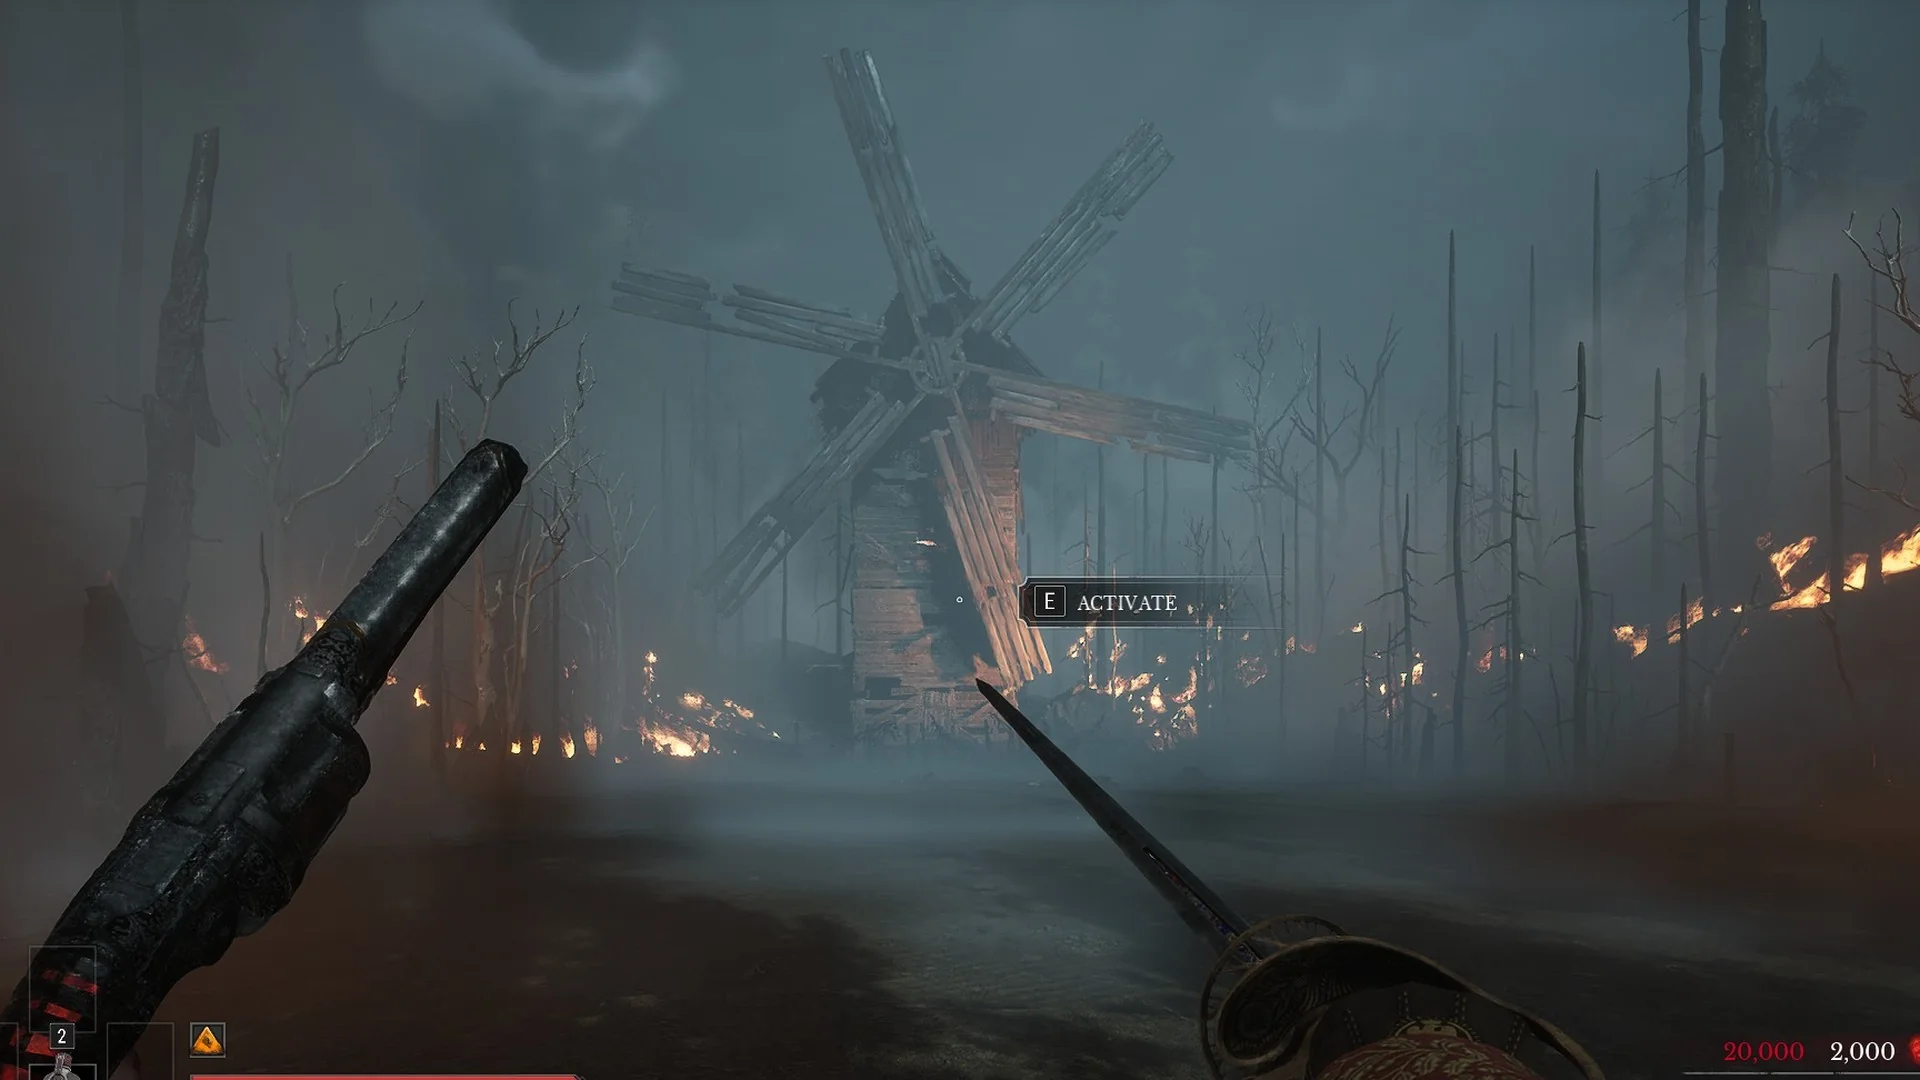
The last place to rest before the fight is the Old Windmill Lantern, which shows “[E] REST”. From there the path climbs to a golden sand wall marked “[E] INTERACT”; hold E for a moment to pass through it. The burning mill stands ahead in a burning forest, and the boss bar appears as you get close. Small slime crawlers come at you from the start, and burning ones join them later.
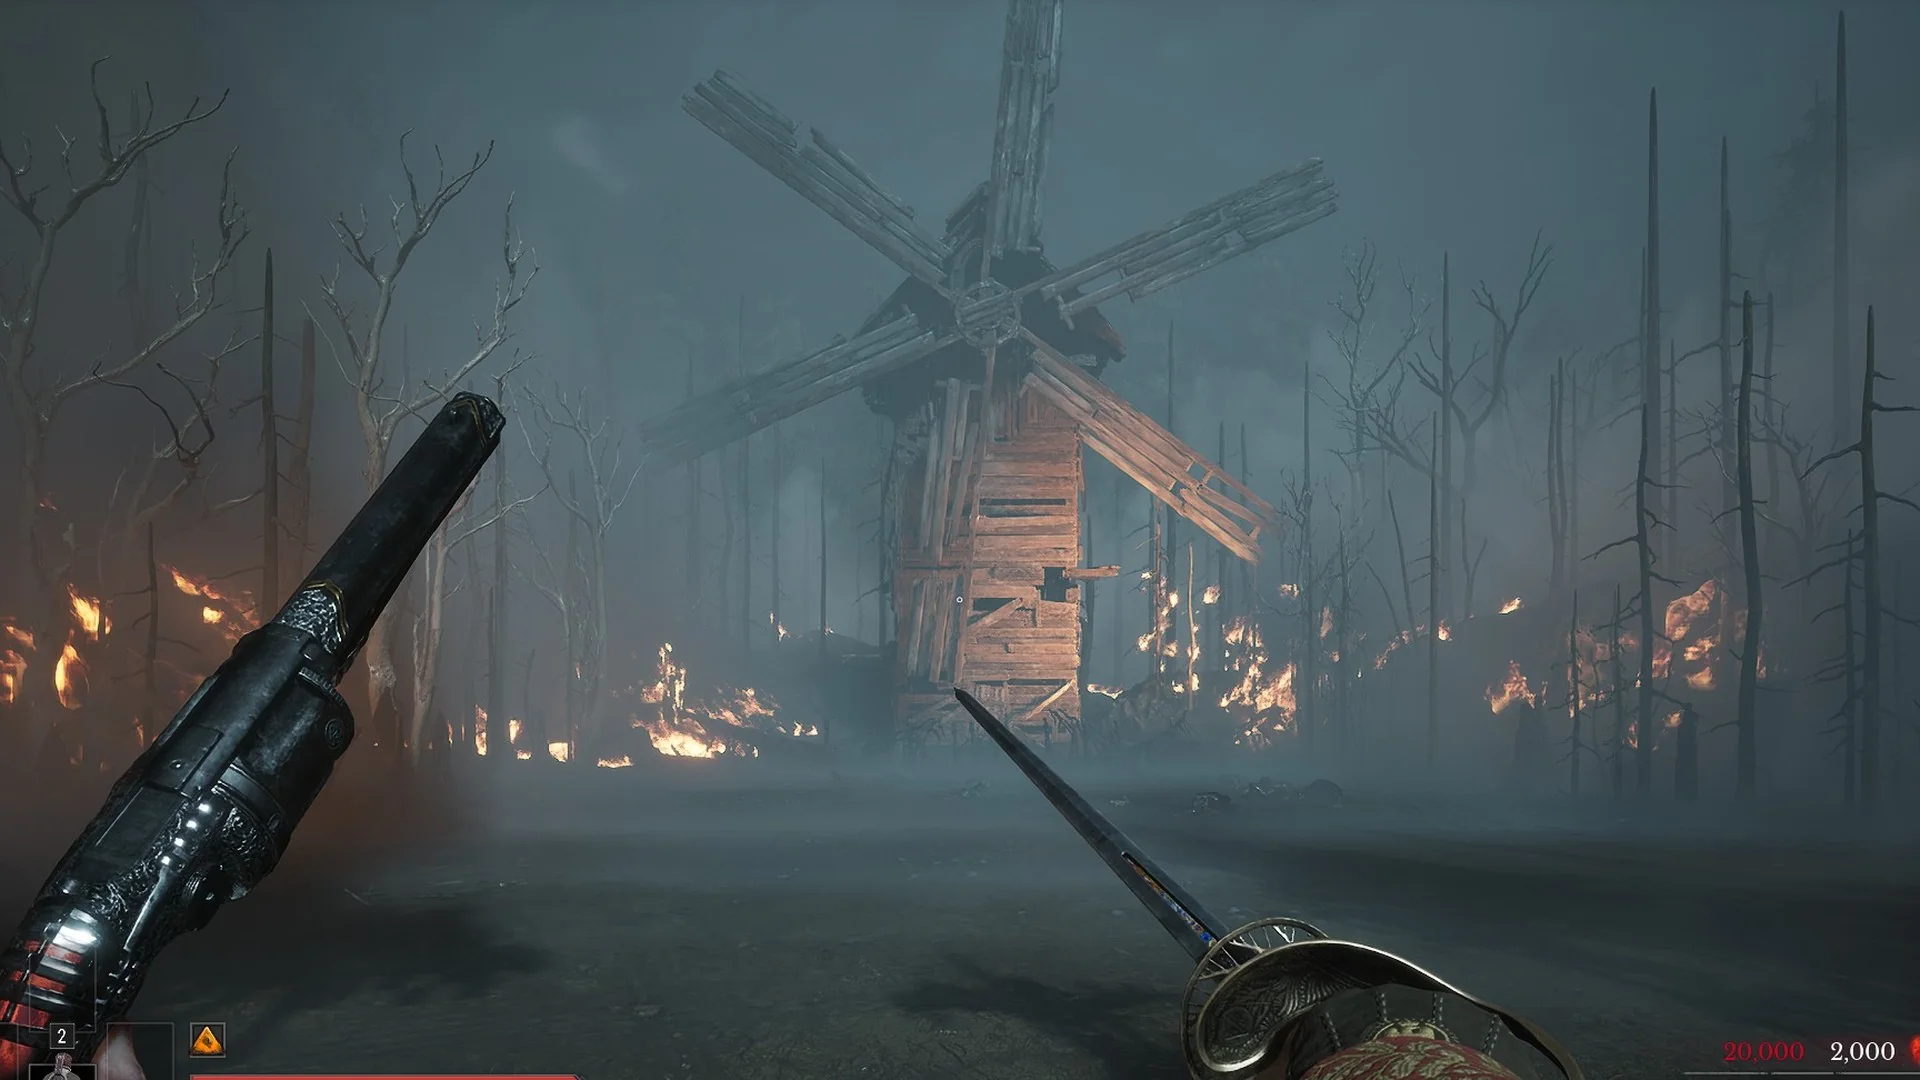
What actually damages the Slaughtermill
Damage registers only when you hit the mill’s glowing red bulbs. Shots that strike the wooden structure or sails won’t lower the bar. Each Pistol hit on a bulb removes 250 from it, while a Blunderbuss blast from roughly 14 m took off only 30. Use the Pistol and aim down its sights for this fight.
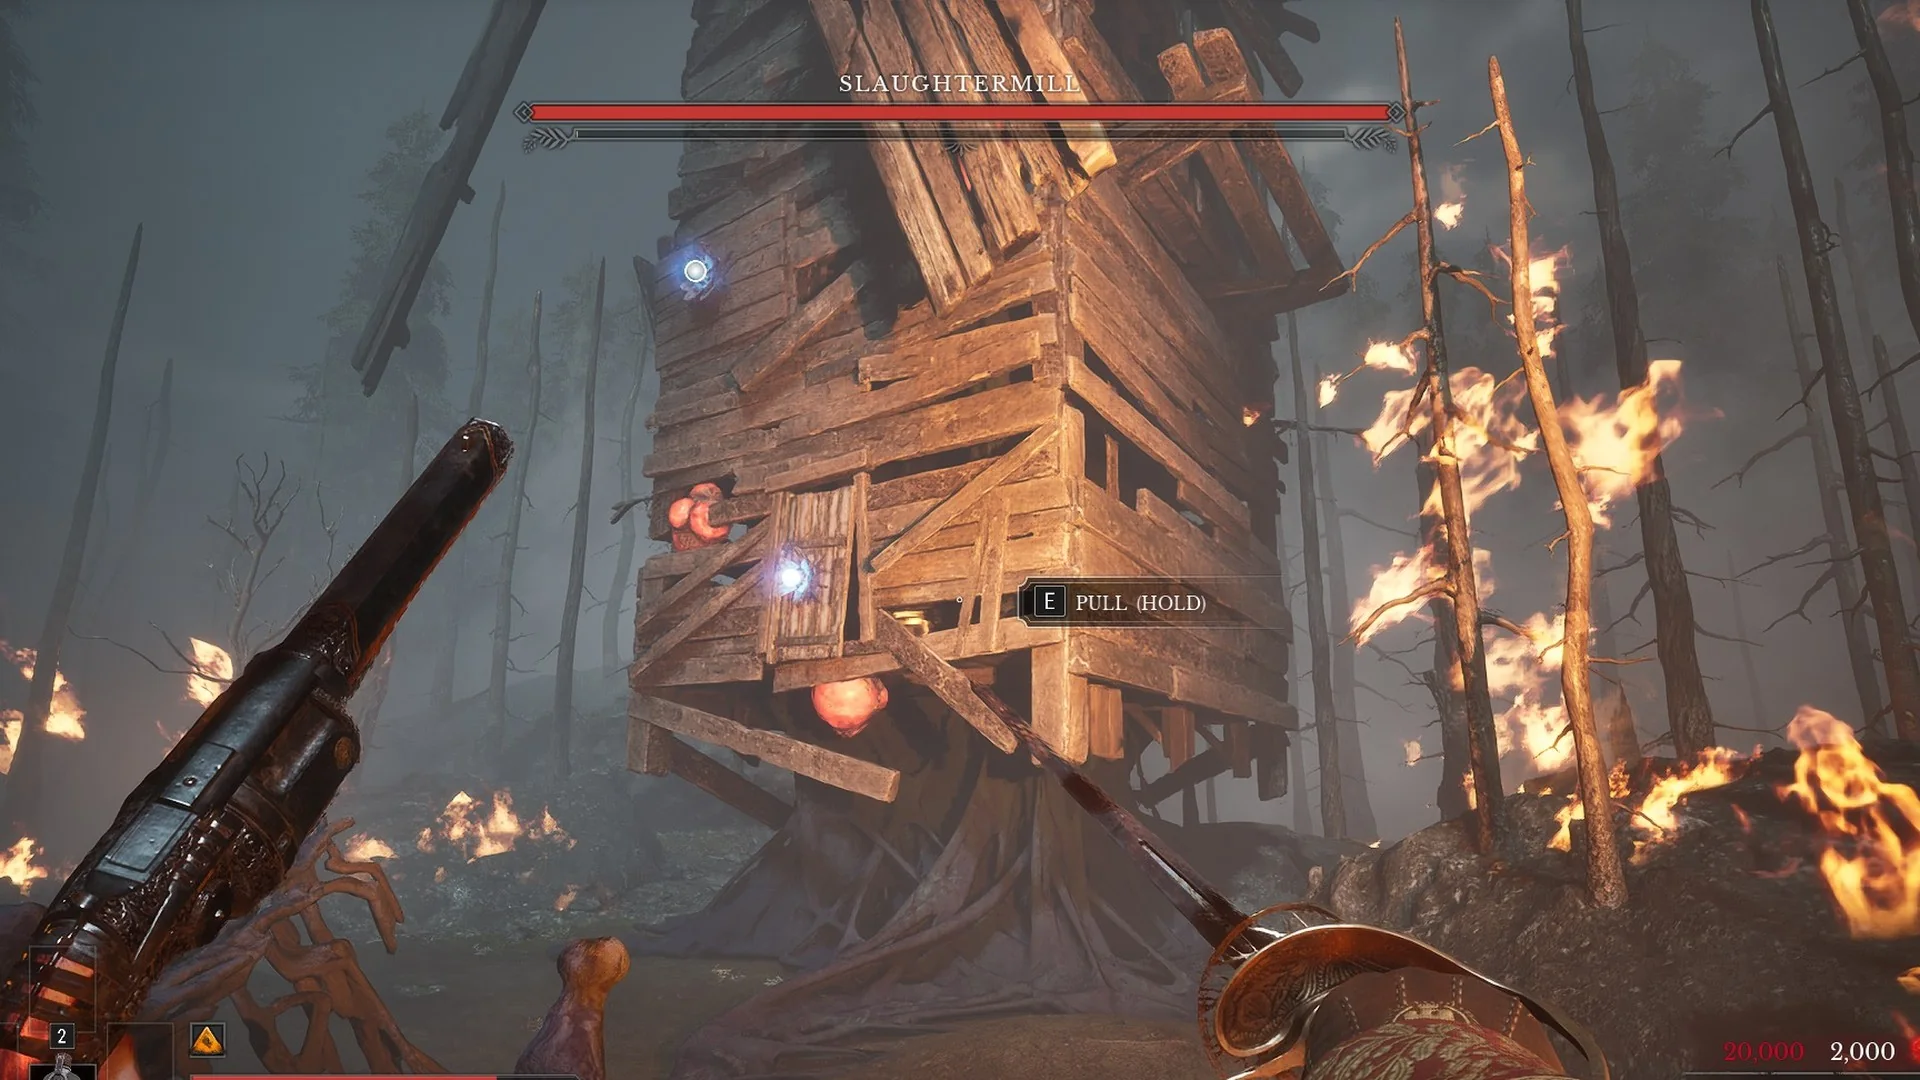
The Slaughtermill has 3,250 health but no Posture bar, leaving no way to break its posture. It also rotates and bobs several metres, causing bulbs to disappear and reappear from view. Wait until a bulb turns toward you, then shoot.
Stage one: the bulbs and the pull boards
During stage one, four red bulbs are set into the tower. A few are exposed, while wooden boards conceal the rest. Boards covering bulbs have a glowing blue flower; aim at one to see “[E] PULL (HOLD)”.
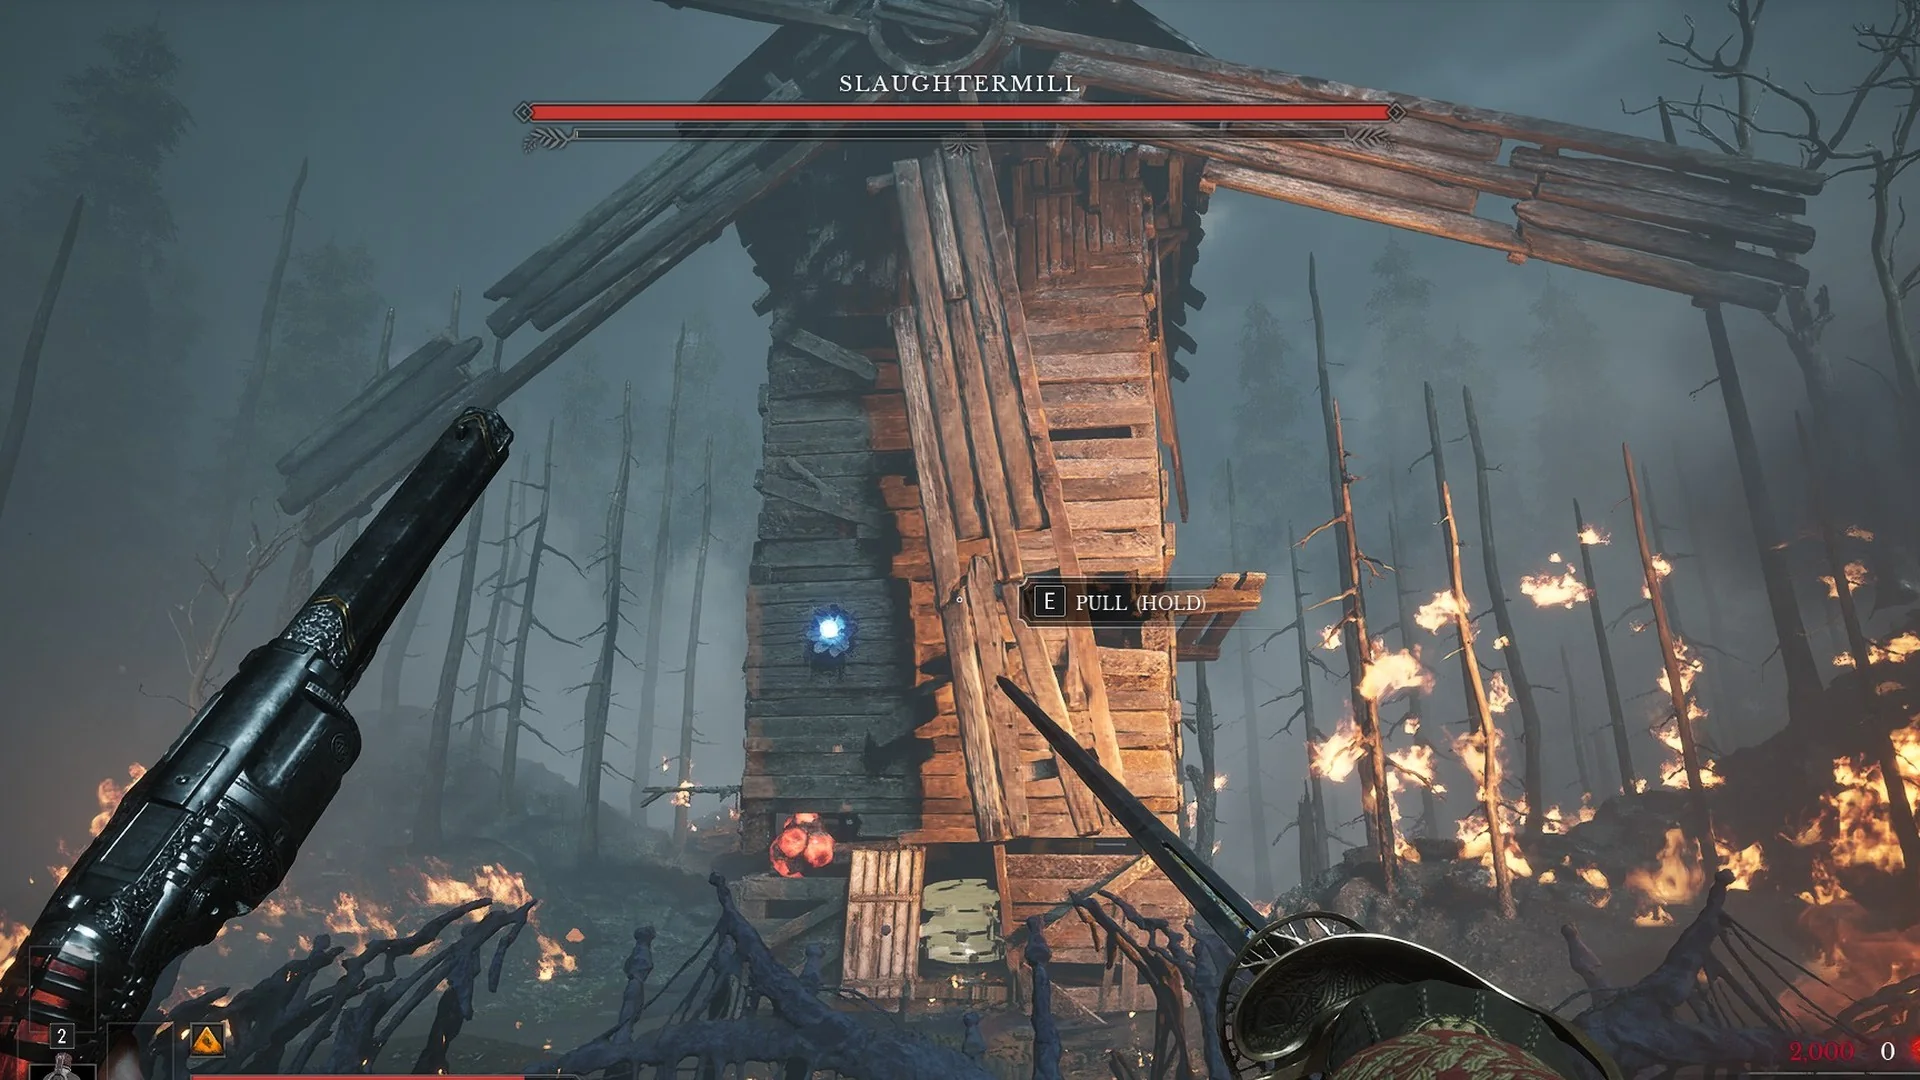
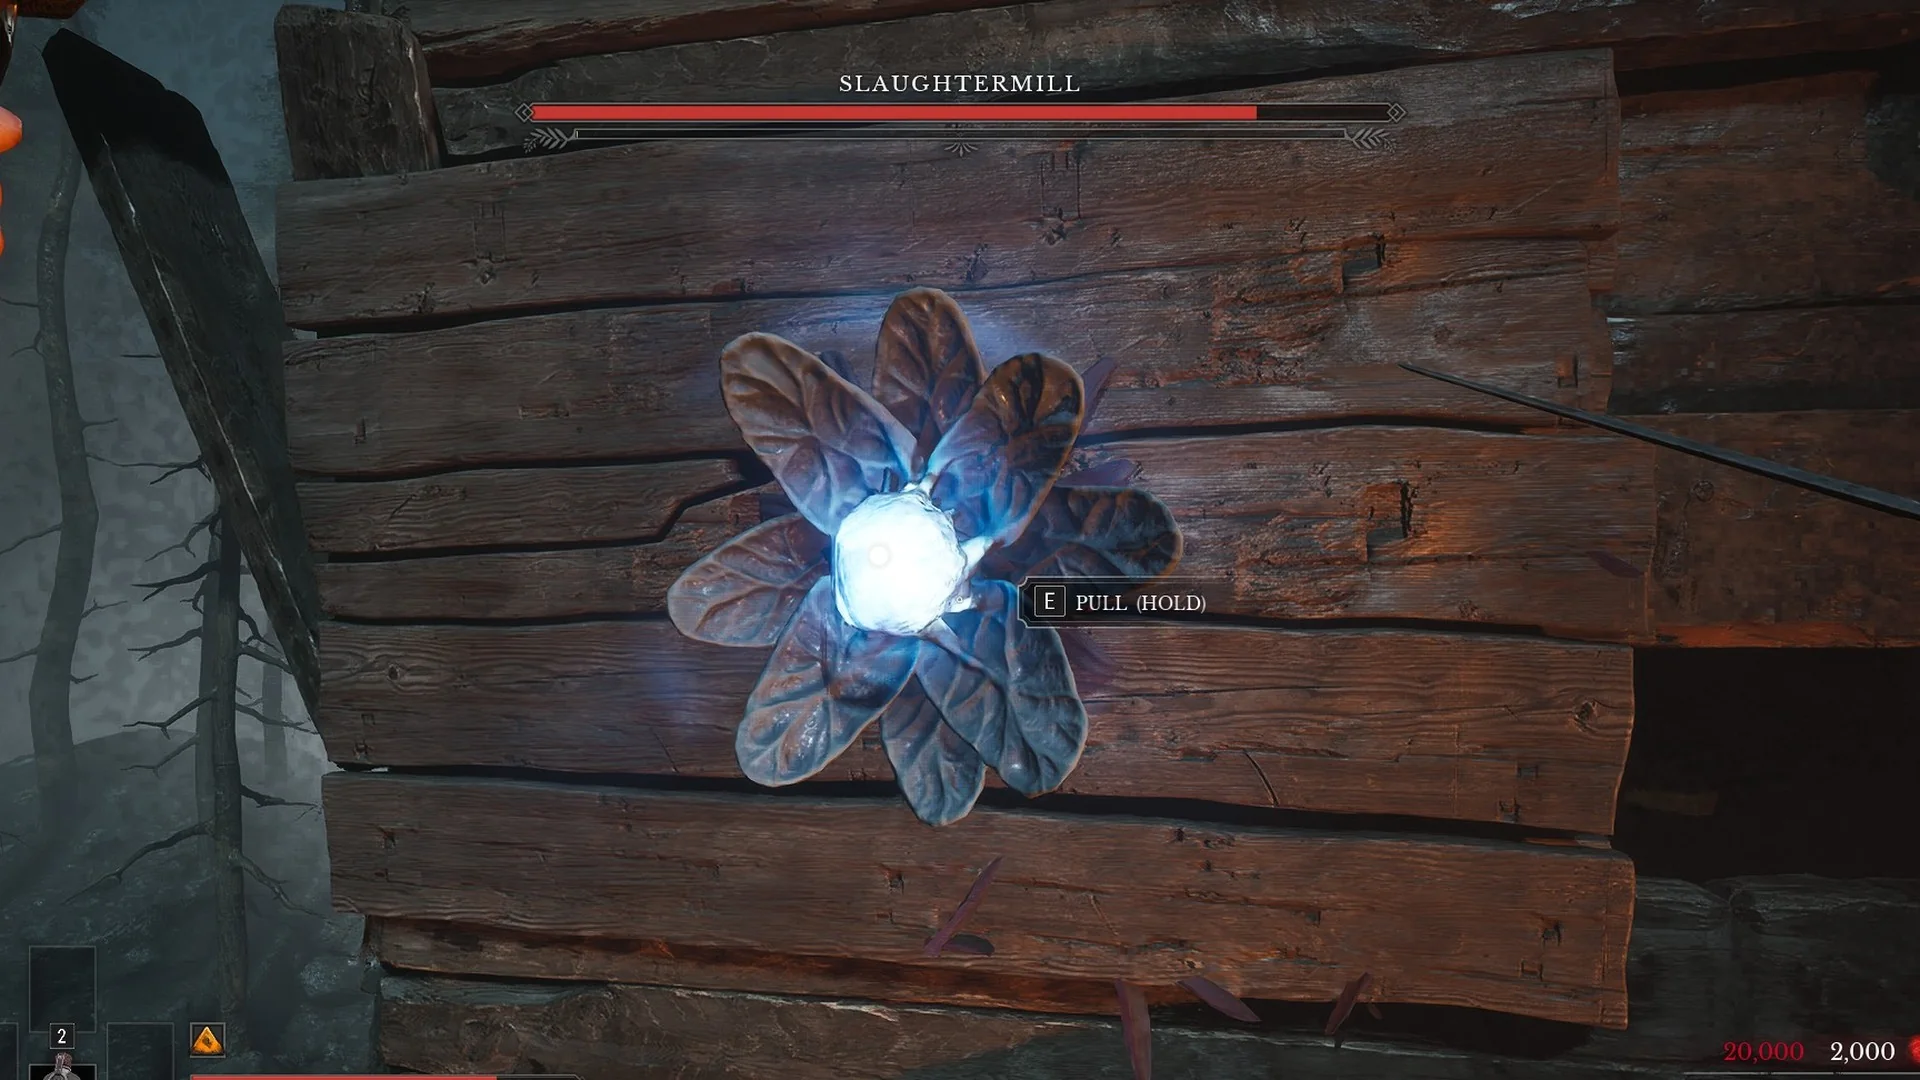
A large gear sits inside the opening low on the mill’s base. Use Stasis Transmutation on it to freeze it; the gear turns purple and becomes coated in crystal, giving you time to approach and pull. Freeze it before you step in for a pull. It does not stop every throw: limb sweeps can still knock you back.
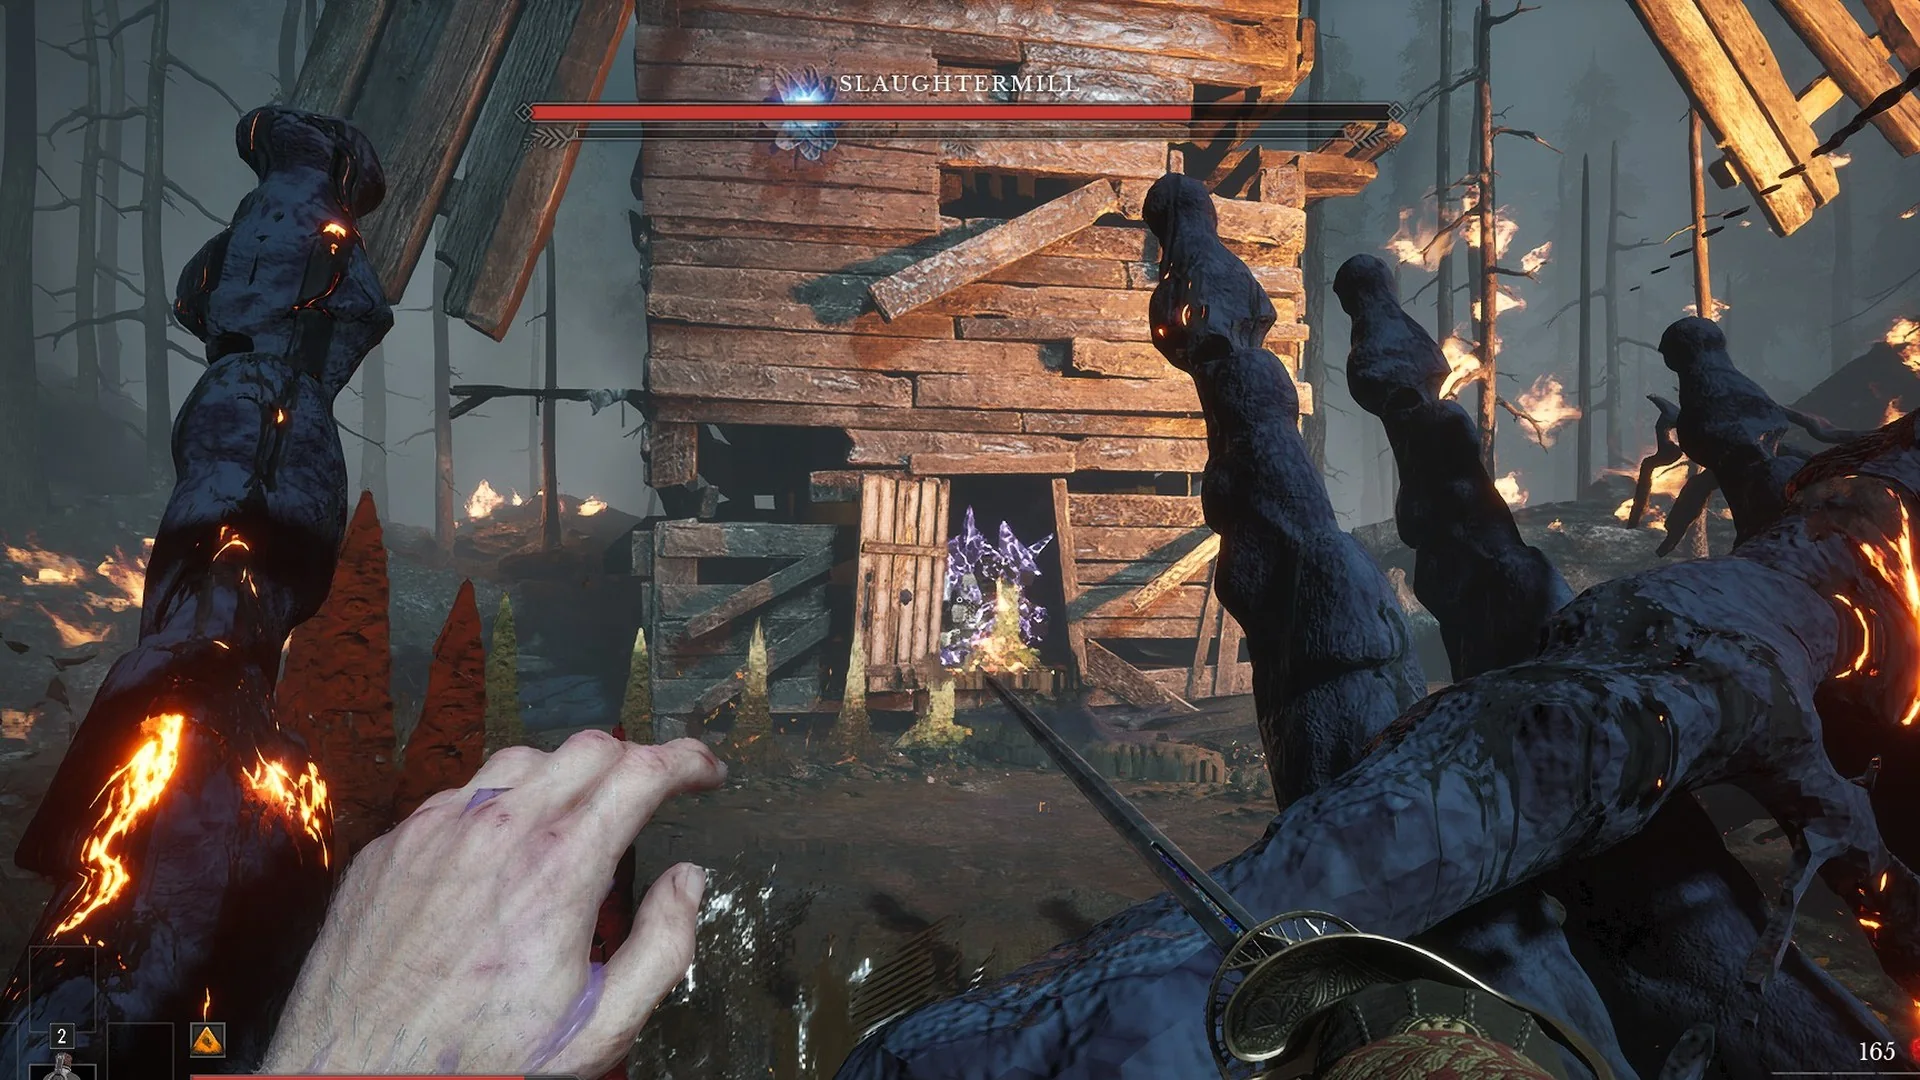
Clearing all four bulbs at 250 each brings the bar from 3,250 to roughly 2,250.
The core
Once all four bulbs are destroyed, the mill opens, exposing glowing ring-shaped eyes and a large, fiery mouth that serves as its core. To reach it, take the mill’s left side when facing its front. Climb up, traverse the interior beams, and fire into the core at point-blank range. Each core hit deals 500.
Stage two: the burning mill
The mill catches fire next, with flames spreading across its body as the sails alternate between stopping and moving. Four red bulbs emerge again; one sits high on the sails. Each still takes 250 damage.
The firestorm and the Nephto cover platforms
At roughly 751 health, the mill sends fire streams over the entire battlefield. Being caught in them triggers a BURNING status icon, and burning slimes appear during this attack.
Between the gate and the mill are four stone Nephto platforms. They become usable only after the fight activates them; within roughly 15 m, the “[E] ACTIVATE” prompt appears, though it shows from farther away at the first platform beside the path. Activate the closest platform to raise a wall, then shelter behind it on the side facing away from the mill while fire streams cross the area. In stage one, these platforms may show no prompt even at close range; they’re there for the fire spray.
The support plank and the collapse
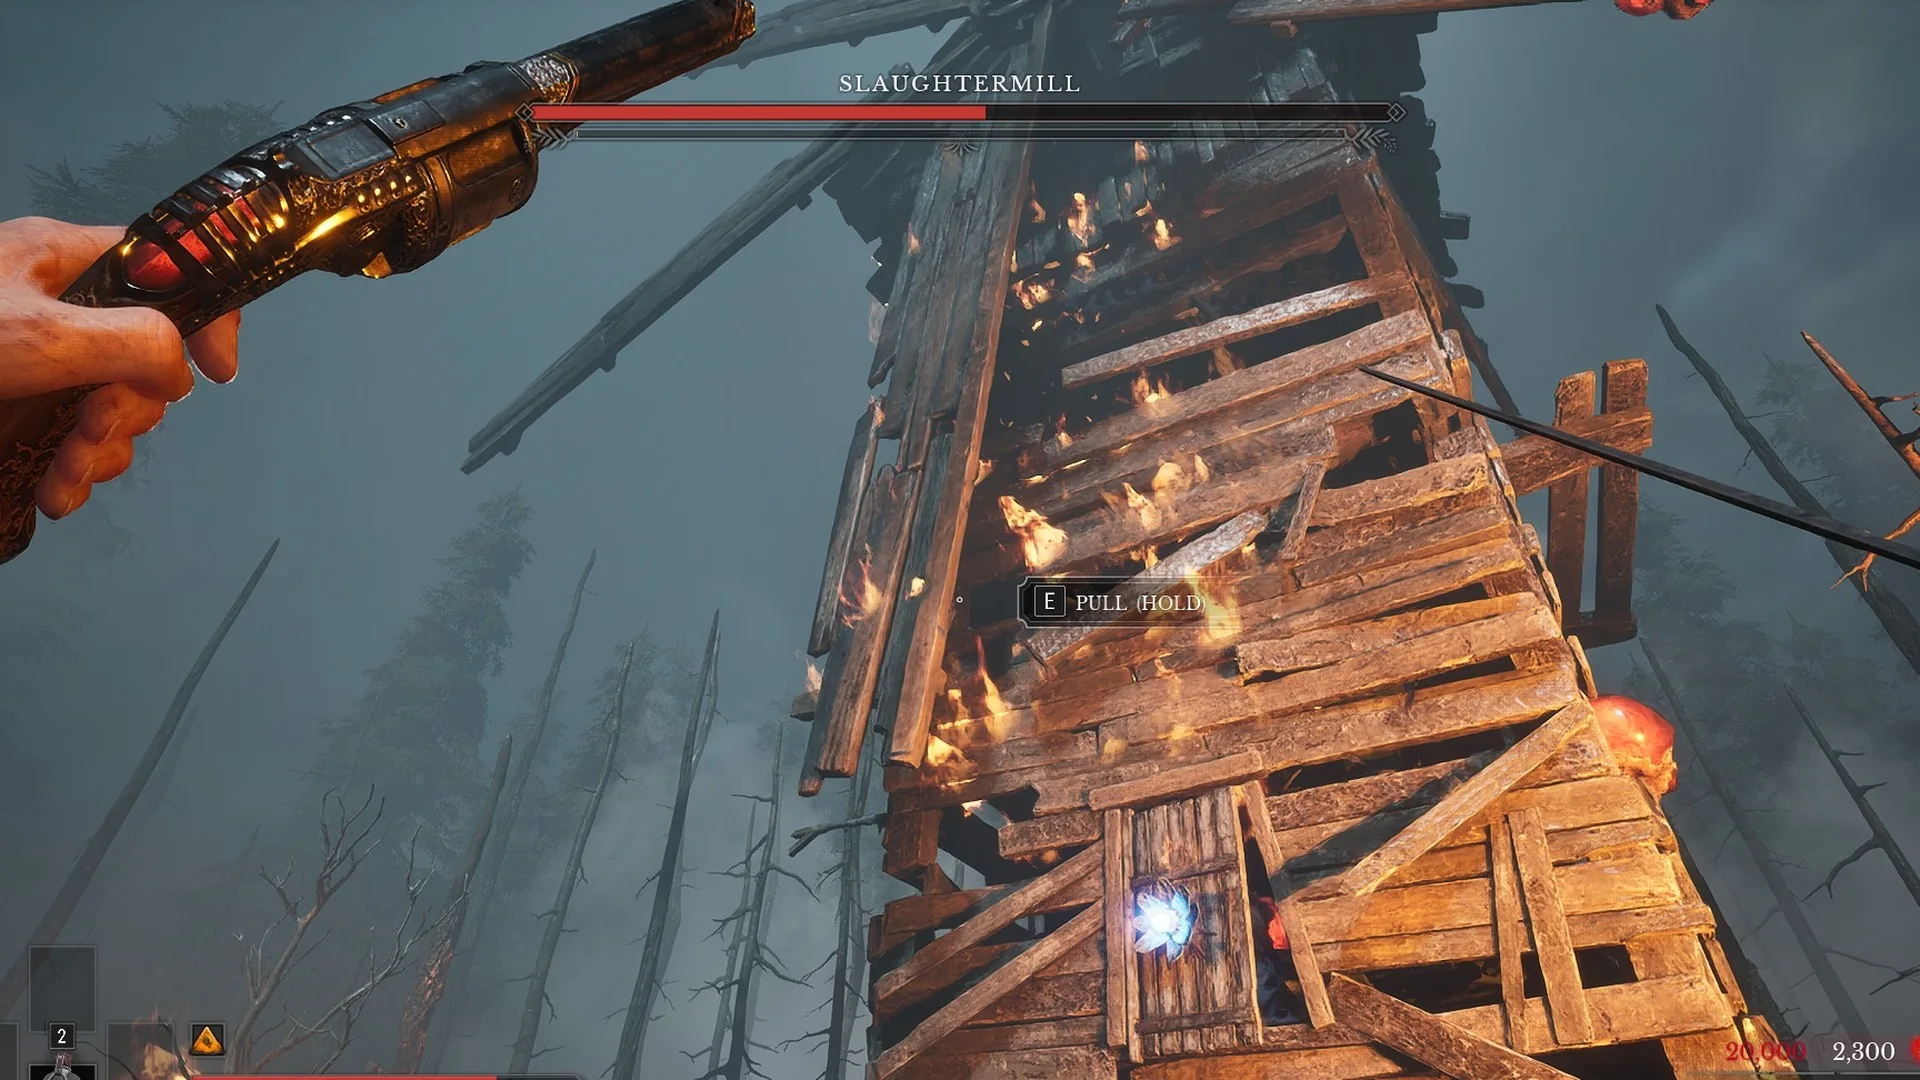
The tower’s wooden support plank now displays “[E] PULL (HOLD)”. Hold E to pull it.
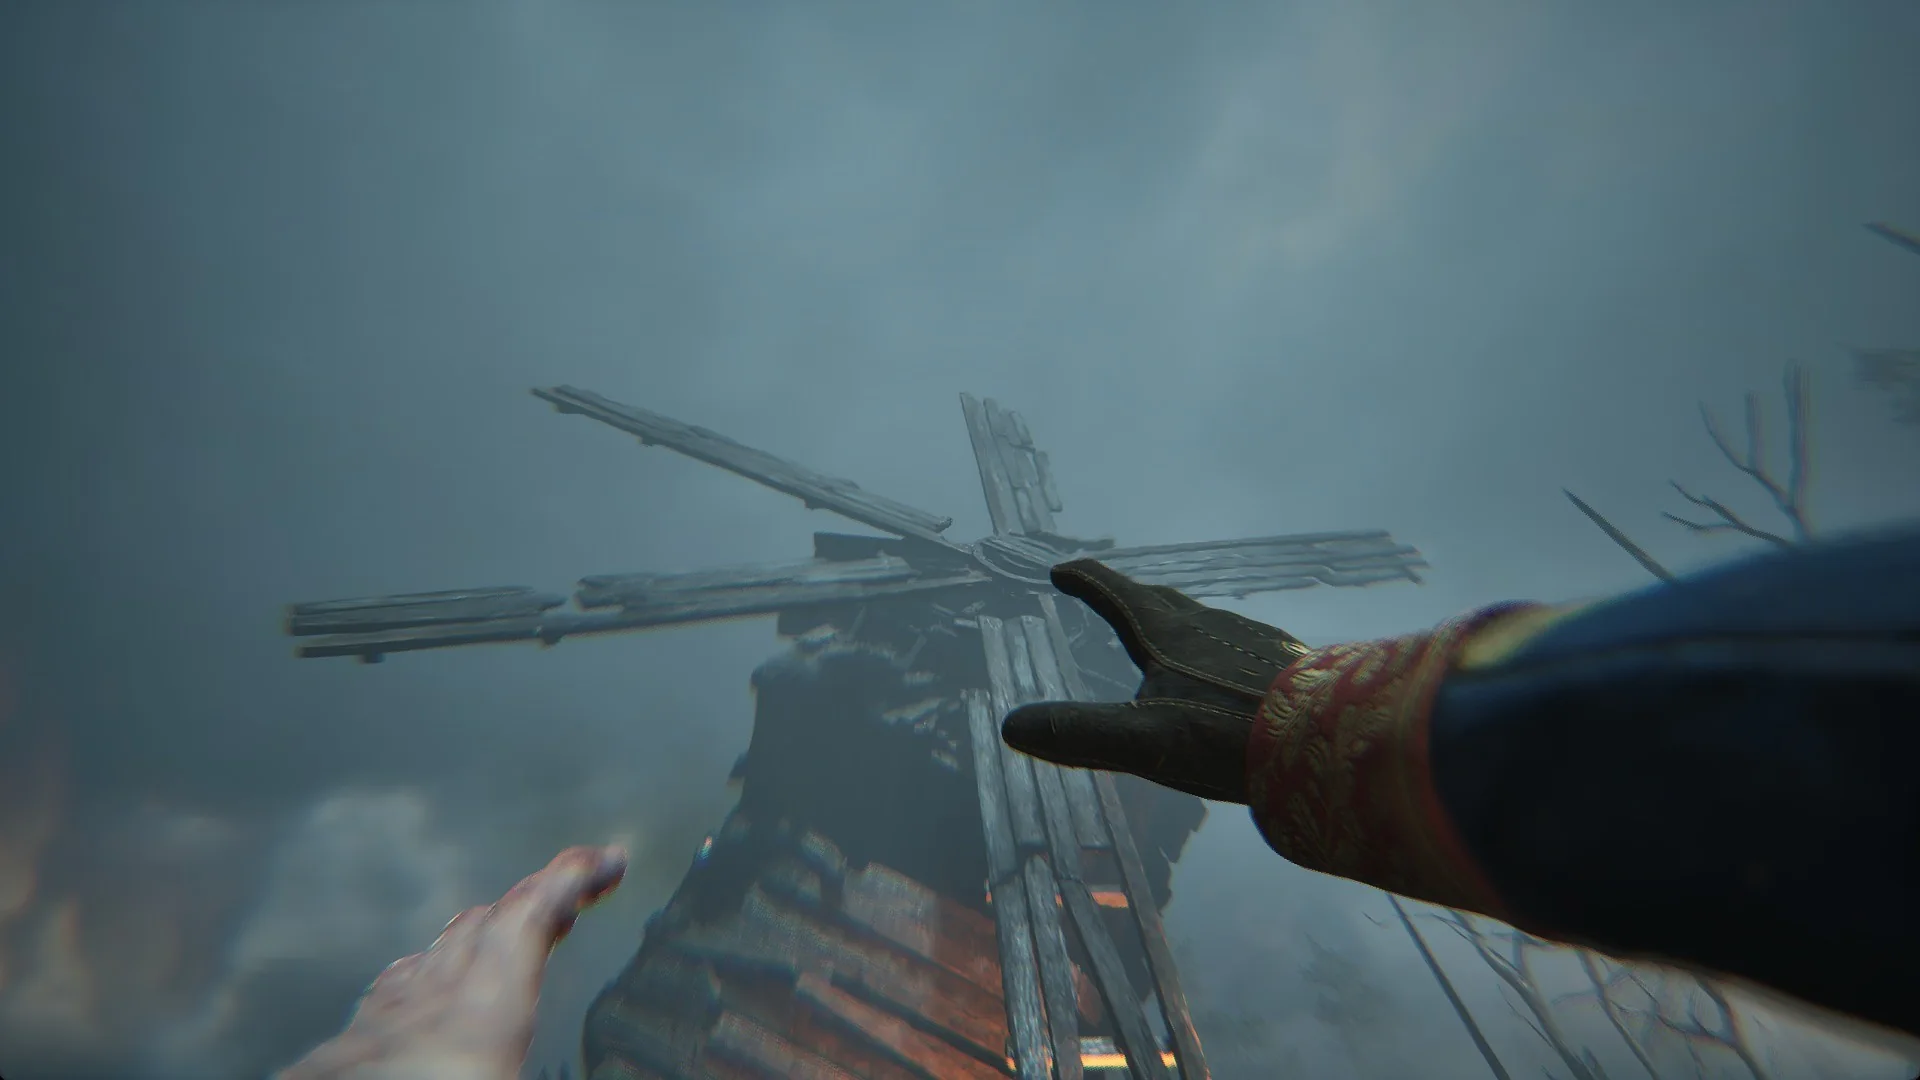
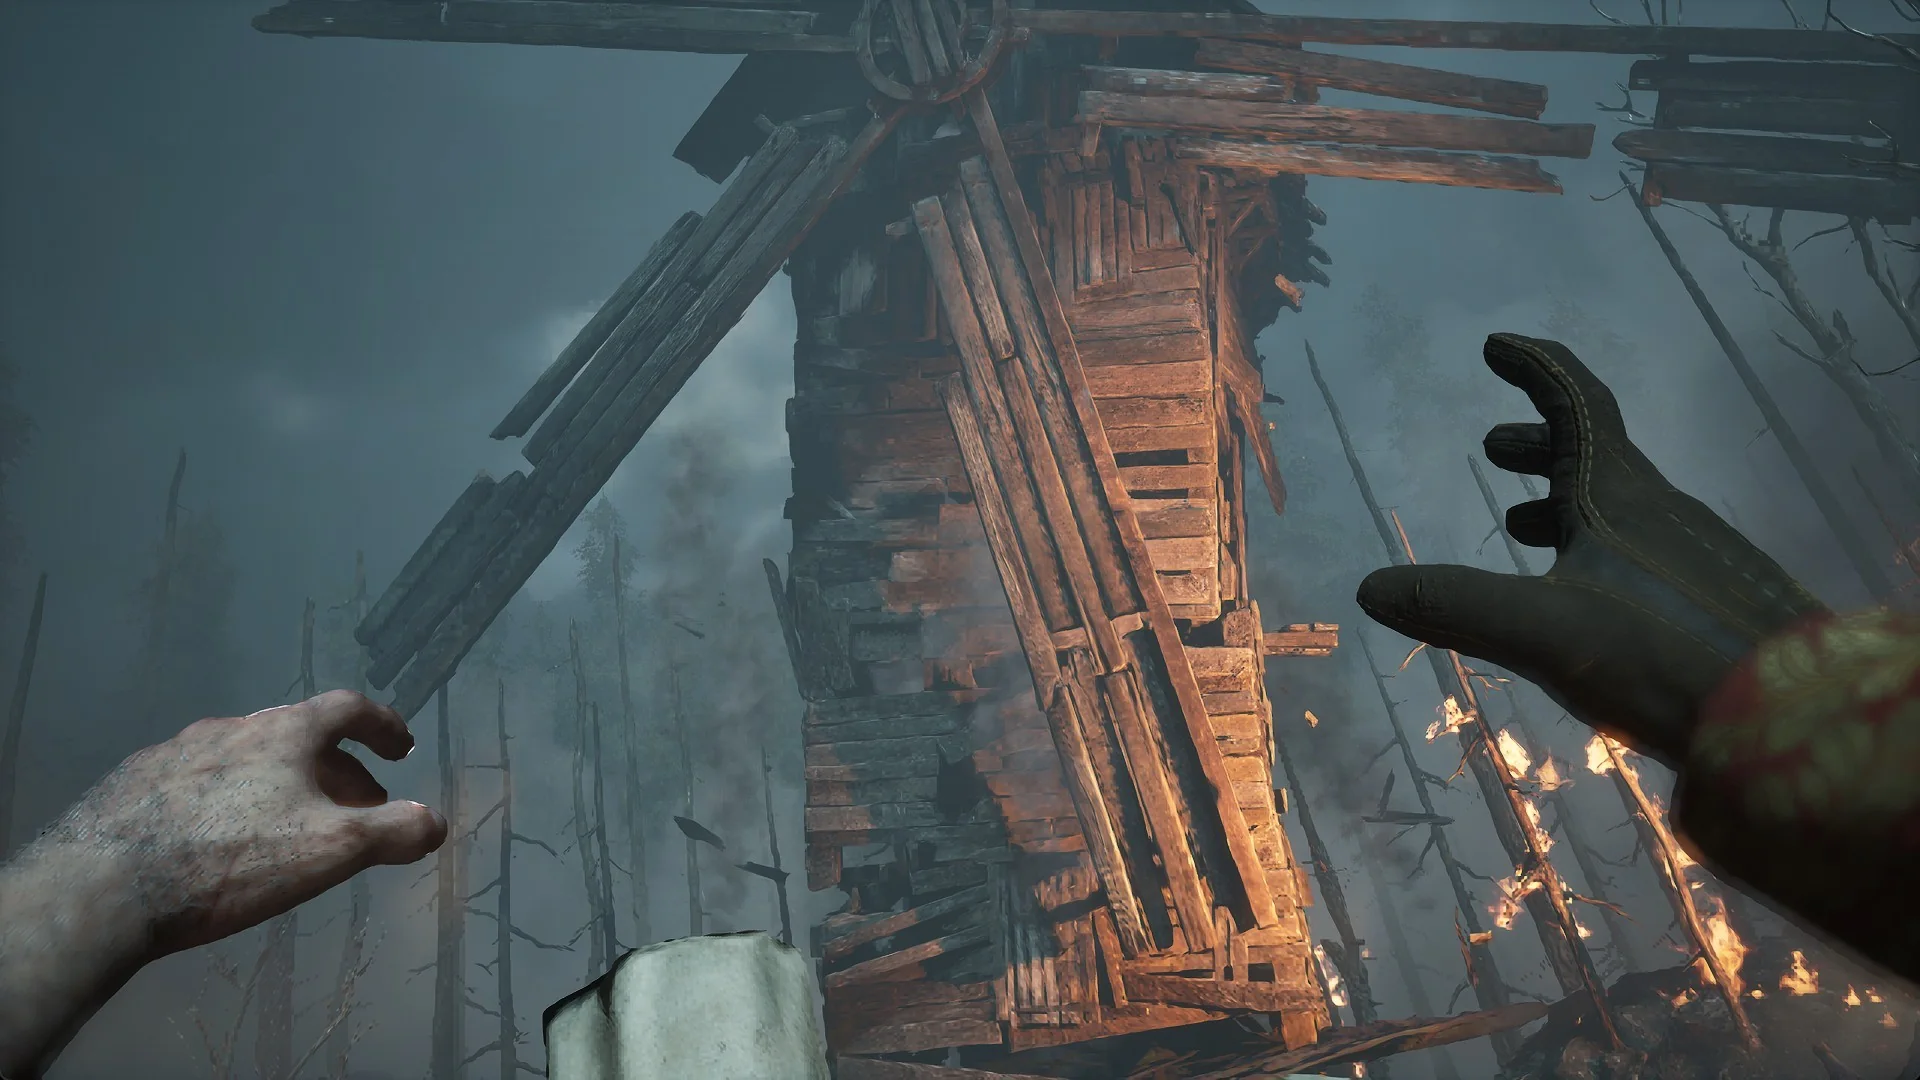
A cutscene shows William gripping the plank with both hands and pulling it free. The burning mill falls over, and the battle moves underground into a cavern. A Lantern waits at the cavern entrance.
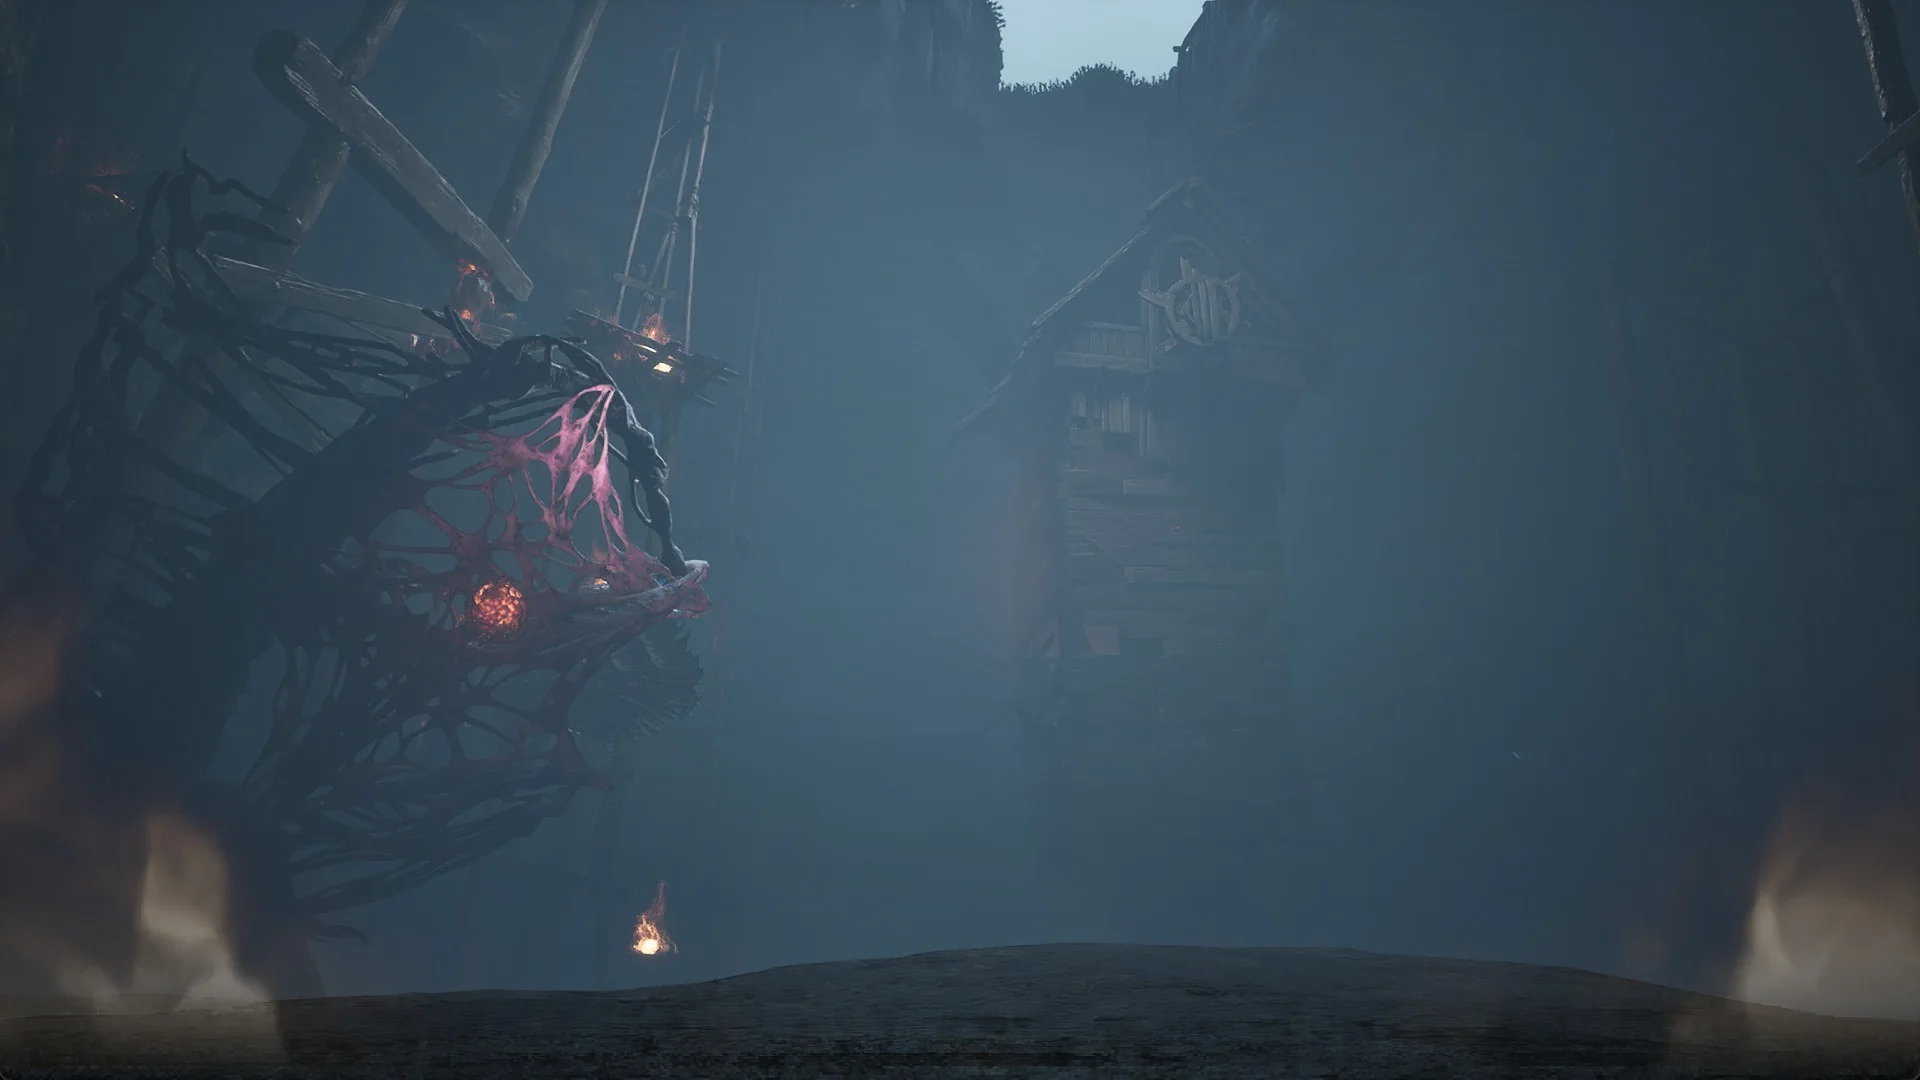
Under the wooden scaffolds, a black mass of tentacles hangs with a glowing red heart. The mill house dangles overhead.
The cavern stage
Reaching the platform
Starting from the cavern, climb up to a broad wooden platform facing the mill house. A grapple point near the start displays “[E] GRAPPLE” from about 20 m away, along with a green landing line. A growth web obscures it; clear the web with two Pistol shots to reveal the point.
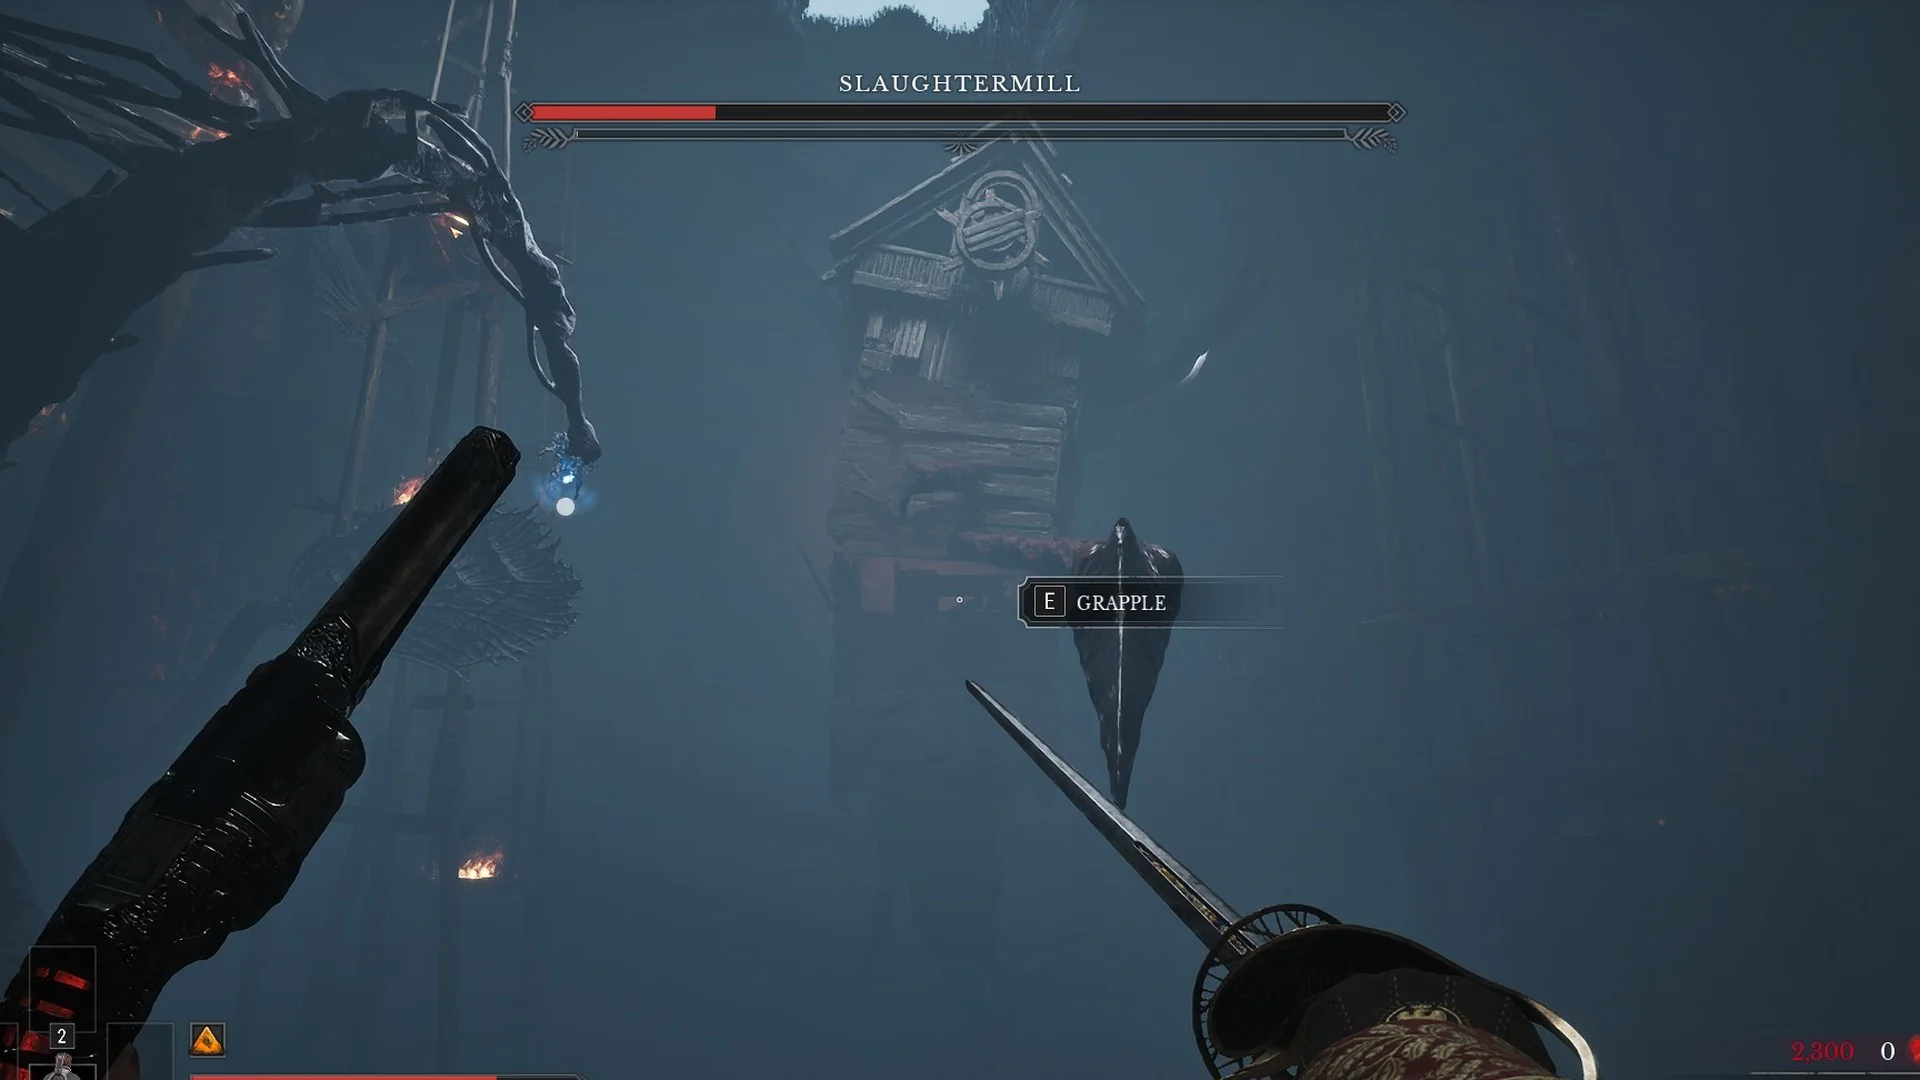
Continue along the route: traverse the walls, cross the line of crumbling cave platforms without stopping, touch the launch pole to be thrown forward, then use two more grapple points to reach the platform. Falling returns you to the cavern entrance. Every 8 to 9 seconds, limbs burst from the ground and strike the starting area amid debris and a red spray, so keep moving through that section.
Dying in the cavern keeps this stage. You do not replay the mill from the start.
What to shoot on the platform
Pink, barbed limbs emerge from the mill house’s sides and sweep across the platform planks roughly every 8 to 9 seconds, tracking your position. Keep to the platform’s middle and dodge each slam with a sidestep.
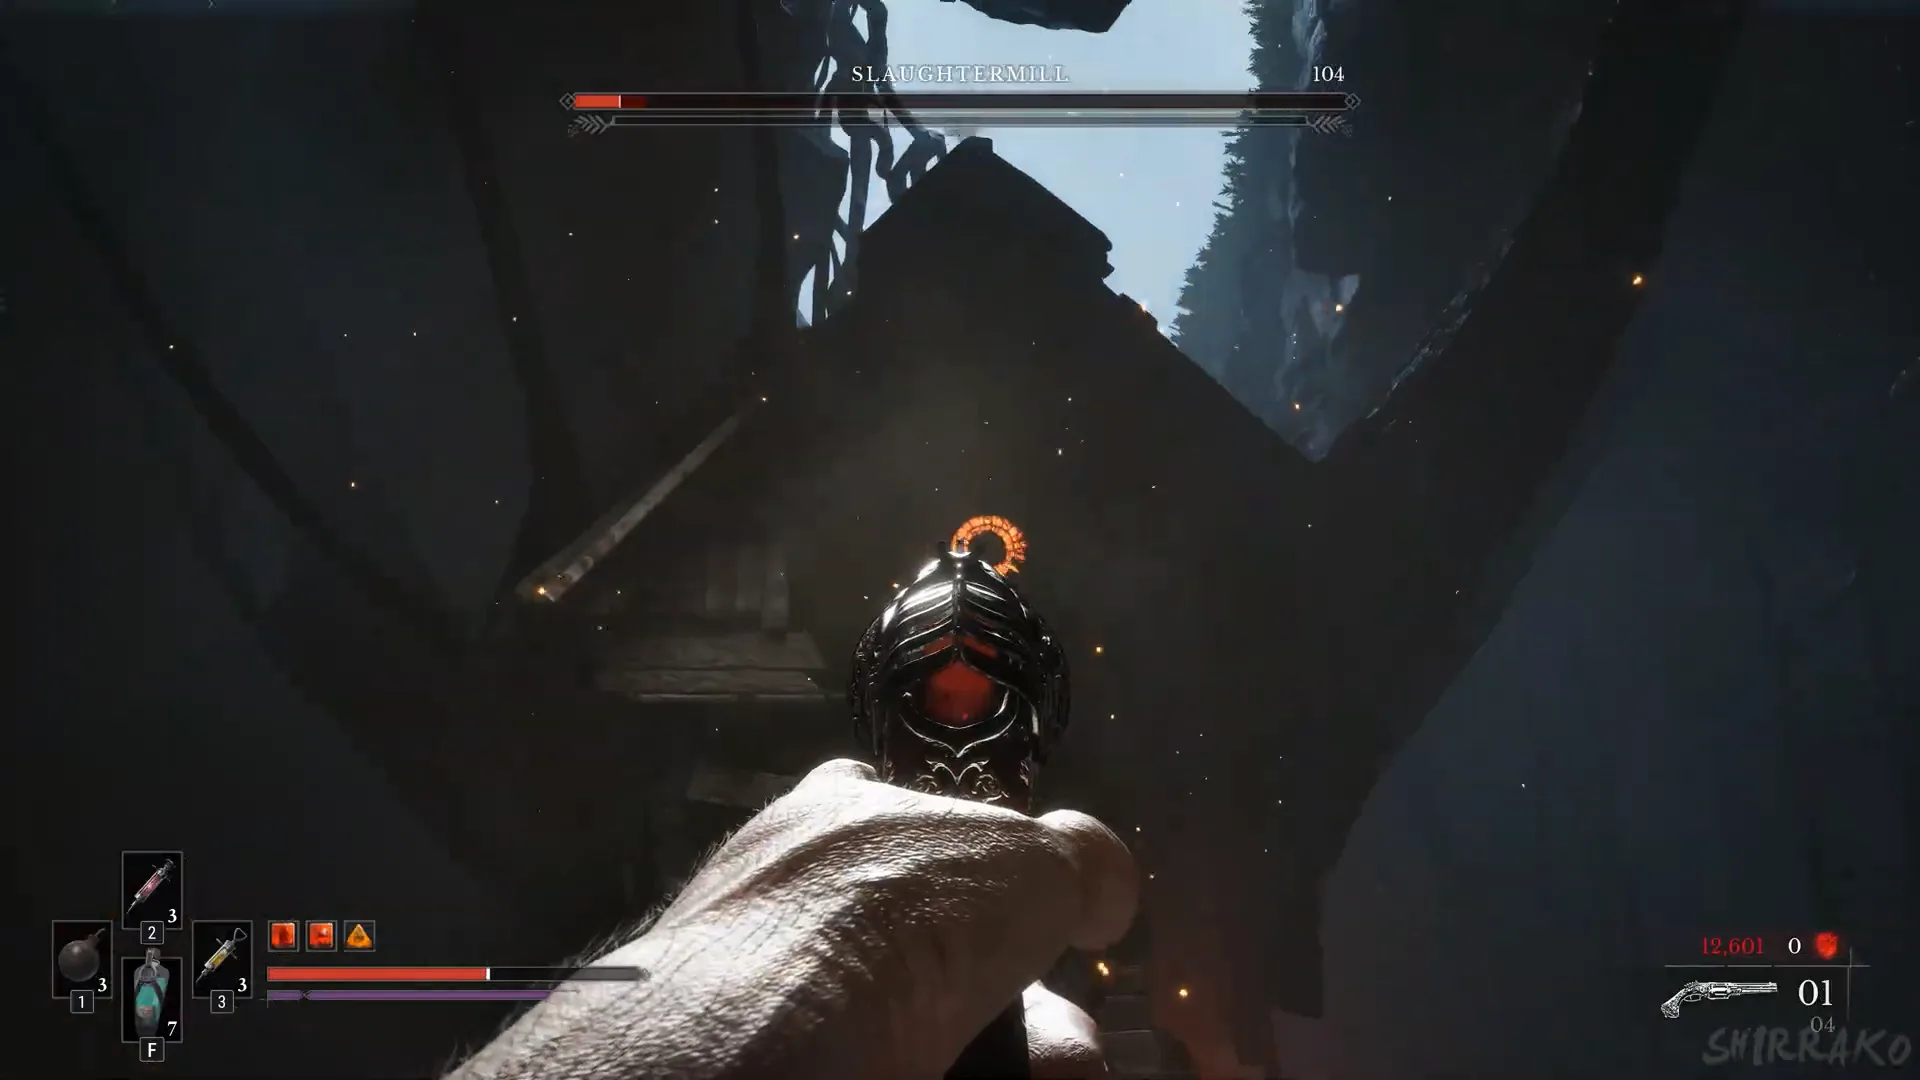
From around the platform’s center, target the red bulbs on the turning sails, starting with the upper-right group and then hitting the upper-left group. Destroying those bulbs opens an eye in the mill house’s upper window. Shoot during its exposed period: each hit deals 52 regardless of weapon. It takes no damage while closed between openings.
Finishing the fight: the eye in the upper window
After all the sail bulbs are destroyed, an eye surrounded by orange light appears in the mill house’s upper window. Line up your sights and fire during its open phase; each hit deals 52. Shots do nothing while it is shut, so wait for the ring to appear again before firing.
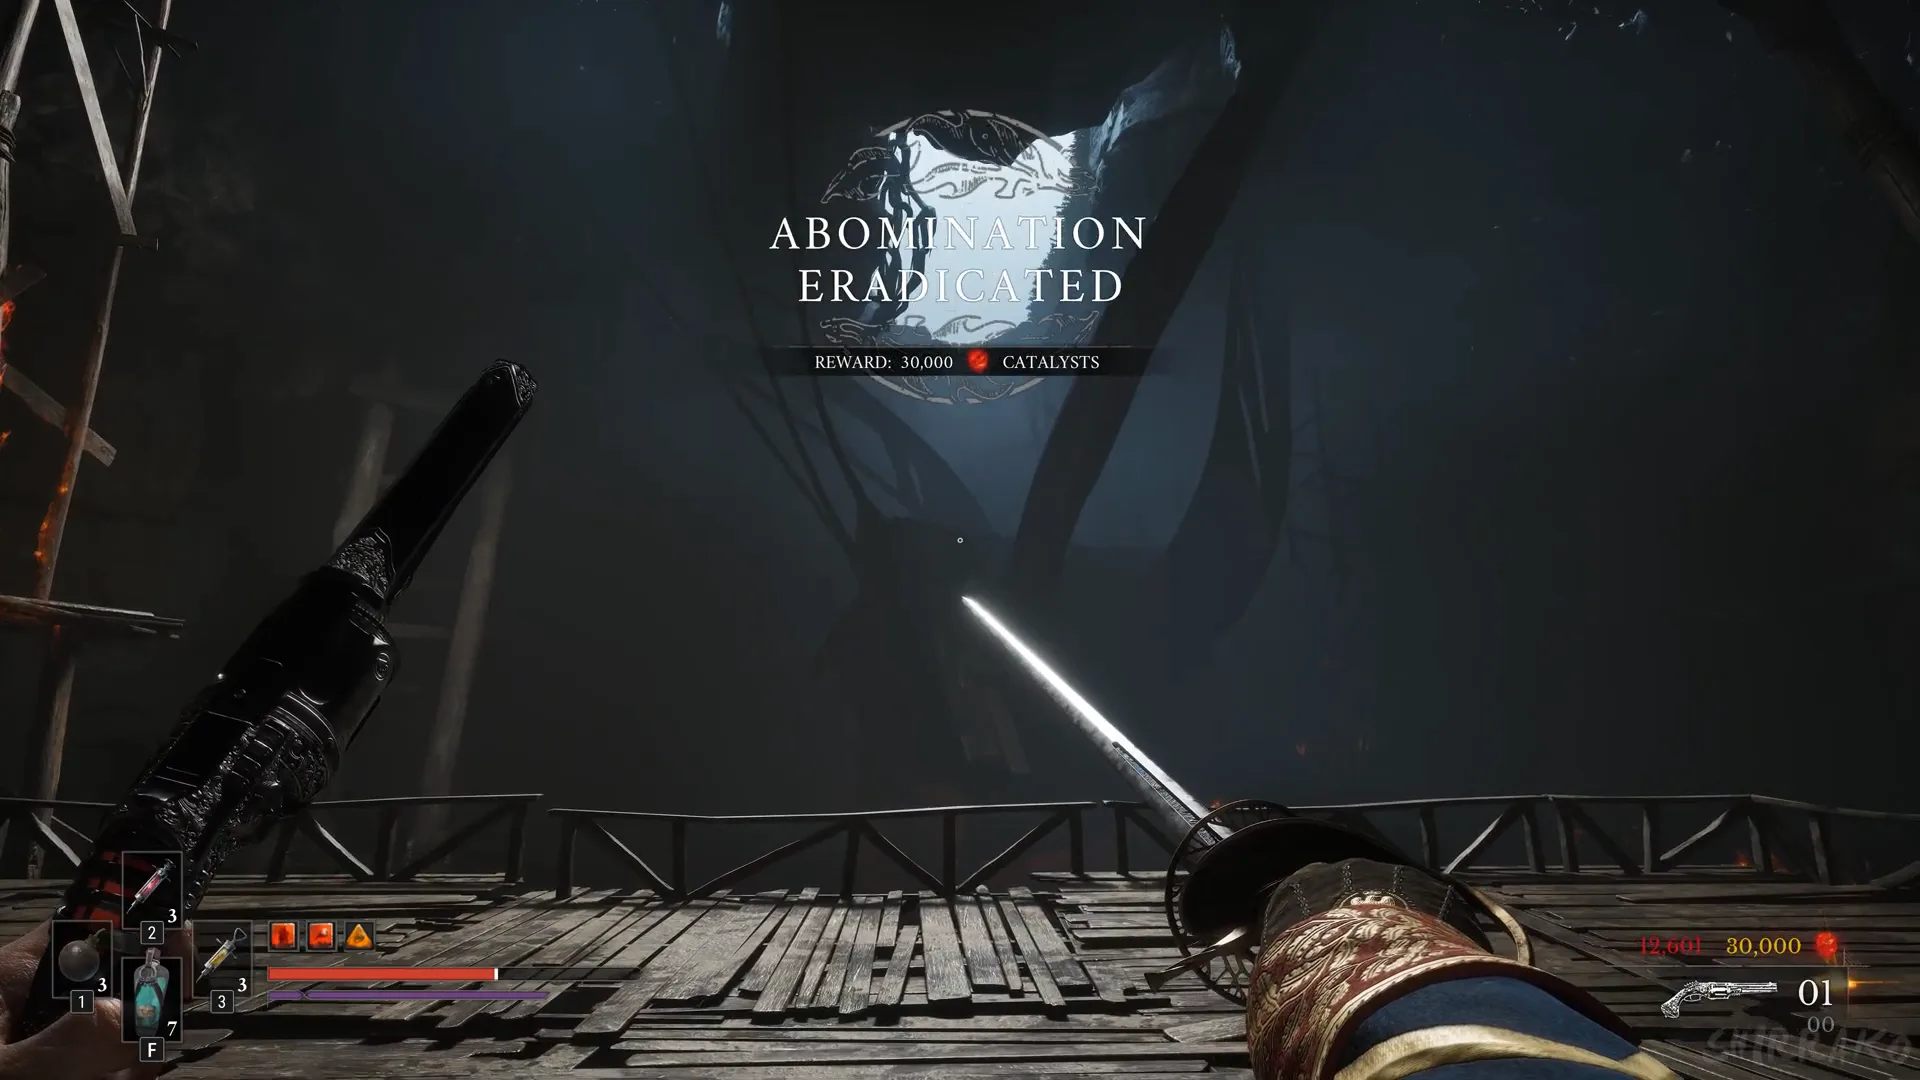
The final shot ends the fight. The screen reads ABOMINATION ERADICATED with REWARD: 30,000 CATALYSTS, and a moment later CRIME / CHAPTER COMPLETED appears with a [Tab] VIEW QUEST prompt. Clearing the boss also unlocks the achievement Quixotry, “Defeat the Slaughtermill.”
Dealing with the wind knockback
When the sails start turning, the fan creates a powerful gale. Within about 20 m of the mill, it can send you 20 to 50 m backward toward the gate; sweeps from the base limbs also launch you.
- Move in and do your pulls while the fan is idle.
- Freeze the gear in the lower opening with Stasis for a window.
- During the firestorm, stand behind a raised Nephto wall.
- Keep your approach along the ground, away from the ledges near the gate.
A throw that ends in a long fall off the ledges near the gate can kill you outright, so hug the ground on your way in.
Every attack to watch for
- At the base, limbs sweep upward from the ground, causing a red flash and severe knockback.
- The fan’s wind push.
- Ground spikes erupt in straight rows.
- A spray of red-ember fire washes over the screen.
- Sail spin with flying debris.
- Slime crawlers, then burning slimes.
- The firestorm across the whole field.
- In the cavern, limbs slam down both in the starting area and along the platform.
What happens after the Slaughtermill dies
Defeating the boss adds a journal entry. Leave the platform and enter the mine tunnel behind it.
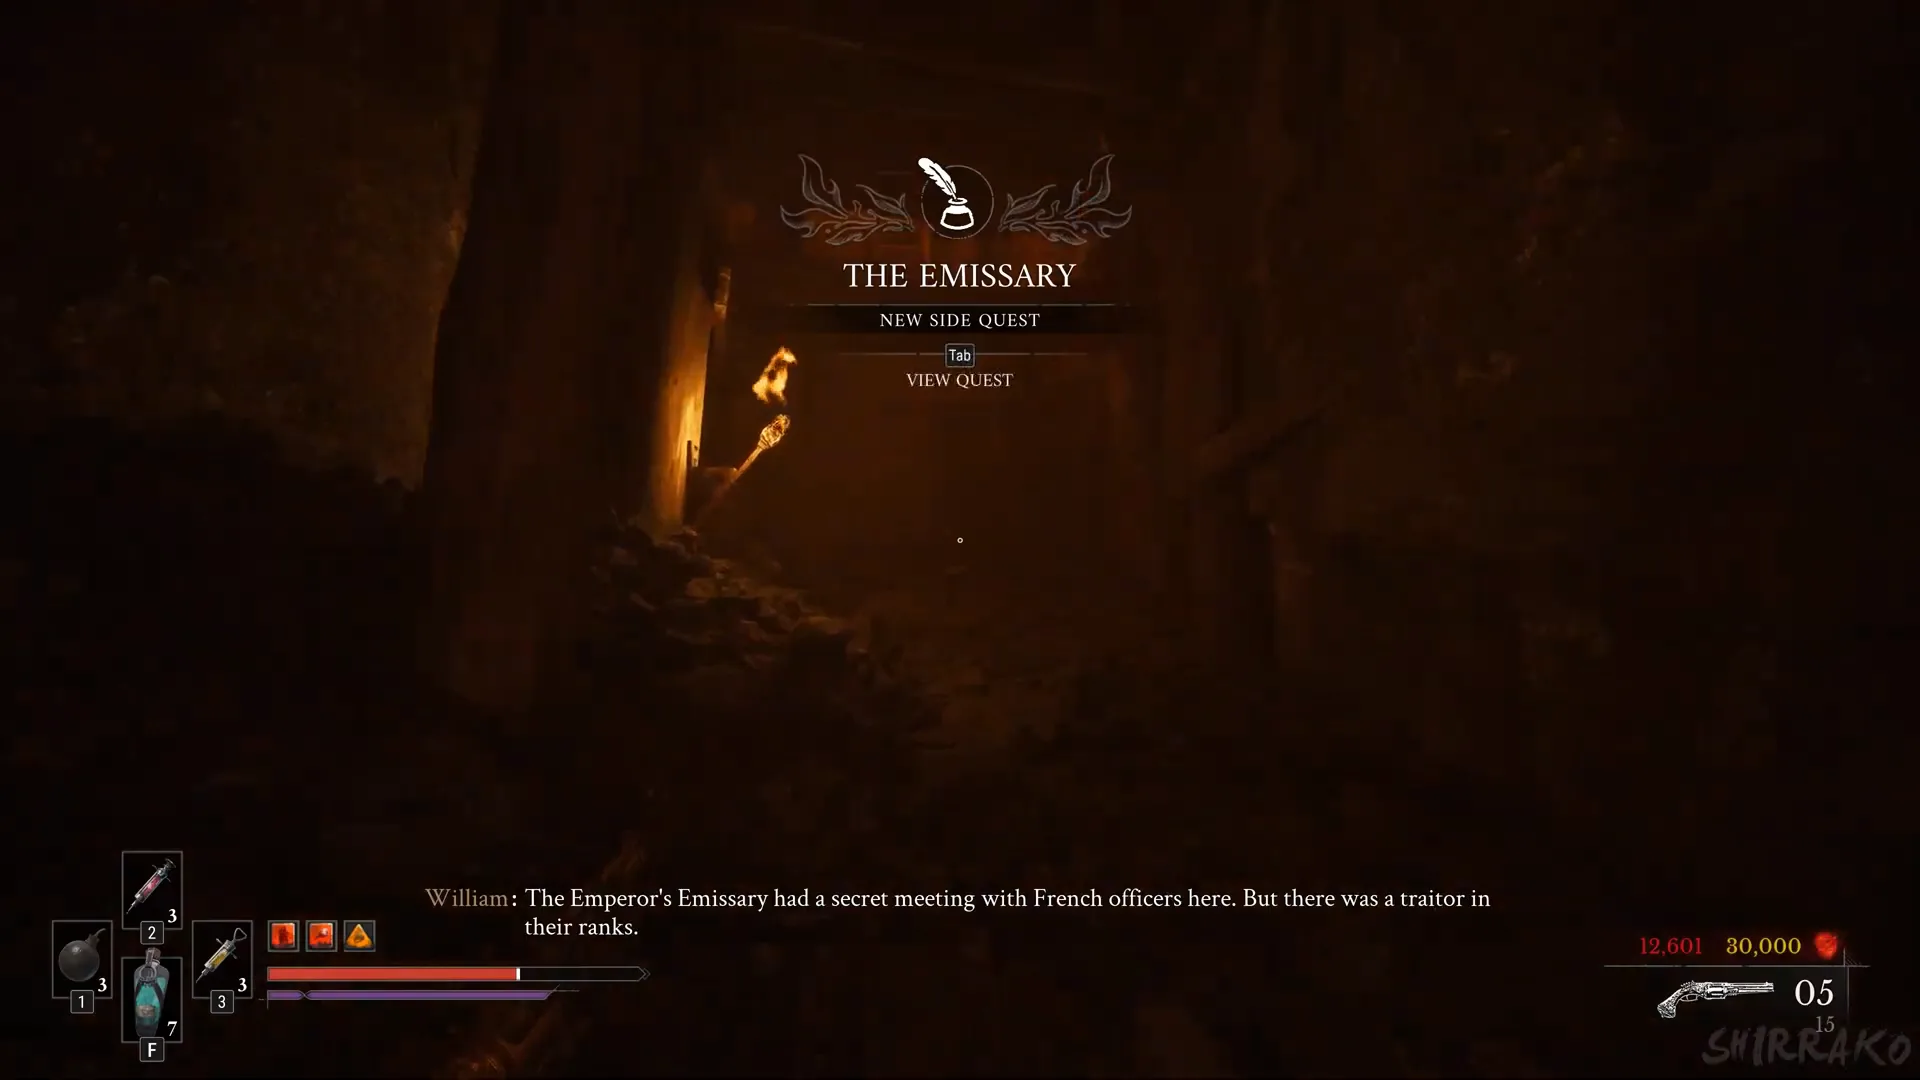
Inside the tunnel, a letter lies on the ground, the Emissary’s Letter. Reading it adds THE EMISSARY / NEW SIDE QUEST if you have not already started that quest. William notes that the Emperor’s Emissary met French officers here in secret, and that one of them was a traitor.
Continue through, and past a loading screen you emerge into a dark forest. A CURSED HOLLOW banner marks the new region and the start of Chapter VI, PUNISHMENT.
If you die or Surrender
Dying returns you to the Old Windmill Lantern and resets the encounter. The Slaughtermill regains all its health, and its four stage-one bulbs return. Your Catalysts remain where you fell; see how to retrieve your Catalysts.
Selecting Surrender in the pause menu also resets the battle and sends you to the Lantern where you last rested; see what Surrender does. While the fight is underway, you can’t rest at Lanterns in the Vale of Wrath.