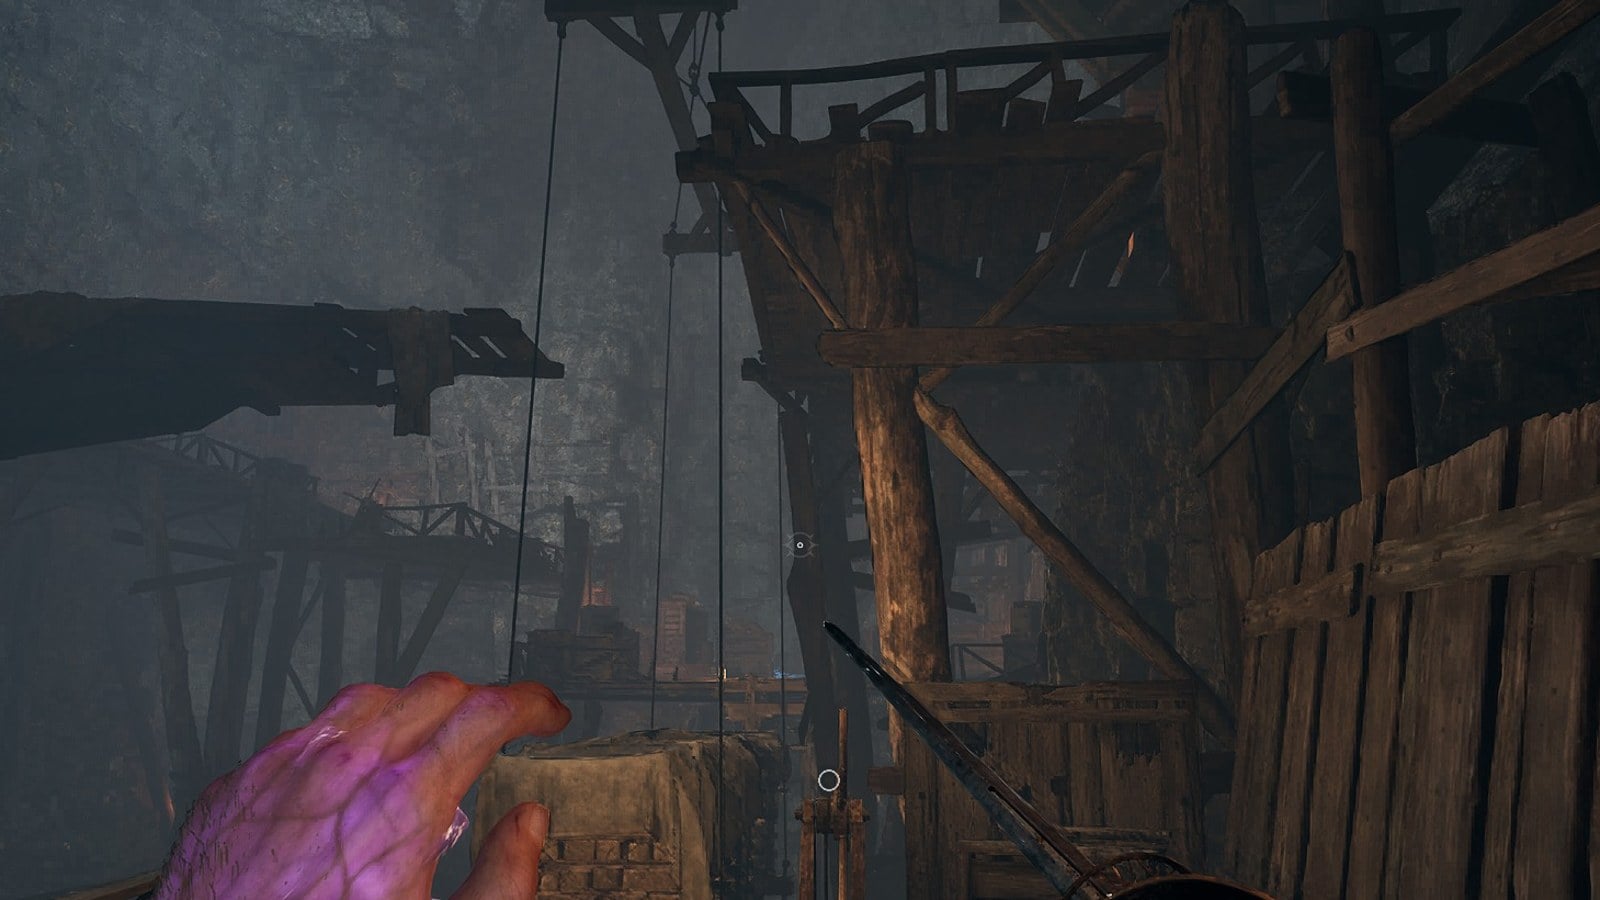
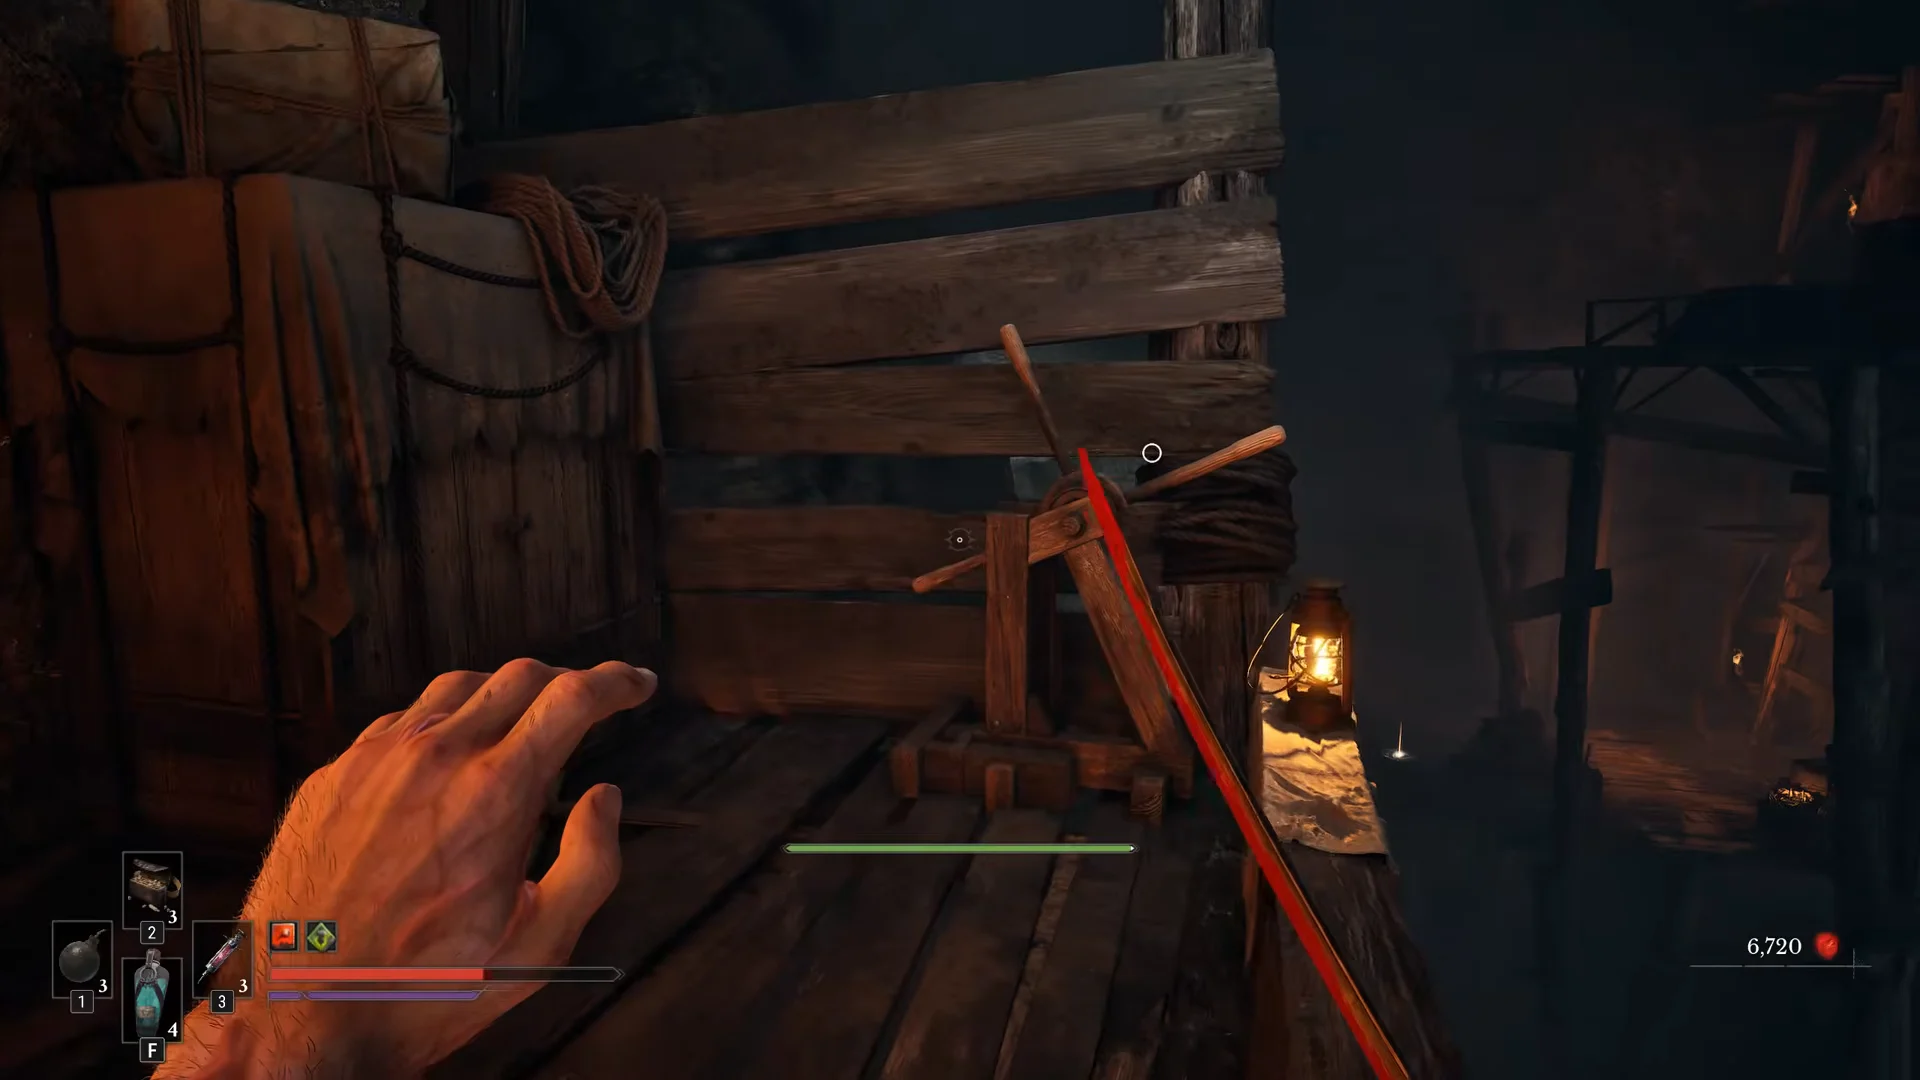
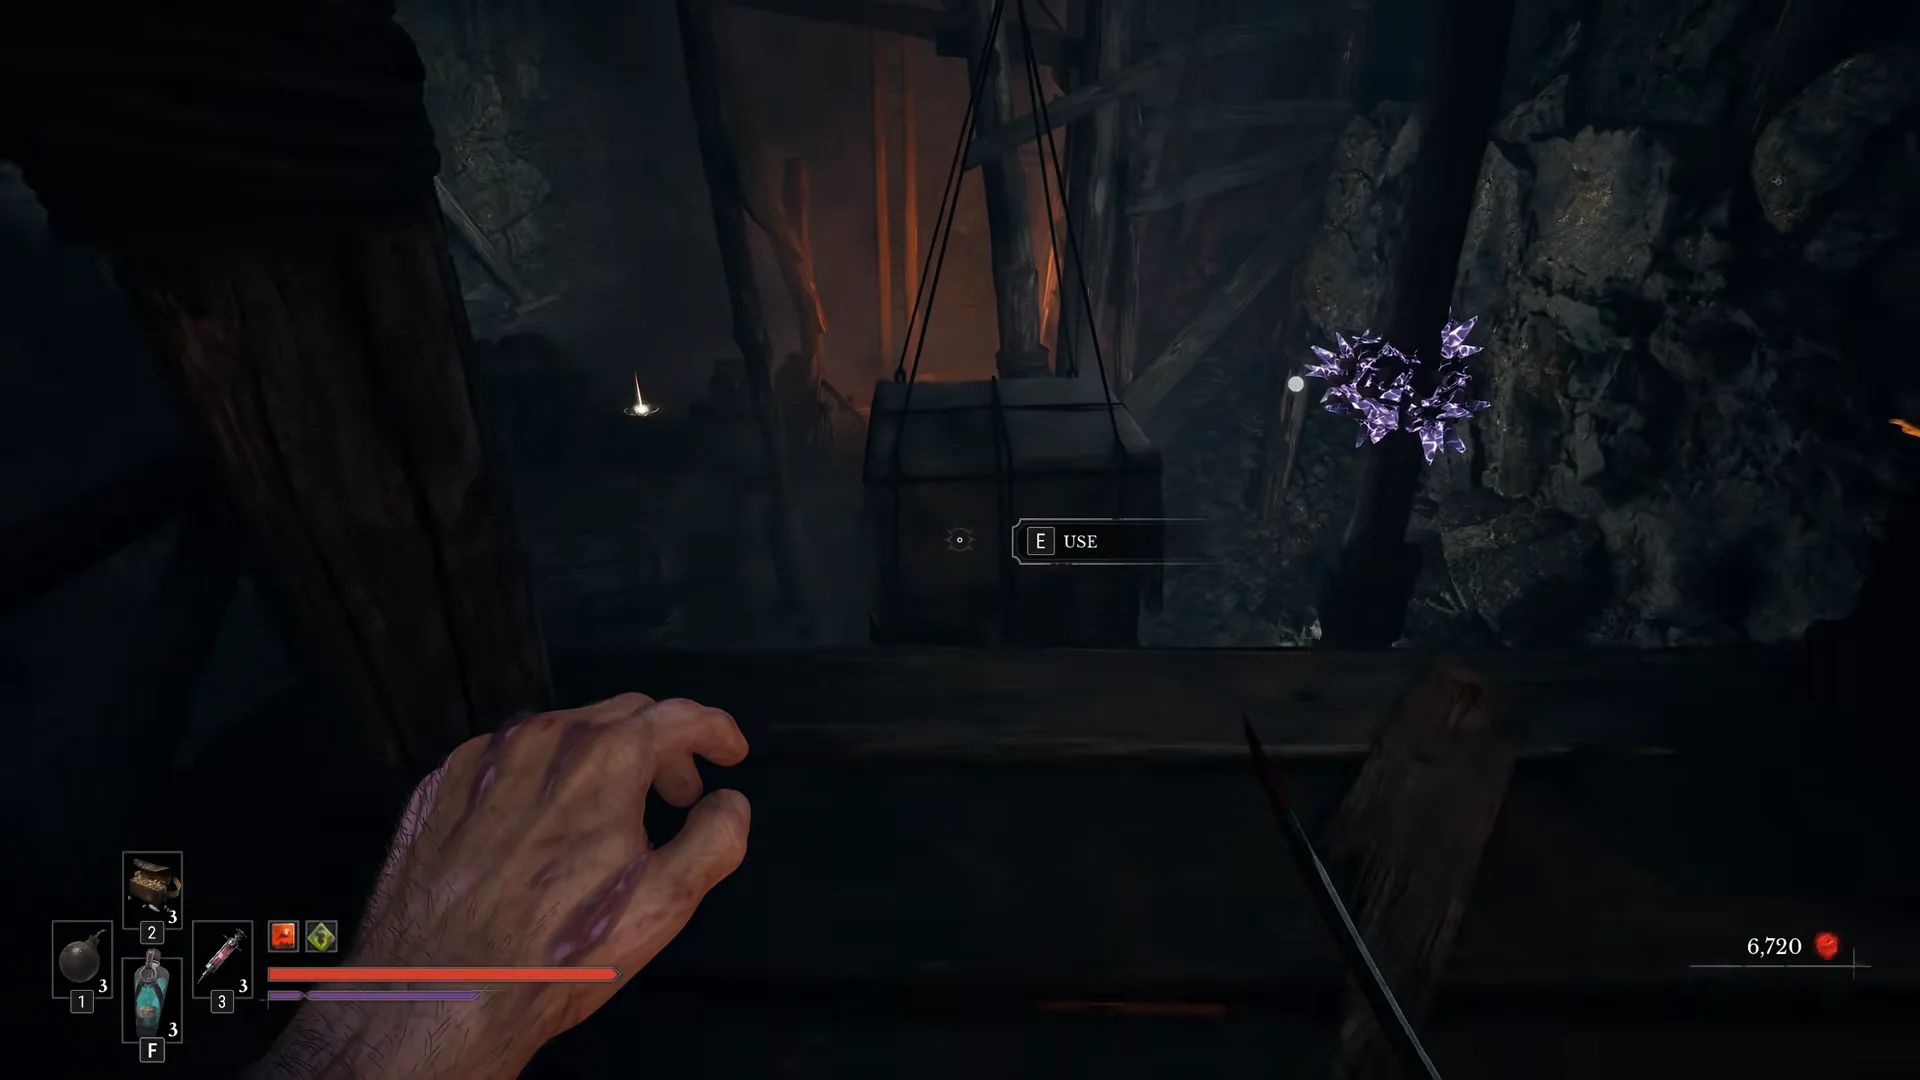
Beyond the Old Mine Lantern, beside Lucjan Skawinski, a rope-hung, fabric-draped crate suspended from a crane spans the mine shaft. Turn the winch twice, use the purple crystal on the post across the shaft, then jump onto the crate, across to the ledge by the post, and down to the walkway.
Quick answer: Turn the balcony winch twice, use the purple crystal on the post across the shaft so the crate holds level, then jump onto the crate and across to the ledge by the post.
See the Old Mine on the Valor Mortis map. For the rest of the chapter, use the Chapter IV walkthrough; every key in the game is in our key list.
Before you start at the Old Mine Lantern
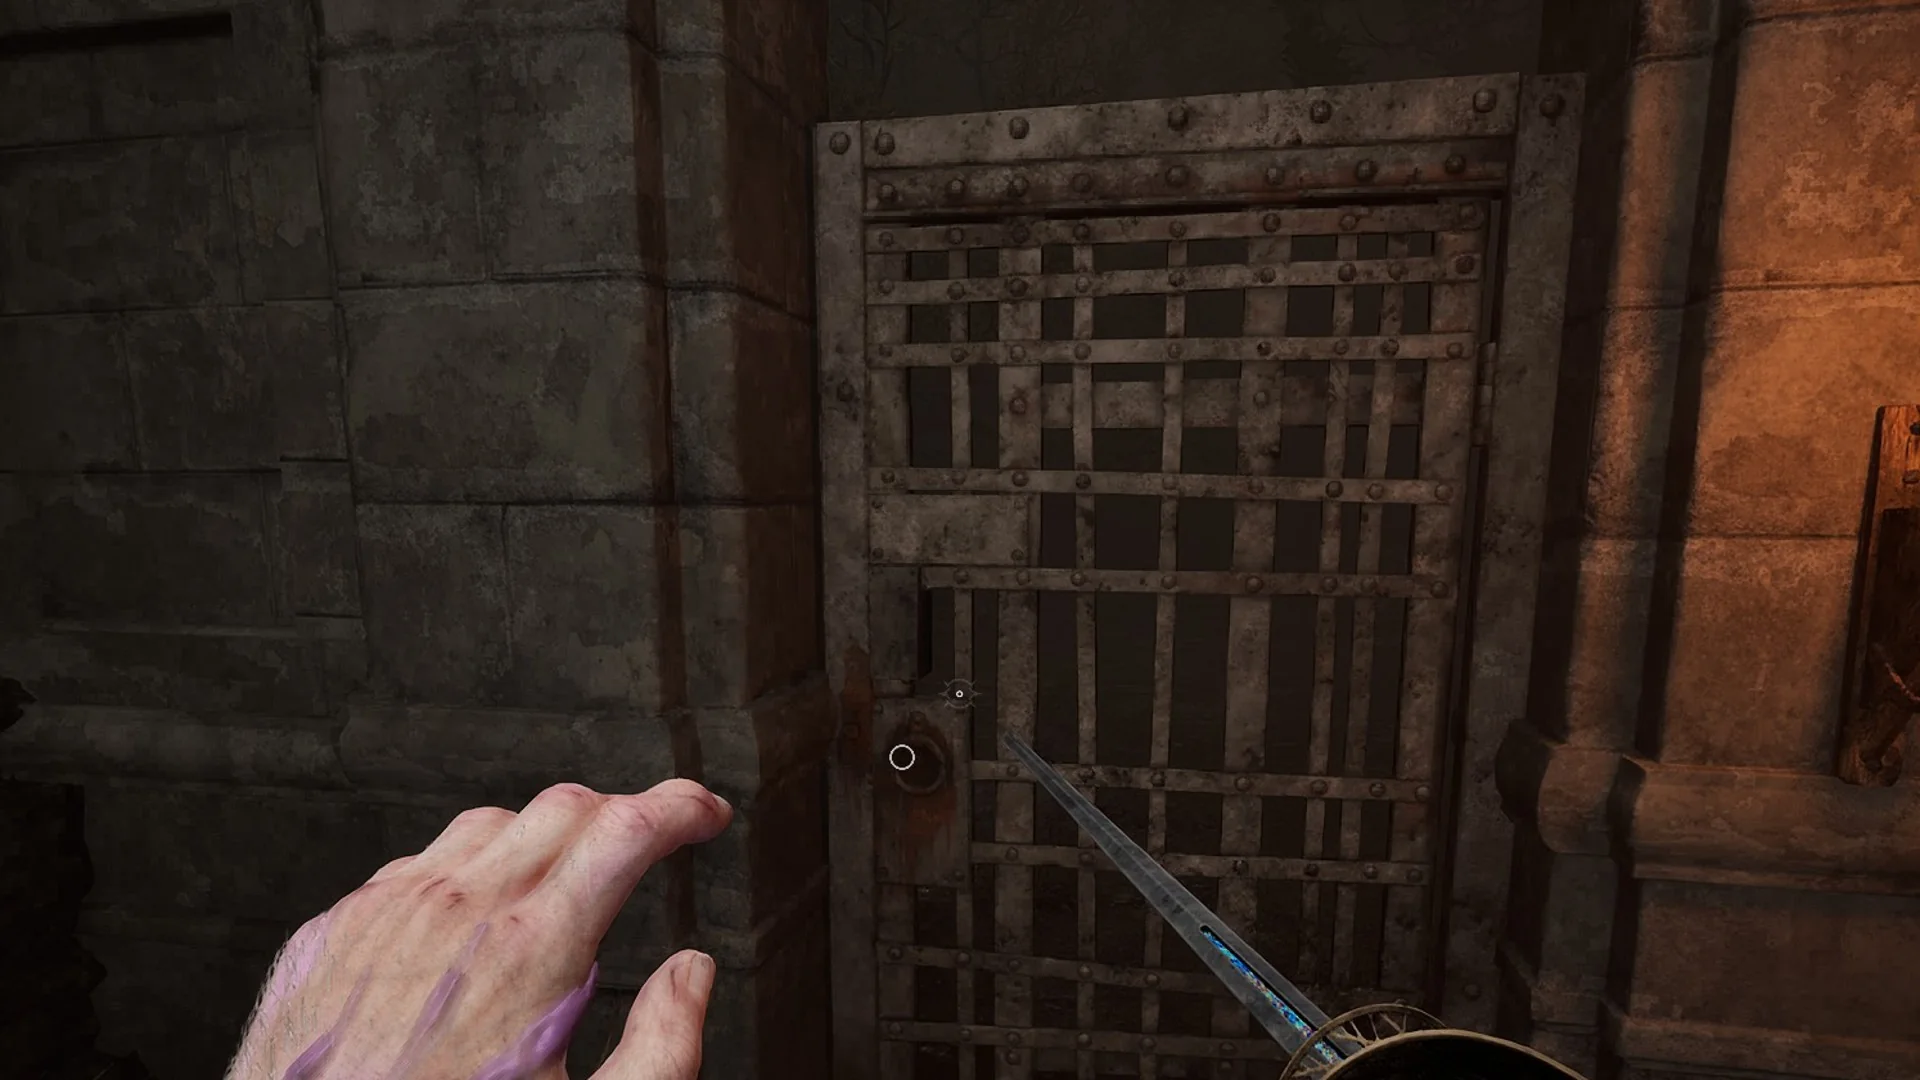
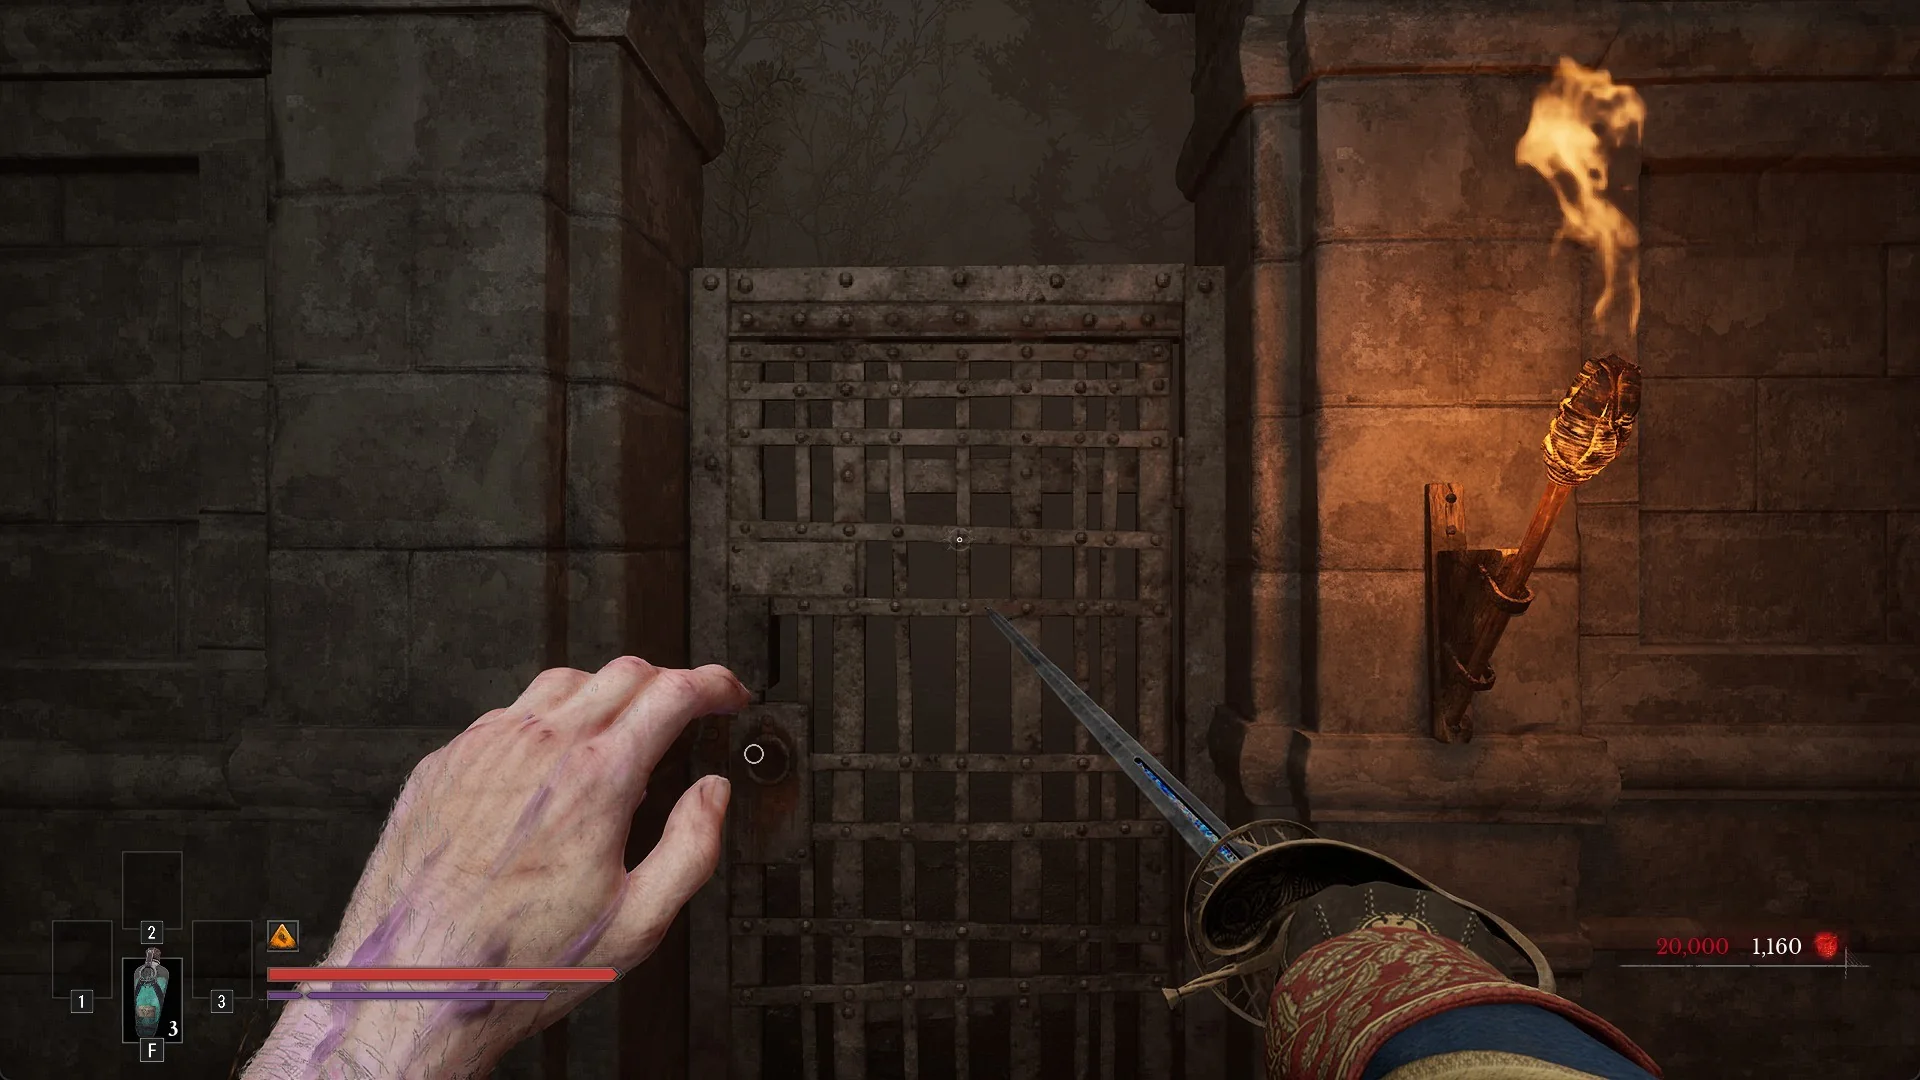
Rest at the Old Mine Lantern first. Two barred iron gates nearby read “This door is locked from the other side.” Leave both alone for now. They are shortcuts that open later from the far side, so there is nothing to do with them here.
Cross the hanging crate over the mine shaft
The crate sinks back on its own after the first turn of the winch, which is why one turn is not enough. Turn it twice, then lock it with the crystal before you try to jump.
From the far walkway, take the tunnel that continues farther into the mine.
Open the shortcut gate back to the Lantern
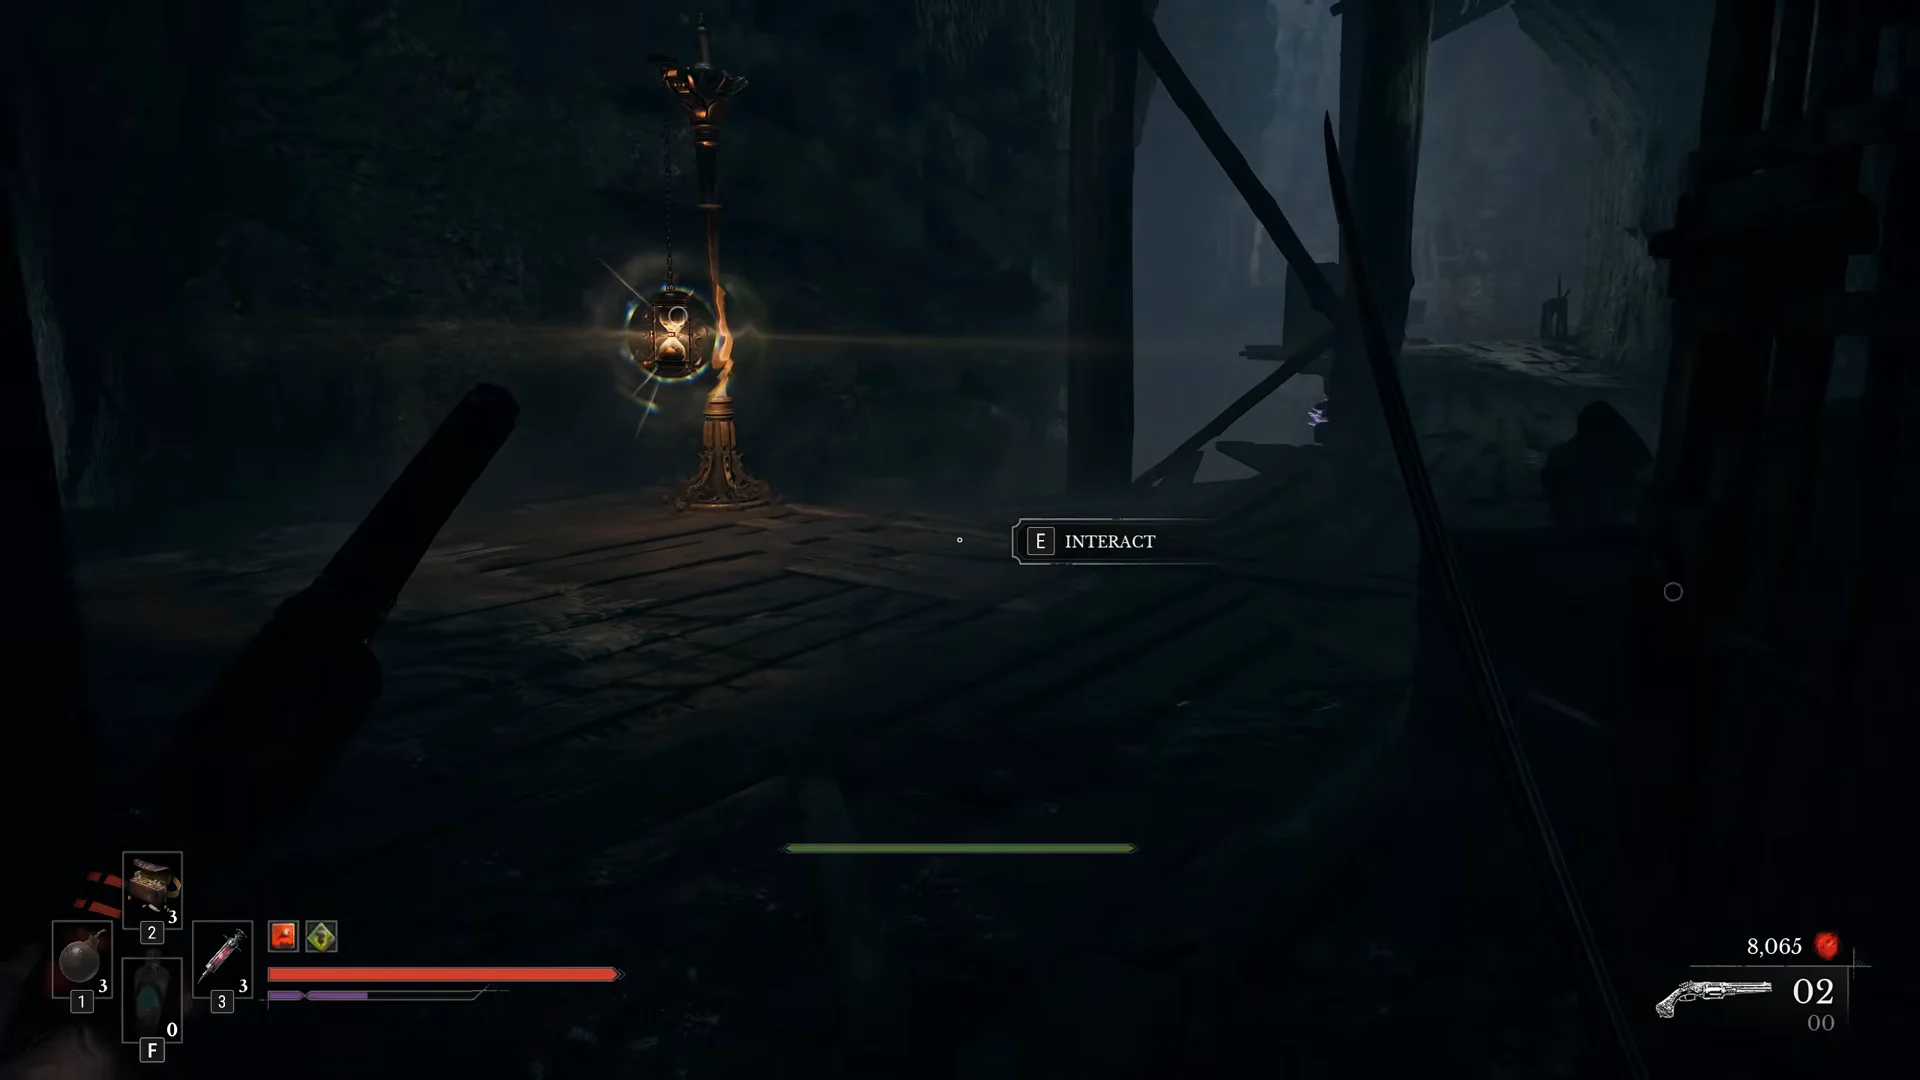
Follow the mine tunnels down. A ladder leads up to a barred gate you can open with “[E] UNBOLT”. It brings you straight back out beside the Old Mine Lantern, so this is one of the gates that read “This door is locked from the other side.” earlier. Rest at the Lantern once it is open.
The Mining Shaft Key gate and the lift
Deeper in, you reach a flooded cave by crawling through a low gap in the rock. A tall ladder then climbs to an upper walkway with a winch. At the end of that walkway, an iron gate reads “This door is locked and requires Mining Shaft Key”.
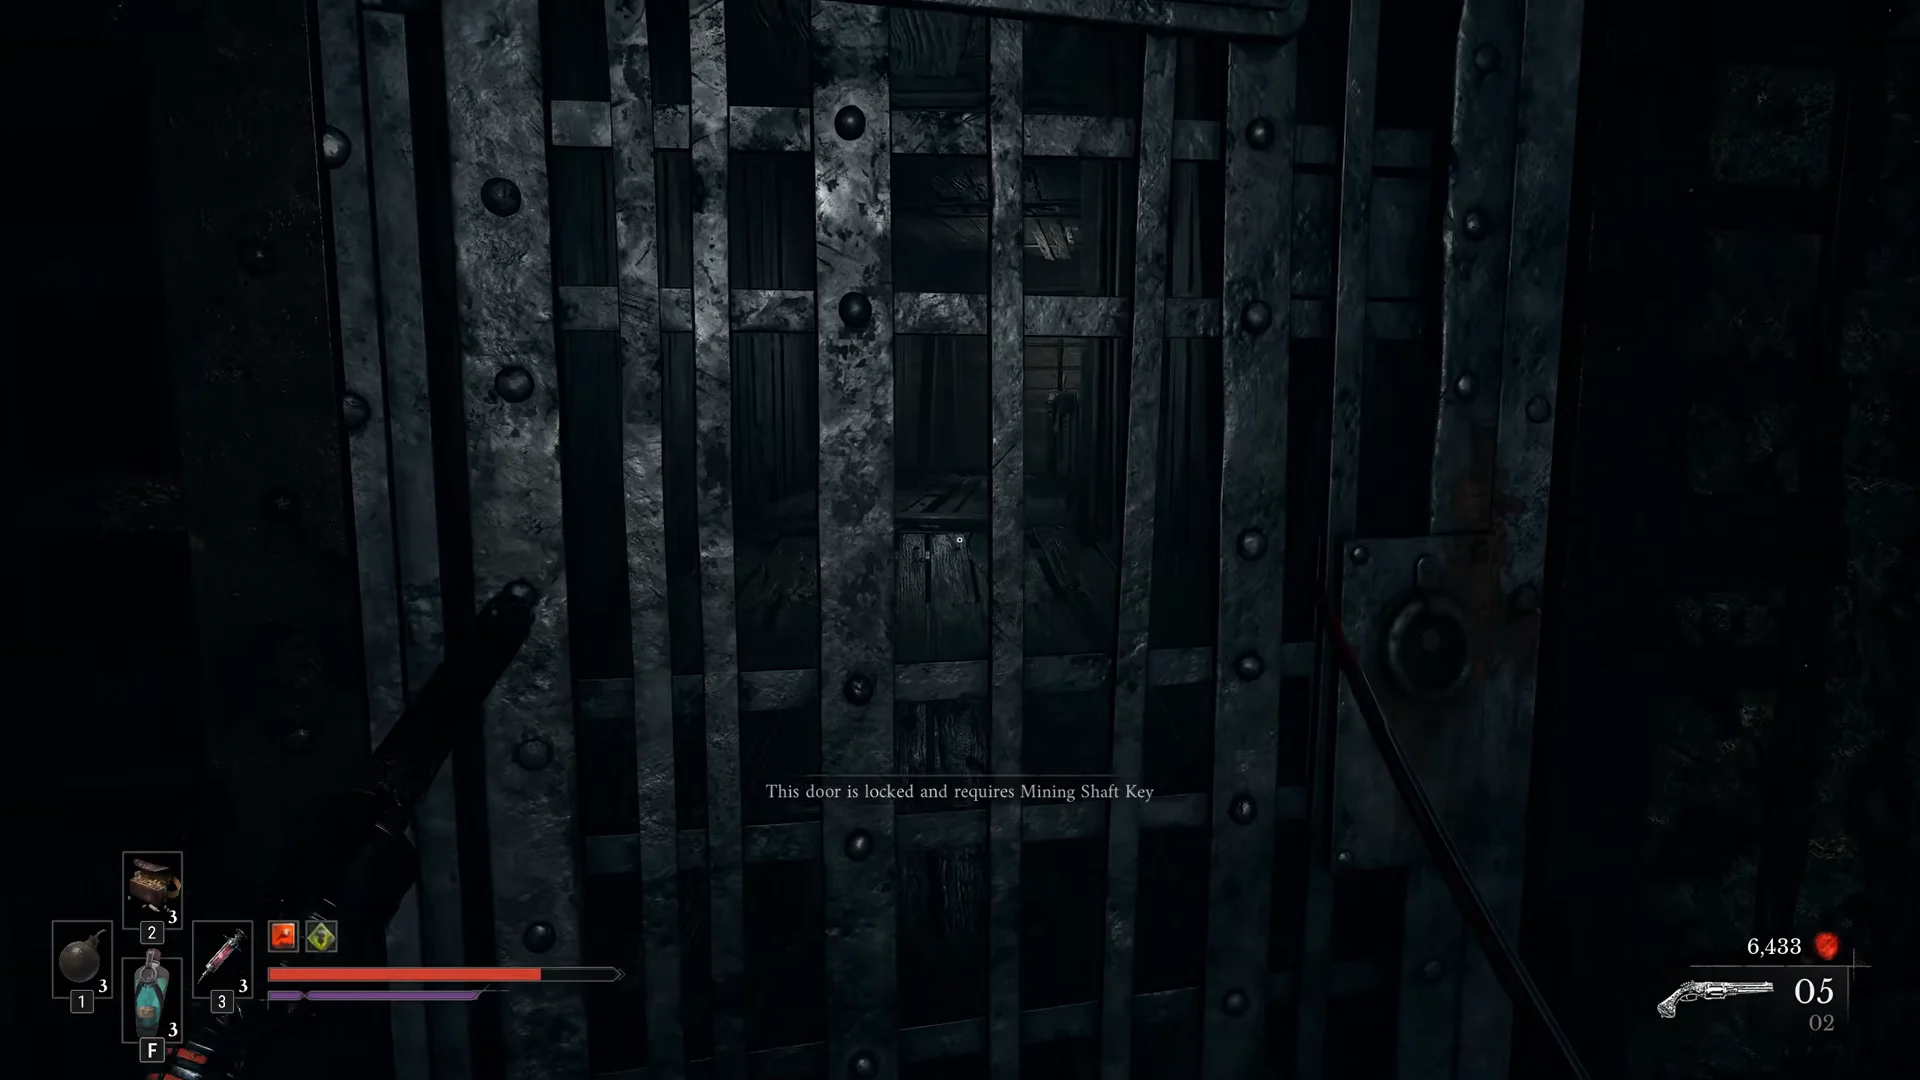
You can carry on without the key. From the edge of the walkway, use the purple crystal on the lift with “[E] USE” to reach the lift car. Ride it, then open the gate beside it with “[E] INTERACT”. A winch next to it calls the lift back.
The Mining Shaft Key itself is picked up in the Caverns, and its description reads “An old, rusty key leading to the mining shaft.” The lift remains the way forward whether or not you hold it.