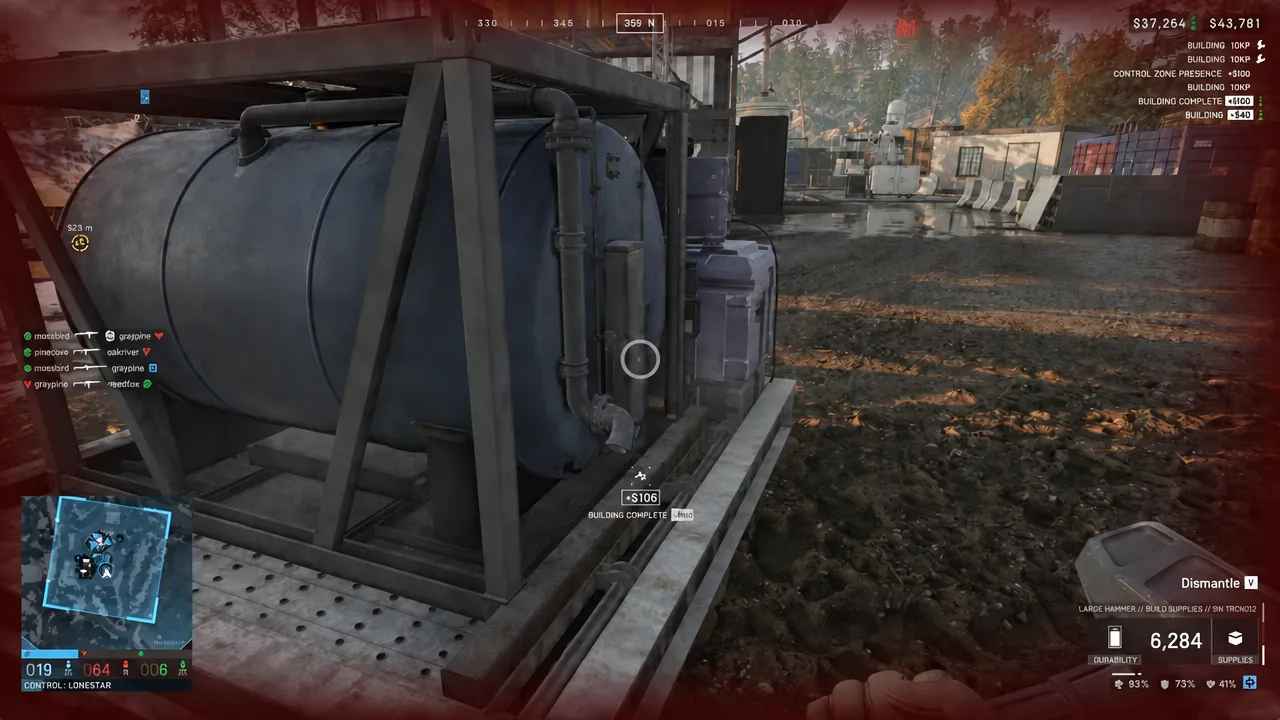
A Refuel Station turns a Forward Operating Base into somewhere vehicles can actually keep working. It lets friendly vehicles refuel inside the FOB radius, as long as Fuel logistics supplies are stored at the base. It is one of the structures locked behind the top hammer tier, so the hard part is usually the tool, not the construction.
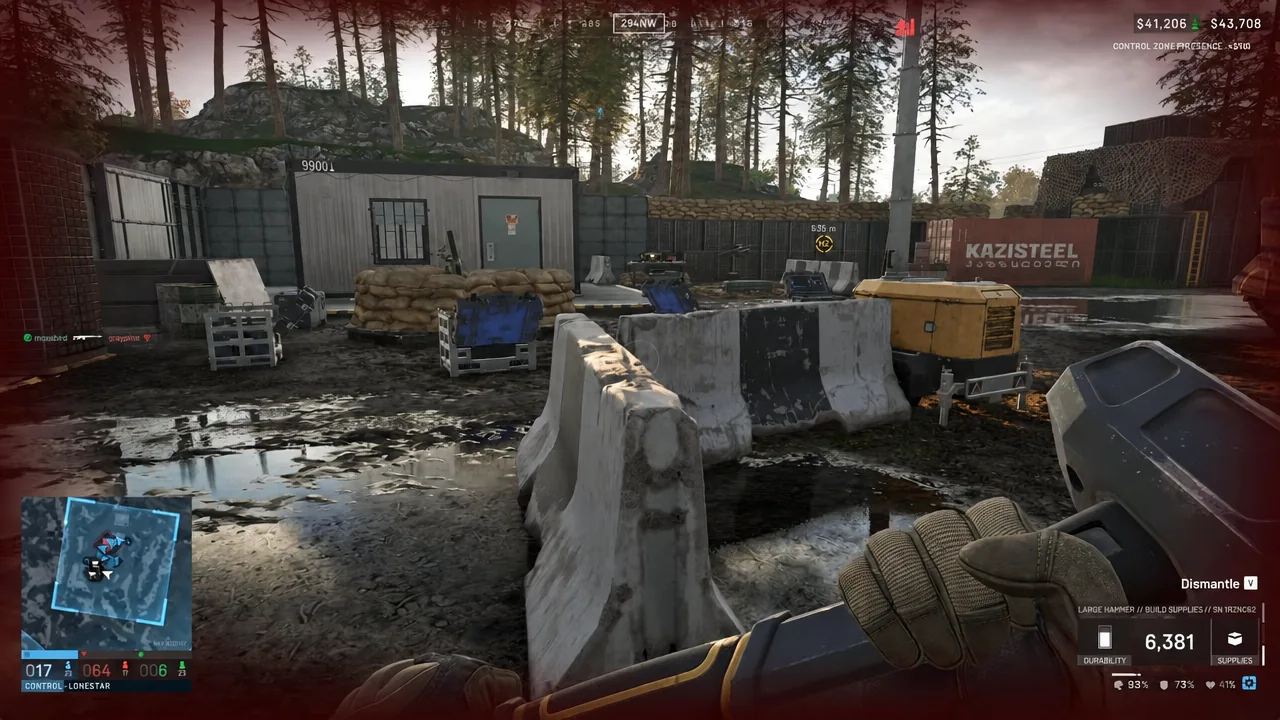
Quick answer: Equip a Large Hammer inside your FOB’s build radius, hold right-click and press F to reach the Refuel Station, place the blueprint, then hammer the yellow X marks until progress hits 100%.
What the Refuel Station does in WARDOGS
The station’s in-game description is blunt about its limits. It allows friendly vehicles to refuel within the FOB radius, and only while Fuel logistics supplies are active at that FOB. Build it outside the radius and it will not place. Build it with an empty fuel pool and it will sit there doing nothing until a logistics player brings fuel in.
That makes it a two-part job. The structure is the easy half. Keeping fuel stocked at the base is the half that decides whether the station is useful for the rest of the match.
What you need before building a Refuel Station
Three pieces of kit have to be in place before the Refuel Station will even appear as an option in your build menu.
| Item | Price | Weight | Role |
|---|---|---|---|
| Large Hammer | $2,400 | 3.18 kg | Builds all buildables, fastest build speed |
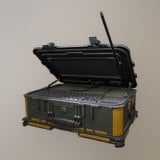 Forward Operating Base Forward Operating Base | $7,500 | 6.5 kg | Creates the build radius and stores supplies |
| Build Supplies | $10 | 0.02 kg | Resource consumed by every structure |
The FOB is the anchor for everything. It is needed to build larger structures, it holds items and resources for players to take, and it provides the radius inside which building is allowed.
The Small Hammer, at $100 and 0.32 kg, builds small buildables only and works slowly. It will not get you a Refuel Station no matter how long you swing it. The Medium Hammer, which unlocks at Support level 3, covers more ground but still stops short of the full buildable list.
Fuel Supplies are a separate stored pool from Build Supplies. Mechanical Supplies, priced at $10 and weighing 0.03 kg each, are for vehicle repairs and also require FOB radius to use. Stocking one pool does nothing for the other.
How to get the Large Hammer (Support level 8)
The Large Hammer sits at Support level 8 on the Support unlock ladder, and opening it costs a one-time unlock fee of $75,000 on top of the $2,400 purchase price. The Support role runs to level 50 in total, with 31 levels carrying an unlock, so the hammer arrives fairly early on that track even if the fee stings.
If you have not reached that point, you do not have to. Large Hammers turn up inside FOBs and in supply crates, and a teammate who has already unlocked one can hand theirs over. Borrowing a hammer for a single build is a normal way to get a station up before anyone on the squad has the Support level for it.
How to build the Refuel Station
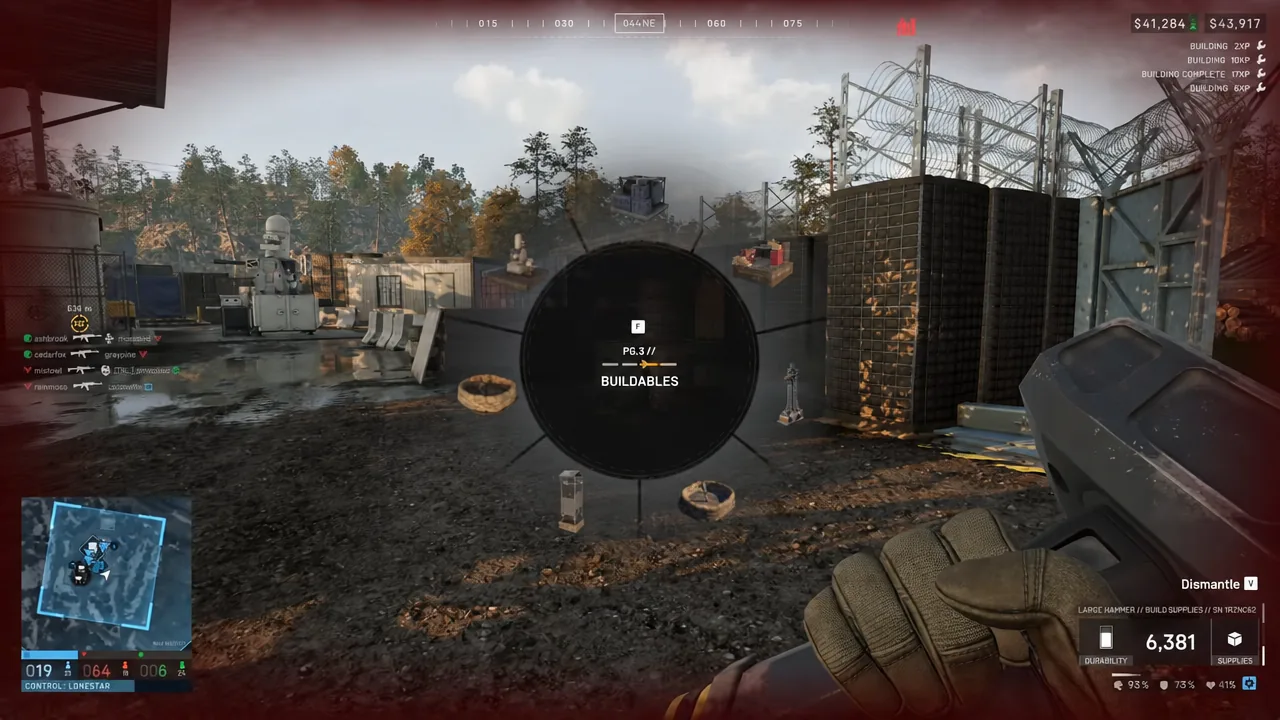
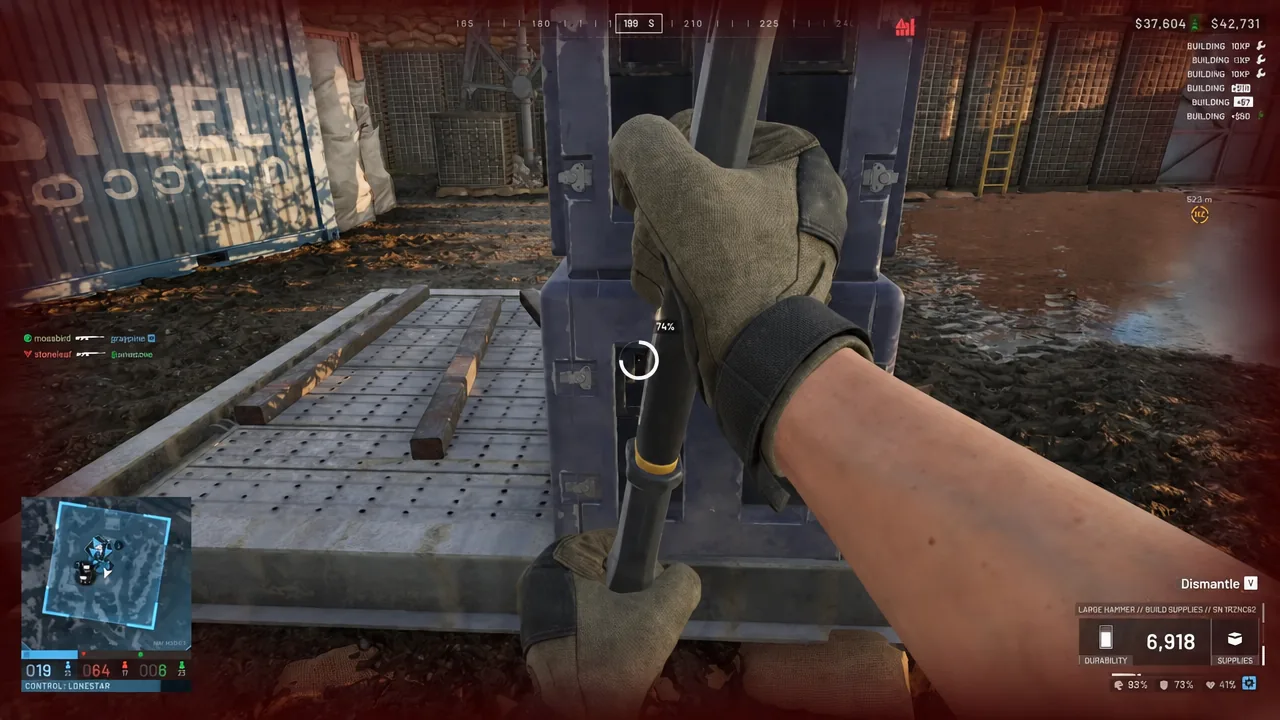
Aim the hammer at any finished structure and a Dismantle prompt appears, which is how you clear a misplaced build and reclaim the footprint. Check your placement before you commit rather than relying on that as a habit.
How to refuel vehicles at the station
Fuel does not flow straight from the station into a vehicle. It moves through gas cans, which you buy from a vendor and carry with you.
- Buy gas cans from a vendor before heading out to the FOB.
- Fill the empty can at the completed Refuel Station.
- Walk to the vehicle and use the can on its fuel port.
- Repeat with more cans for larger vehicles or a full tank.
Keep a couple of spare cans in the FOB rather than one on a single player. Anyone passing through can then top up a vehicle without waiting for the person holding the only can to come back.
Pairing the Refuel Station with a buildable drill
Hand-carrying fuel is fine for one vehicle. For a base that needs to keep running, pair the station with a buildable drill instead. Walk up to a completed drill and the [F] ACTIVATE - Buildable Drill prompt appears; hold F and the drill starts generating fuel for the base automatically.
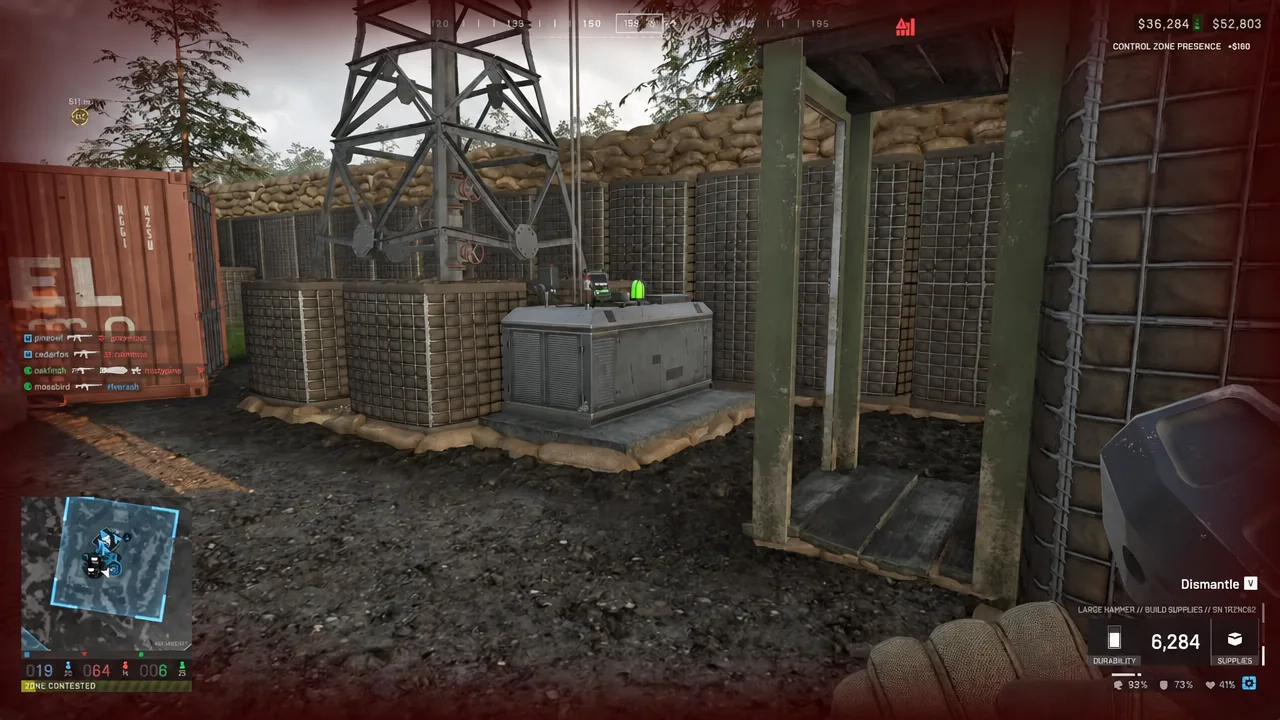
Once it is running, the fuel readout at the base climbs toward a ceiling of 6,000 units, with a MIN FUEL marker showing the level the drill needs to stay operational. That pool is what the Refuel Station draws on, so a running drill removes the need for constant fuel deliveries.
An active drill pulls a Hotzone toward its location. Expect the enemy team to come to you, and make sure the station and drill are behind whatever defenses your squad can hold.
How to confirm the Refuel Station is working
Construction is finished when the progress counter reaches 100% and the blueprint frame resolves into the finished structure. The drill side reports its own state on screen: READY TO ACTIVATE before you interact with it, then DRILL ACTIVE once it is producing, with the fuel counter ticking upward.
The real test is a vehicle. Fill a gas can at the station, apply it to a vehicle’s fuel port inside the FOB radius, and watch the tank rise. If the can will not fill, the FOB’s fuel pool is empty, and the answer is a fuel delivery or an active drill rather than anything wrong with the build itself.