

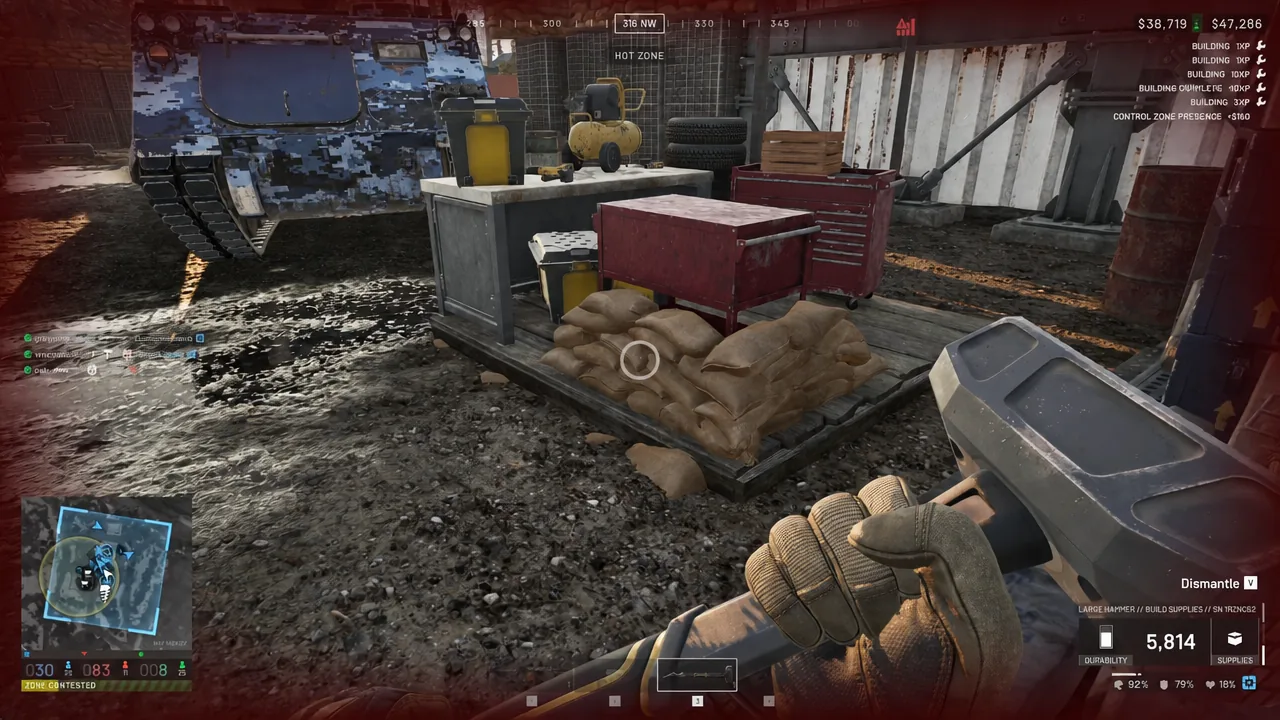
A Repair Station is the piece of a Forward Operating Base that turns a parking spot into a service bay. Vehicles that pull inside the FOB radius get patched up automatically, which matters a lot when a tank or a helicopter costs more than most of a squad’s loadouts combined. It is also one of the few structures in WARDOGS locked behind the top hammer tier, so it is not something you can throw down on the way to a fight.
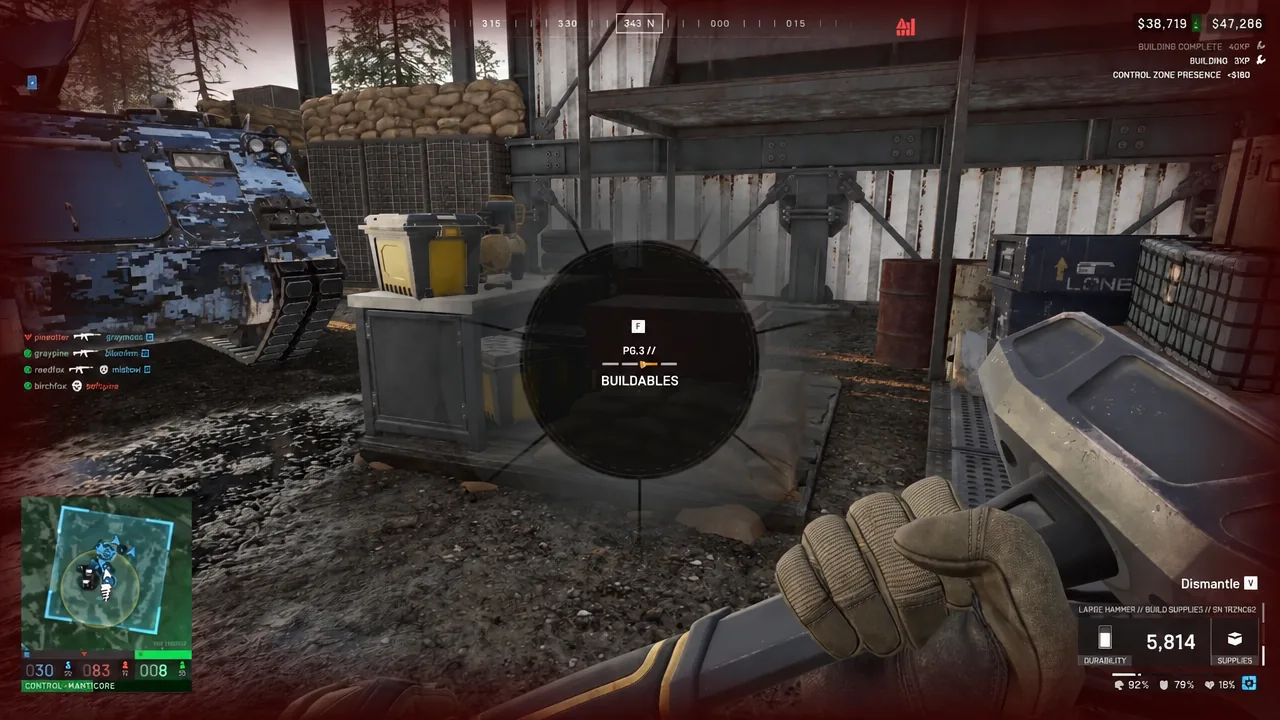
Quick answer: Stand inside a deployed FOB’s build radius with a Large Hammer equipped, hold right-click and tap F until the Repair Station blueprint appears, place it, then hold left-click until construction hits 100.
What the Repair Station does in WARDOGS
Once built, the Repair Station fixes friendly vehicles that sit inside the FOB’s radius. Cars, tanks and helicopters all qualify, and the repair happens passively while the vehicle is parked in range, so nobody has to stand there swinging a wrench.
The station does not create repairs out of nothing. It pulls from the Mechanical Supplies stored inside the FOB, which is a separate pool from Build, Fuel and Ammo Supplies. An empty Mechanical stockpile means a finished Repair Station that does absolutely nothing for the vehicle parked next to it.
Repair Station requirements: hammer, FOB and supplies
Four things have to line up before the blueprint will even appear in your build menu.
| Requirement | Detail |
|---|---|
| Large Hammer | Unlocks on the Support track at level 8 |
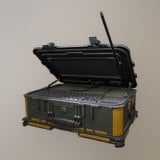 Forward Operating Base Forward Operating Base | $7,500, 6.5kg, deployed from your inventory |
| Build Supplies | 121 stored in the FOB, $10 per unit |
| Mechanical Supplies | Needed for the station to actually repair, $10 per unit |
The Large Hammer is the non-negotiable part. Small and Medium Hammers cover fortifications and mid-tier structures, but the Repair Station, the Refuel Station and the heavy emplacements only appear in the build menu with the Large Hammer in hand. If your Support level is not there yet, you can still get the job done by pulling a Large Hammer out of a FOB’s inventory if a teammate has stored one.
The FOB itself is the other half of the equation. It defines the build radius shown on your minimap, and it holds the four supply types the whole team draws from, each capped at 20,000. A freshly placed FOB starts with 1,250 Build Supplies and 100 each of Fuel, Ammo and Mechanical Supplies, which is enough Build Supply for the structure but nowhere near enough Mechanical Supply to keep a vehicle-heavy team running.
Leave room around the FOB for vehicles to drive in, turn and leave again. A repair point wedged into a tight courtyard becomes a traffic jam the moment two damaged vehicles arrive at once.
How to place and build the Repair Station
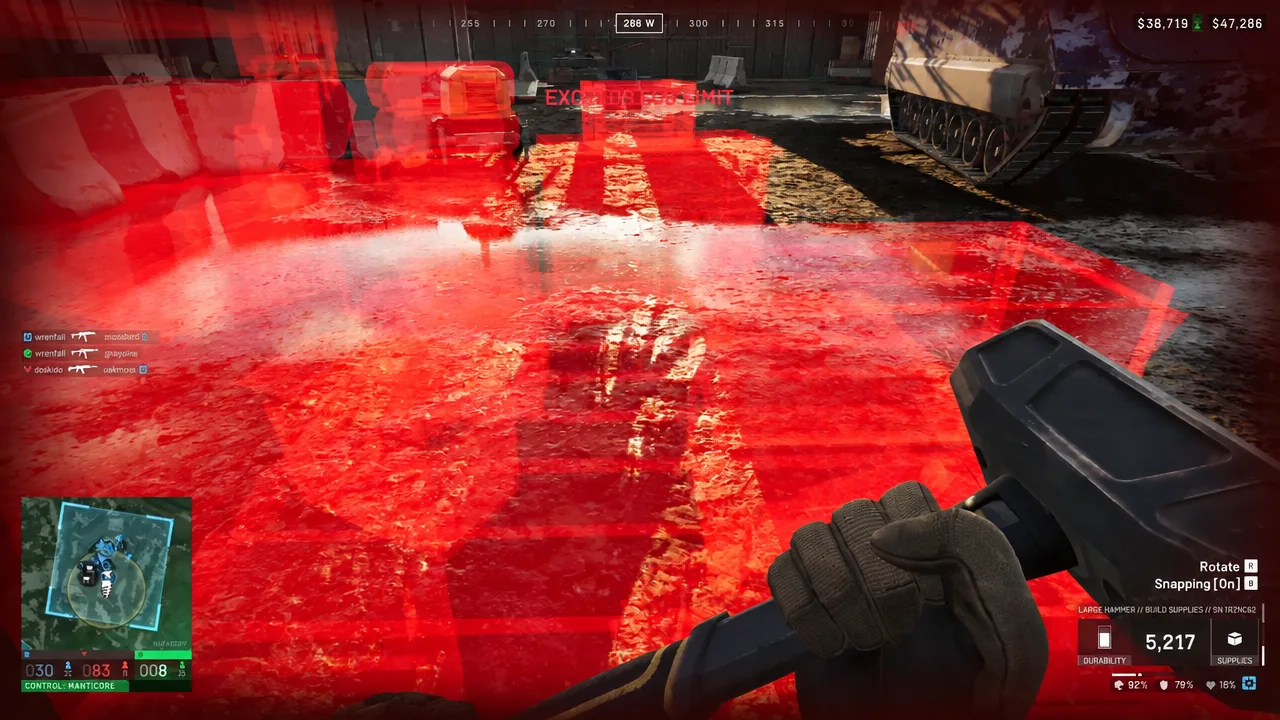
Only one Repair Station per FOB
Each FOB supports a single Repair Station. Try to place a second one inside the same radius and the placement preview turns red and throws an EXCEEDS FOB LIMIT error instead of letting the blueprint down. There is no workaround inside that base — a second repair point means a second FOB somewhere else.
Dismantling a badly placed structure
Because you only get one, placement mistakes are worth undoing. The Large Hammer handles demolition as well as construction, and the Dismantle prompt bound to V appears whenever you look at something that can be torn down.
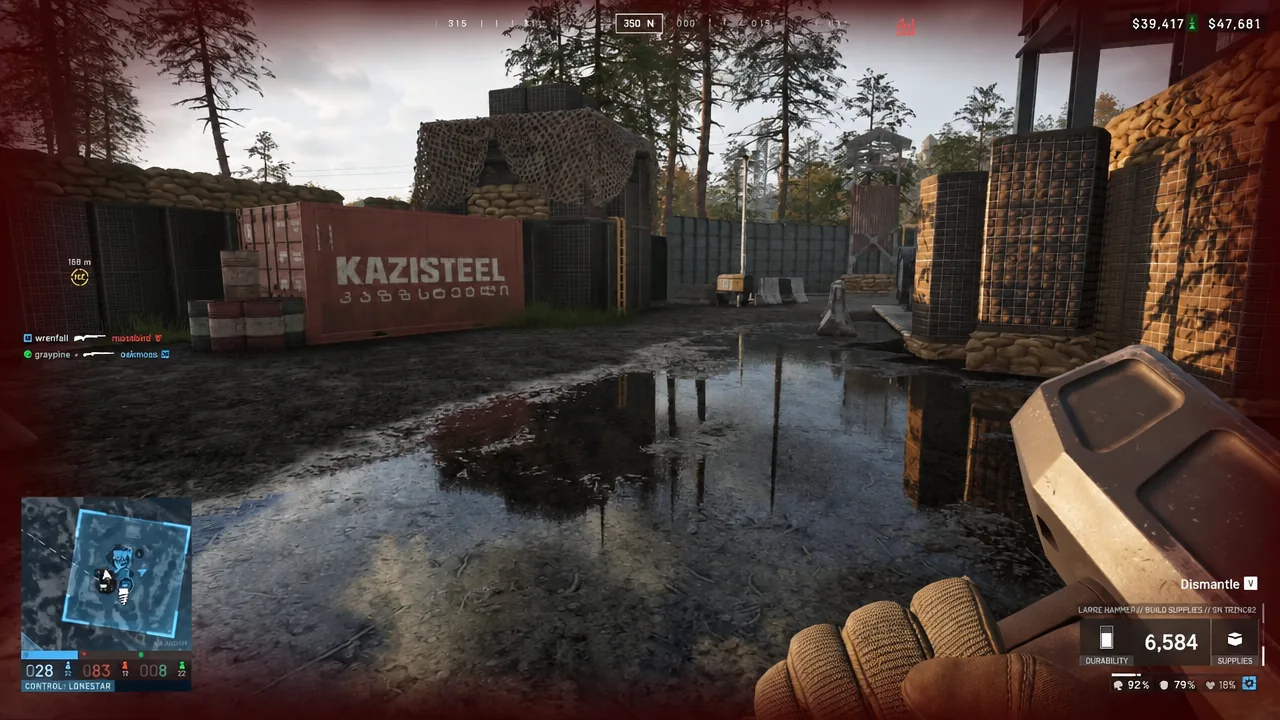
Aim at the object you want gone and hold V. The target highlights and a circular meter starts filling from zero, exactly like the build progress ring but in reverse.
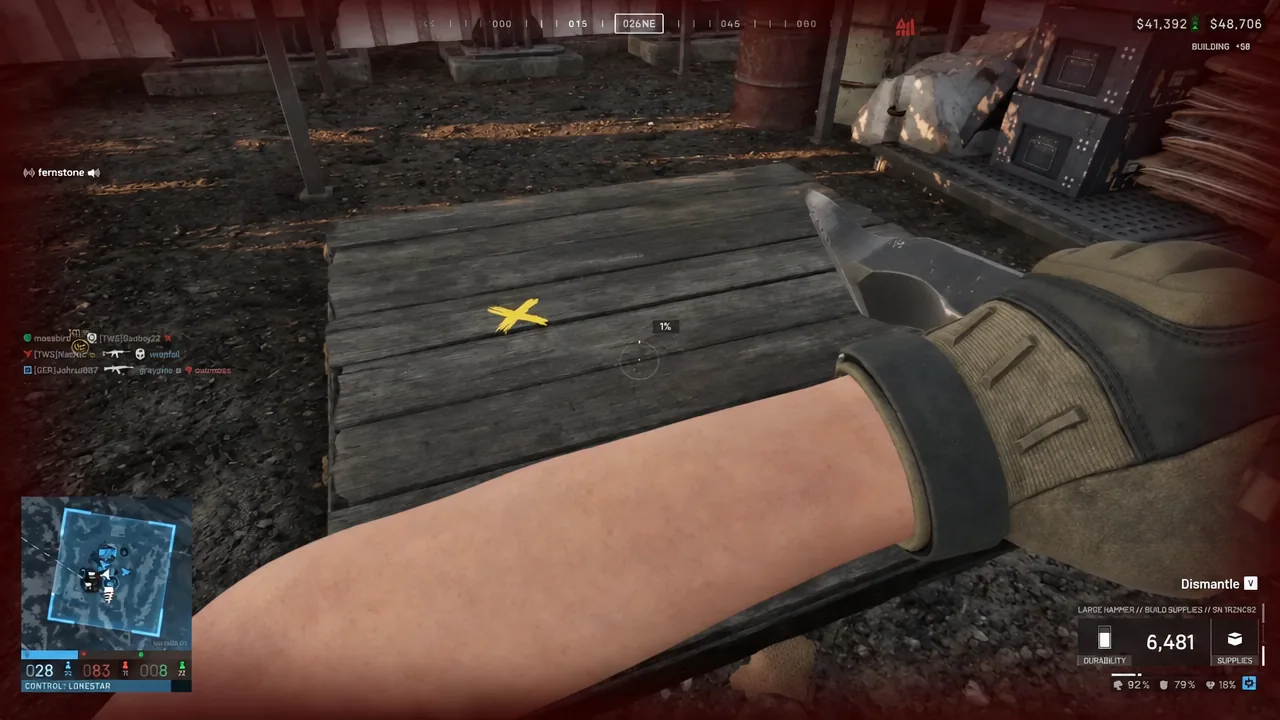
Keep holding until the meter completes. Let go early and the progress stops where it is, so stay on target rather than tapping the key.
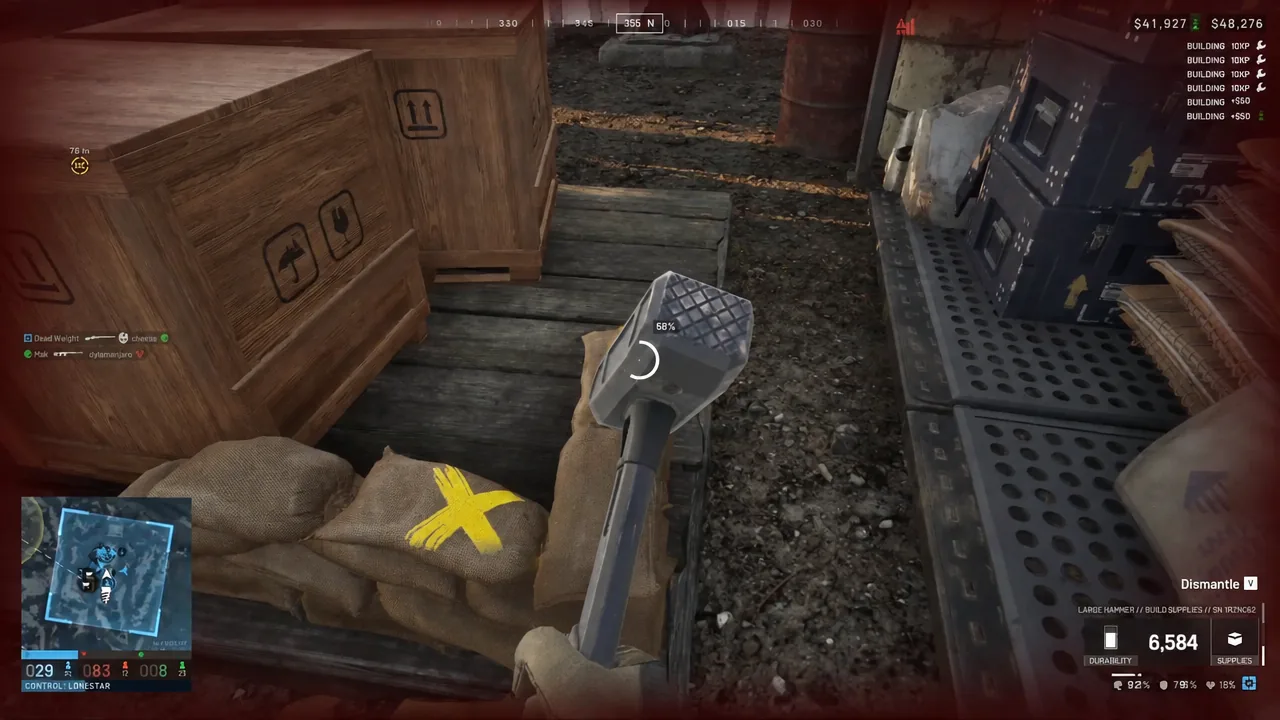
How to confirm the Repair Station is working
Construction is finished when the progress readout reaches 100 and the frame resolves into the finished structure. At that point the hammer prompt switches from building to repair and demolish options on the completed station.
The real test is a damaged vehicle. Drive or fly one into the FOB radius, stop, and watch its health. If Mechanical Supplies are in the FOB’s stockpile, the vehicle starts recovering on its own; if the health bar sits still, the Mechanical pool is the first thing to check.
Repair, refuel and rearm draw from three different pools. Mechanical Supplies cover repairs, Fuel Supplies handle refuelling at a Refuel Station, and Ammo Supplies feed the heavy emplacements. Ask logistics for the specific cargo you are short on rather than assuming a pallet covers everything.
Keeping the station useful is a logistics job more than a building one. A team running several vehicles will drain the Mechanical pool quickly, especially if two or three drivers limp home at the same time, so a builder holding the perimeter and a driver or pilot running resupply is the pairing that keeps a repair point alive through a long fight.





