

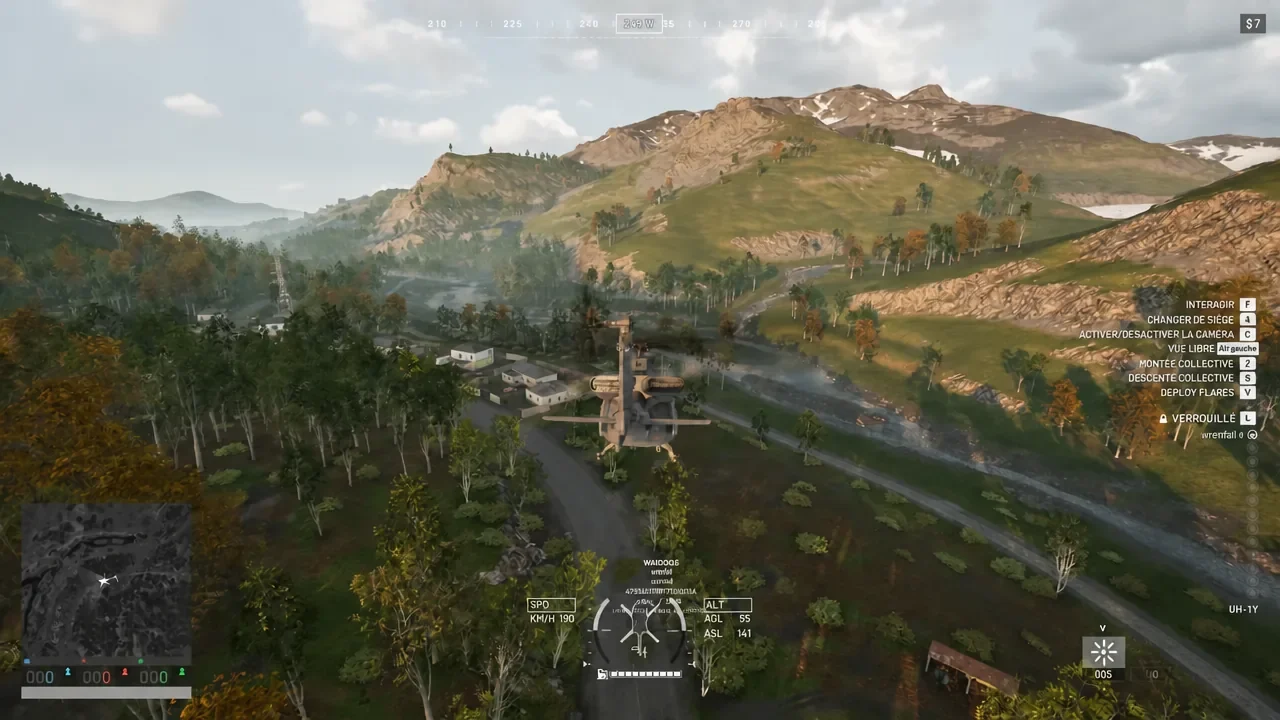
Helicopter physics in Wardogs punish slow, straight-in approaches. The fastest way to dump airspeed and put skids on the ground is the J-Hook, a rolling, yawing flare that swings the tail around while the nose stays locked on your landing spot. The Chop Flip is a more aggressive relative of the same idea, built entirely from held inputs.
Quick answer: Roll toward your spot, pull the nose up in one continuous motion, and kick the pedals to swing the tail around like you are drifting a car, keeping the collective down from the start of the maneuver to touchdown.
Set up a practice run in the Firing Range
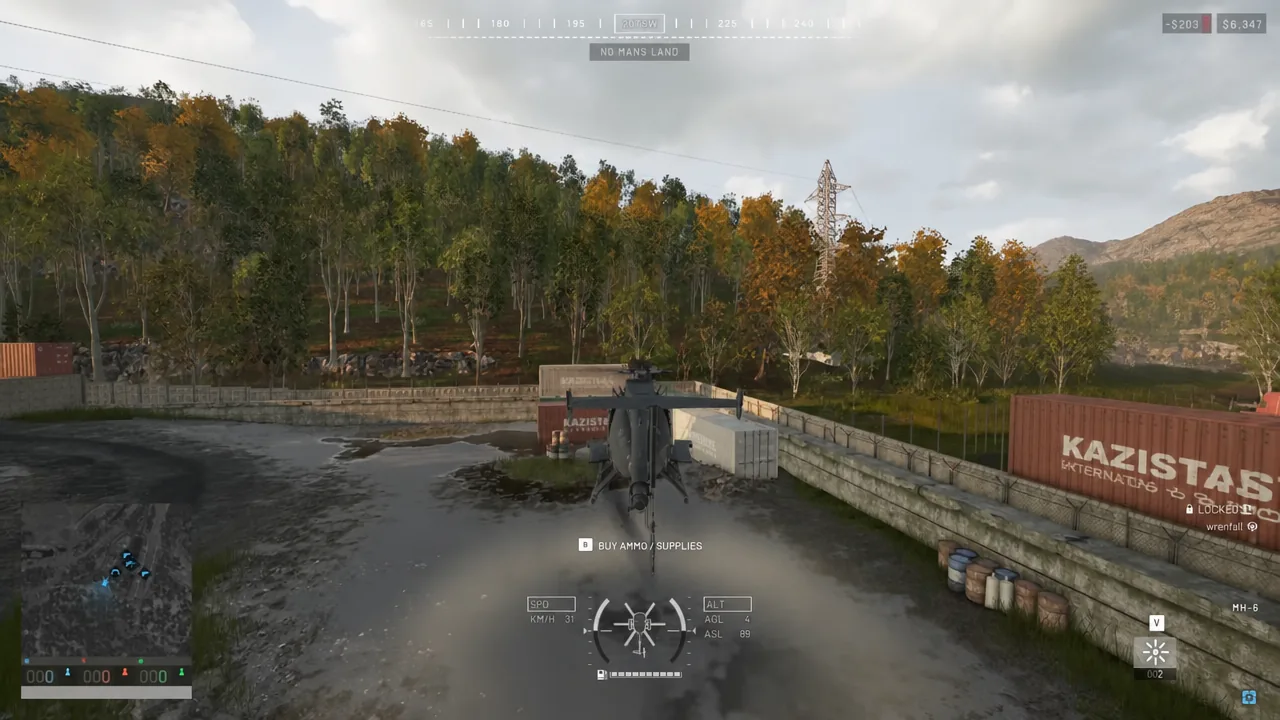
Learn the timing somewhere nothing shoots back. Spawn an MH-6 in the Firing Range and pick a landing point you can see from a long way out, such as a paved yard or a flat patch beside a building. The small airframe is forgiving, and repeated runs at the same spot teach you how much distance the helicopter needs to bleed off speed.
Line the approach up so you would pass the spot rather than fly into it. The J-Hook works by carrying speed past the target and then rotating around it, so an approach aimed straight at the landing point leaves nowhere for the tail to swing.
The collective rule that makes the J-Hook work
There is one non-negotiable input. The collective stays down from the moment you begin the maneuver until the skids touch. Adding collective mid-flare pushes the helicopter back into the air, stretches the landing out, and turns a tight rotation into a wide, floaty overshoot.
Everything else is cyclic and pedals. The nose-up attitude does the braking, the roll aims the rotation, and the pedals point the aircraft where you want it to end up.
How to perform a J-Hook landing
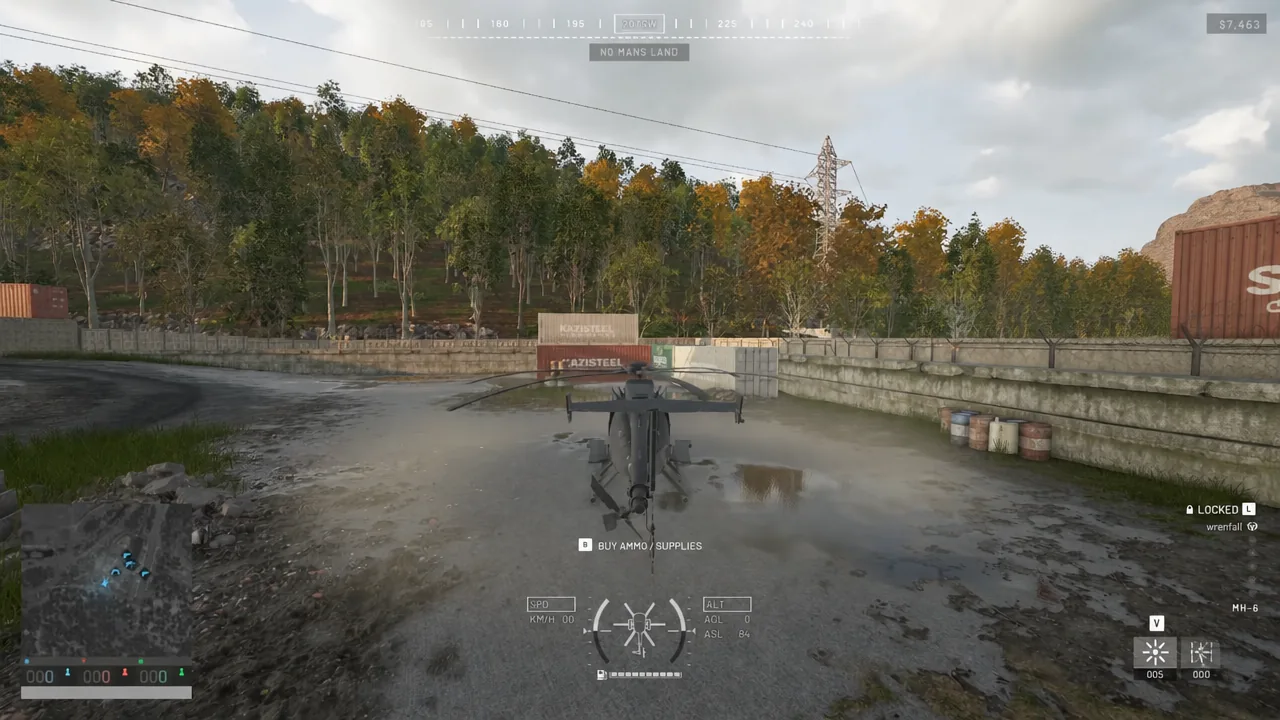
You know it worked when the helicopter settles onto the spot facing the direction you were tracking, with no forward slide and no second correction needed. If you find yourself pulling collective at the end to save the landing, the flare started too late.
Running J-Hooks at higher speed
The same inputs scale up, but the entry point moves. Coming in fast means committing to the roll and flare much earlier, because the aircraft needs more ground to rotate through. Wardogs’ flight model leans heavily on this maneuver as the main way to shed speed quickly, so building the habit at higher speeds pays off in combat approaches where hovering is not an option.
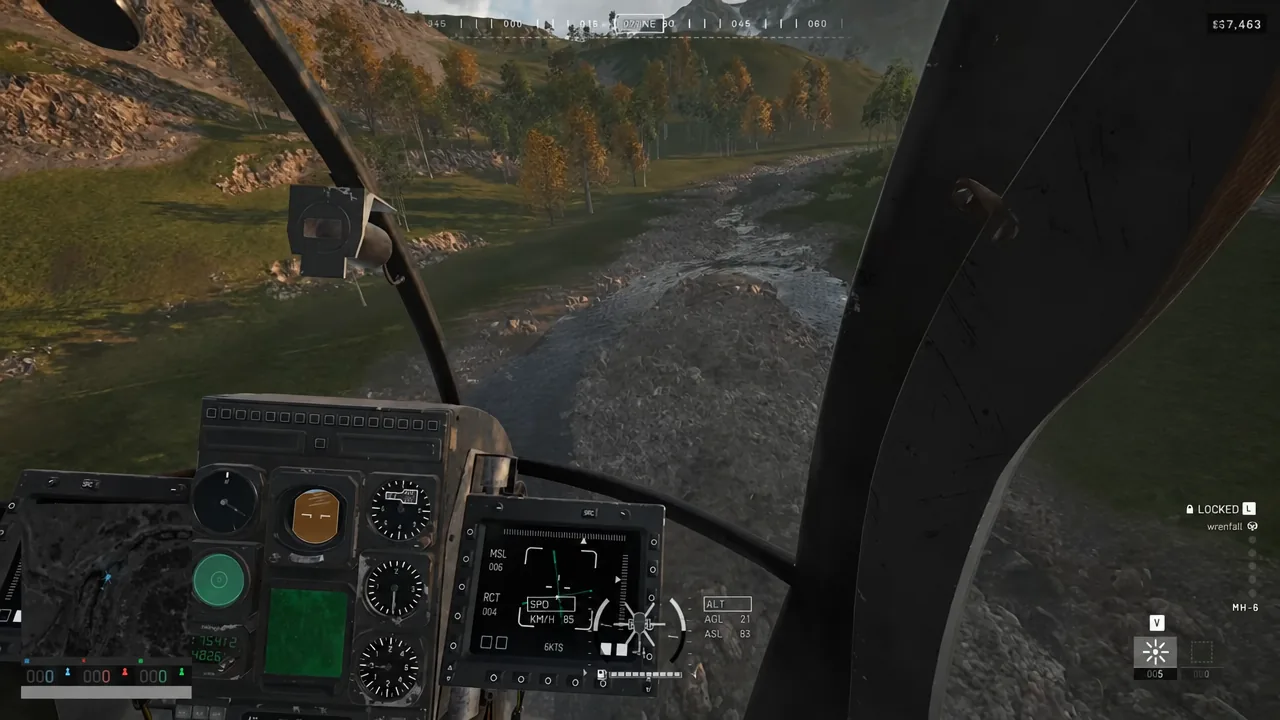
The Chop Flip and how it differs
The Chop Flip is built from three inputs held together and never released. Hold pitch up, hold yaw right, and hold roll right, and do not touch the collective at any point. Where the J-Hook is a shaped, tapering set of corrections, the Chop Flip is a constant command that carries the helicopter all the way through the rotation.
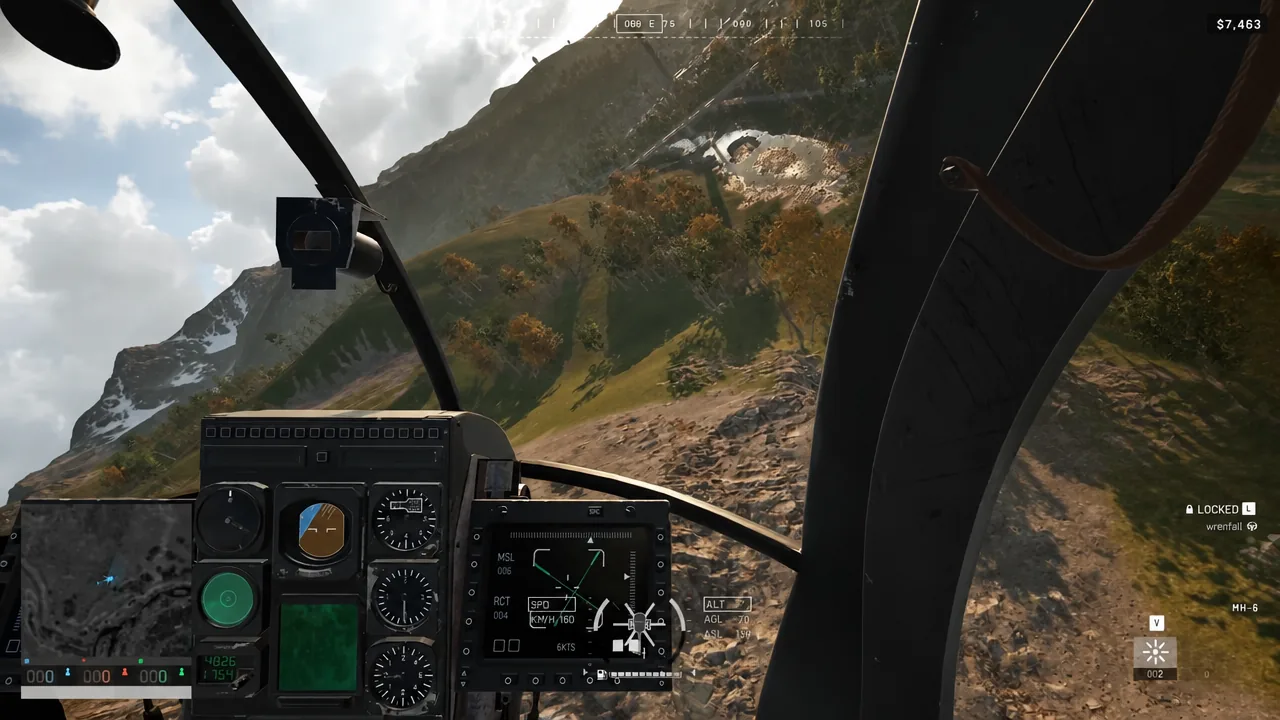
Switching to third person is the quickest way to understand the shape of it. From outside the aircraft you can see how far the nose comes up and how the tail travels through the turn, which makes it far easier to judge when to release and settle.
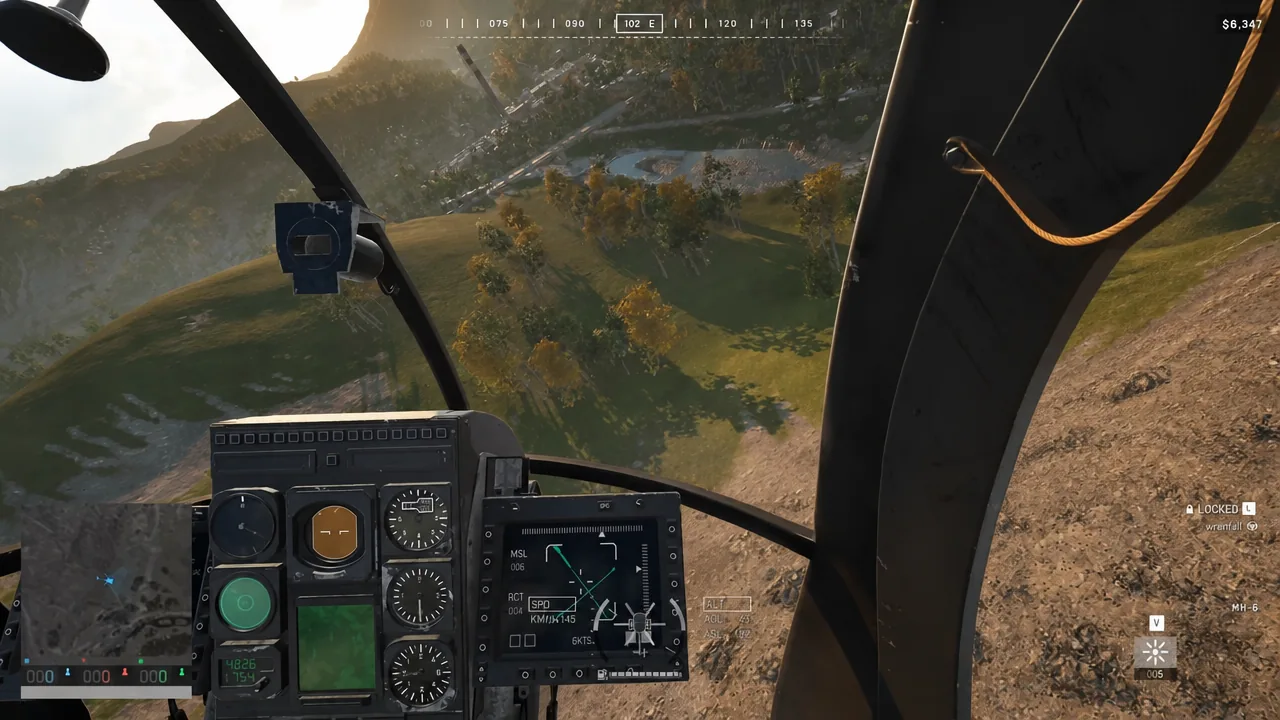
Note: the Chop Flip is a maneuver, not a landing procedure. Use the J-Hook when the goal is to put the aircraft down on a specific spot.
Mouse keybinds for cyclic and camera control
Both maneuvers need several axes moving at once, which is awkward if pitch is tied to wrist movement alone. Binding cyclic axes to mouse buttons lets you hold a pitch or roll input as a button press while the mouse itself stays free for aiming the aircraft, and it makes small corrections at low altitude far steadier.
A multi-button mouse can carry the whole critical set on the right hand, including cyclic pitch and roll, the map, and the camera toggle. The functions worth moving off the keyboard are these:
| Control | What it does |
|---|---|
| INCREASE CYCLIC X | Moves the cyclic one way along its lateral axis |
| DECREASE CYCLIC X | Moves the cyclic the opposite way along the same axis |
| DECREASE CYCLIC Y | Moves the cyclic along its fore-and-aft axis |
| TOGGLE CAMERA MODE | Swaps between first-person and third-person views |
Primary Click, Secondary Click, and Middle Click are the obvious homes for the cyclic binds, with side buttons picking up the camera toggle and the map. Keyboard slots such as P, M, -, =, [, and ] remain useful as backups if your mouse runs out of buttons.
Why a J-Hook overshoots or fails to settle
Most failed attempts come down to a short list of input mistakes rather than bad luck.
- Collective was raised at any point after the maneuver started, so the aircraft floats instead of stopping.
- The approach was aimed directly at the landing spot, leaving no room to rotate around it.
- Roll and pitch were applied as two separate inputs rather than one continuous motion.
- No pedal input during the flare, so the tail never swings and the nose drifts off the spot.
- The flare began too close to the target for the speed being carried.
Fixing them is mostly a matter of repetition at a fixed spot until the entry distance becomes instinctive. Once the collective discipline is automatic, the J-Hook stops being a trick and becomes the default way you arrive anywhere.





