Going broke in WARDOGS is not a game over screen. The wallet is persistent, deaths cost you your kit, and a single bad night with an expensive rifle can leave you staring at a four-figure balance you cannot spend twice. The way back up is not better aim. It is a cheap kit, a spot inside the Hot Zone, and a stack of teammates close enough to pay you for keeping them alive.
Quick answer: Buy Level 1 armor before you buy anything else, pair it with the free recruit rifle, then spend the match standing inside the Hot Zone next to your own team — Hot Zone ticks pay double cash, and revives, assists, and spotting refill the balance without winning a single duel.
Armor before weapons in WARDOGS
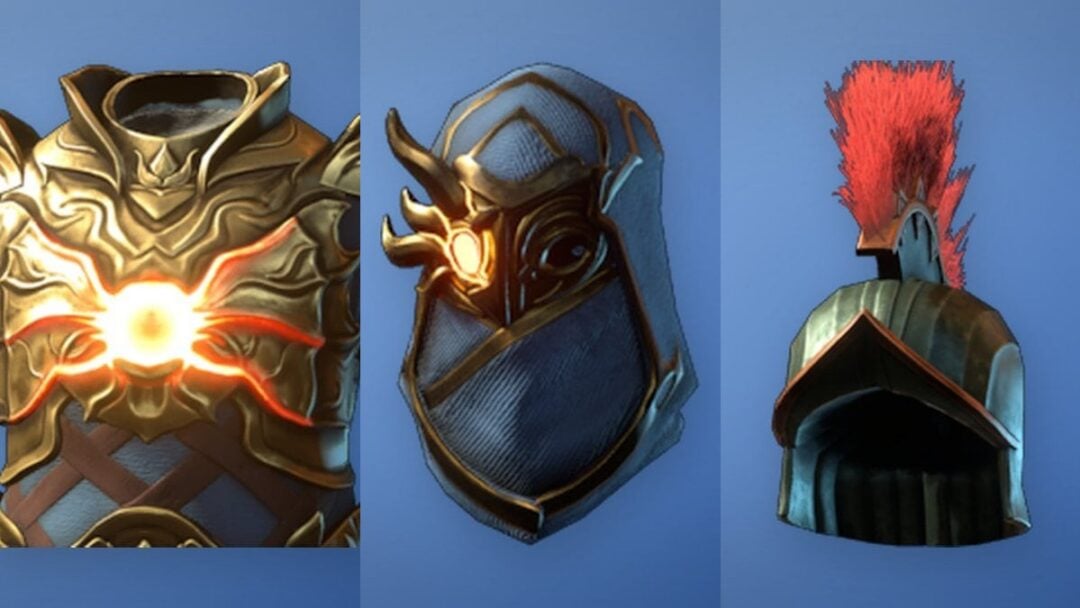
When money is tight, armor is the first purchase every life. Level 1 armor such as the A1-M20 is the bare minimum, and it is cheap enough to buy even when the balance is embarrassing. It only offers low damage reduction and only covers the upper and lower torso, but that is the difference between dying to the first burst and surviving long enough to shoot back.
If armor eats your entire budget, that is fine. Take the free recruit rifle and go. Armor plus a free gun beats an expensive gun and a bare chest, because the expensive gun is gone the moment you get tapped.

Level 2 armor is the next step once you have a cushion. It is worth buying when your bank can absorb losing it a few times in a row, not before. Early in a season, armor is unusually impactful because heavy vehicles are scarce and most fights are infantry versus infantry.
Cheap weapons that hold up while you rebuild
The free recruit rifle is genuinely competitive at the start of a season. It is not a placeholder you tolerate until you can afford something better; it kills armored players at normal engagement ranges and costs nothing to lose. The 50% New Recruit Discount on purchases through your first nine levels stretches whatever cash you do have.
Pump and side-by-side shotguns are the other bargain. They are cheap and they delete unarmored players, which describes a large share of the lobby whenever a lot of people are also playing broke. In tight buildings and trench lines they trade far above their price.

Ammunition is its own line item. Carry loose rounds in the backpack rather than a stack of full magazines; loose ammo takes less space and you repack between fights. FMJ covers most situations, AP is for armor and vehicles, and hollow point is for exposed targets.
Attachment priorities for a low-budget rifle
Every attachment costs money, so buy the ones that change outcomes. Horizontal recoil and bullet spread are the two numbers to attack — vertical kick you can pull down manually, but a rifle that walks sideways will lose fights you should win.
For optics, a 1.5x to 2.5x sits in the right place. It keeps close fights readable while giving you enough magnification to answer the DMR and sniper players holding long lines into the zone. Anything higher is a liability when someone comes around a corner.
Tip: your default zero sits around 100m. Adjust it for the distance you are actually shooting before you blame the gun.
How a solo player earns cash in a match
Kills are the least reliable income when you are broke, because they require you to win fights against people with better kit. Everything else on the payout list works whether or not you top the scoreboard.
| Income route | What it pays |
|---|---|
| Standing in the Control Zone | Steady zone income while your faction contests the area |
| Standing in the Hot Zone | Double cash and double objective count — roughly $320 per tick against $160 outside |
| Reviving a downed teammate | Around $900 with a resuscitation tool |
| Healing and assists | Small, constant payouts for being near the fight |
| Spotting with binoculars | Cash and Recon XP from kills you never had to land |
| Transport and supply runs | Paid for moving players and resources toward the zone |
| Destroying enemy vehicles | Large one-off payouts; an enemy spawn vehicle is worth $10,000 |
| Bribes | You can attach cash to a downed call to make a revive worth someone’s time |
Enemy vehicles are the single biggest swing available to a poor player, and RPG access opens up at Support rank 5. Until then, C4 and IEDs planted on FOB entrances and supply routes do the same job for a fraction of the price.

Stay inside your team’s bubble
Playing solo does not mean playing alone. Your team is already at the objective, so the correct move is to go stand next to them. Proximity is what converts other people’s fights into your assist money, your heals, and — critically — your revives, because being picked up means you keep the kit you paid for instead of buying it twice.
Attach to the nearest friendly group that is actually moving toward the Control Zone, not to a lone sprinter heading into open ground. Vehicles with open seats are the fastest way in, and riding along with a squad puts you where the payouts are.

Once you are in the Hot Zone, look for fights you can isolate into a 1v1 rather than pushing into a group. Proximity voice chat is built in and it works, so use it to call a bearing, a distance, and what you need.
Utility by map type
Utility is where a small budget gets wasted most often, because the wrong tool for the terrain is dead weight you paid for. Match the purchase to the ground you are fighting on.
| Terrain | What to carry | Reason |
|---|---|---|
| Urban maps and villages | C4 and frag grenades | Fights happen through walls and doorways at short range |
| Open forest maps | RPGs and smoke grenades | Vehicles matter more and you need cover you can create |

Smoke pulls double duty for a solo. It covers a revive on a teammate nobody else will go near, and that revive pays better than most kills.
Two keybinds worth learning
Holding R instead of tapping it dumps the magazine on the ground and reloads noticeably faster. The catch is that you lose whatever rounds were still in it, so use it when the fight is now and go back for the magazine afterwards if the ground is safe.
Pressing N zooms the minimap. It is free information about where the red markers are and where your own team is clustering, which is exactly the decision a solo player is making every thirty seconds.
How to confirm the rebuild is working
The end-of-match screen is the check. It breaks out cash earned, cash spent, and total profit alongside any progression levels you gained. If cash earned comfortably exceeds cash spent across several matches in a row, the approach is working regardless of your kill count.
Set yourself a rebuy floor — the amount you need to field one full kit — and treat it as untouchable. A session that ends above that number is a good session even if the scoreboard was ugly.
What sends a broke player back to zero
Most balance collapses come from a short list of repeated mistakes rather than bad luck.
- Revenge-buying the same expensive rifle immediately after losing it.
- Spending the whole balance on one loadout with nothing held in reserve.
- Bleeding out alone in a field instead of crawling toward teammates who can revive you.
- Buying a vehicle you cannot afford to lose, then losing it in the first minute.
- Riding with a pilot you do not trust, which can cost your entire kit in seconds.
- Overloading the backpack because slots exist — weight is real and it slows you out of fights.
Note: exact prices and payout figures come from playtest builds carrying an explicit warning that numbers may change at launch. The priorities hold even when the specific dollar amounts shift.
Starting from nothing is mostly an exercise in patience. Armor, a free rifle, a spotting tool, and a body inside the Hot Zone will out-earn a player carrying a kit they cannot replace, and the wallet compounds from there. WARDOGS is listed on Steam at $39.99 for the base game if you want to check the current build for yourself.