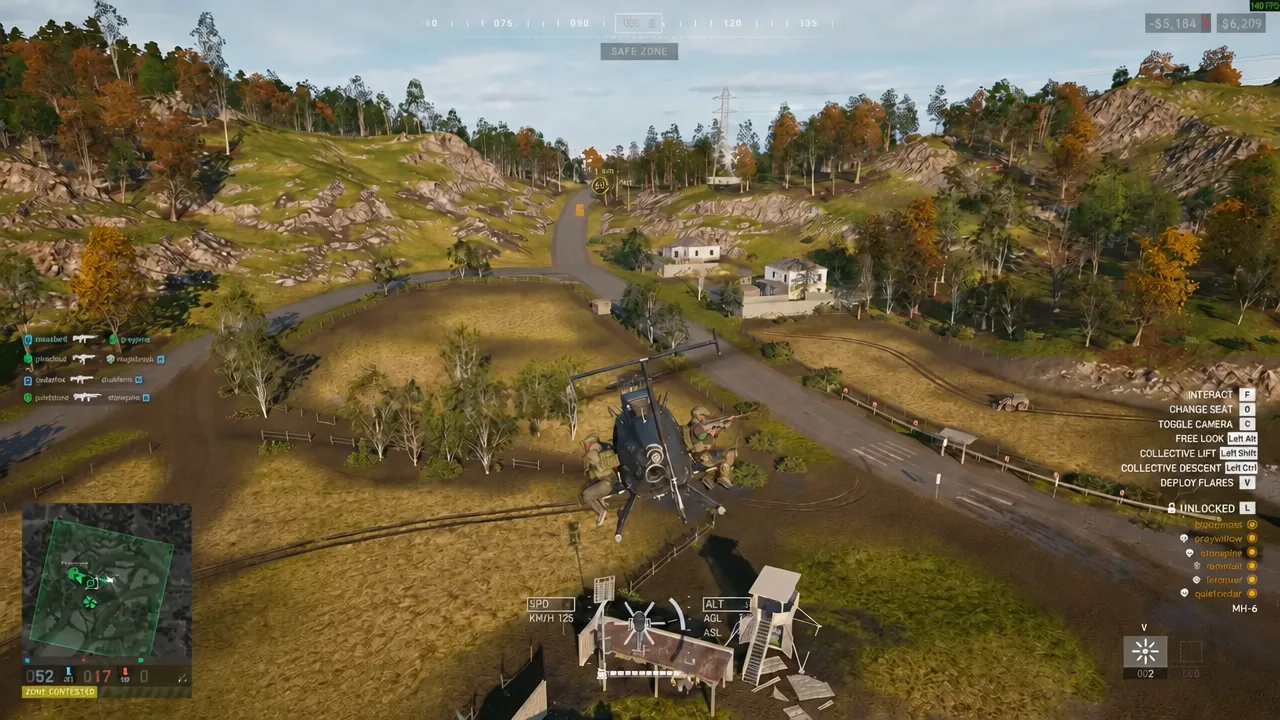
WARDOGS never asks you to pick a class. You buy gear at the vendor, and whatever you carry decides which of the six tracks — Assault, Medic, Recon, Support, Driver, and Pilot — gets the XP. That single rule is the whole progression system, and it is why two players with identical scoreboards can walk away with completely different levels.
Quick answer: Carry the item tagged for the track you want, then repeat its highest-paying action. A supply pallet dropped by helicopter pays 750 Pilot XP, a bandage used on a teammate pays 80 Medic XP, and a binocular spot pays 25 Recon XP plus another 150 when that target dies.
How class XP works in WARDOGS
Every weapon, tool, and vehicle in the shop is tagged to exactly one track, and hovering the tile in the vendor tells you which. Rifles, pistols, and frag grenades pay Assault. SMGs pay Medic. Shotguns, LMGs, and launchers pay Support. Sniper rifles, marksman rifles, and the compound bow pay Recon. Ground vehicles pay Driver, helicopters pay Pilot.
Actions pay too, and they do not need a kill. Healing and reviving feed Medic. Swinging a hammer at an unfinished structure feeds Support. Marking an enemy through binoculars feeds Recon. Delivering a living passenger into the zone feeds Driver or Pilot, and you keep collecting assists from whatever that passenger does after they get out.
Above all six sits the Wardog level, which is not a separate bar. It is the total of your six class levels added together. Assault 7 plus Medic 8 plus Support 5 plus Recon 13 plus Driver 3 plus Pilot 2 puts you at Wardog 38. That number gates the gear no single role owns — body armor, helmets, pistols, backpacks, ammo types, and the heaviest vehicles.
One more thing about money. Hitting the level only opens the tile. You then pay a one-off unlock fee, and after that the normal price every time you buy the item. The Dune Buggy is the clearest example: Driver 10, then 35,000 in-game dollars once, then 1,500 per buggy. Anyone under Wardog level 9 sees vendor prices halved by the New Recruit Discount.
Highest XP actions per class
These are the confirmed per-action values. The gap between them is enormous, and it explains why a pilot doing supply runs outlevels a medic who only bandages.
| Class | Action | XP |
|---|---|---|
| Pilot | Drop a supply pallet in the zone | 750 |
| Pilot | Drop a small supply crate | 250 |
| Support | Artillery kill (SPH-2 / L52) | 350 |
| Recon | Spotted target is killed | 150 |
| Support | Vehicle destroyed from artillery | 150 |
| Medic | Bandage an injured teammate | 80 |
| Driver | Deliver a passenger to the zone | 50 (+50 if they survive ~10s) |
| Recon | Spot an enemy player or vehicle | 25 |
| Support | Complete a structure | 15 |
| Support | Hit the yellow critical-build marker | 4 |
| Support | Regular hammer swing on a build | 1 |
Level four classes without winning a gunfight
Four of the six tracks fill from support work, which matters because dying costs you the kit you paid for. The XP per action is lower than a kill, but you risk nothing when you go down.
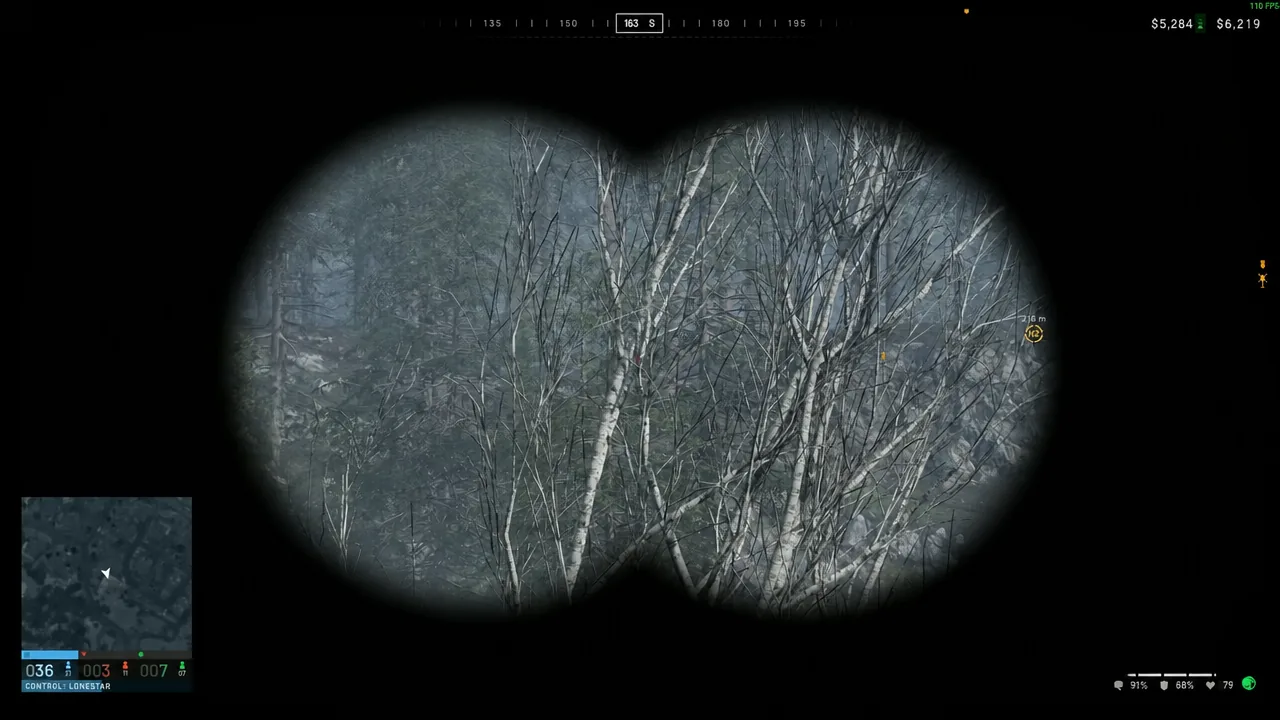
Spotting is the cheapest entry point. Binoculars cost 75 in-game dollars, need no level at all, and fit in any loadout. Mark an enemy player, vehicle, FOB, or supply crate and you get paid immediately, then paid again when anyone kills what you marked. Three factions share the map, so it does not matter who finishes the target. The Monocular at Recon 2 speeds up the marking, and the Rangefinder at 8 adds distances.
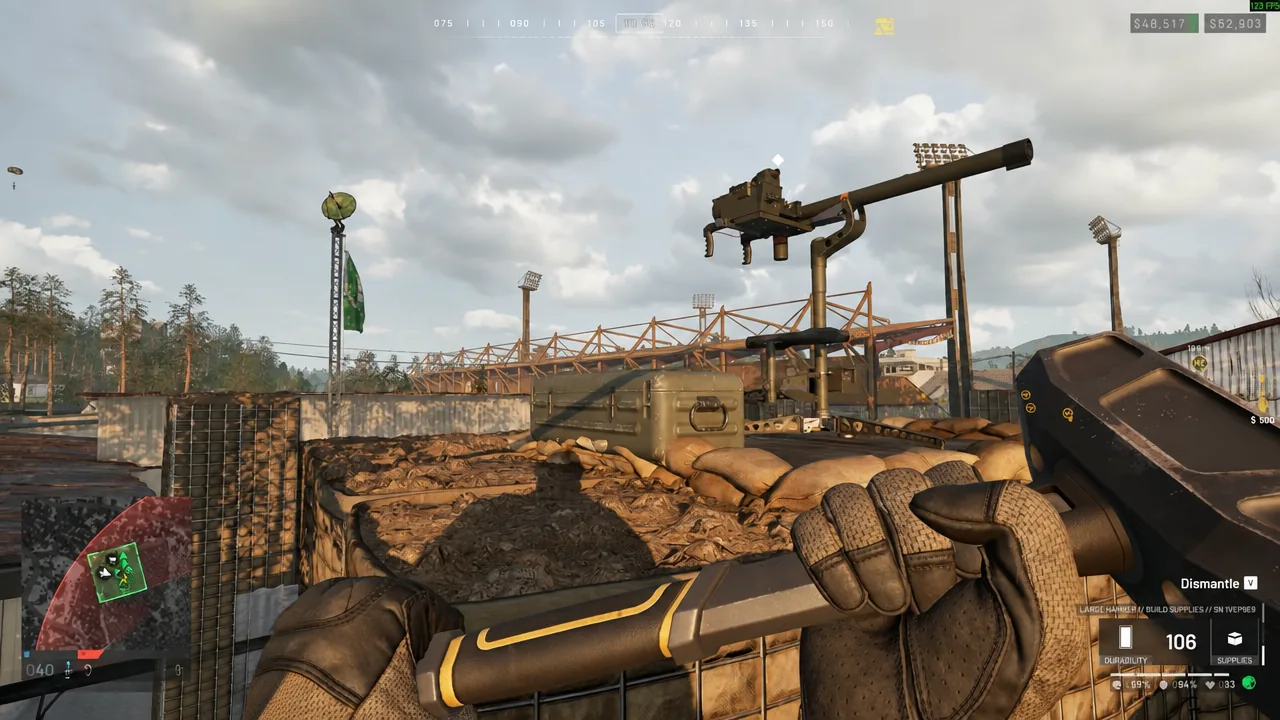
Building is the quiet one. A Forward Operating Base costs 2,500 in-game dollars and ships with a hammer. Every swing pays Support, the yellow critical marker pays four times as much, and finishing the structure pays a completion bonus on top. Repairing friendly vehicles, refuelling with the fuel can, and dropping supply crates at a FOB all count the same way. Support 7 is the Large Hammer, which is what emplacements need.
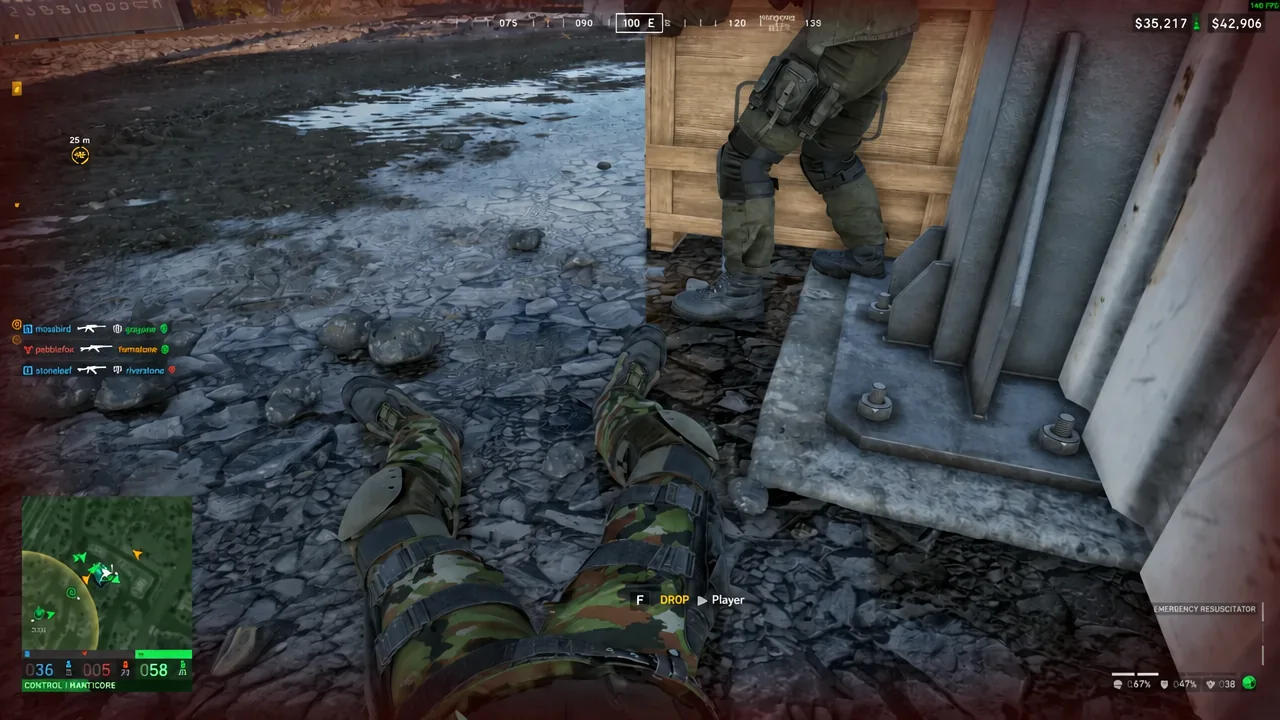
Reviving pays twice. Bandaging a teammate pays; bandaging yourself does not, so pair up rather than patching your own scratches. The bigger earner is the delayed one — after you revive someone, their later kills and assists keep sending Medic XP back to you. Carry the free Emergency Resuscitator every life so anyone who finds your body can get you up in seconds rather than thirty.
Being the taxi levels two tracks at once. Driving or flying teammates from HQ into the Control Zone pays on the drop-off and again if they survive the next ten seconds. Pushing the team’s spawn vehicle forward pays for every player who spawns on it. Pallets delivered to a FOB pay Driver or Pilot in a lump, and the supplies themselves credit Support.
Which weapon feeds which class track
Kills are still the biggest single payout in the game if you can afford to lose your kit repeatedly. The catch is that the XP follows the weapon, not your intentions. A recon player holding an assault rifle levels Assault.
| Weapon or attack | Track credited |
|---|---|
| Assault rifle, pistol, M67 frag grenade | Assault |
| SMG | Medic |
| Sniper rifle, marksman rifle/DMR, compound bow | Recon |
| Shotgun, LMG, launcher, C4, AT mine, claymore, IED | Support |
| Ground vehicle mounted weapons and cannons | Driver |
| Helicopter rockets, autocannon, minigun | Pilot |
| SPH-2 / L52 artillery | Support (despite being a ground vehicle) |
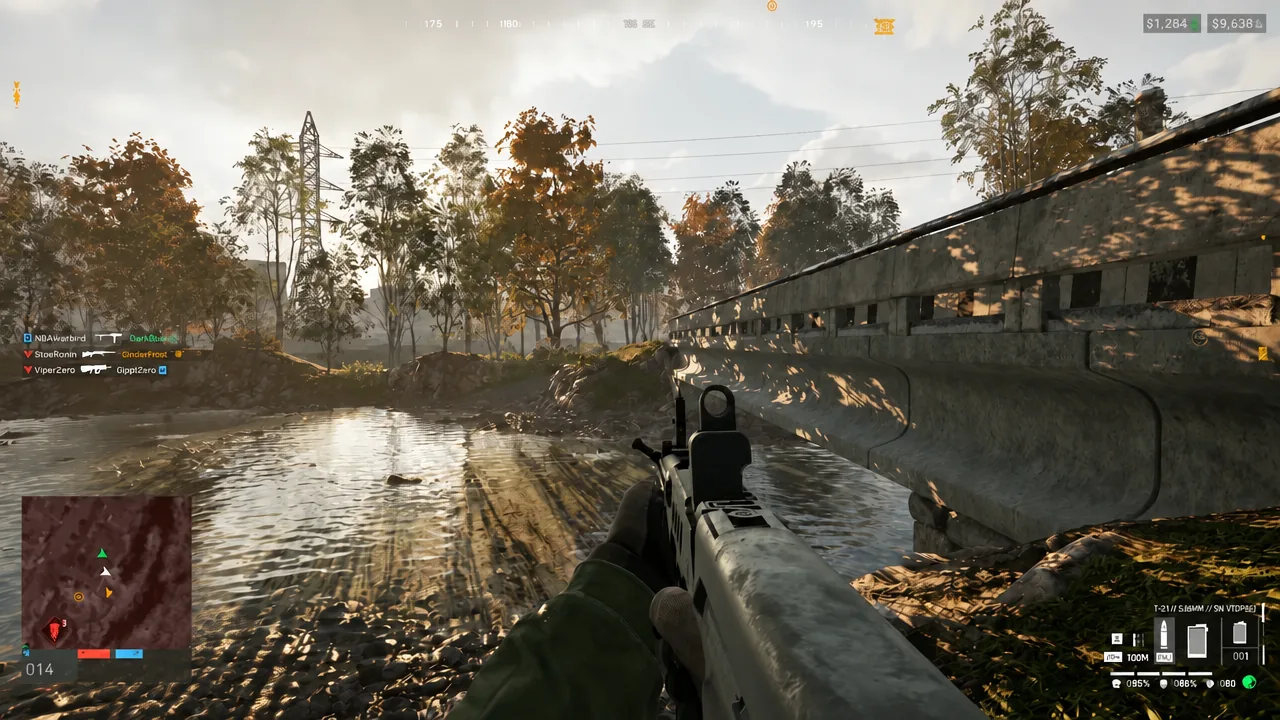
Assault is the track that levels itself. Your faction’s recruit rifle is free, every kill with it pays, and the early attachment tree lives on the same line — a muzzle brake at 2, a second at 5, the foregrip at 11, the first prism scope at 12. The Halligan bar arrives at Assault 1 and lets you pry open locked doors instantly, which is worth carrying purely for the breaching.
Early unlocks worth leveling toward
Pick the unlock first, then buy the gear that pays toward it. These are the low-level gates that change how you play, with their one-off unlock costs in in-game dollars.
| Track | Unlock | Level | One-off cost |
|---|---|---|---|
| Assault | AK74 | 3 | 10,000 |
| Assault | Galil | 10 | 35,000 |
| Assault | M4 | 20 | 100,000 |
| Medic | Field Resuscitator | 2 | 10,000 |
| Medic | Defibrillator | 11 | 50,000 |
| Medic | MP5 | 15 | — |
| Support | C4 | 2 | Level only |
| Support | RPG-7 | 5 | 30,000 |
| Support | Large Hammer | 7 | — |
| Support | M249 SAW | 15 | — |
| Recon | Monocular | 2 | — |
| Recon | SKS | 5 | 25,000 |
| Recon | Mosin Nagant | 10 | — |
| Driver | Kodiak Pickup (6 seats) | 2 | 15,000 |
| Driver | Dune Buggy | 10 | 35,000 |
| Driver | Humvee | 15 | — |
| Pilot | AH-6M armed Little Bird | 4 | — |
| Pilot | Z20 Lakota | 10 | 50,000 |
The RPG-7 at Support 5 is the one somebody in your squad needs early, because nothing else in the first few hours answers an armed Kodiak. On the Recon side, the starting Scout Rifle TD is a 1,100-dollar break-action that will not reliably drop an unhelmeted player with a headshot, so spotting your way to the SKS at 5 beats trying to snipe with it.
Stack two class tracks in one loadout
Because XP follows the item rather than a role you selected, a single loadout can fill two bars at the same time. This is the largest practical speed-up available, and it costs almost nothing.
- Binoculars in your specialist slot — Recon XP on top of whatever else you are doing, for 75 in-game dollars.
- Supply pallets flown to a FOB — Pilot XP for the run and Support XP for the delivery.
- Repair tool carried in a vehicle — Support XP for repairs while Driver XP ticks from transport.
- Defibrillator alongside a sniper rifle — Medic XP and Recon XP in the same life.
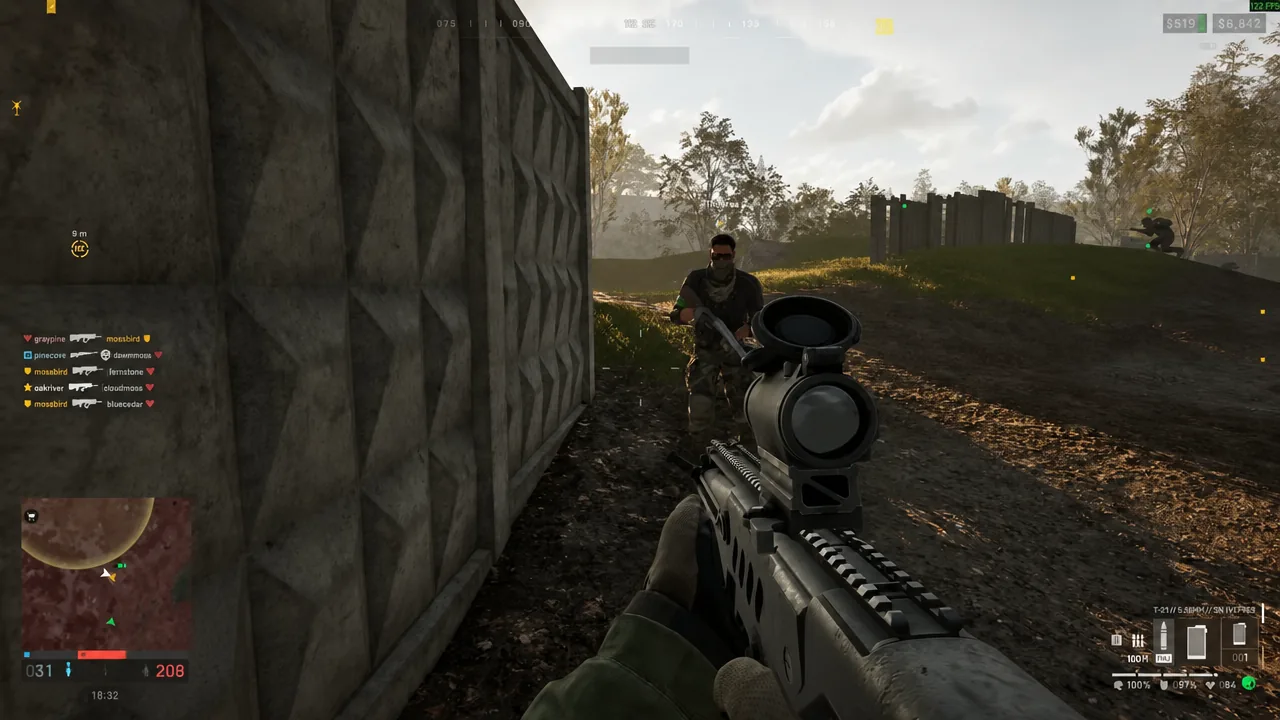
Note: weight is the limit here. Every extra item adds load, and going heavy cuts your sprint speed. Medium load is the usable middle ground for most builds.
Spread across six tracks instead of maxing one
All six classes share an identical XP curve, and early levels are absurdly cheap compared with late ones. Levels 1 through 10 average roughly 2,800 XP each. Levels 90 through 100 average around 75,000.
| Level | XP for that level | Total XP | Example unlock |
|---|---|---|---|
| 3 | 500 | 1,250 | AK74, Medium Hammer |
| 5 | 3,250 | 6,250 | SKS, RPG-7 |
| 10 | 6,250 | 25,000 | Galil, Mosin Nagant |
| 15 | 11,000 | 54,750 | MP5, M249, Humvee |
| 20 | 15,750 | 111,500 | M4, MAAWS |
| 25 | 19,000 | 192,000 | MK22, Humvee M249 |
| 35 | 27,250 | 416,500 | FAL, AMR 50, Havoc |
| 50 | 33,500 | 838,000 | Final unlock on each class |
| 100 | 91,250 | 3,483,250 | Cap, nothing new |
Since the Wardog level is a straight sum, six shallow tracks beat one deep one by a wide margin. Reaching Wardog 60 for tier 3 plates takes about 1,193,750 XP if you funnel everything into a single class, or roughly 150,000 XP if you take all six to level 10 — eight times less work, and you collect the AK74, SKS, RPG-7, a hammer, a Kodiak, and a helicopter along the way. Armor damage reduction climbs from 30 percent to 65 percent across the Wardog track, and 7.62 armor-piercing rounds sit just above the tier 3 plates at Wardog 63.
There is a ceiling to how useful the deep grind is anyway. Role unlocks stop appearing at level 50 on every track, Driver ends earlier at 40, and the highest gate anywhere is a backpack at Wardog 150. Levels past 50 still add to your Wardog total, but they are the slowest possible way to get there.
What slows leveling down
Three habits waste more XP than any loadout choice. Fighting away from the objective cuts you off from the bodies, marks, revives, and captures that generate income. Holding the wrong weapon feeds a track you are not trying to level. And dying costs you the kit you bought, which is real money you then cannot spend on the next loadout.
Stay inside the Control Zone. It counts you as two players toward the capture and pays a bonus on teamplay actions, which is why every efficient route runs through it. Pilots have one extra cost to watch: a crash or a team kill charges you 1,500 in-game dollars per player, so practice landings before you start ferrying a full cabin.
One caveat sits over the whole ladder. Bulkhead condensed the Closed Beta 02 progression so testers could try everything in a weekend, and confirmed that beta progress will not carry into Early Access. Joe Brammer described the first 20 levels as “pretty accurate,” with everything above that changing per season. Plan around the sub-20 gates, keep binoculars in your pocket, and let the rest fill in.