

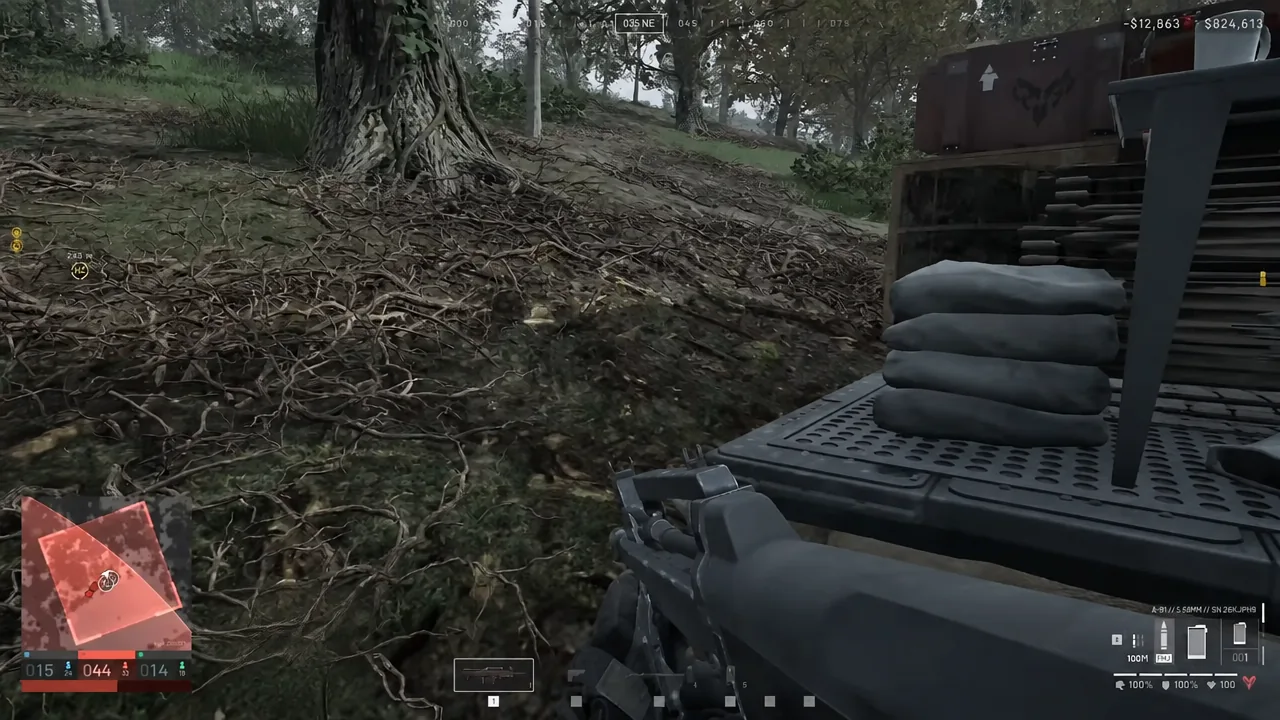
Enemy armor parks itself somewhere inconvenient, an APC drops a forward spawn inside the point, and suddenly your team is fighting an endless respawn tap. The Stingray is the answer to that problem in WARDOGS. It is a one-way, remote-controlled UAV that you build at a FOB, fly across the map, and crash directly into armored vehicles. Used well, it removes enemy mobile spawns and artillery faster than any ground push, and it usually pays for itself.
Quick answer: Build a Stingray Launcher with a Large Hammer inside FOB radius, buy a drone for $5,000 and 900 mechanical supplies, fly with WASD, and hold the reticle on the vehicle until the HUD reads ARMED before impact.
Stingray payouts: What each target is worth
Every drone is a one-way trip, so target choice decides whether the Stingray makes money or burns it. Spawn vehicles are the best return, and where they die matters. A kill inside the active control zone pays more than the same kill outside it.
| Target | Payout |
|---|---|
| Spawn vehicle (APC) inside the control zone | $10,000 |
| Spawn vehicle outside the control zone | $7,500 |
| APC radar dish only | $2,500 |
| Infantry kill | $1,750 |
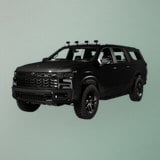 Kodiak Kodiak | $500 |
Passenger kills stack on top of the vehicle payout. Catching a loaded APC in a city street can push a single run past $13,000, and a hit on a crewed vehicle near a hot zone has gone as high as $14,500. That is the ceiling, and it only happens when the drone lands on a full vehicle rather than an empty one.
The floor is just as clear. A Kodiak costs $2,500 and returns $500 when destroyed, so spending a $5,000 drone on a passing transport is a straight loss. Hold the shot for armor, artillery, and mobile spawns.
What you need before you can build a Stingray
The Stingray sits behind the Support class. You need Support level 8 for the Large Hammer, which is the only tool that can build every buildable, and you need a FOB so there is a build radius to work inside. Mechanical supplies are the ammunition, and they have to be delivered to the FOB before a drone can be crafted.
| Item | Cost |
|---|---|
| Stingray drone | $5,000 plus 900 mechanical supplies |
| Mechanical Supplies (each) | $10 |
| Mechanical Supply Pallet | $400 |
| FOB | $7,500 (placement pays $1,000) |
| Large Hammer | $2,400, Support level 8, $75,000 unlock |
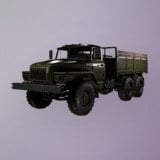 Ural Ural | $5,000, Driver level 3, $35,000 unlock |
A Ural carries three and holds 85 litres of fuel, which is enough to haul two pallets of mechanical supplies out of the safe zone and still get home. Two pallets is roughly four drones, and four drones against real armor will more than cover the whole setup.
Pallets are destroyed by high-speed impacts, with roughly a 90m free-fall as the limit. Drive them in and unload near the FOB rather than dropping them from height.
Building a launch site that does not get you killed
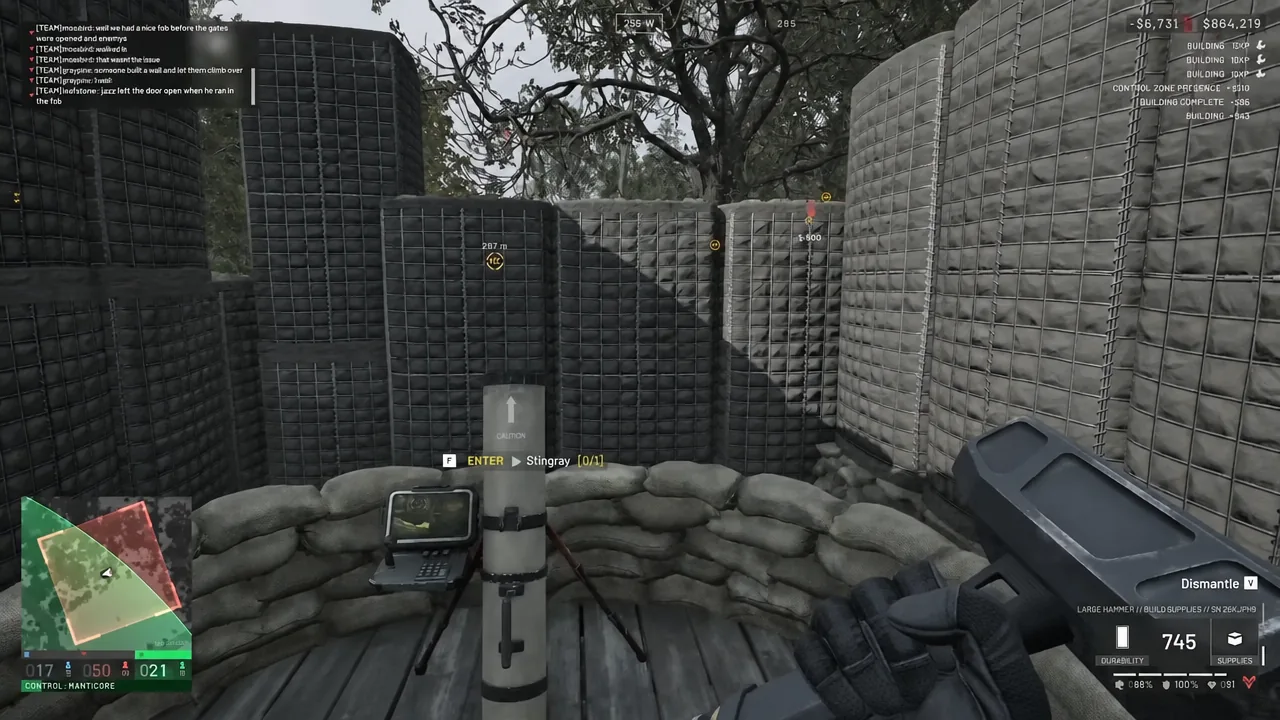
Once you are in drone view you are blind to everything around your body. You will not hear a flanker, you will not see a mortar marker, and you will not get a chance to react. If you have a squad, leave one player on the walls while you fly.
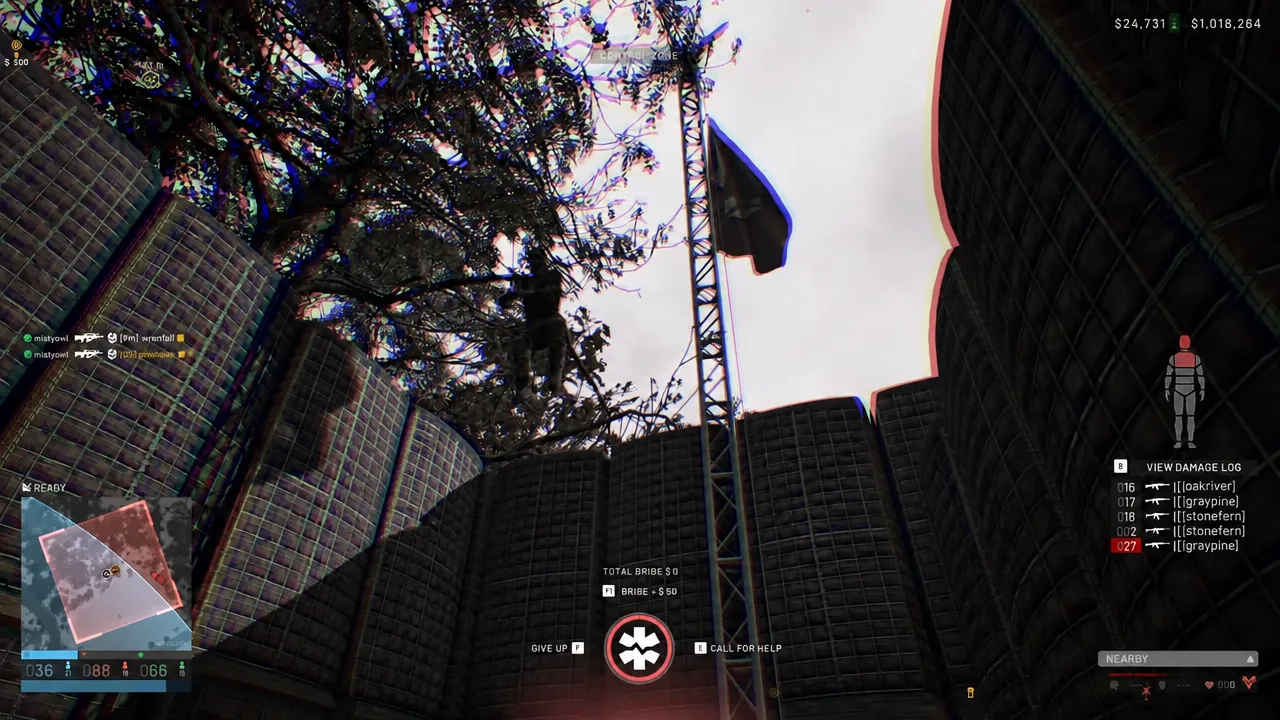
Parking a vehicle right beside the launcher is a bad habit. Vehicle de-spawn mechanics mean it can go up on its own, and the blast will kill you or damage nearby structures.
Flying the drone: Controls, battery, and range
The drone climbs on its own at first and ignores your input until the nose drops. After that, steer with WASD. Mouse input turns the airframe far too slowly to line up a target, and you will waste half your battery fighting it.
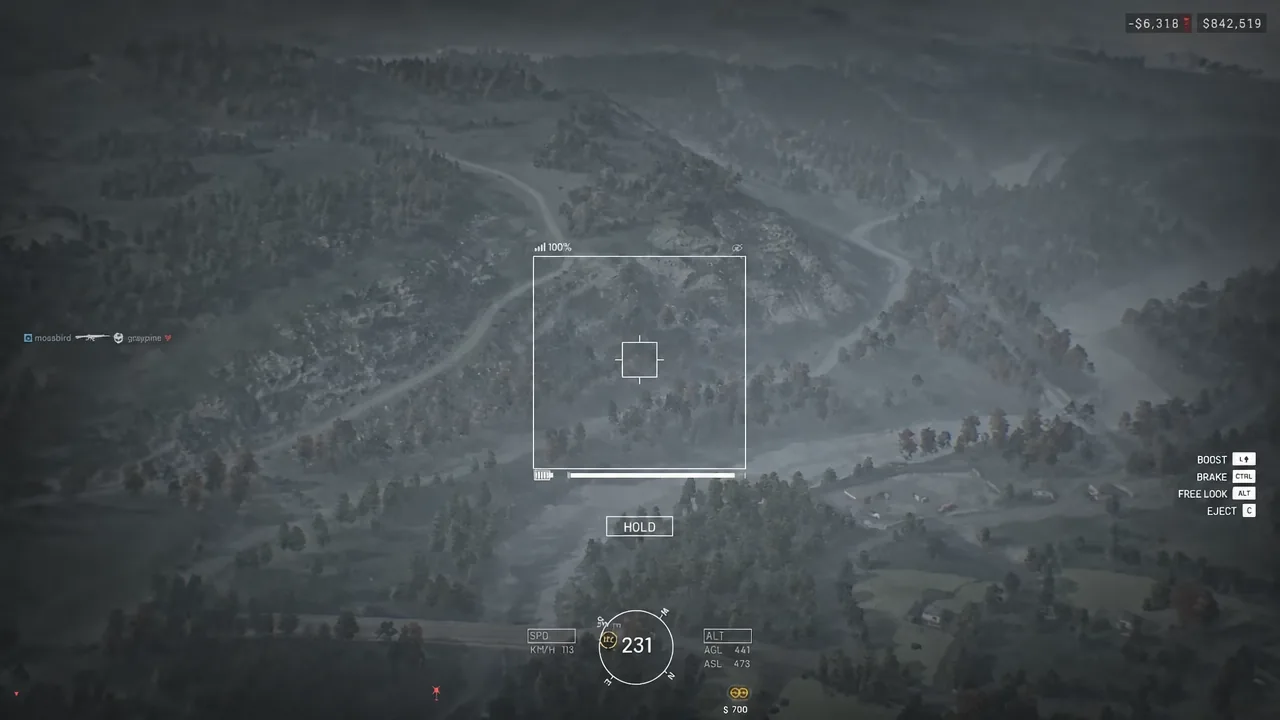
Battery is the real timer. Boost (Left Shift) and Brake (Left Ctrl) both drain it much faster than normal flight, so stay off both until you have eyes on a target. Burn the battery searching and you get the SIGNAL LOST screen with nothing to show for $5,000.
Open the map while flying and ping the area you are heading for. That mark shows up in drone view and saves you from circling. Landmarks help too, and a teammate’s ping is better than your own guesswork because they can see the target you cannot.
Range is finite. You cannot launch from one edge of the control zone and reach a vehicle on the far side, so build closer to the ground you want to cover rather than trusting the drone to stretch.
Arming and impact: The rule that decides every run
The drone highlights armored vehicles with a white box automatically, even through fairly thick tree cover, though dense woods and buildings can break the line. Spotting the box is only half of it. You then have to hold the reticle on the vehicle until the HUD switches from ARMING to ARMED.
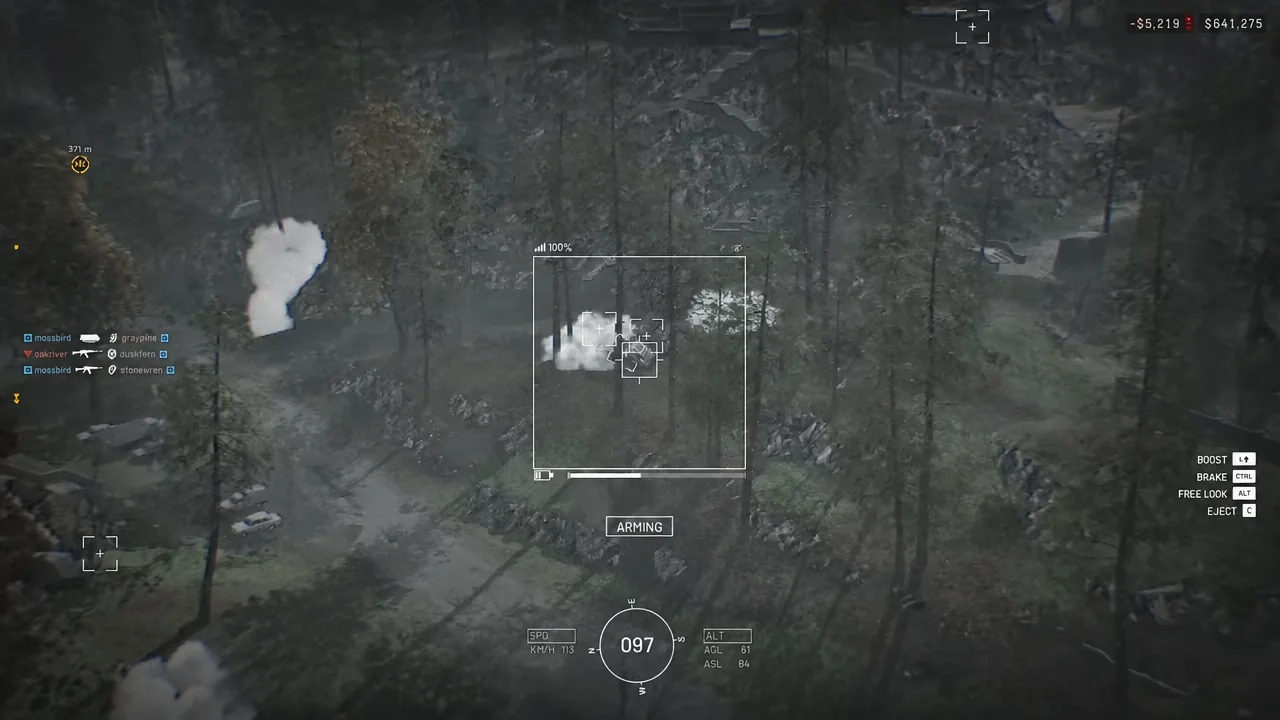
An unarmed drone does not explode. It bounces off the vehicle and the run is wasted. Once the indicator goes red and reads ARMED, boost to close the last stretch before the target can move or break line of sight.
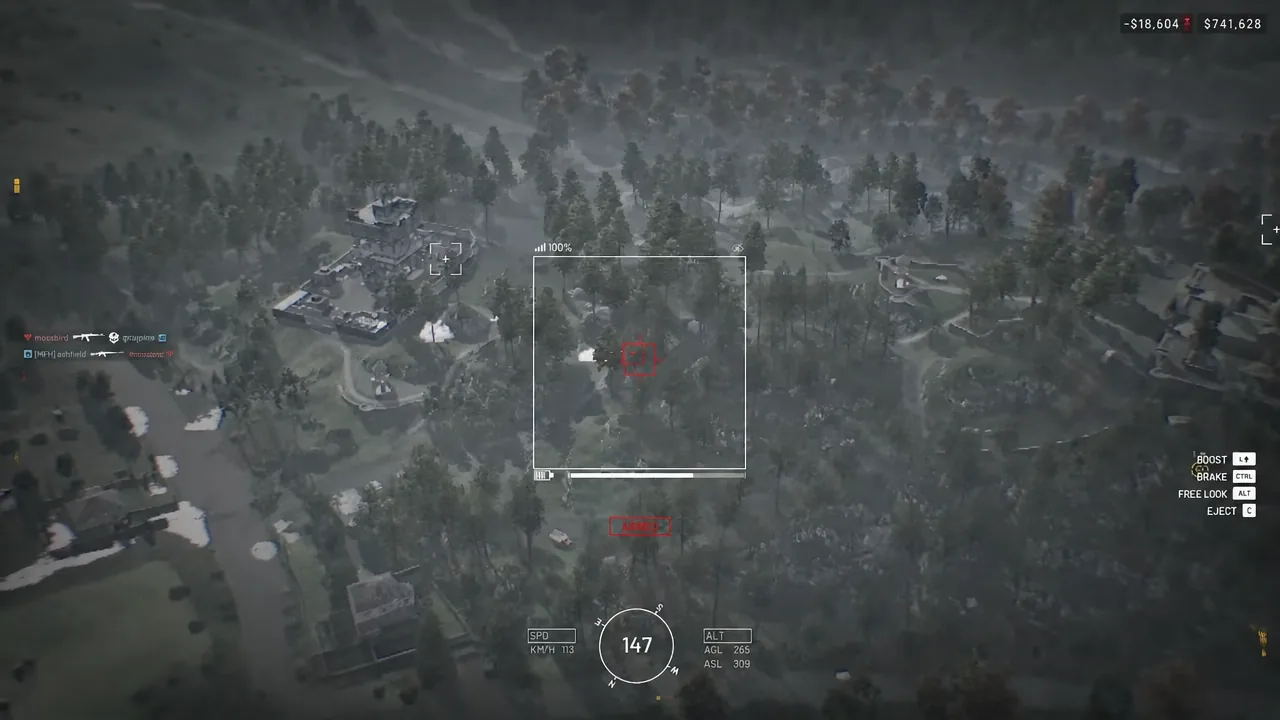
Aim point matters as much as arming. A hit that lands on the radar dish on top of an APC destroys the radar for $2,500 and leaves the vehicle drivable and repairable. Antenna and machine gun hits behave the same way. Go for the body.
Damage varies by target class. One clean hit from above kills an artillery vehicle outright. A full-health tank needs two. The drone cannot be detonated in the air at all, so it has to physically strike something, and trees will happily set it off early.
You can press C to eject from the drone view once you are locked on. The drone keeps flying its current line, which works against a parked target and misses anything that moves. You also cannot craft a second drone while one is still in the air, since the launcher handles one at a time.
The camera reads slightly ahead of the airframe, so on a target crossing your path you may appear to trail behind it and still register the kill. Do not over-correct at the last second.
Confirming the kill and other uses
You know it worked from the payout banner. A destroyed mobile spawn prints SPAWN VEHICLE DESTROYED +$10,000 on screen, with separate KILL CONFIRMED lines for any passengers. A partial hit shows RADAR DESTROYED +$2,500 instead, which tells you the vehicle survived and will be back.
Every detonation also leaves an impact marker on your map. Use it to re-find the same area on your next launch, especially when the target was not a vehicle and did not produce a highlight box.
Beyond armor, the drone can take out infantry with a precise hit. Snipers stacked on drill tower roofs are a realistic target, and a strike on a base entry point can clear the way for a ground assault. Helicopters are not worth attempting, since the drone is far too slow to catch one in the air.
Counterplay if you crew armor or artillery
- Move after firing. A stationary SPG near your own spawn is the drone’s ideal target.
- Avoid the obvious straight line from enemy territory into the zone.
- Park a spawn vehicle under cover, not in the open on a bridge or hilltop.
- Push exposed FOBs with launch structures, and cut off their mechanical supply.
- Killing the operator ends the flight, so raid the launch site rather than chasing the drone.
A well-placed Stingray operator can shut down most armor and spawn activity in around ten minutes, and the money usually works out in their favor. The failure cases are consistent enough to plan around, though. Flying blind on a hunch, burning battery on boost, hitting a radar dish instead of a hull, or forgetting to arm are what turn a $5,000 drone into nothing.





