Goshawk is a World Boss in Where Winds Meet who spends the first few seconds of his introduction pouring molten iron, then spends the rest of the fight throwing it at you. He is rated two stars on the difficulty scale and has no elemental weakness to exploit, so the fight is decided almost entirely by how well you read his windups and how patiently you sit through his empowered states.
Quick answer: Goshawk spawns at Heaven’s Threshold in Hidden Mountain. Survive his Iron Blaze and Fire God states by deflecting instead of attacking, then punish the recovery frames after his slow swings.
Goshawk location in Hidden Mountain
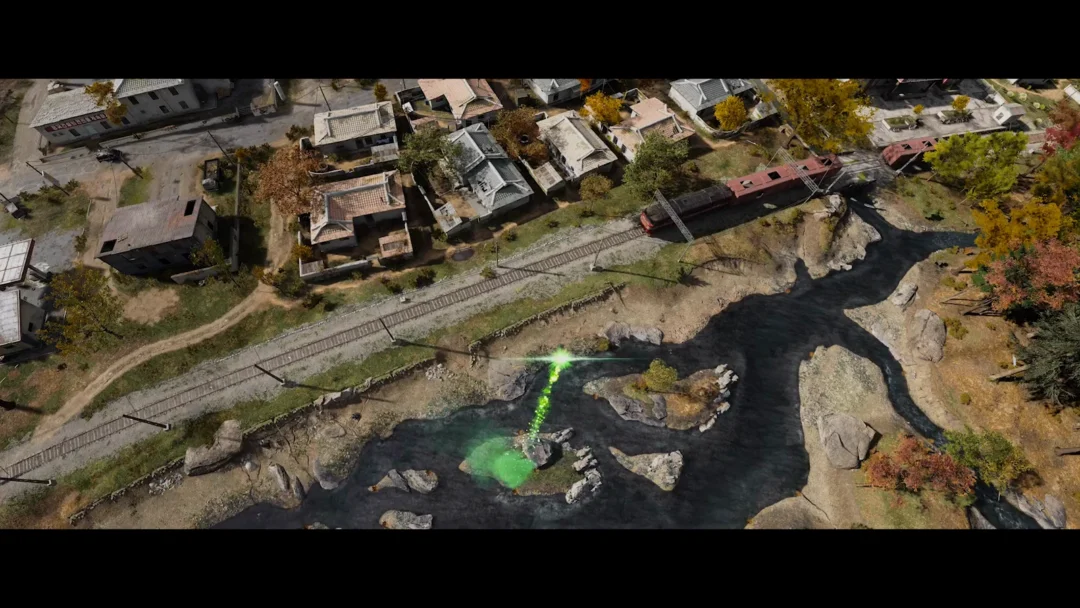
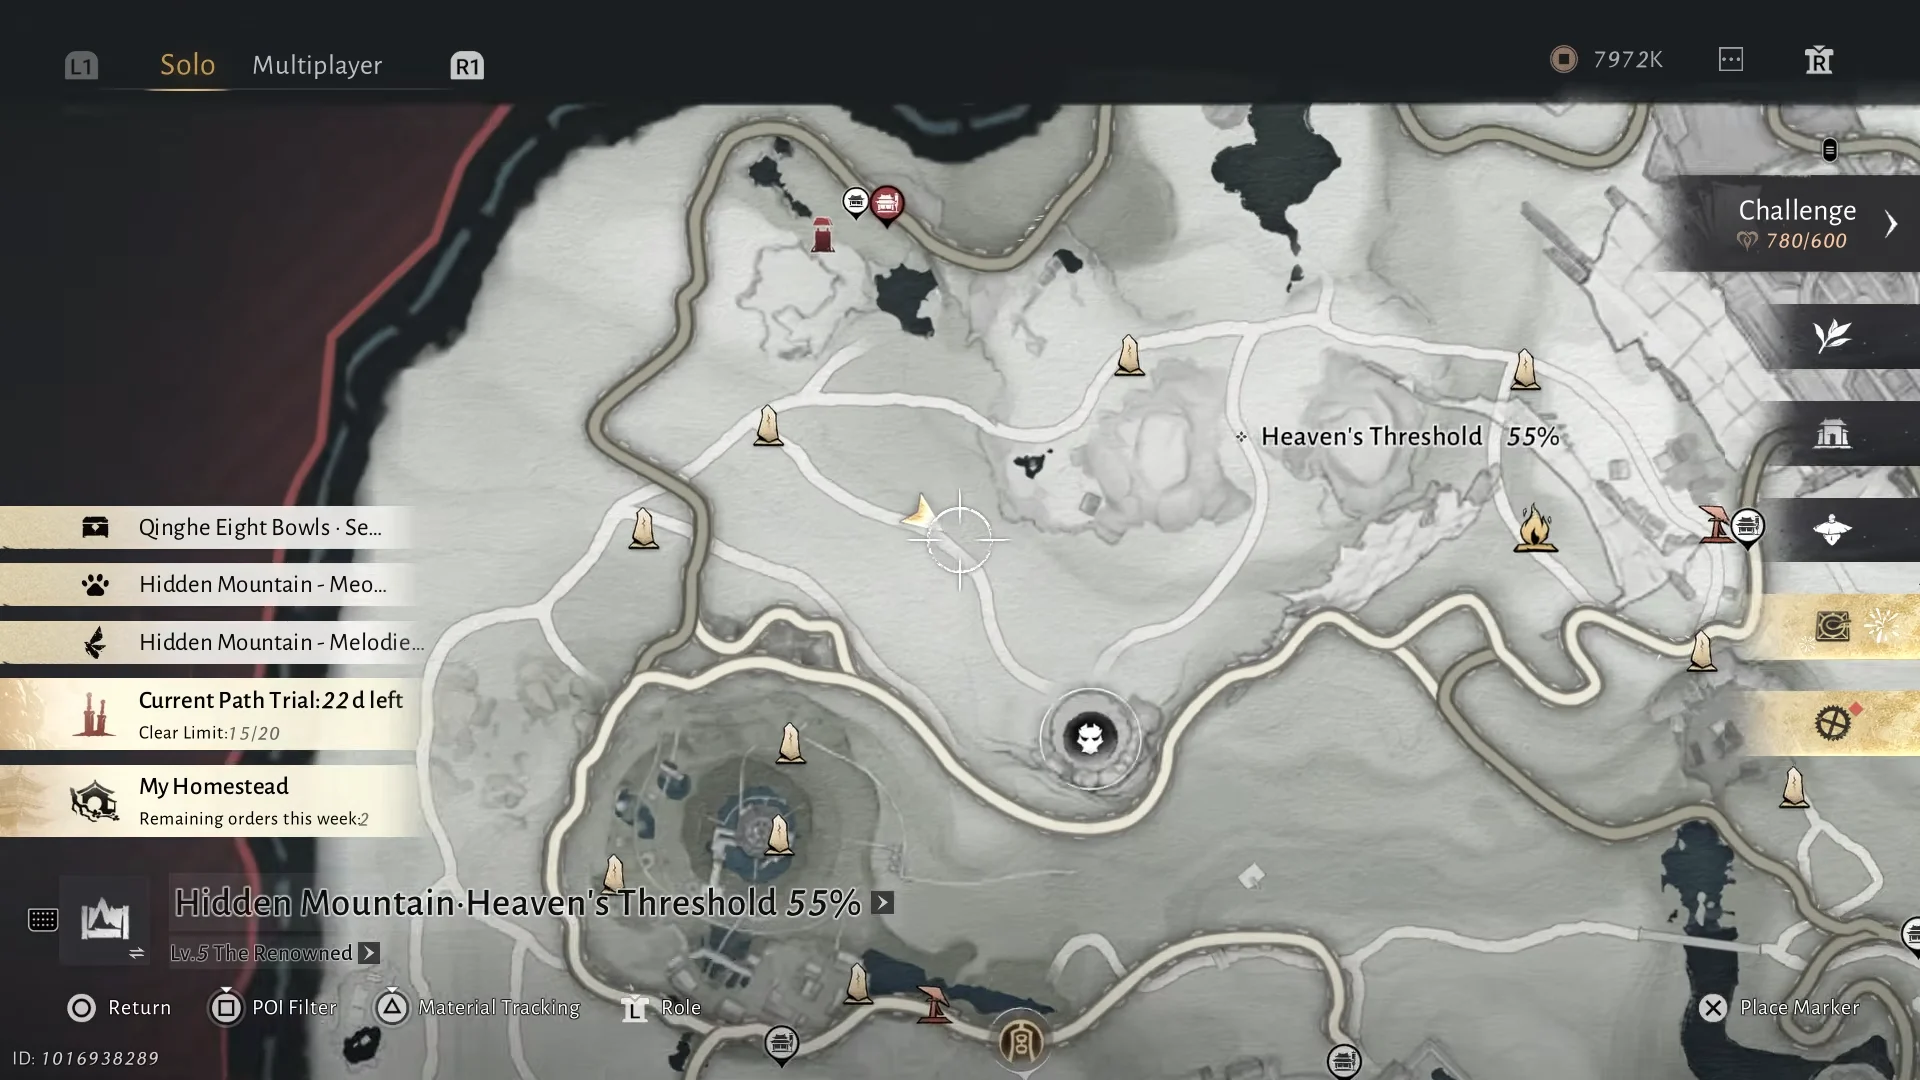
Goshawk occupies the Heaven’s Threshold area of Hidden Mountain, sitting between the Driftseed Moor and the Bellfade Bridge Boundary Stones. The nearest convenient fast travel point is the Demdale landmark, and from there the route climbs uphill.
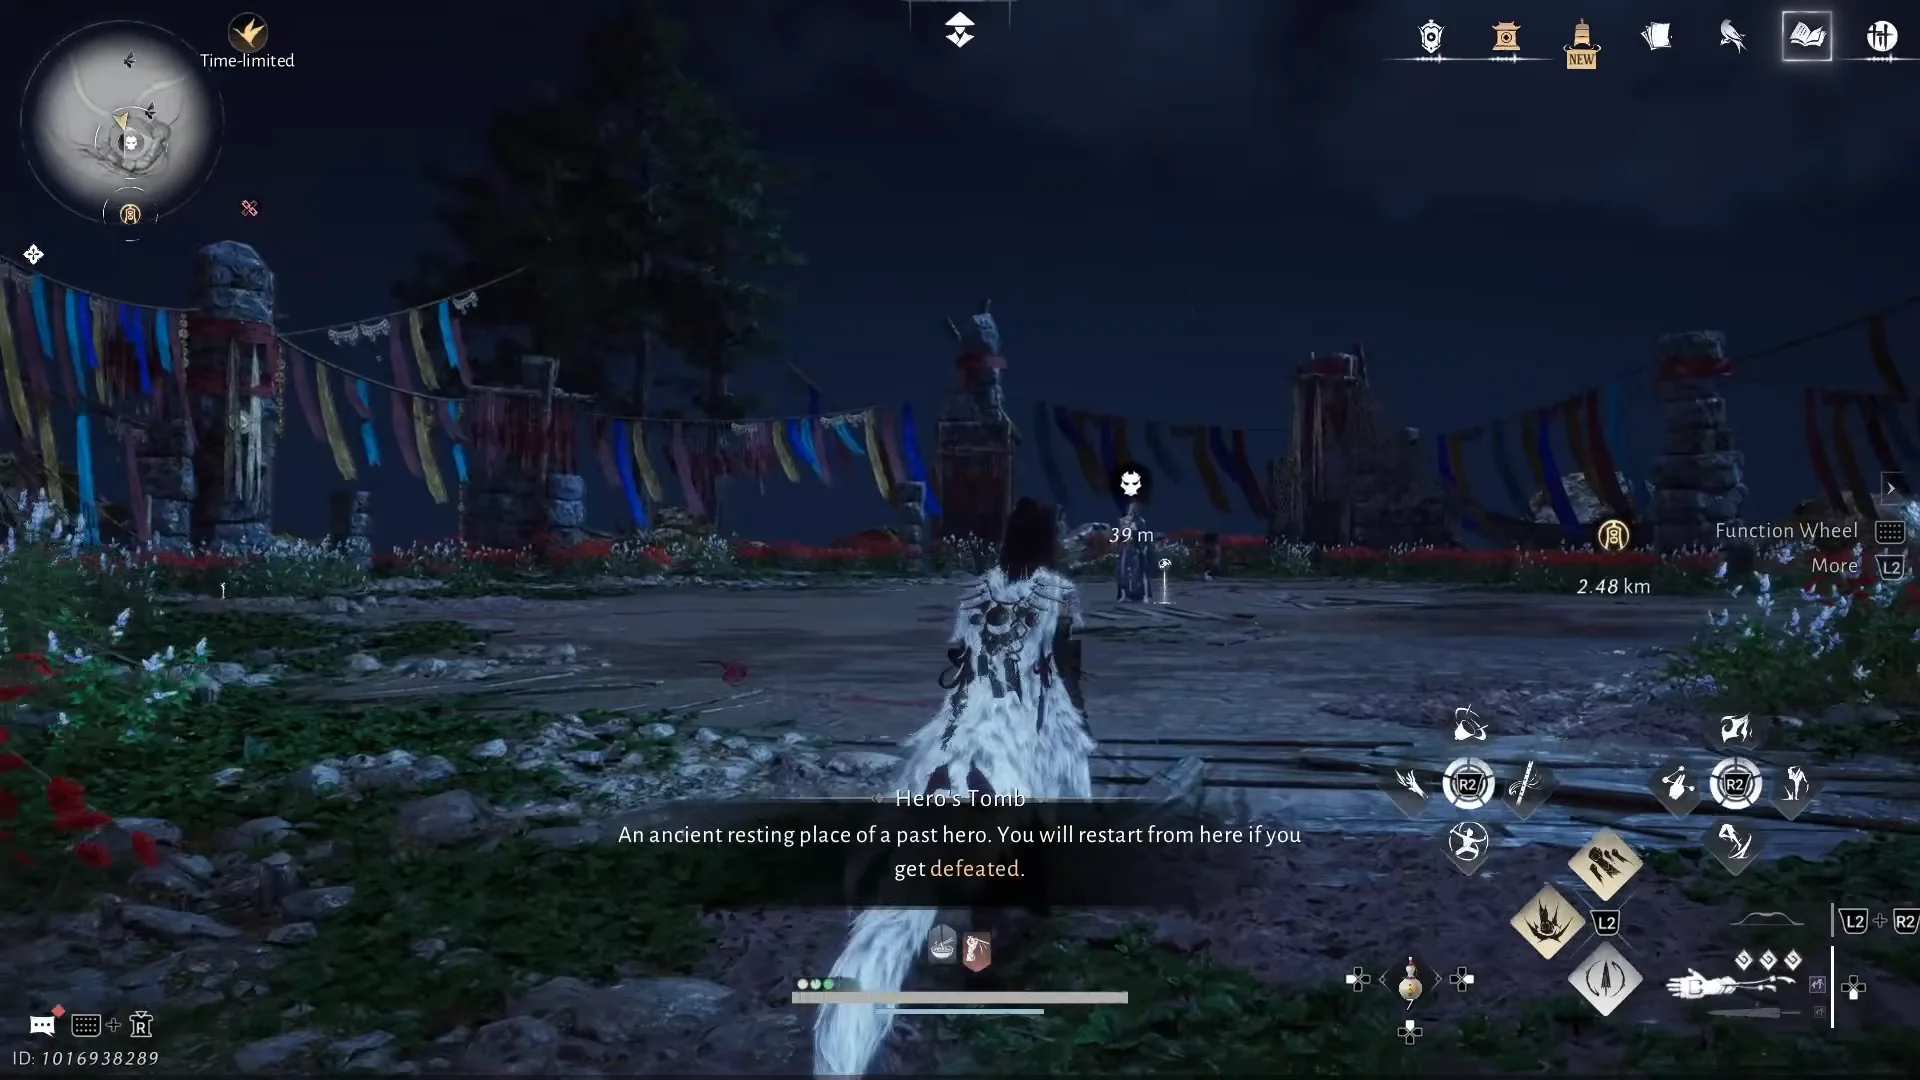
Keep away from the bushes at the edge of the arena. Fighting with your back against them blocks the camera and hides Goshawk’s windups at exactly the moment you need to see them.
Recommended weapons, arts, and Inner Ways for Goshawk
Since Goshawk has no weakness, loadout choice comes down to deflect uptime and burst windows. The umbrella is the standout pick here because it lets you stay airborne over his ground attacks without swapping weapons.
| Slot | Options |
|---|---|
| Martial Arts | Snowparting Blade, Thundercry Blade, Skystrike Gauntlets, Riven Twinblades |
| Mystic Arts | Flute of the Tides, Dragon’s Breath, Drunken Poet, Golden Body |
| Weapons | Vernal Umbrella, Thundercry Blade, Panacea Fan |
| Divinecraft | Cinder Ash |
| Inner Ways | Blossom Barrage, Battle Anthem, Invigorated Warrior, Morale Chant |
Pairing the Vernal Umbrella with Thundercry Blade covers both phases evenly. Swapping Thundercry for Snowparting Blade makes the opening phase smoother but costs you in the Fire God phase, so pick based on which half you keep dying in. Flute of the Tides slots in neatly alongside umbrella skills for extra damage while your shield is up, and Honking Havoc plus Dragon’s Breath make a clean finishing burst.
Phase 1: Punishing Goshawk’s slow swings
Goshawk opens with wide sweeps, long thrusts, and occasional projectile bursts from his long-handled weapon. His reach is the real threat, not his speed. Most of his swings have slow, readable windups, which gives you a generous reaction window to deflect or dodge.
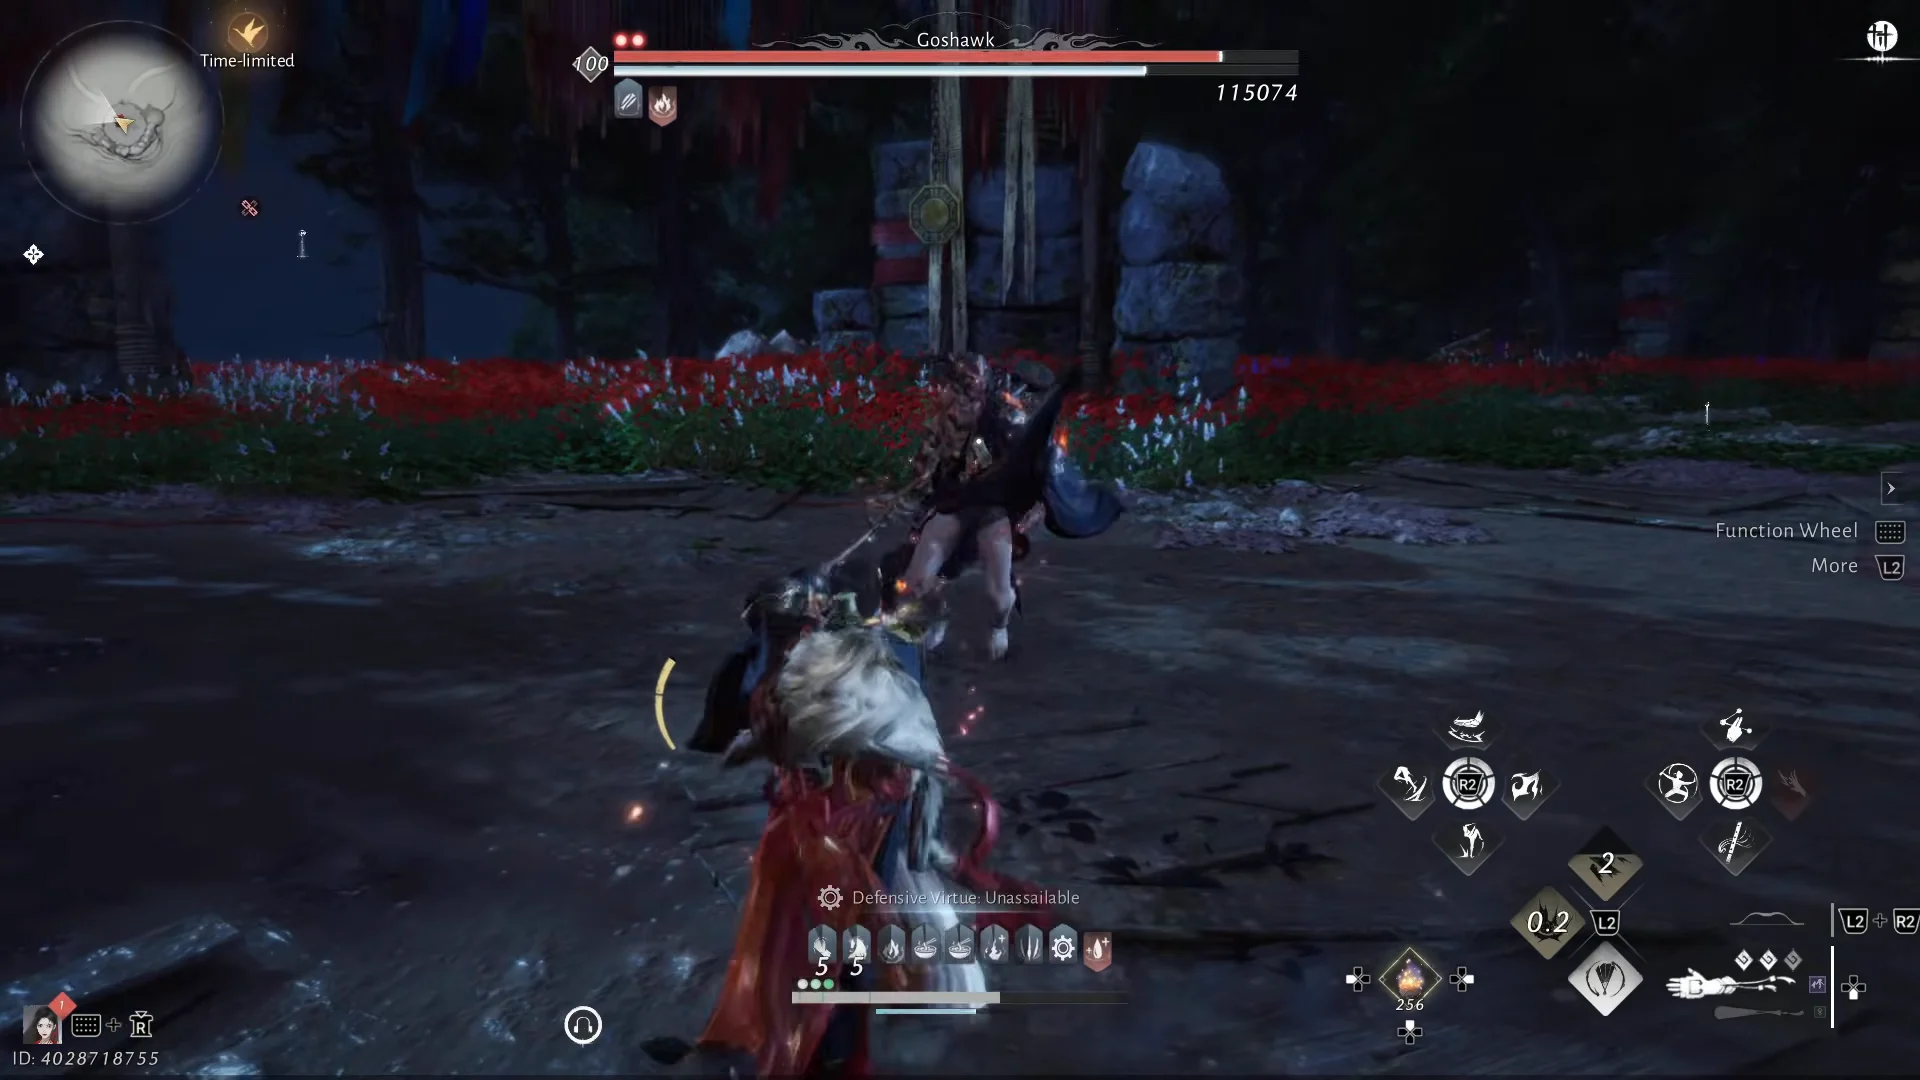
The damage comes from the recovery between his moves, not from trading hits. Block or sidestep the swing, land your combo during the gap, then reset your spacing. His combos repeat often enough that you will recognize the pattern within a minute or two.
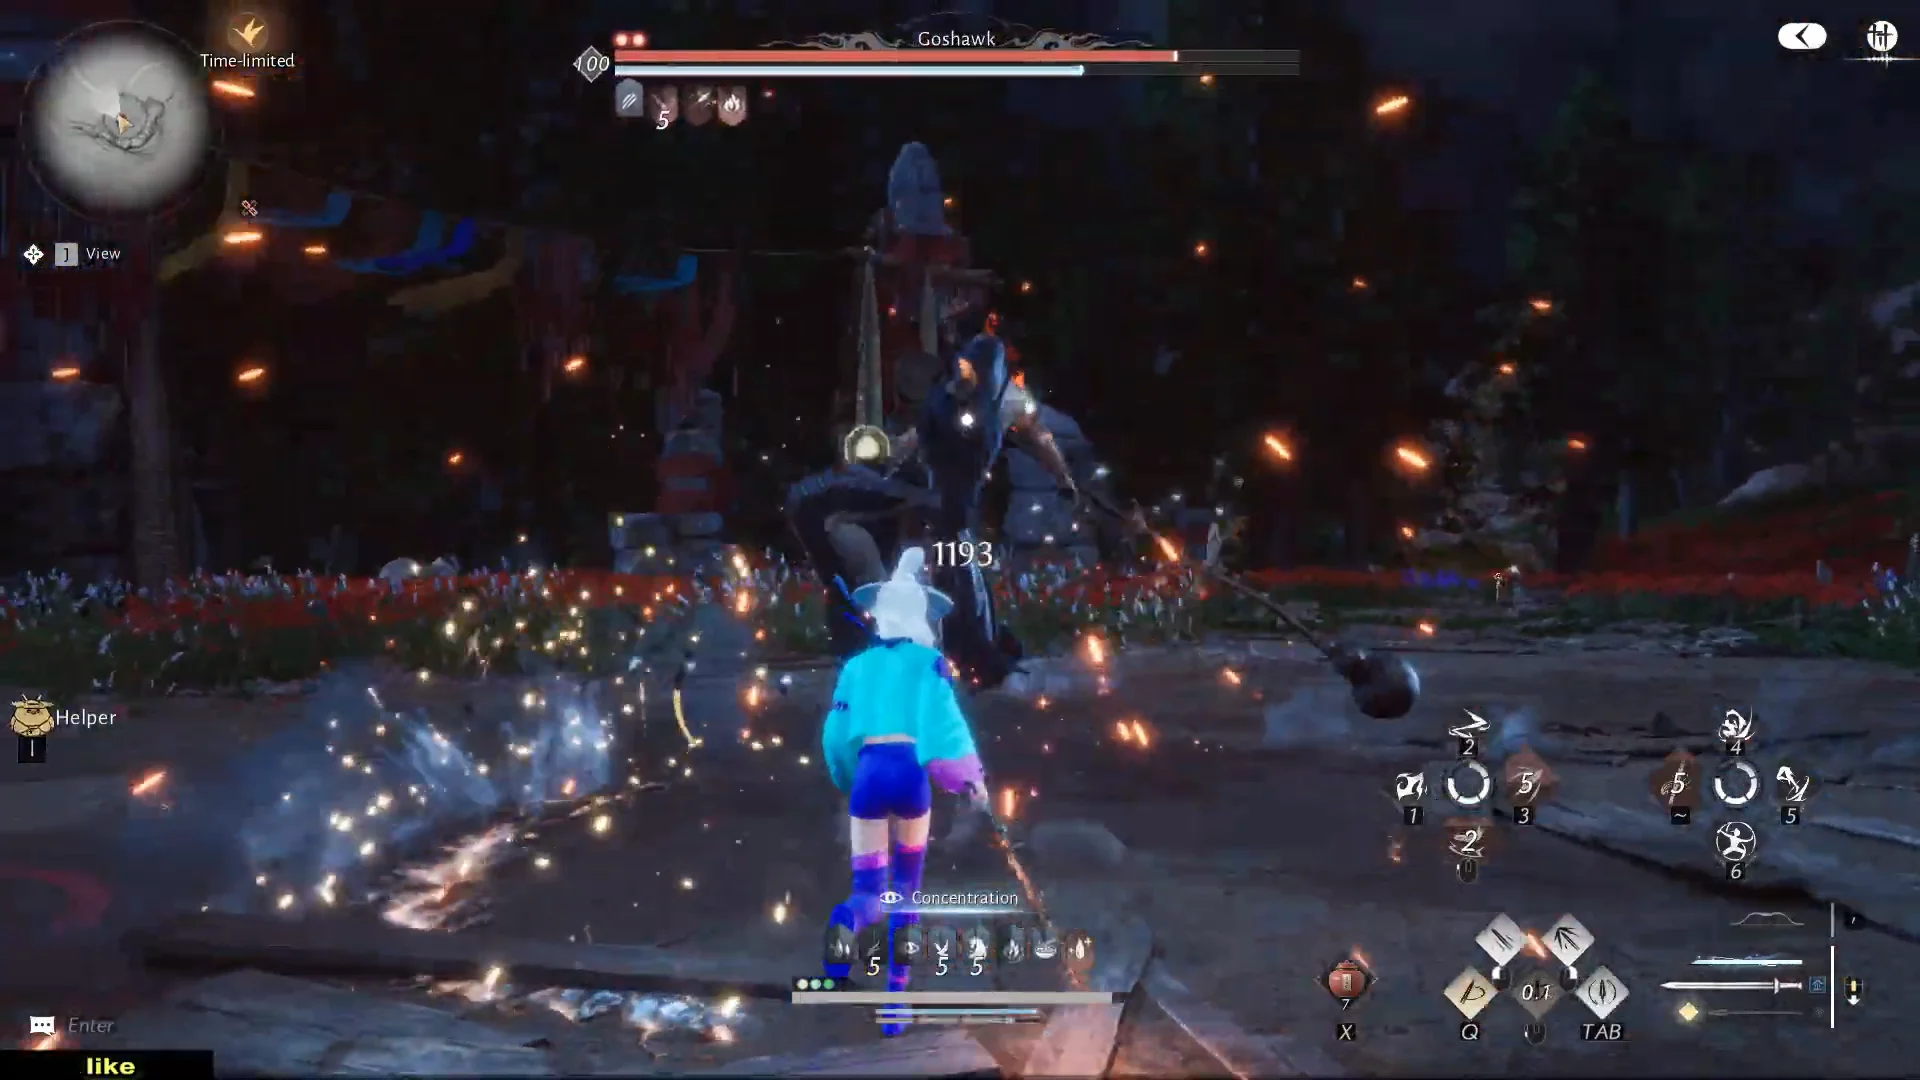
Back off when a Red Glint attack starts. Those lead into heavier follow-ups, so handle the whole string first instead of greedily squeezing in a counterattack.
How Iron Blaze and the Searing state work
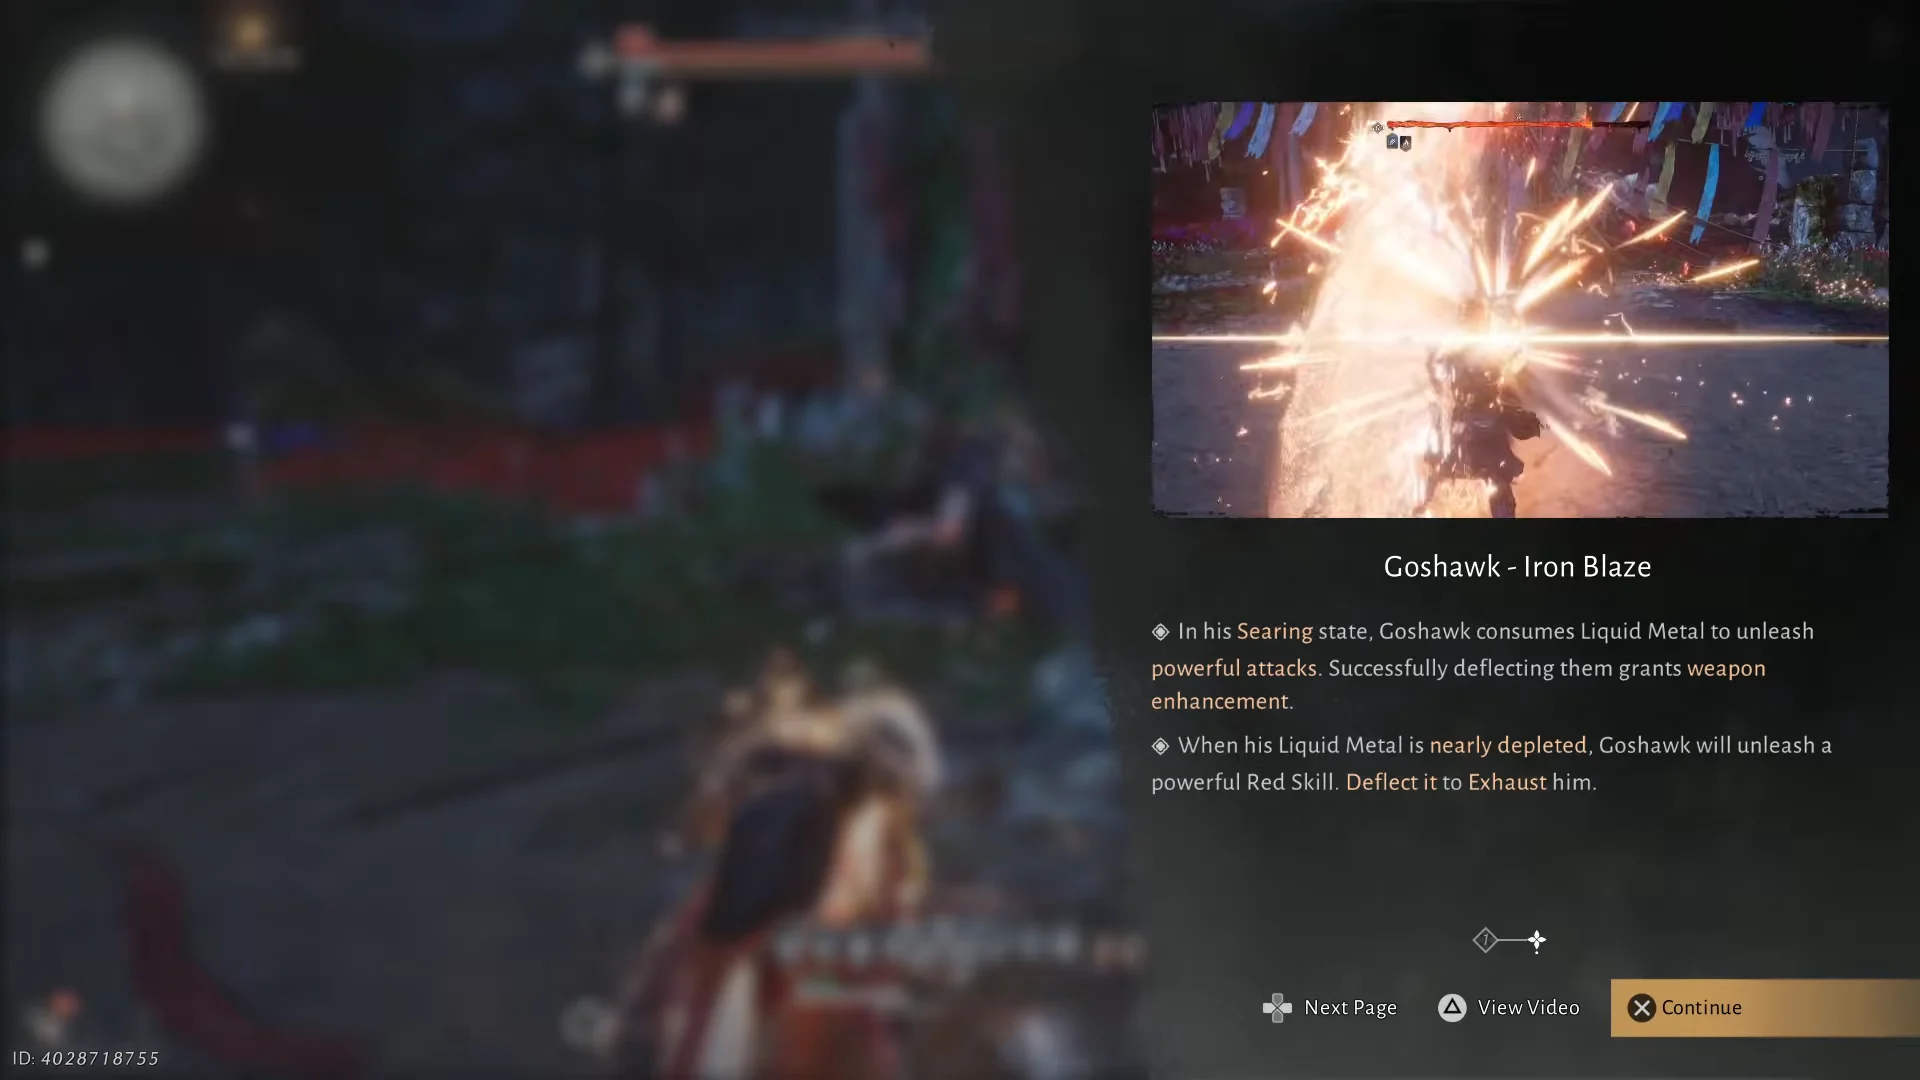
Most first attempts stumble over Iron Blaze, Goshawk’s signature mechanic. Activating it consumes Liquid Metal, puts him in a Searing state, and places an Iron Blaze gauge along the top of the screen; the gauge then drains. While Searing, he takes sharply reduced damage.
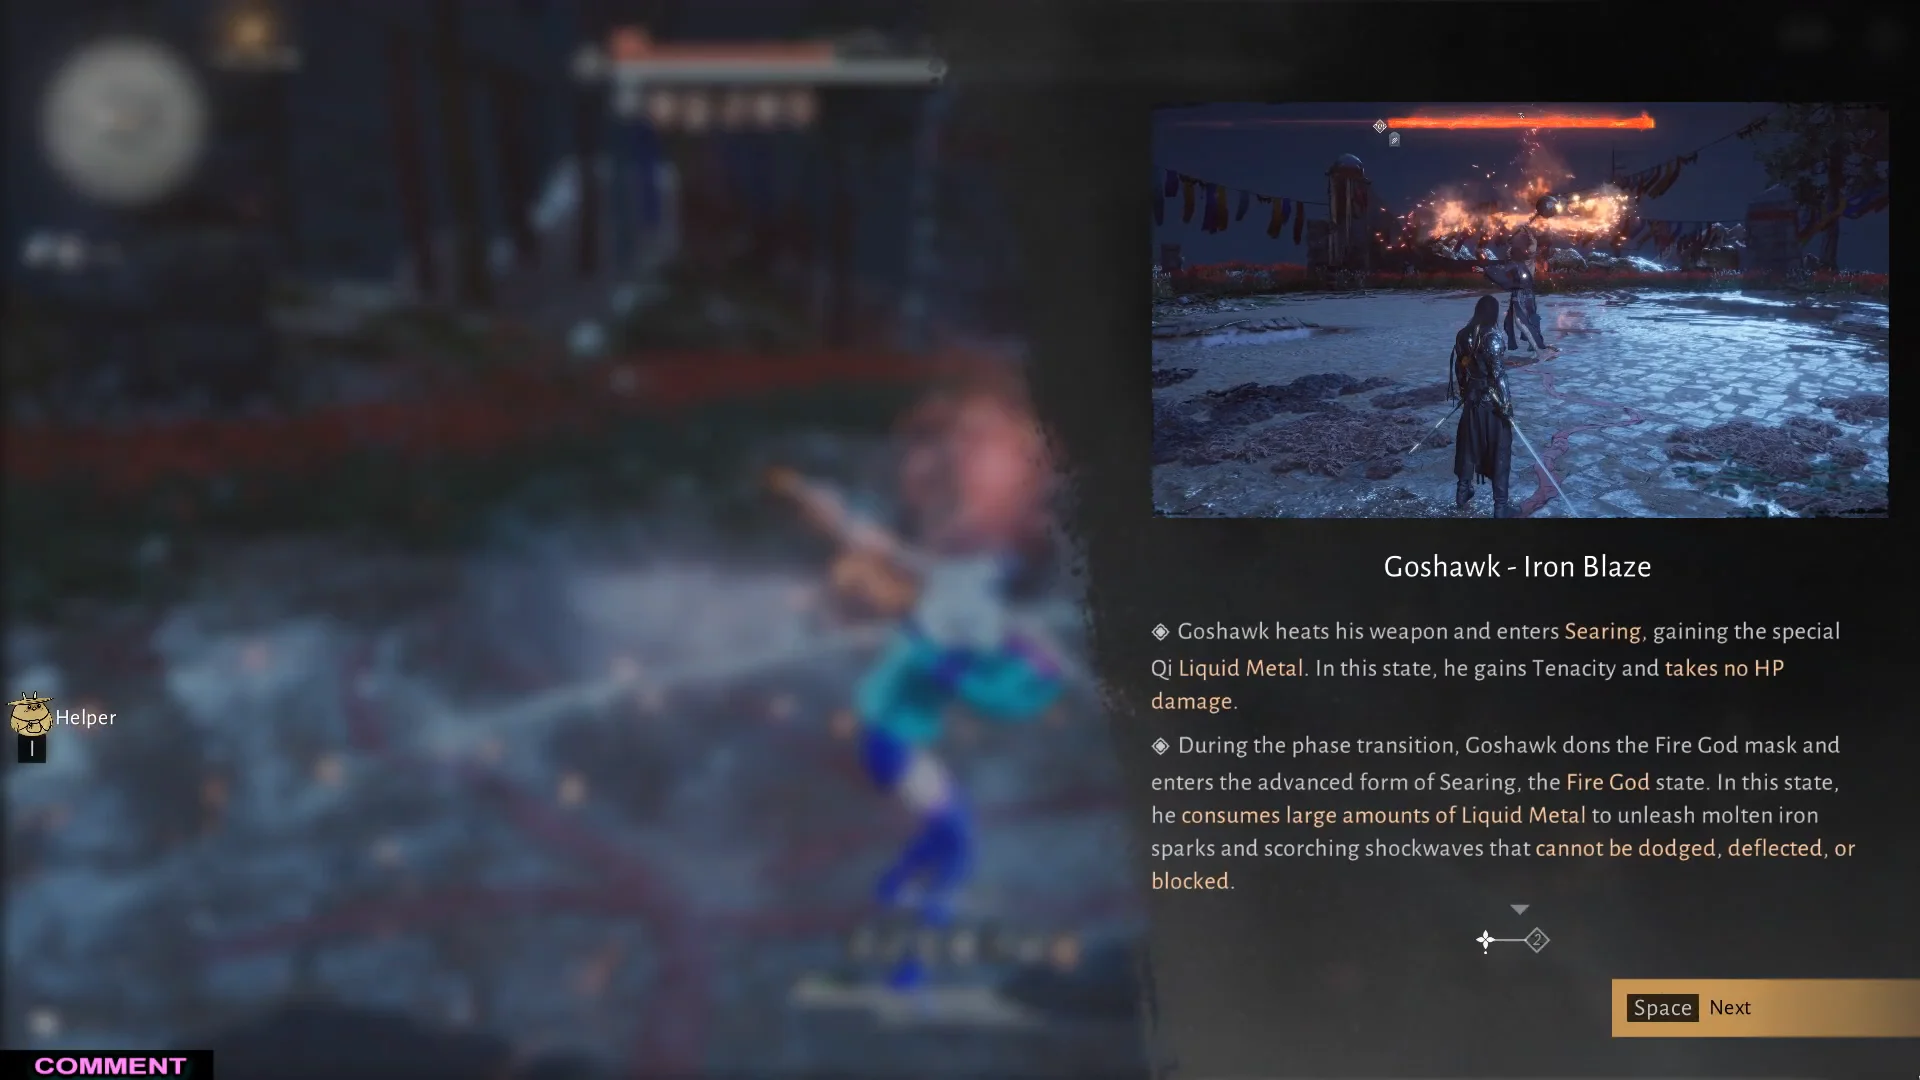
You are not meant to burn through his health bar here. His normal attacks stay roughly the same but gain flame trails and extra fiery effects, which makes the animations harder to read and hugs near him far riskier. Play for survival, keep a step of distance so you can react to the follow-ups, and only go back on offense once the gauge is empty.
Deflecting is the active part of the answer. Consistently deflecting his blows, and his Red Skill in particular, exhausts him and drains his Qi bar faster than raw damage ever will during this window.
Phase 2: Beating Goshawk – Fire God
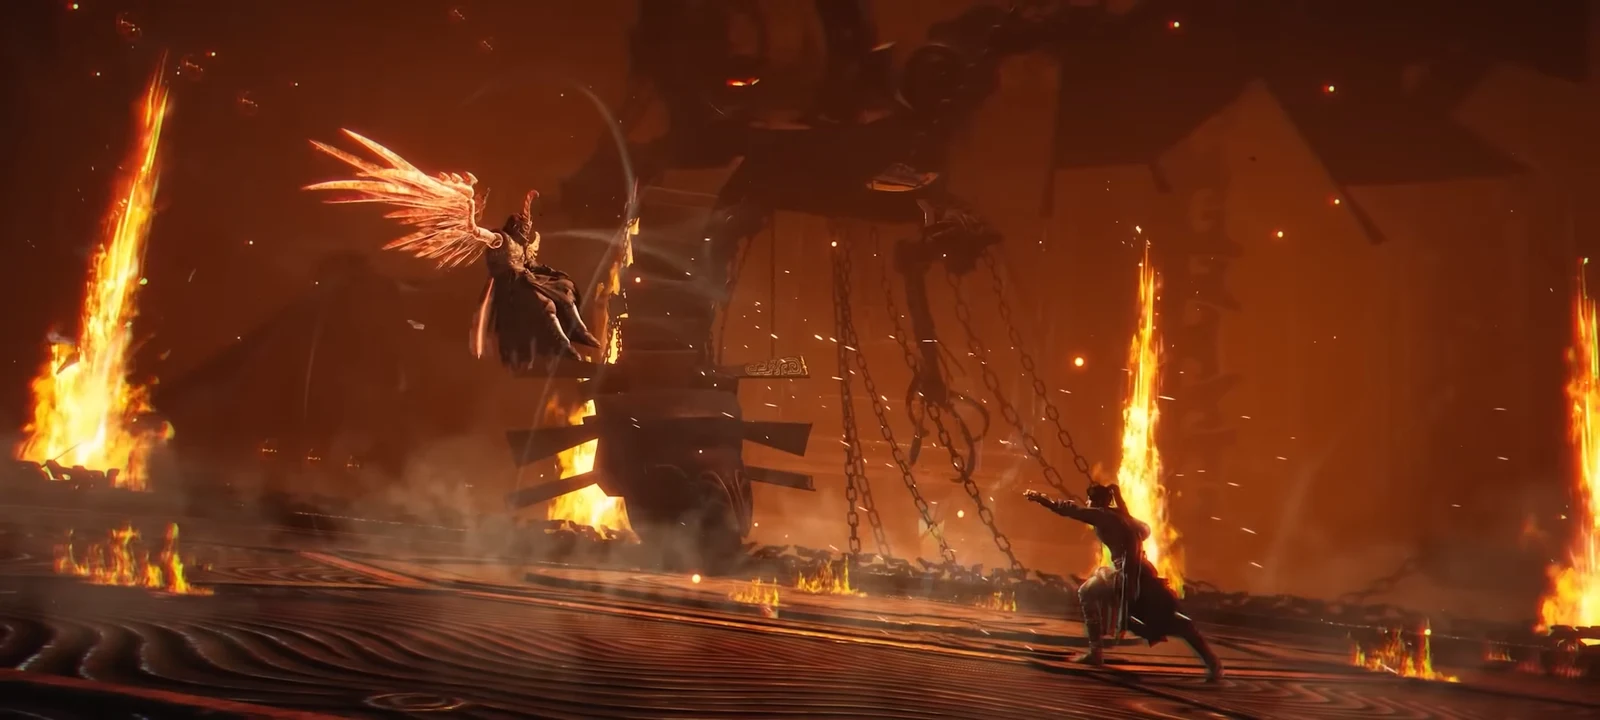
At the phase break, Goshawk leaps into the air, puts on the horned Fire God mask, and detonates the arena into an inferno. He splits his weapon into two pieces, gets noticeably faster, and adds aerial slams and rolling fire waves to his kit. His health also becomes effectively untouchable for the duration of the form, so parrying to drain his Qi is the only productive thing you can do.
Interrupting the transformation
The airborne transition into the fire form can be knocked out of the sky. Honking Havoc, Snowparting, or a charged Heavenwill Gauntlets hit all work, and cutting the transformation short saves you an entire invulnerable window.
Flame waves and ground firestorms
His most dangerous attack sends multiple expanding rings of flame outward from his position. Do not try to attack through them. Clear each ring individually, then close the gap once the sequence ends. If you are flying, trigger the umbrella once, take off, and fire airborne shots over the waves. Land again after six waves of ground fire to refresh your shield rather than trying to hop over every pass.
The spark shower thrust
Goshawk also throws a Red Glint thrust buried inside a shower of sparks. The visual noise makes it look unblockable, but the thrust itself can be deflected. Watch the weapon rather than the particles and time the deflect on the forward stab. Three spark volleys precede the red attack, so if your parry timing keeps slipping, pop the shield and block them instead.
Save your Honking Havoc and Dragon’s Breath burst for the moment the Fire God state ends. Killing him in that window avoids handing him another fire form to hide behind.
Goshawk rewards and how to confirm the clear
When his health bar empties he collapses and a rewards pop-up appears on screen. The clearest confirmation is the Flame Deity Mask appearance unlock notification, which fires alongside the rest of the loot.
| Reward | Amount |
|---|---|
| Flame Deity Mask | x1 |
| Inner Way Note: Custom Chest | x5 |
| Medicinal Tales | x3 |
| Echo Jade | x20 |
| Hidden Mountain Exploration | x50 |
| Character EXP | 12,000 |
| Coin | 12,000 |
A quieter epilogue follows the battle. Move the clock forward one day to Hai hour, then return to the arena to speak with Goshawk, Old Man Xin, and Chenshan. The only cost is adjusting the time dial, so this scene is easy to miss if you immediately fast travel away after the kill.