The Bazaar is a hidden shop tucked into the interlude sectors of White Knuckle, added with The Nest update on June 25. It sits behind a locked hatch, so you cannot stumble into it without first buying the right Facility Upgrade. Once it is open, you can barter with Roach for climbing gear, weapons, and consumables that make the long ascent more survivable.
Quick answer: Buy the DP-17 Hatch Access Facility Upgrade for 100 Facility Credits, then enter the hatch during the Ascent Interlude (between Pipeworks and Habitation) or from any Break Room in Endless mode.
Unlock DP-17 Hatch Access first
Every Bazaar entrance stays sealed until you purchase the DP-17 Hatch Access Facility Upgrade. It costs 100 Facility Credits, the currency you build up from Banked Roaches collected on previous runs.
Note: The sector locks again if you enable the Iron Knuckle modifier, so leave that off when you want access to Roach.
Where the Bazaar spawns in Campaign mode
In Campaign, the only place to reach the Bazaar is the Ascent Interlude, the section that sits between Pipeworks and Habitation at 1200 meters. This level has three variations, and each one hides the hatch in a different spot. Every variation begins at an elevator that you must reactivate at the halfway point by crossing the outer perimeter and flipping the manual override controls. The Mass starts chasing you the moment you activate that opening elevator, no matter which version you get.
Carrying a Scanner makes locating the hatch far easier. It beeps faster as you close in on a Bazaar entrance, so you can sweep a chamber and follow the sound to the right corner.
Interlude: Ascent 01
This is the fastest variant to clear. The hatch sits far to the left of the elevator that spawns on the ground. If you visit the Bazaar here, the Mass will not begin rising until you return to Ascent Pipeworks.
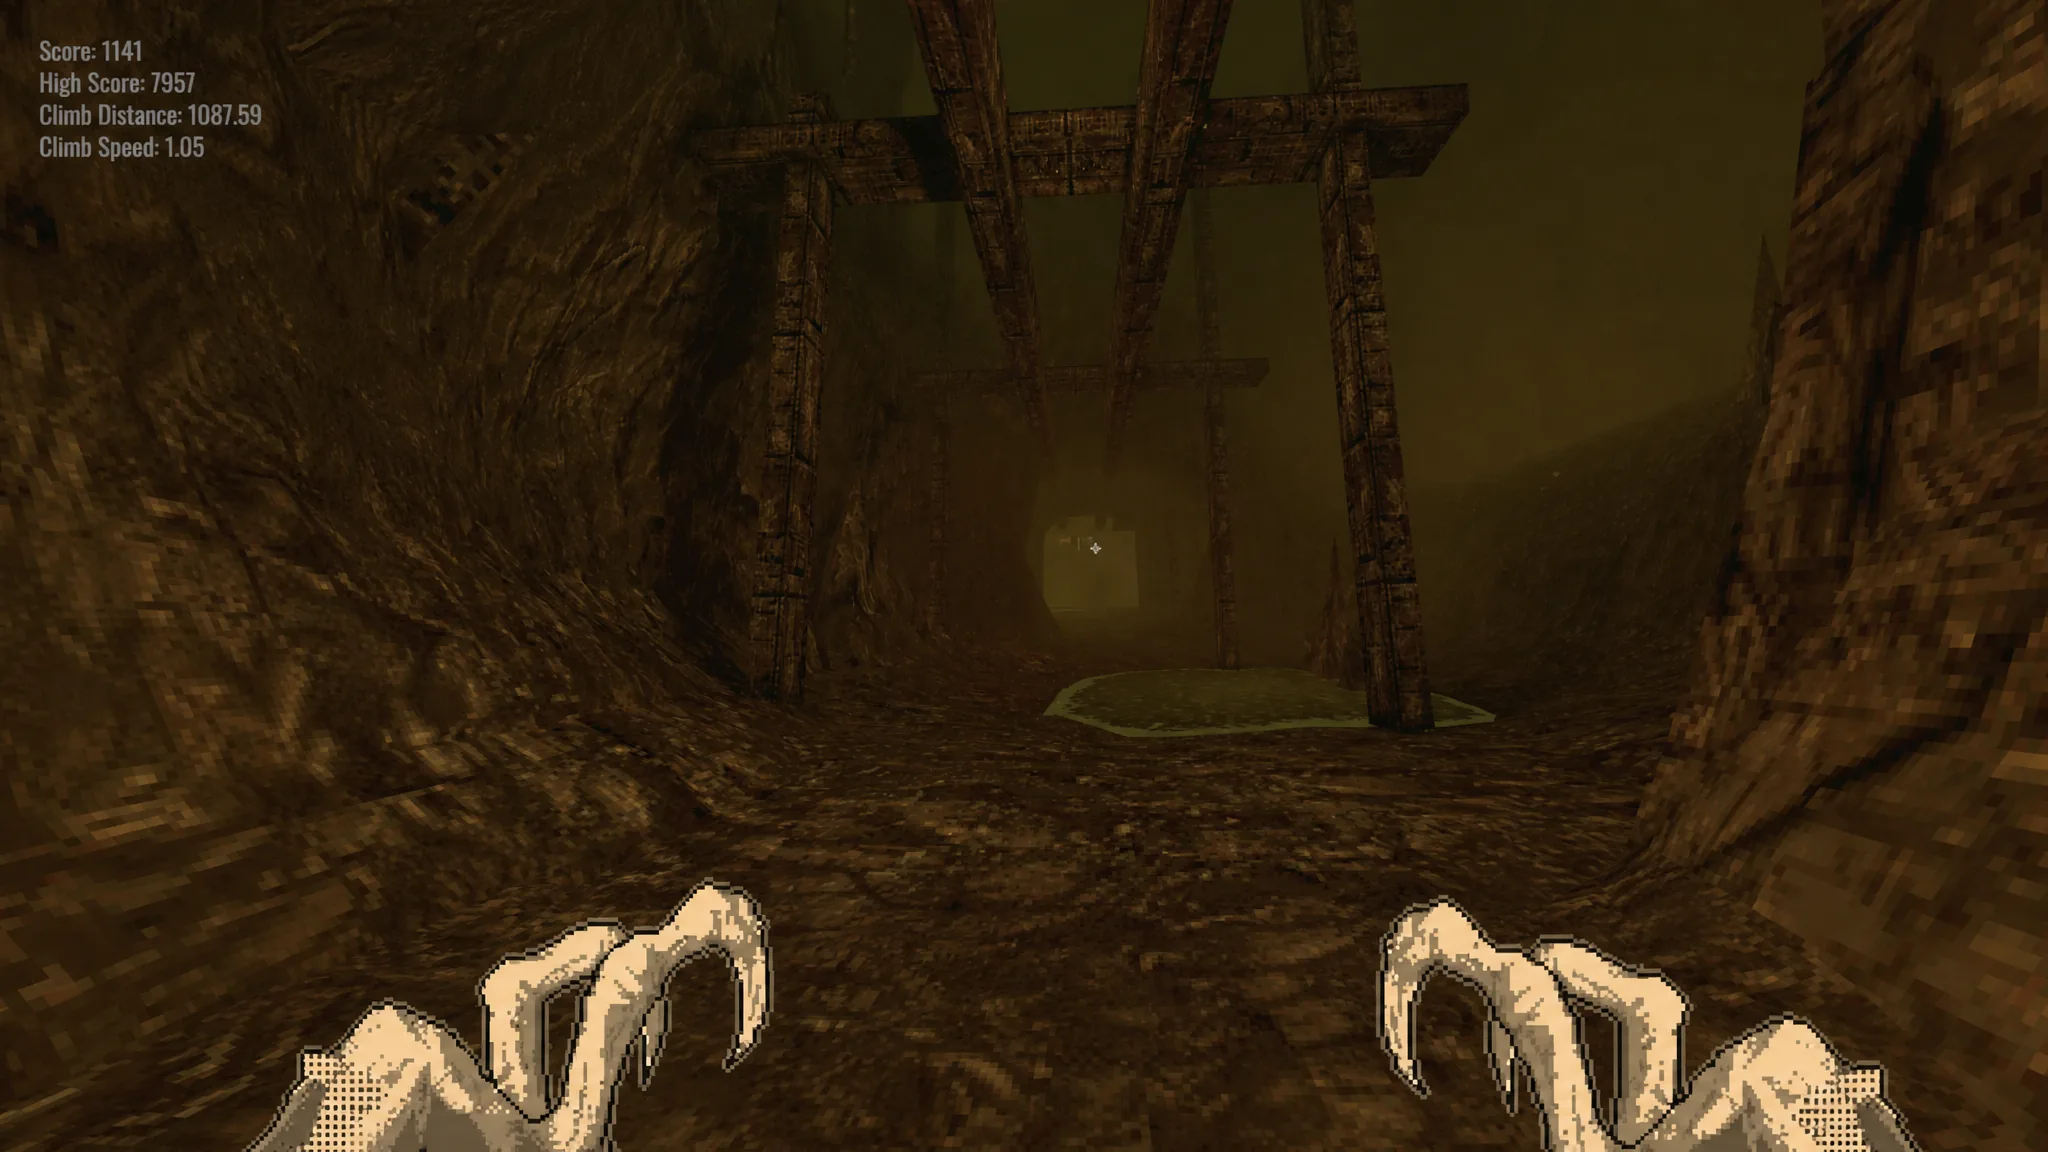
Interlude: Ascent 02
As soon as you step into the cave chamber, well before the elevator comes into view, you will see a pool of water on the ground and metal beams overhead. You can reach those beams without gear, but getting up to the hatch requires Rebars and a Piton. Two Rebars and one Piton spawn inside this chamber, so grab them first, then look straight up while standing on the beams to spot the hatch.
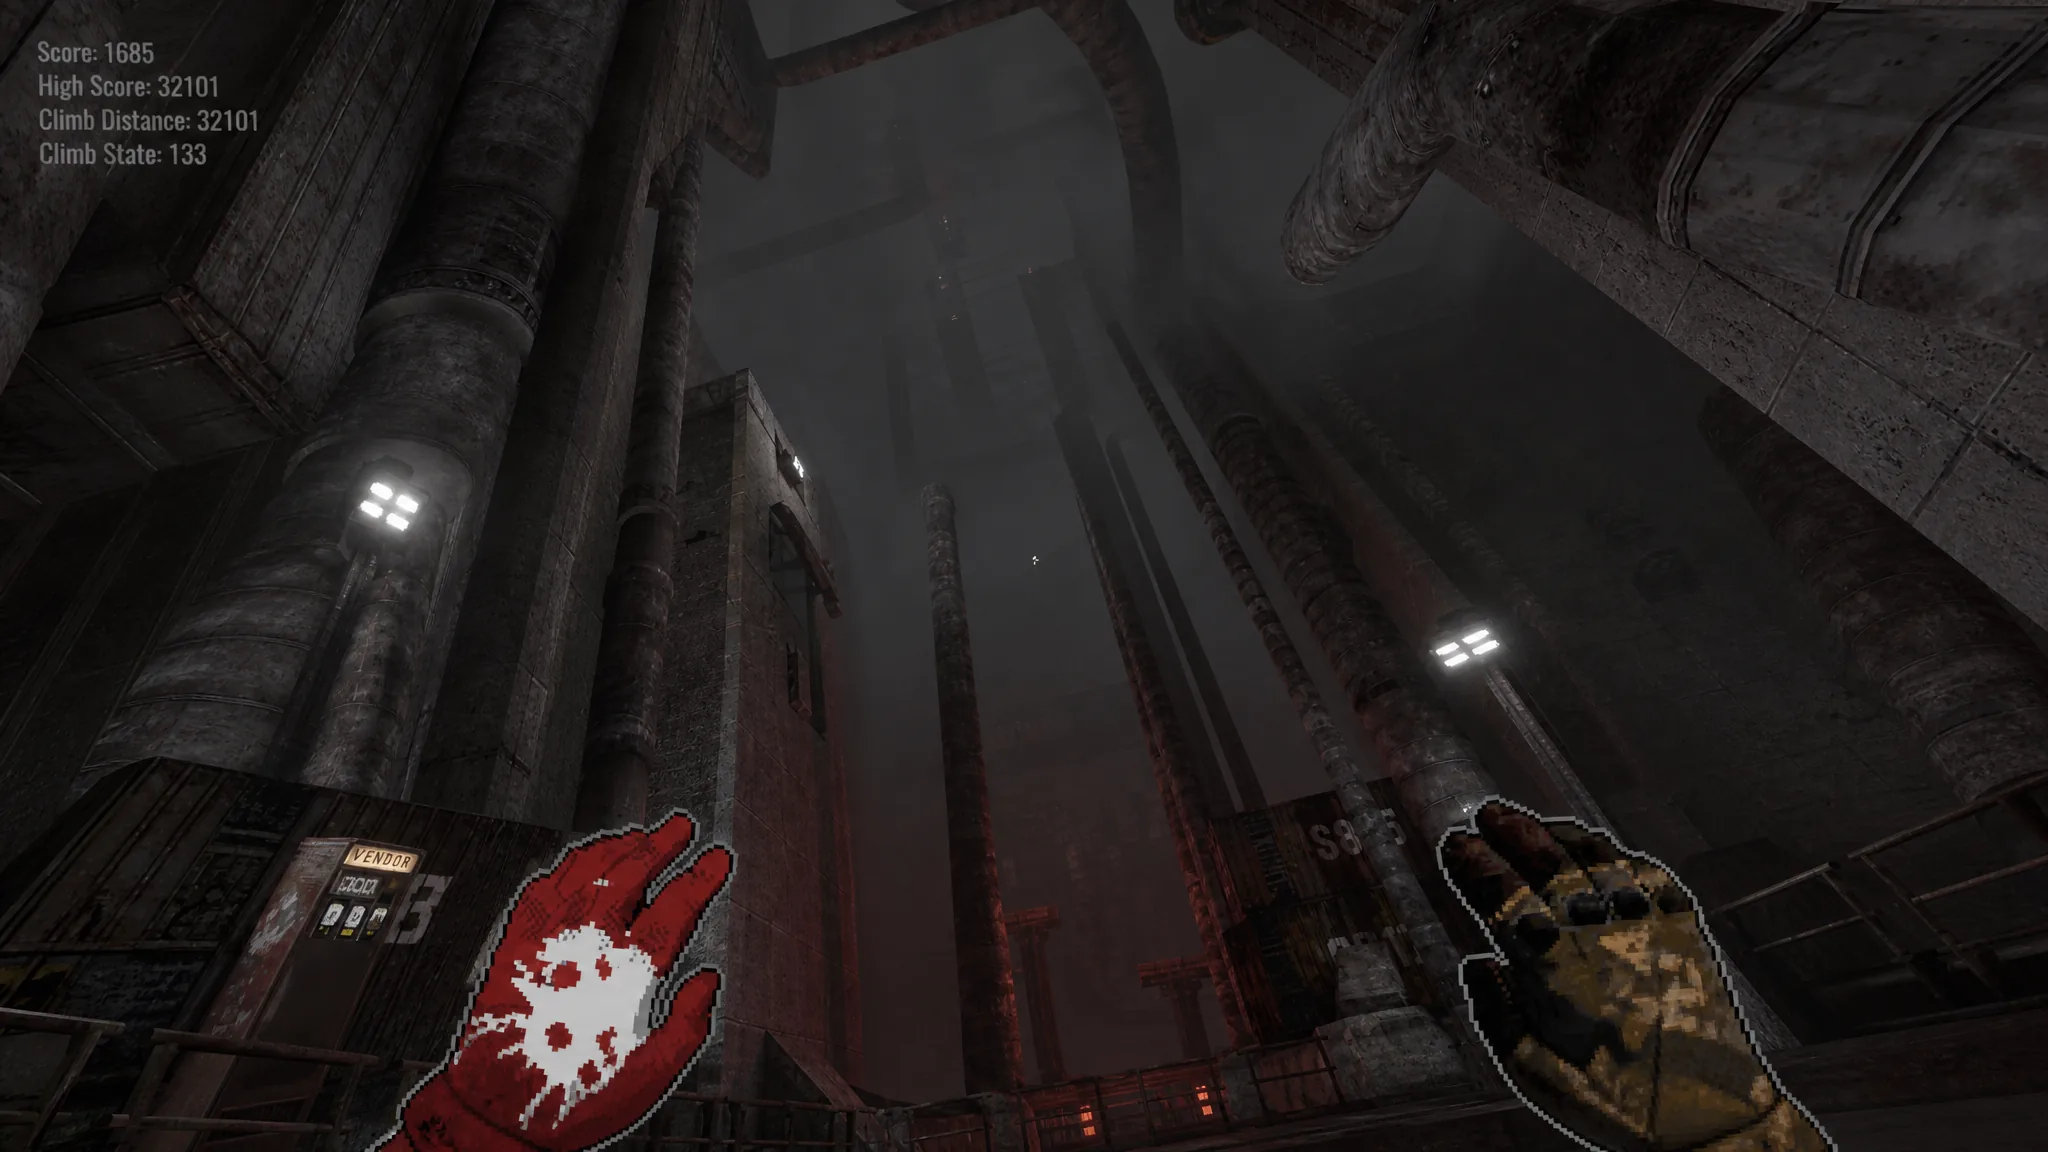
Interlude: Ascent 03
Here the elevator is suspended in the chamber above you, so there is none in sight at the base of the level. Turn right at the big doors, move past the large pipes and the Injector, and the final hatch is hidden in the corner.
Finding the Bazaar in Endless mode
Endless mode gives you far more chances to reach Roach. The Bazaar hatch can appear in the Break Rooms of the Silos, Pipeworks, Habitation, Abyss, and Nest. These entrances are easier to reach than the Campaign ones, so it pays to visit early and stock up before you push toward Habitation Yellow.
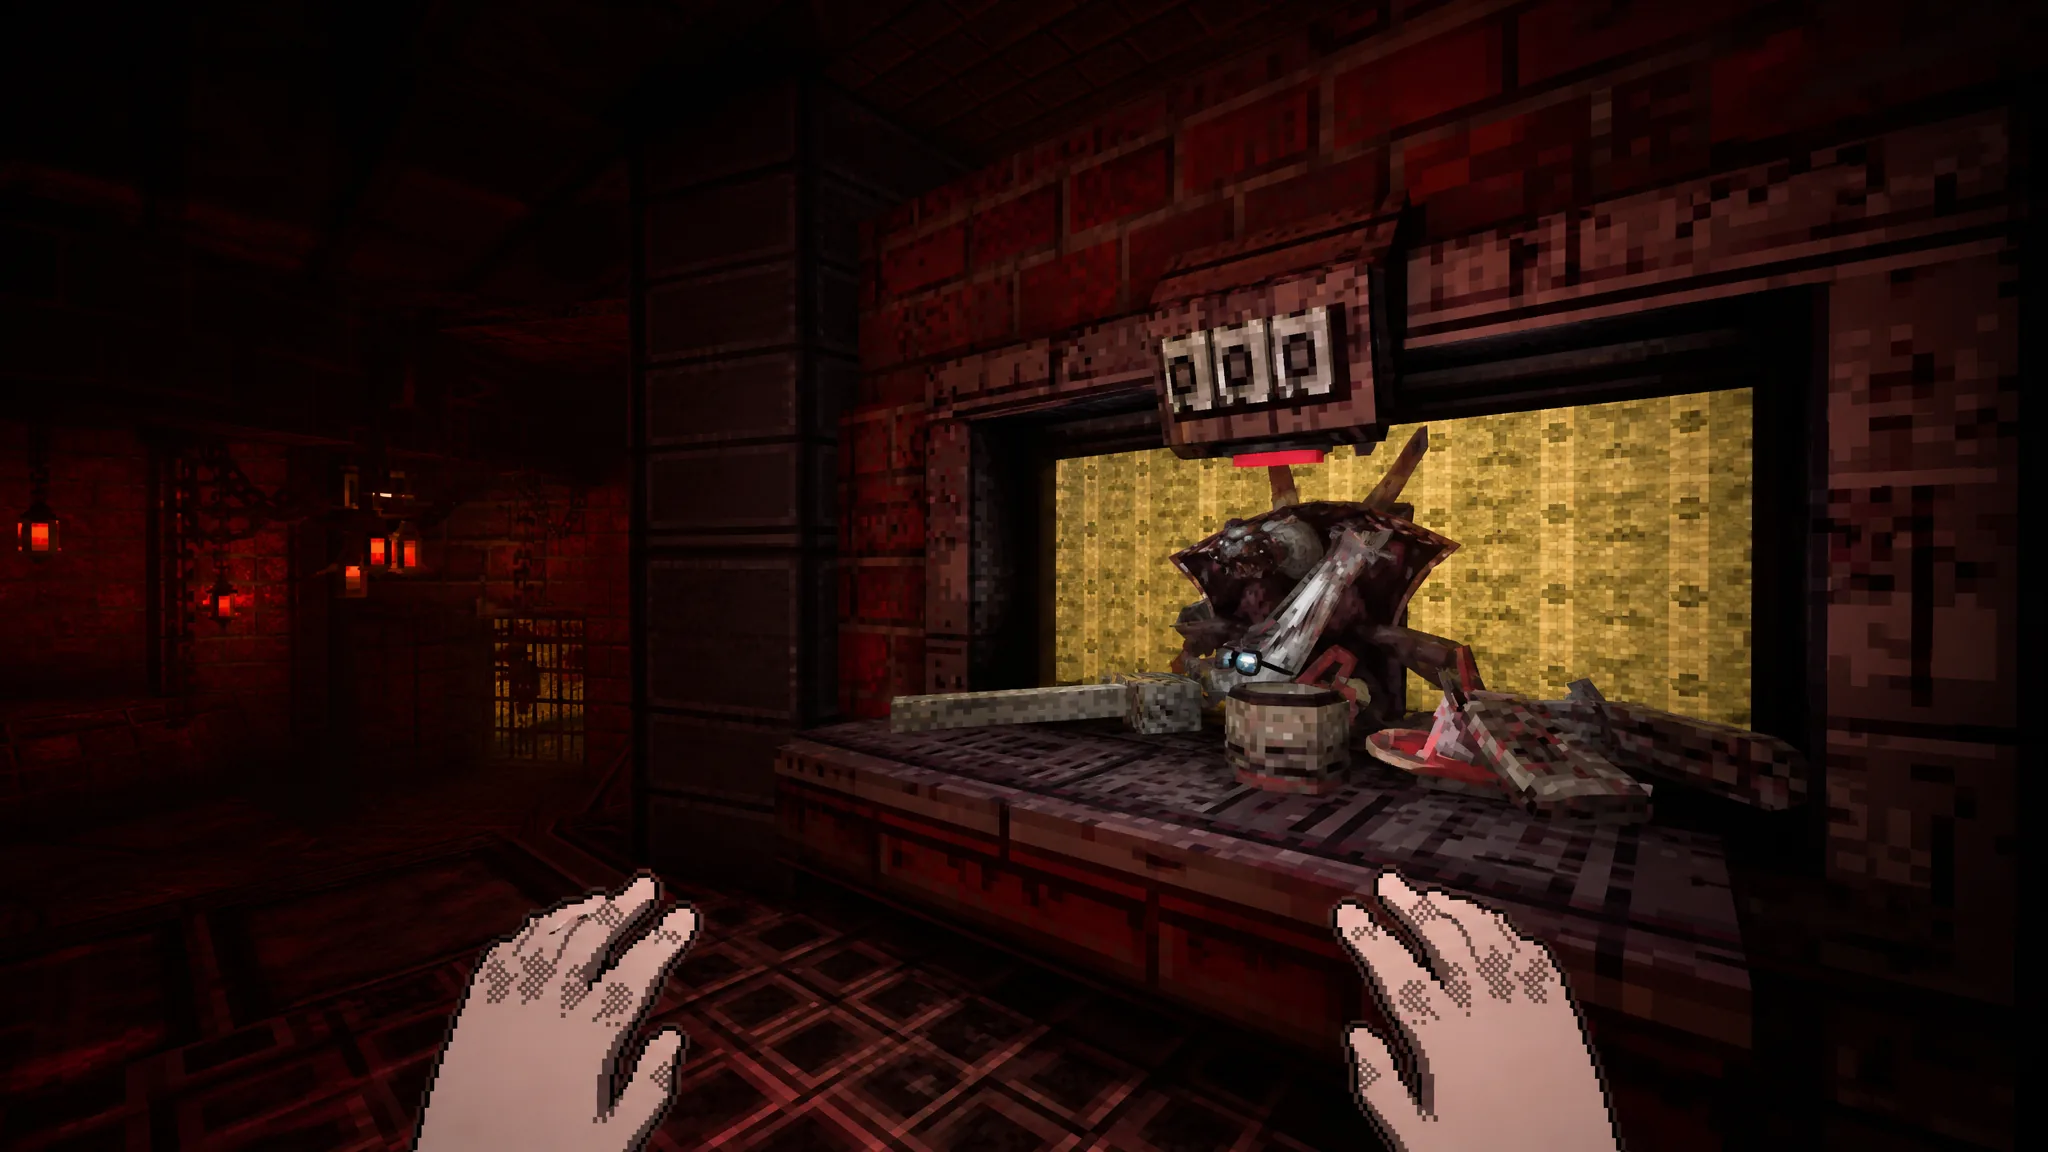
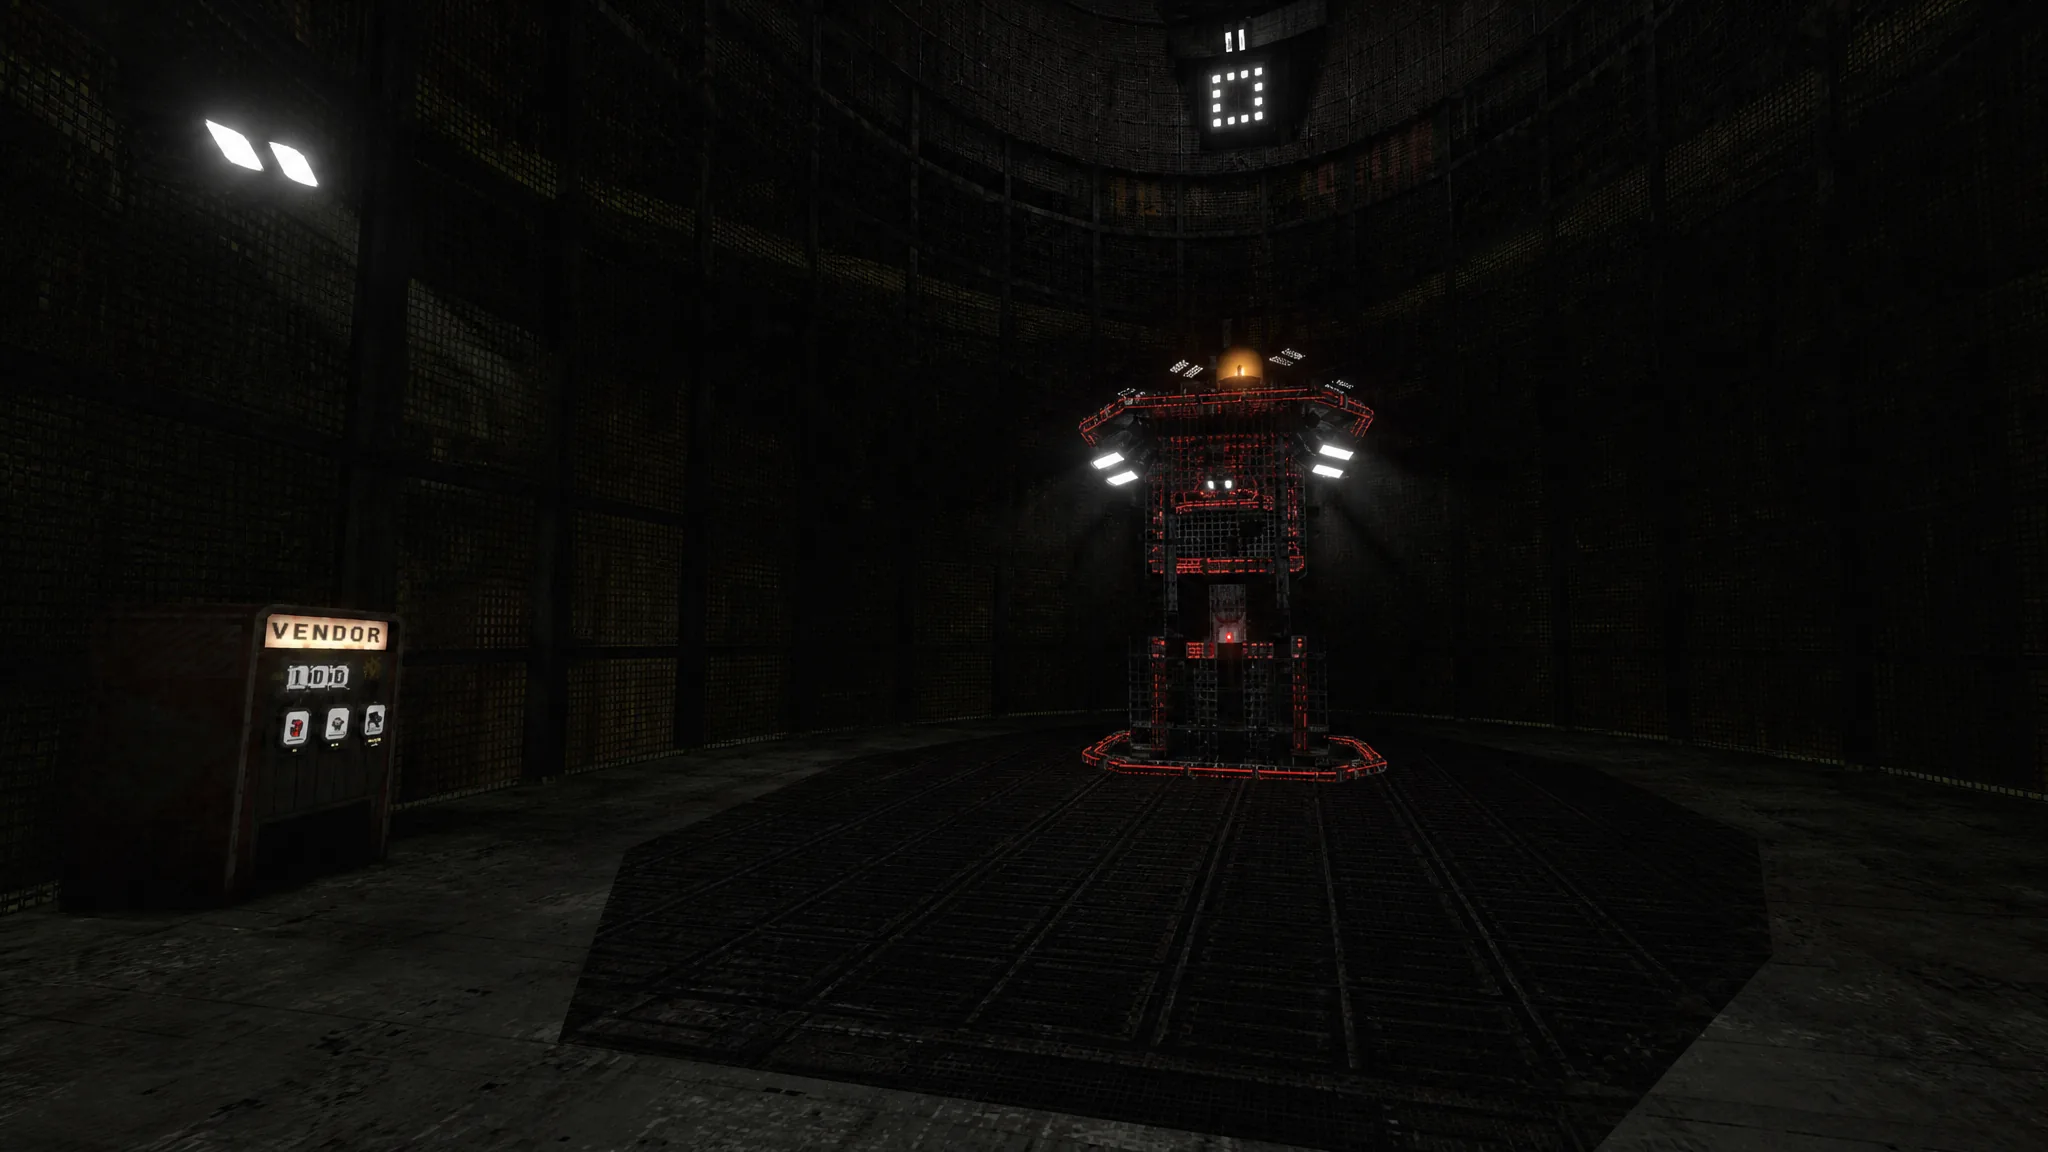
What the Bazaar is and how trading with Roach works
The Bazaar is a small safe-haven hub built around The Nest vendor, Roach. It exists outside the normal flow of a run, so it is separate from unlocking perks and saving progress on Floppy Disks. Leaving is simple, since you exit the way you came in. The Mass will not rise until you return to the Interlude level in Campaign or step out of the Break Room in Endless.
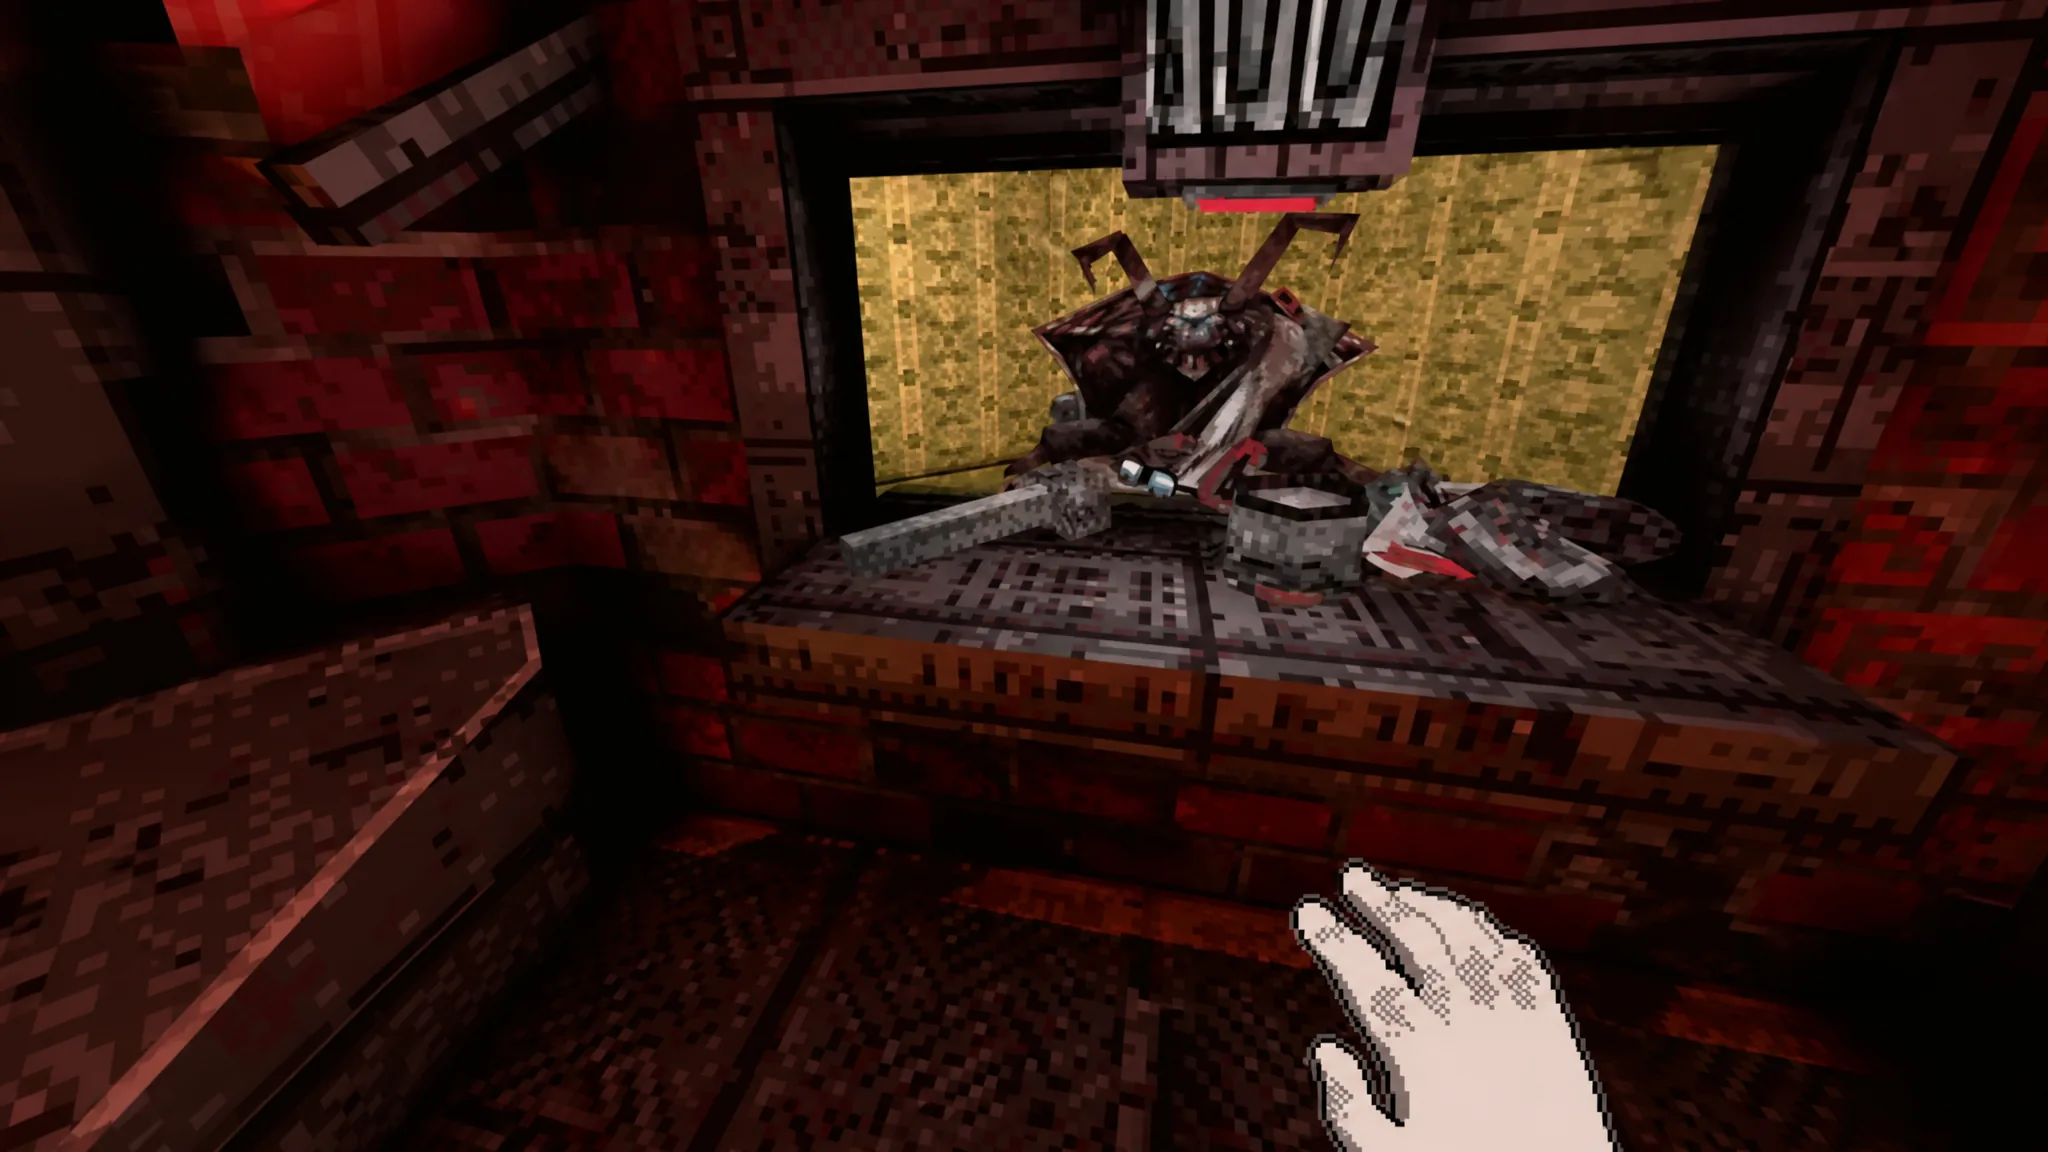
Roach’s stock is randomized each time you enter, and the room runs on barter rather than a fixed currency. Place the items you want to give up on the table alongside the item you want to take. A counter tracks the combined value of everything you have offered, and a light below it turns green once your offer is enough. Interact with Roach to confirm. Your traded items vanish, and whatever remains on the table is yours to put back in your inventory. You cannot steal from the shop, and some listed prices may be discounted.
One catch sets the Bazaar apart from the rest of the run. You cannot spend Banked Roaches here, which is exactly why the interlude sectors and Pipeworks become worth exploring rather than skipping. If Roach Mode is enabled, you can also talk to him.
Bazaar item prices
| Item | Cost |
|---|---|
| Piton | 1 |
| Beans | 2 |
| Blink Eye | 8 |
| Rho Stone | 8 |
| Scanner | 10 |
| Beta | 12 |
| Calming Buddy | 12 |
| Carabiner | 12 |
| Chalk | 12 |
| Climbing Shoes | 12 |
| Employee ID | 12 |
| Head Lamp | 12 |
| Helmet | 12 |
| Gold Nugget | 12 |
| Mass Damper | 12 |
| Vial of “Moon Rocks” | 12 |
| Yearning Photo | 12 |
| Extra Pouch | 12 |
| Larger Pack | 12 |
| Cleaver | 12 |
| Tier 3 Floppy Disk | 15 |
| P-Beans | 15 |
| Barnacle Hook | 20 |
| Handgun | 20 |
| Cryo-Gun | 25 |
You will know everything is working when the offer light turns green and Roach completes the trade, leaving your chosen item on the table to collect. If the light stays off, your offered value is too low, so add more items until it confirms. With DP-17 Hatch Access secured and a Scanner in your pack, the Bazaar becomes a reliable resupply point for the climb ahead.