Windrose hides a lot of its best gear behind buried chests, altar offerings, and ancient ruins. The items worth chasing are rare weapons with unique effects, stacked healing consumables, and jewelry that changes how fights play out. Below is a running catalog of the confirmed secret items, where they come from, and the exact steps to pull them out of the ground or off an altar.
Rapier of a Thousand Cuts
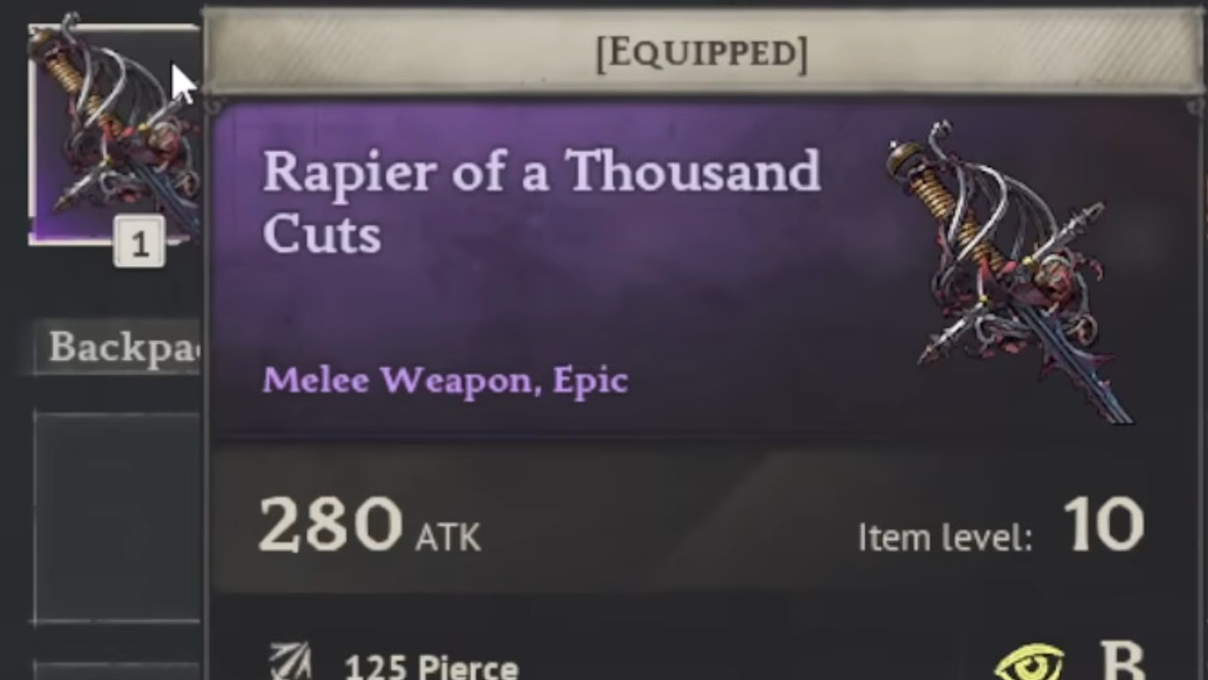
The Rapier of a Thousand Cuts is a one-handed melee weapon that applies a Bleeding debuff on hit. Each stack adds damage over time, and the effect stacks up to five times on a single target. At maximum stacks, it deals continuous bleed damage on top of your regular hits, which makes it one of the stronger early melee options for hit-and-run play.
The rapier shows up as a treasure chest drop. Spawn rates are noticeably higher inside Blackbeard Pirate Camps and Hands camps, so those are the places to farm if you are hunting for it specifically. A fixed copy is also buried under the red-rag tree on the first island, tied to the Exquemelin note chain.
How to get it:

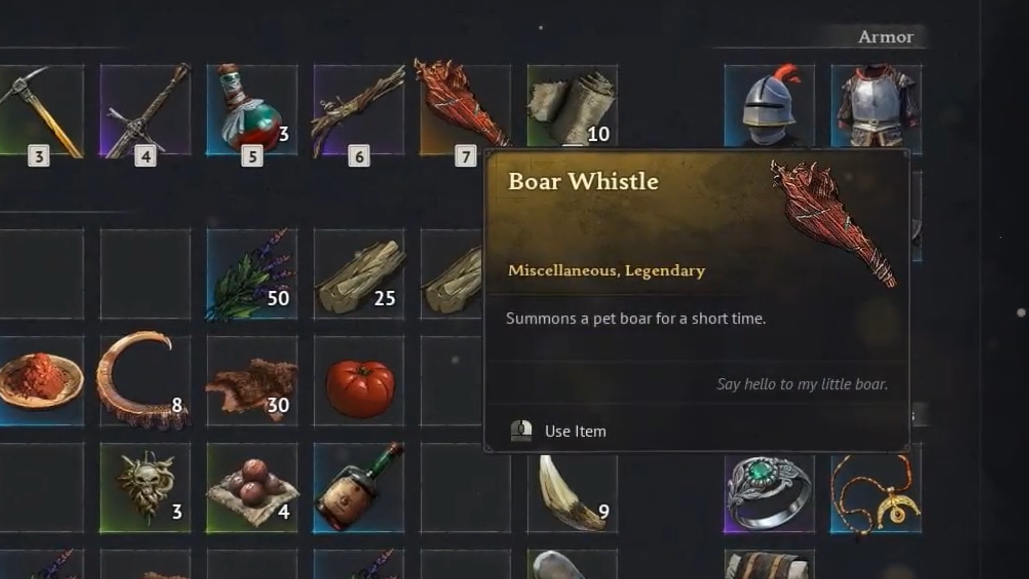
Boar Whistle
The Boar Whistle is a unique utility weapon. Using it summons a boar to fight alongside you, which is especially useful for pulling aggro off yourself in tougher fights. It is unlocked through an altar offering in the Foothills biome rather than a chest drop, so it cannot be farmed by looting.
The altar requires a specific offering combination. Once placed, the whistle is unlocked permanently on your character.
| Offering Item | Quantity |
|---|---|
| Ritual Oil | 3 |
| Meat | 20 |
Meat drops reliably from Boars and Sows in the Coastal Jungle, so stockpiling 20 is trivial once you have a Copper Axe or better. Ritual Oil is the bottleneck. Save it specifically for this altar if you plan to grab the whistle early.
Major Jaguar Ring
The Major Jaguar Ring increases your critical hit chance against enemies. It is one of the more impactful jewelry pieces in the game because crit scaling compounds with your weapon damage rather than replacing it.
Two reliable acquisition paths exist. The first is looting Ancient Ruins chests scattered throughout the archipelago. The second is crafting it at the jewelry workbench in your camp once you have unlocked the Jeweler’s Bench through the Silver Ingot Key Discovery in the Foothills. If you are already running Foothills content for iron, the crafting route is usually faster than praying for a chest roll.

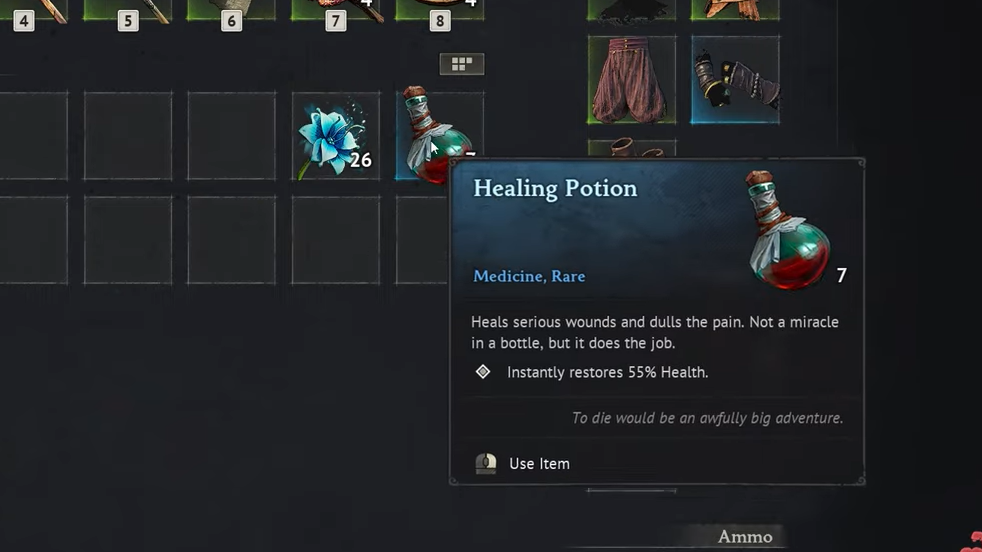
Great Healing Potion
Great Healing Potion is the top-tier healing consumable currently available as a buried-chest drop. It restores significantly more health than the standard Healing Potion and is the item you want stockpiled before engaging bosses like Thomas Richards or Israel Hands.
There is no fixed spawn location. The potion appears in the randomized loot pool of Exquemelin’s buried chests and general treasure-map caches. Exquemelin’s Treasure 1 on the starting island has produced up to 5x Great Healing Potion in a single dig, making it one of the most efficient early farming targets for players restarting worlds.
Exquemelin’s buried chests
Alexandre Exquemelin’s journal covers seven fixed buried chests spread across Traveler’s Camps. Each note points to a white tree marked with a red rag, and each chest is dug on a specific side of that tree. The chest locations never change between worlds, but the loot inside is rolled per playthrough.
| Note | Camp Location | Dig Side | Documented Loot |
|---|---|---|---|
| Twist of Fancy | Southwest camp, first island | Southwest of tree | 10x Homemade Gunpowder, 5x Healing Potion, 5x Great Healing Potion |
| Relative Cost | Second island camp | West of tree (southwest of camp) | 3x Rum Bottle, 2x Brandy, 2x Madeira |
| A Hat Worth Boarding For | Island with Fisherman’s Hut, Smuggler’s Cache, Copper Deposit, Jungle Cave | Northwest of tree (north of camp) | 5x Elixir of Cruelty, Gold Temple Jug |
The remaining four notes in the Traveler’s Journal Collection unlock through main story progression. The pattern stays identical: loot the Traveler’s Camp tent chest, read the note, find the red-rag tree, dig on the indicated side.
Blackbeard Crew caches
Three separate Blackbeard Crew Maps drop from chests inside Blackbeard Pirate Camps, which start spawning once you leave the starting island. Each map leads to a buried cache marked by a grave or dirt mound with a skeleton next to it. The skeleton is the confirmation that you are on the right dig spot, since island positions are procedurally generated and map coordinates vary between worlds.
All three caches reward Piastre, Silver Ingots, and Blackbeard Style Books for ship customization. The quantities vary, but the item types are consistent.
| Map | Source | Island Landmarks | Linked Quest |
|---|---|---|---|
| First Map | Chest in Blackbeard Pirate Camp | 3x Blackbeard Pirate Camp, Smuggler’s Cache, Trial Circle Ruins | Rescuing the Crew |
| Second Map | Locked chest in Blackbeard Outpost | Ancient Ruins with locked chests | Revenge Is Best Served Cold |
| Third Map | Tent chest in Blackbeard Camp near Shipwreck | Ancient Ruins, Blackbeard Pirate Camp | Revenge Is Best Served Cold |
The Second Map requires killing Lieutenants and Musketeers in the Ancient Ruins outpost to collect keys before the locked chest opens. Bring healing items and ranged support, because the encounter punishes underpowered gear.
Fifteen Men on a Dead Man’s Chest reward
The first buried chest most players encounter is tied to the Fifteen Men on a Dead Man’s Chest side quest. Unlike randomized chests, this one has fixed rewards: 5x Guinea and 4x Silver Ingot. The catch is an ambush. Four Drowned spawn the moment you interact with the dug-up chest, so clear your inventory of junk and bring healing before triggering it.

Verifying a successful unlock
Each item has a specific confirmation signal so you know the reward actually landed:
| Item | Confirmation |
|---|---|
| Rapier of a Thousand Cuts | Appears in your inventory after looting the dug chest; Bleeding debuff icon shows on enemies when you hit them |
| Boar Whistle | Altar consumes the offering and the whistle recipe or item unlocks in your inventory |
| Major Jaguar Ring | Equip slot shows the ring; critical hit chance stat reflects the bonus |
| Great Healing Potion | Item appears in inventory with a higher heal value than the standard Healing Potion |
| Exquemelin chests | Curios tab updates the Traveler’s Journal Collection progress after reading each note |
| Blackbeard caches | Dig site X removes from world map; Style Book, Piastre, and Silver Ingot added to inventory |
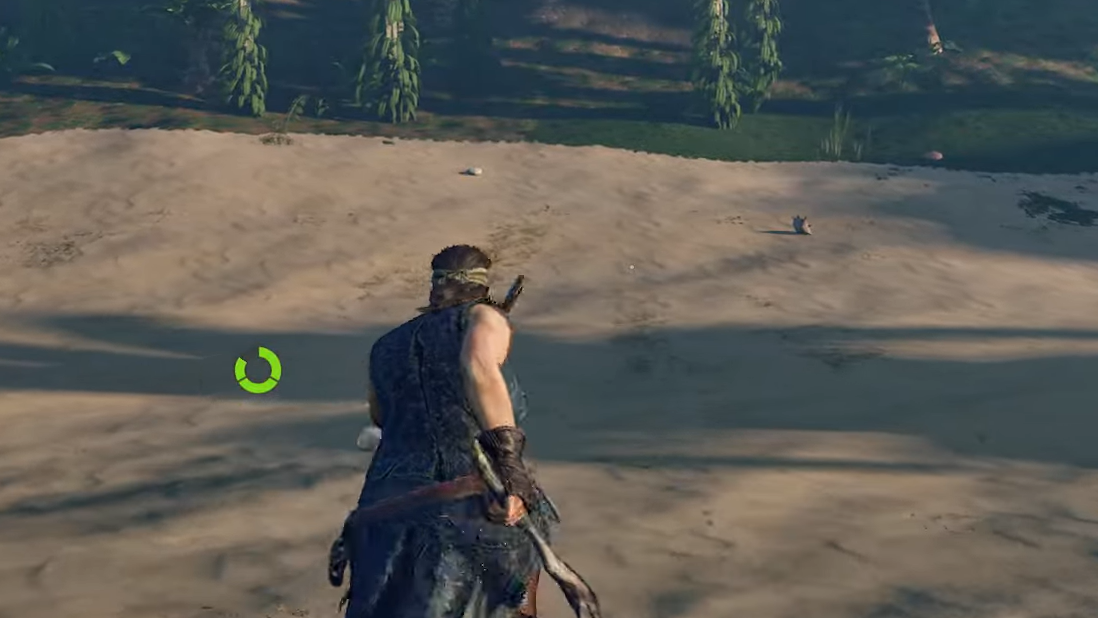
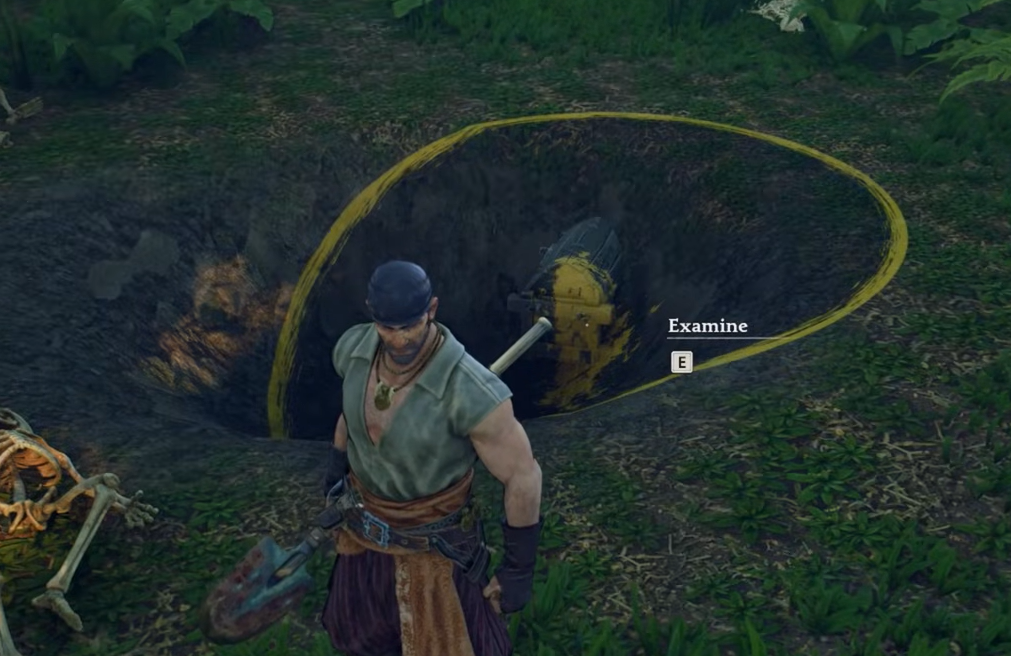
Common reasons a dig fails
If your Shovel is not uncovering a chest, the cause is almost always one of three things. Your Shovel is still in Weapon, Raise, or Flatten mode, and you need to cycle to Dig with Z or X until the orange ground circle appears. You are standing on the wrong side of the red-rag tree, which matters even though the tree itself is visible without reading the note. Or you are on the wrong island entirely because Blackbeard map coordinates shift per world, so you need to match the Points of Interest rather than the map pin position.
Dying during the Fifteen Men ambush does not void the quest. The chest and Drowned spawn persist, so return with more healing potions and try again. The Windrose secret item pool is still expanding through Early Access updates, and more altar unlocks and ruin-exclusive jewelry are expected as the Cursed Swamps biome fills out.