


Shiyu Defense in Zenless Zone Zero 3.1 is not a single boss check. The Critical Node splits into three rooms with three separate buffs, three separate resistances, and three separate score targets, and the top rating only lands when all of them go your way at once.
Quick answer: Clear all three rooms at S rating and finish the season with a combined total of at least 100,000 points. The season overview then flips Highest Rating This Season to S+, and the reward menu unlocks the full Critical Node payout of roughly 780 Polychromes for the cycle.
How Shiyu Defense scoring works in 3.1
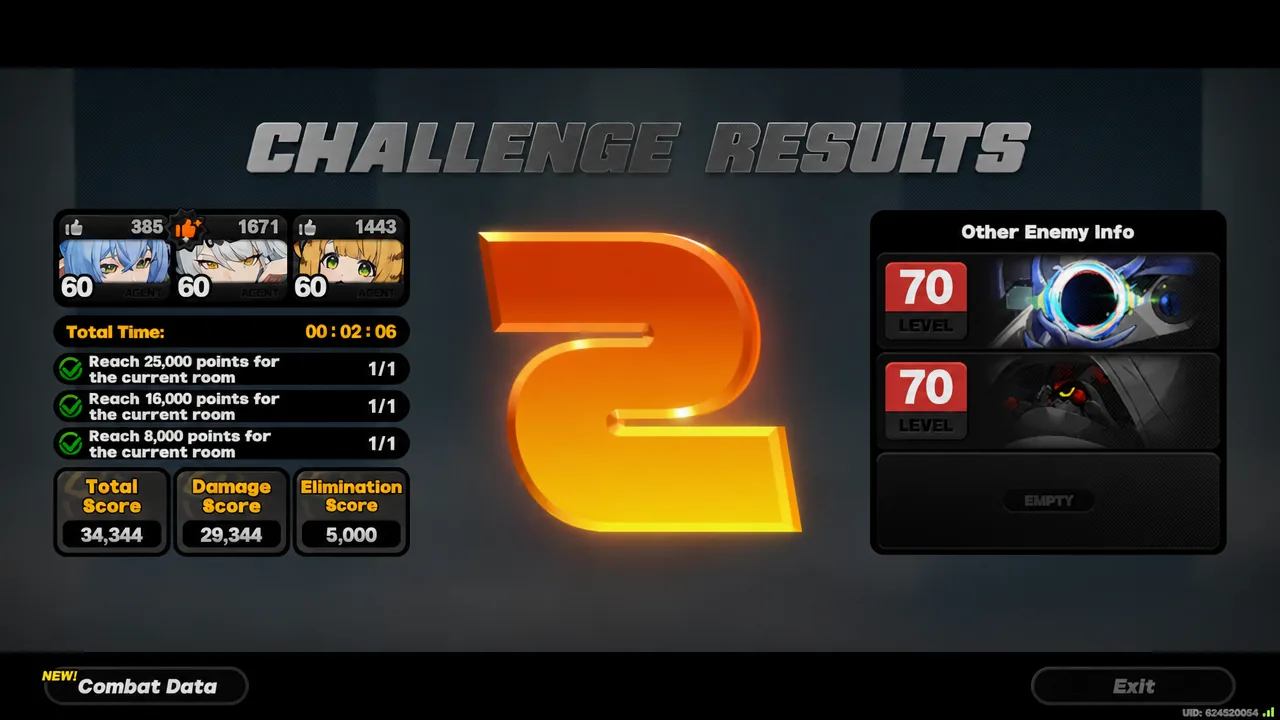
Each room hands out a Total Score built from a damage score plus a flat 5,000 elimination score for wiping the room, and a single room tops out at 50,000. Faster clears push the damage score higher, so the practical way to raise your total is to shave seconds off each fight rather than to grind for a fourth attempt at the same room.
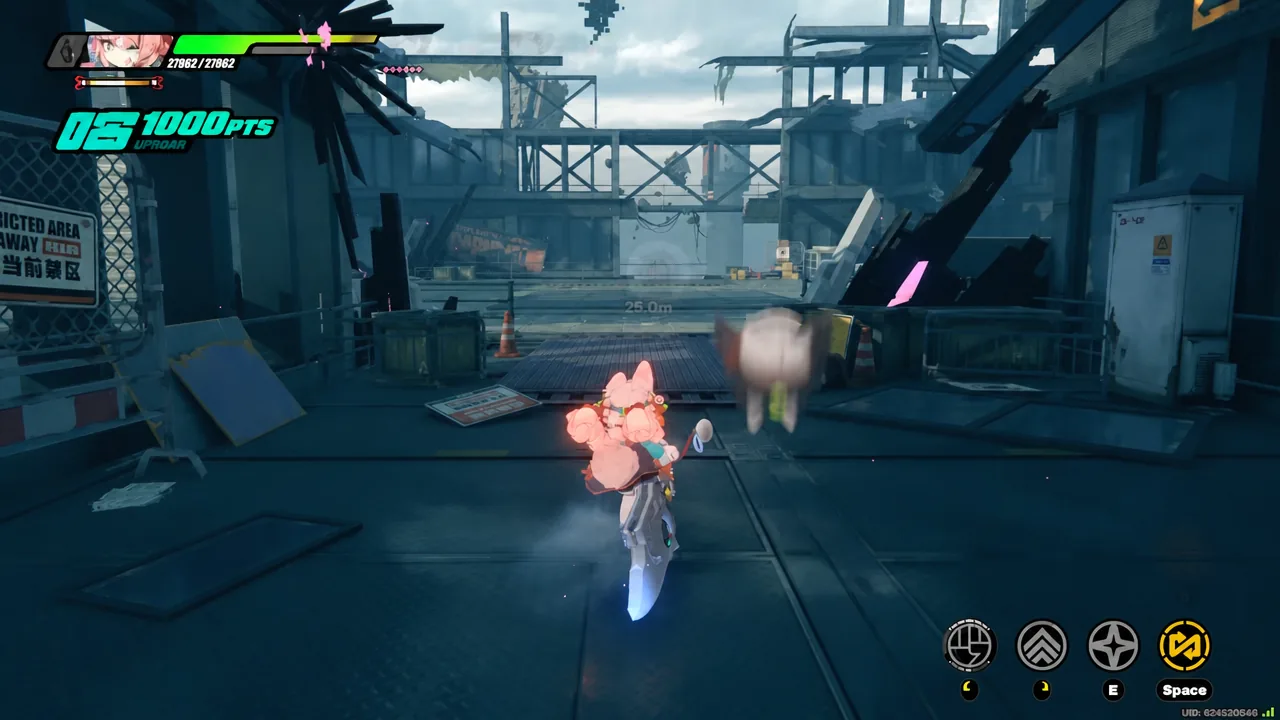
The in-combat HUD tracks your progress against the room’s own target while you fight, so you can tell mid-run whether a room is going to clear the bar or whether it is worth restarting. Aiming for 25,000 or more in every room is the safe way to guarantee the 100,000 season total.

Room buffs, weaknesses, and resistances
Every room in the 3.1 Critical Node rewards a specific kind of team, and each one also blocks a damage type outright. Reading the resistance line before you lock a squad matters more than raw investment here, because a hypercarry parked in the wrong room simply will not hit the score target.
| Room | Buff | Weak to | Resists |
|---|---|---|---|
| Stage 1 (Metamorphosed Avarus) | +10%/+60% Anomaly DMG and +500/+1,500 starting Decibels with 2 or 3 Anomaly agents | Wind | Fire |
| Stage 2 (Doppelganger Starlight Billy) | +40% Ultimate and Chain ATK DMG; Chain hits raise Stun DMG multiplier 20% and slow Daze recovery for 15s | Fire, Electric | Physical |
| Stage 3 (Sacrifice: Heretic Jester) | +30% Electric and Ice DMG; Attackers gain +30% Crit DMG for 20s after an EX Special ATK | Electric, Physical | Ether |
The Fourth Frontier runs the same Anomaly buff and finishes on a Corruption-infected Scorpse, so an Anomaly core built for Stage 1 doubles as your warm-up there.
Setting up three squads for the S+ clear

What a 128,762-point S+ run looks like
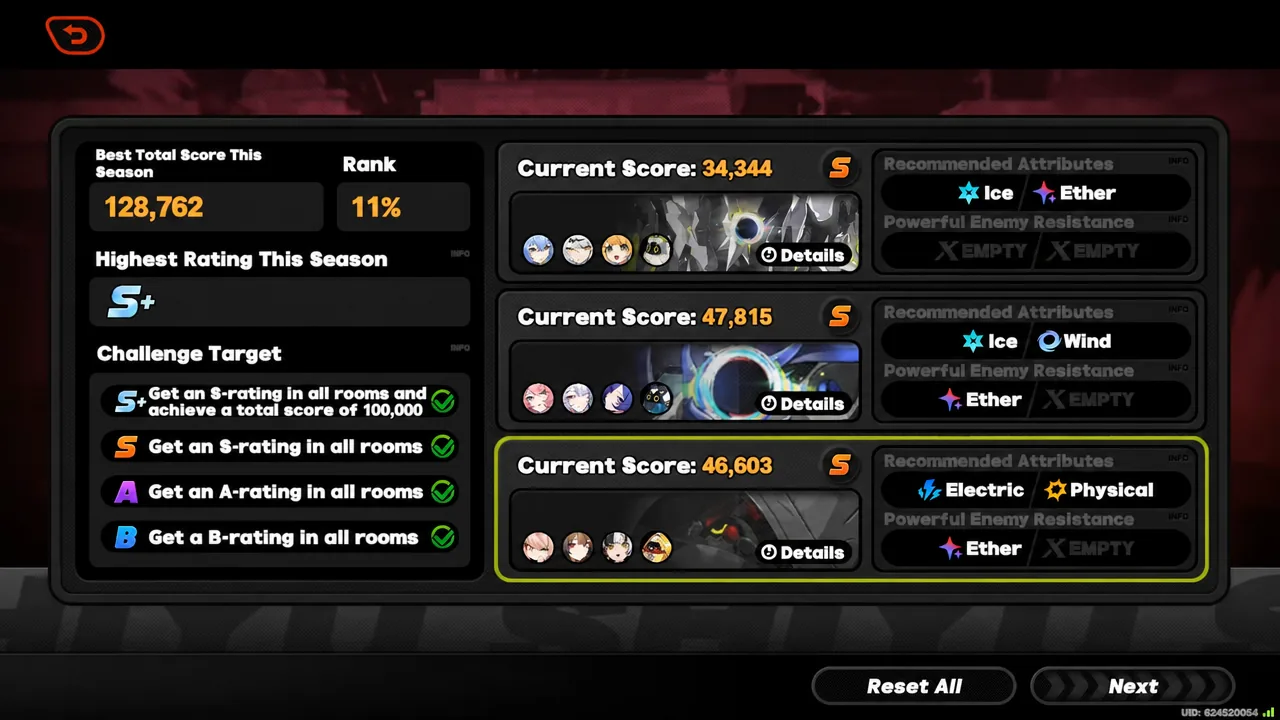
A high-end run from September 4 landed 128,762 total and a top 11% percentile, with every room finishing at S. The squads in that run used custom skins and renamed models, but the underlying agents, W-Engines, and clear times are what produced the score.
| Room | Squad | Time | Score |
|---|---|---|---|
| Stage 1 | Lucia Elowen, Yixuan, Ju Fufu | 02:06 | 34,344 |
| Stage 2 | Remielle Dan, Velina Airgid, Promela | 01:13 | 47,815 |
| Stage 3 | Dialyn, Ye Shunguang, Pyrois | 01:25 | 46,603 |
Every agent in that clear sat at level 60 with a fully upgraded level 60 W-Engine and level 15 Drive Discs. That is the ceiling, not the requirement. A low-spend clear at 110,175 also cleared the S+ bar with a much lighter roster, and the difference between the two is percentile placement rather than the rating itself.
Boss mechanics that decide your score
Metamorphosed Avarus curls into a ball and rams three times, and it is invulnerable during that roll. Parrying interrupts the assault and weakens it, while attacking through the roll is a pure damage loss. Its Corruptive Barrier also adds interruption and Crit DMG resistance, which is why sustained Anomaly pressure beats a single frontloaded burst.
Doppelganger Starlight Billy is the room most likely to sink a run. He has a small hitbox, moves erratically on his bike, and carries invulnerability frames across several attacks. Parrying a bike attack knocks him off, and after his bike-slam he enters an enhanced state that needs two parries instead of one. Stunning him and dumping Chain ATKs is the more reliable route.
Sacrifice: Heretic Jester signals its ambush wind-up with a red-yellow cloud and is invulnerable through it. Parrying the third knife after the Miasmic Field strips roughly 75% of its shield, which is the window that makes the final room fast.
Confirming the S+ rating and claiming rewards
After each room, the Challenge Results screen shows the rating, the Total Score with its damage and elimination breakdown, and the clear time. Combat Data on that screen opens the per-agent statistics if you want to see which slot is dragging the score down before you retry.
Once all three rooms are green, the season overview lists Best Total Score This Season, your percentile rank, and Highest Rating This Season. If that last line reads S+, the clear registered and the Critical Node rewards are ready to collect from the reward menu.
Why the S+ rating does not trigger
- One room finished below S rating. Every room has to be S, regardless of how high the other two scored.
- Three S rooms but a season total under 100,000. Both conditions are required.
- A Physical carry sent into the Billy room, or a pure Ether hypercarry sent at the Jester. Both rooms resist those types and the score falls short.
- A Fire team on Avarus, which resists Fire and stalls behind its Corruptive Barrier.
- Only one or two built squads. Agents cannot be shared between rooms, so a thin bench caps the total.
The Critical Node resets twice a month, and the score attached to your account is the best total of the season, so a weak room can be re-run on its own without redoing the whole node. If one room is stuck a few thousand points short, retry that room with a tighter rotation instead of rebuilding the entire roster.





