
Many users have encountered the ‘DLLRegisterserver failed with error code 0x80070715’ error on Windows 10. With a name this complicated, it becomes a bit difficult to understand the issue, let alone fix it. In the following sections, we will discuss what the error is all about and the various effective fixes.
What is ‘DLLRegisterserver failed with error code 0x80070715’ error?
‘DLLRegisterserver failed with error code 0x80070715’ is generally encountered when users try to access Windows Security or the System Restore amongst others tasks on Windows 10. It indicates that the ‘DLL’ file is either corrupted or missing altogether. There are several other reasons for the error depending on the program or function that’s throwing up the error.
The details of the error might sound a bit intricate but the fixes on the other hand are very simple and easily executable. Before you move to the fixes, try rebooting the Windows once as it has proven to be an effective fix. If the error is not fixed after the reboot, execute the fixes mentioned in the article in the sequence that they are mentioned until one fixes the error.
1. Update Windows
Whenever you encounter an error on Windows 10, your first approach should be to update the Windows. With each update, Windows fixes several bugs and errors in the last update. Therefore, updating the Windows helps fix errors.
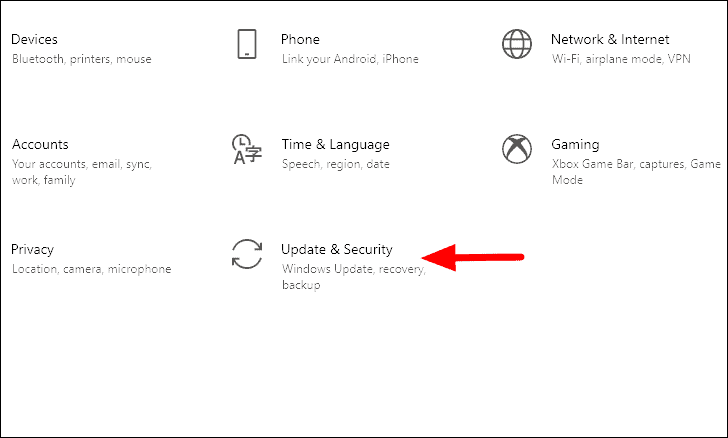
Press WINDOWS + I to launch the system ‘Settings’ and then click on ‘Update & Security’ from the list of options on the screen.
In the ‘Update & Security’, the ‘Windows Update’ tab will open by default. Next, click on ‘Check for updates’ on the right to check the available updates. If there are any available updates, Windows will download and install them.
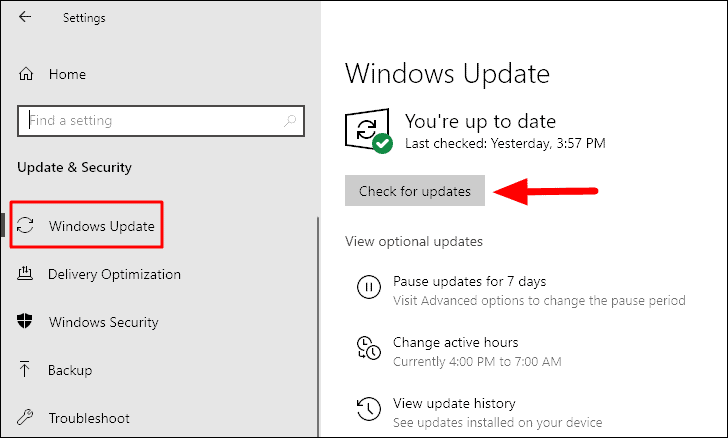
Once the computer restarts after the update, check if the ‘DLLRegisterserver failed with error code 0x80070715’ is fixed.
2. Start Volume Shadow Copy
In some cases, if the ‘Volume Shadow Copy’ service is disabled, you would encounter the ‘DLLRegisterserver failed with error code 0x80070715’ error. You can start the service from the ‘Services’ app on Windows 10.
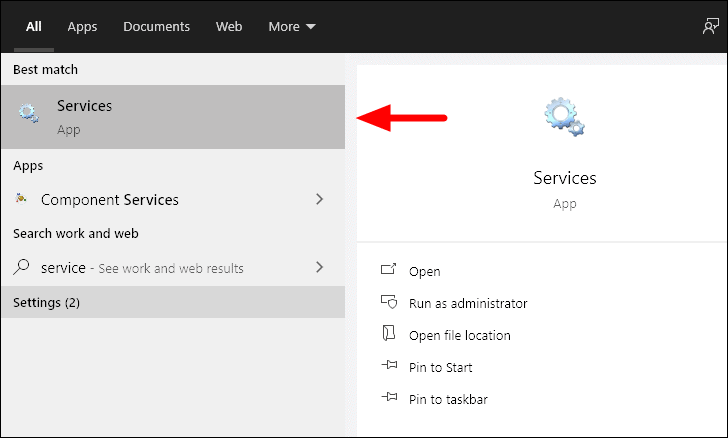
To start the ‘Volume Shadow Copy’ service, search for ‘Services’ app and then launch the app from the search results.
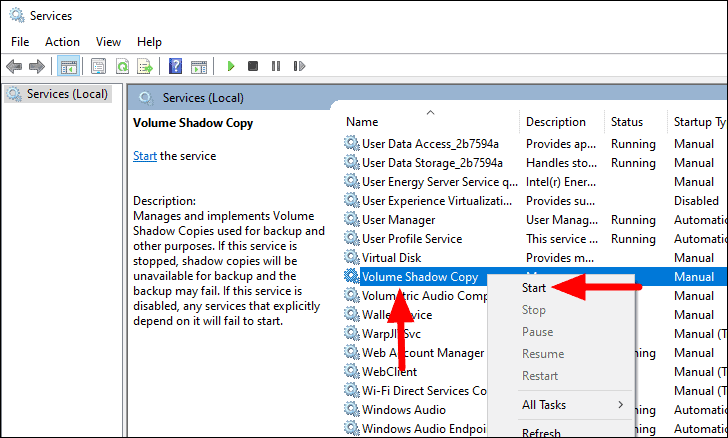
In the ‘Services’ app, scroll and locate the ‘Volume Shadow Copy’ in the list. The services are listed in alphabetical order, so you would be able to easily locate it. Right-click on the ‘Volume Shadow Copy’ service and then select ‘Start’ from the context menu.
Once you have started the service, check if the error is fixed. If not, move to the next one.
3. Re-register DLL Files for Volume Shadow Copy Service
If the above fix didn’t work for you, try re-registering the DLL files required for the ‘Volume Shadow Copy’ service. Before you proceed with the re-registering, make sure that you have started the ‘Volume Shadow Copy’ service.
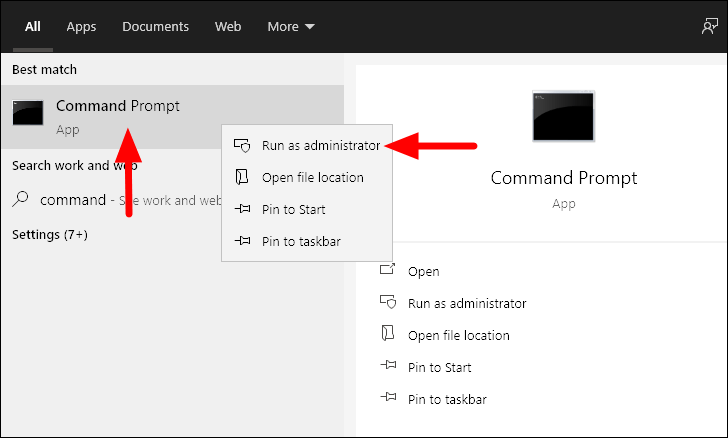
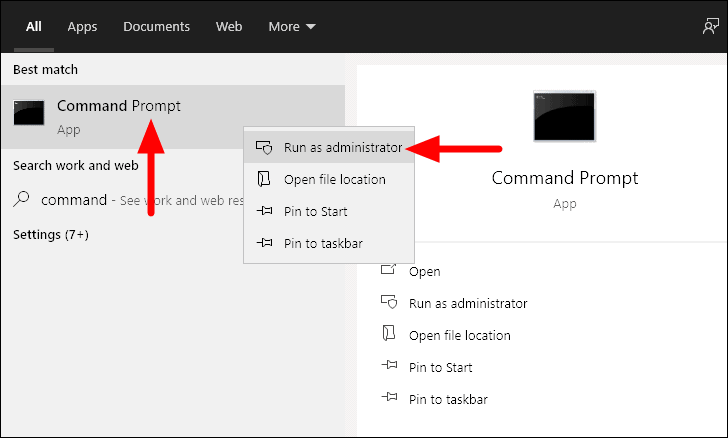
To re-register the DLL files, search for ‘Command Prompt’ in the ‘Start Menu’. Next right-click on the search result and select ‘Run as Administrator’ from the menu.
In the ‘Command Prompt’ window, enter the following commands one at a time and then press ENTER each time to execute them.
net stop vssnet stop swprvregsvr32 ole32.dllregsvr32 vss_ps.dllvssvc /registerregsvr32 /I swprv.dll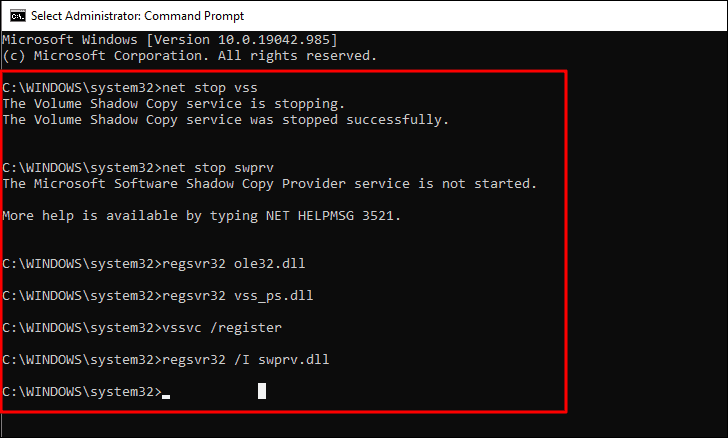
Once you are done executing the commands, restart the computer and check if the error is fixed.
4. Reset Windows Security
If you are having trouble accessing Windows Security, chances are that some files in the security suites are corrupted. Resetting the Windows Security app will fix the issue. There are two ways to reset the app, either through the ‘Start Menu’ or ‘Command Prompt’.
Reset Windows Security with Start Menu
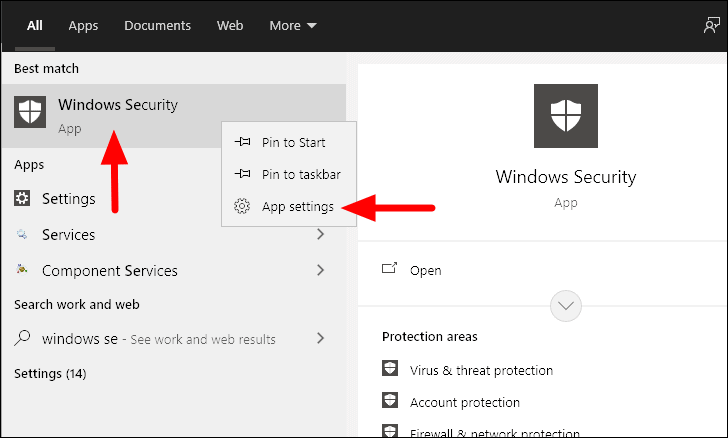
To reset Windows Security app, search for it the ‘Start Menu’, right-click on the search result, and then select ‘App settings’ from the context menu.
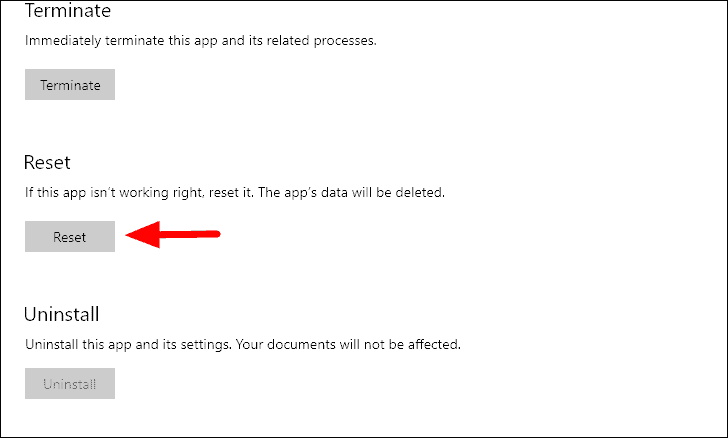
In the ‘Windows Security’ app settings, scroll down and then click on the ‘Reset’ option. This will reset the app altogether and fix any corrupt files issue.
Reset Windows Security with Command Prompt
Another way to reset the Windows Security app is with Command Prompt.
To reset the Windows Security app, search for ‘Command Prompt’, right-click on the search result, and then select ‘Run as administrator’ from the menu.
In the ‘Command Prompt’ window, enter the following command and press ENTER.
PowerShell -ExecutionPolicy Unrestricted -Command "& {$manifest = (Get-AppxPackage *Microsoft.Windows.SecHealthUI*).InstallLocation + '\AppxManifest.xml' ; Add-AppxPackage -DisableDevelopmentMode -Register $manifest}"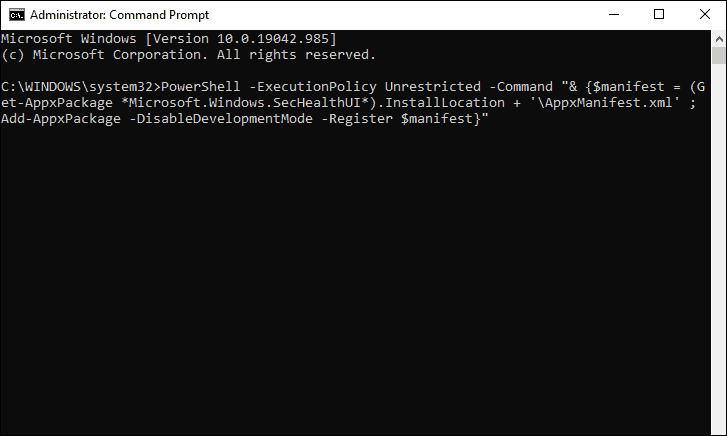
Once you have reset the Windows Security app, check if the ‘DLLRegisterserver failed with error code 0x80070715’ error is fixed and you can access the Windows Security app.
5. Enable Windows Update Service
If you are still unable to fix the error, try enabling the ‘Windows Update’ service. With the ‘Windows Update’ service disabled, Windows Security or other erring programs won’t be able to download the latest security signatures.
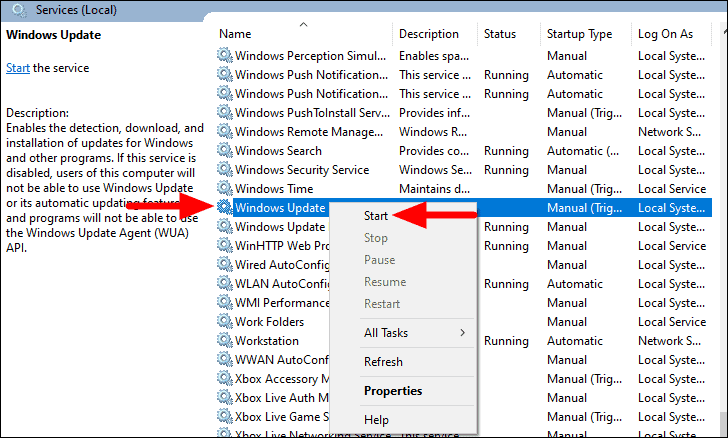
To enable the ‘Windows Update’ service, launch the ‘Services’ app as discussed above and then locate the ‘Windows Update’ service option in the list. Next, right-click on it and then select ‘Start’ from the context menu.
After you have started the service, reboot the Windows and check whether the error has been fixed.
6: Reset Windows
If none of the above fixes have resolved the ‘DLLRegisterserver failed with error code 0x80070715’ error, it’s time you reset the Windows. When you reset the Windows, you will lose the programs and current system settings but have the option to either keep the files or remove them altogether.
After the reset is complete, the error would definitely be fixed. However, this should be the last fix that you go for as you would be losing precious data. Also, the other fixes are quick while resetting the Windows takes considerable time.
Once the error is fixed, you can access all the programs and functions that were otherwise inaccessible to you. You can now enjoy the uninterrupted Windows experience, the way it’s meant to be.


