Clearing gardens by hand is slow, and the leaderboard rewards players who cut that time down. Two tools, a set of capacity upgrades, and a working understanding of Rebirth turn a tedious pickup grind into a fast, repeatable loop. Here is exactly how each system works and the order that gets you unlocking new areas quickly.
Quick answer: Buy Grab upgrades and a Rake from the Shed, clear the Greenhouse to get the Garage Key and buy the Leafblower, raise Leaf Capacity in the Shed (and later the Basement), then max every upgrade and clean all unlocked areas before using the Fountain to Rebirth.
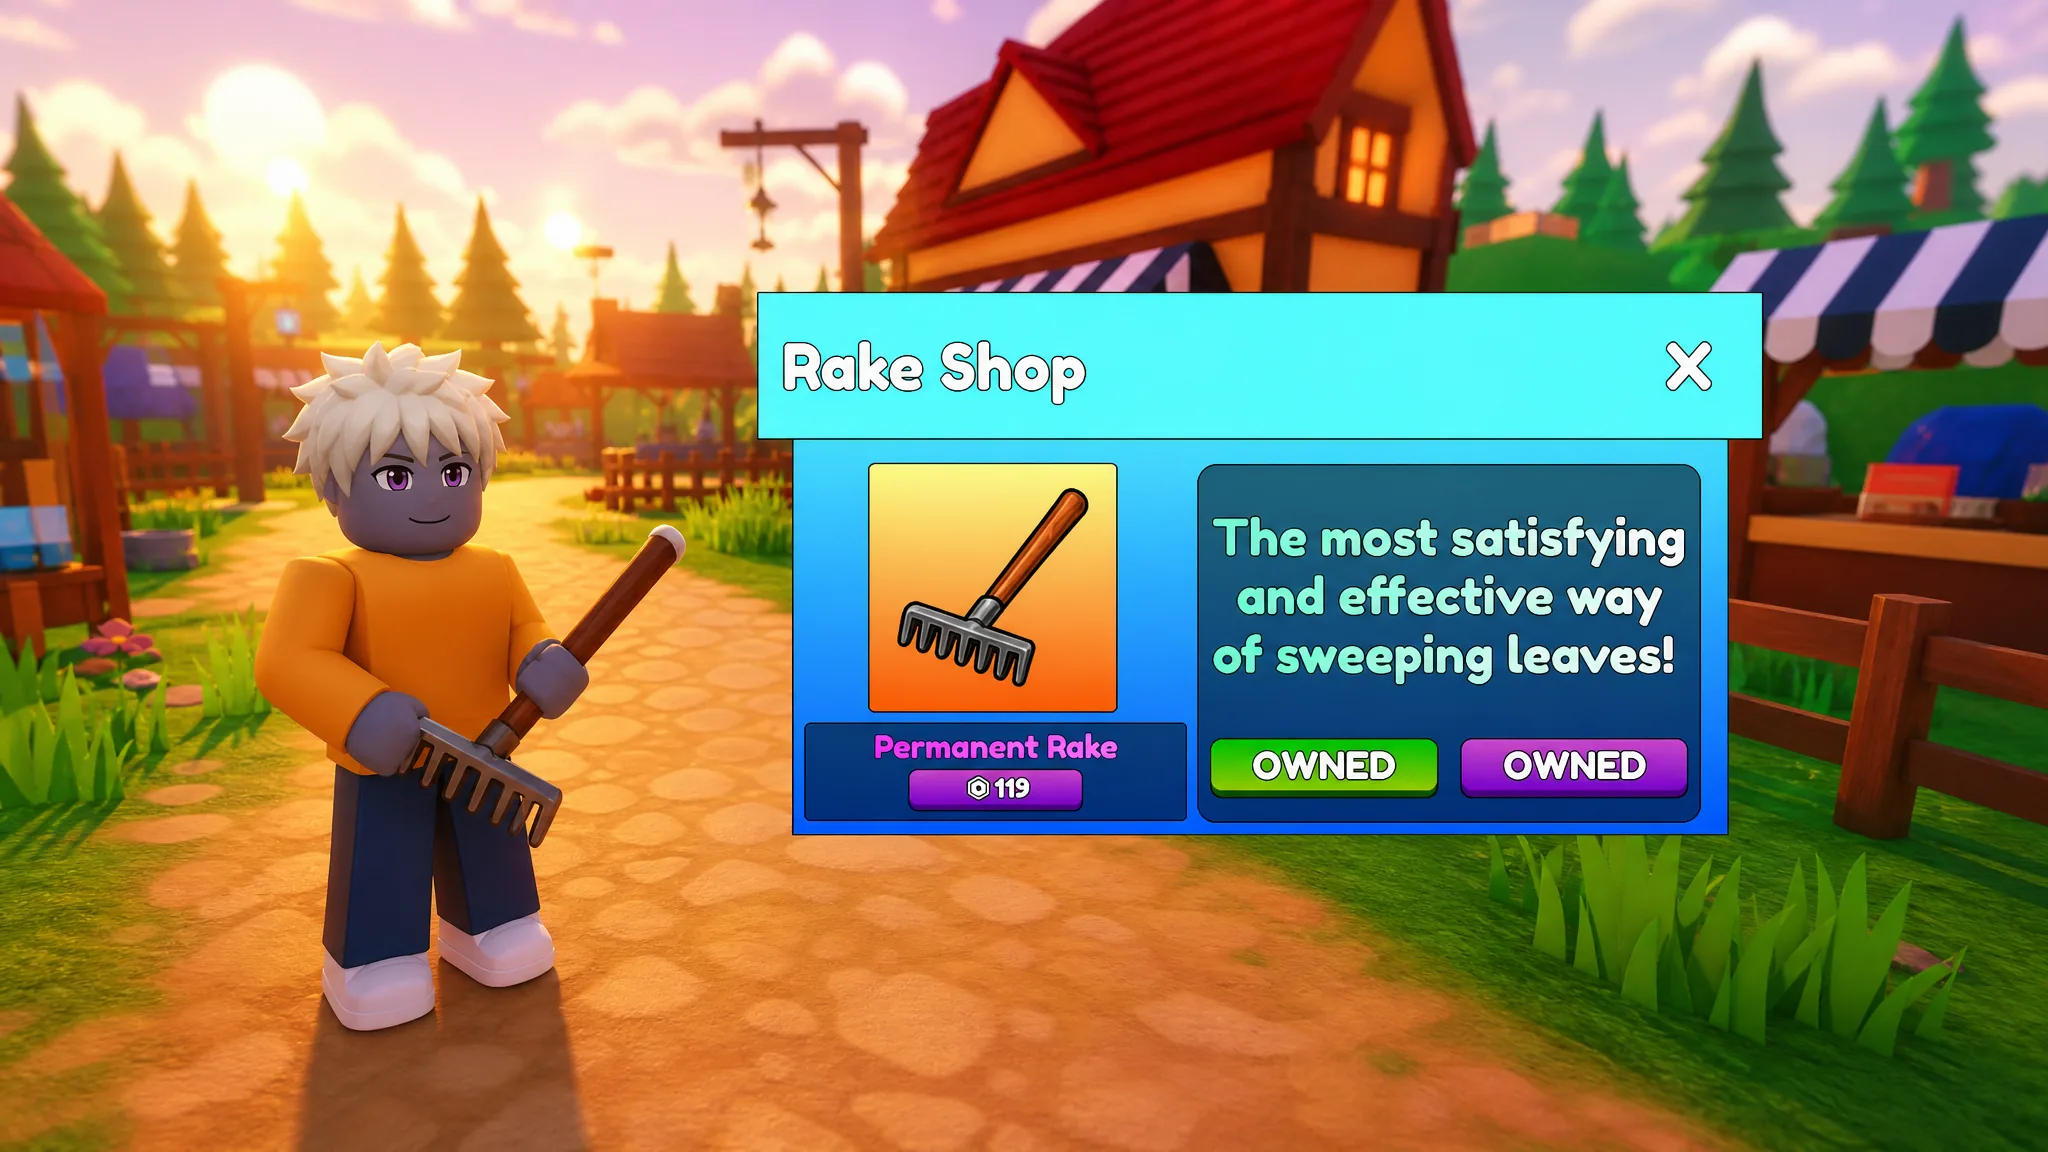
Get the Rake to clear leaf piles in one swing
You start by picking up leaves one grab at a time. Grab upgrades from the Shed increase how many leaves each pickup collects, but tools are what clear whole areas in seconds. There are two tools in the game, and the Rake is the first one to chase.
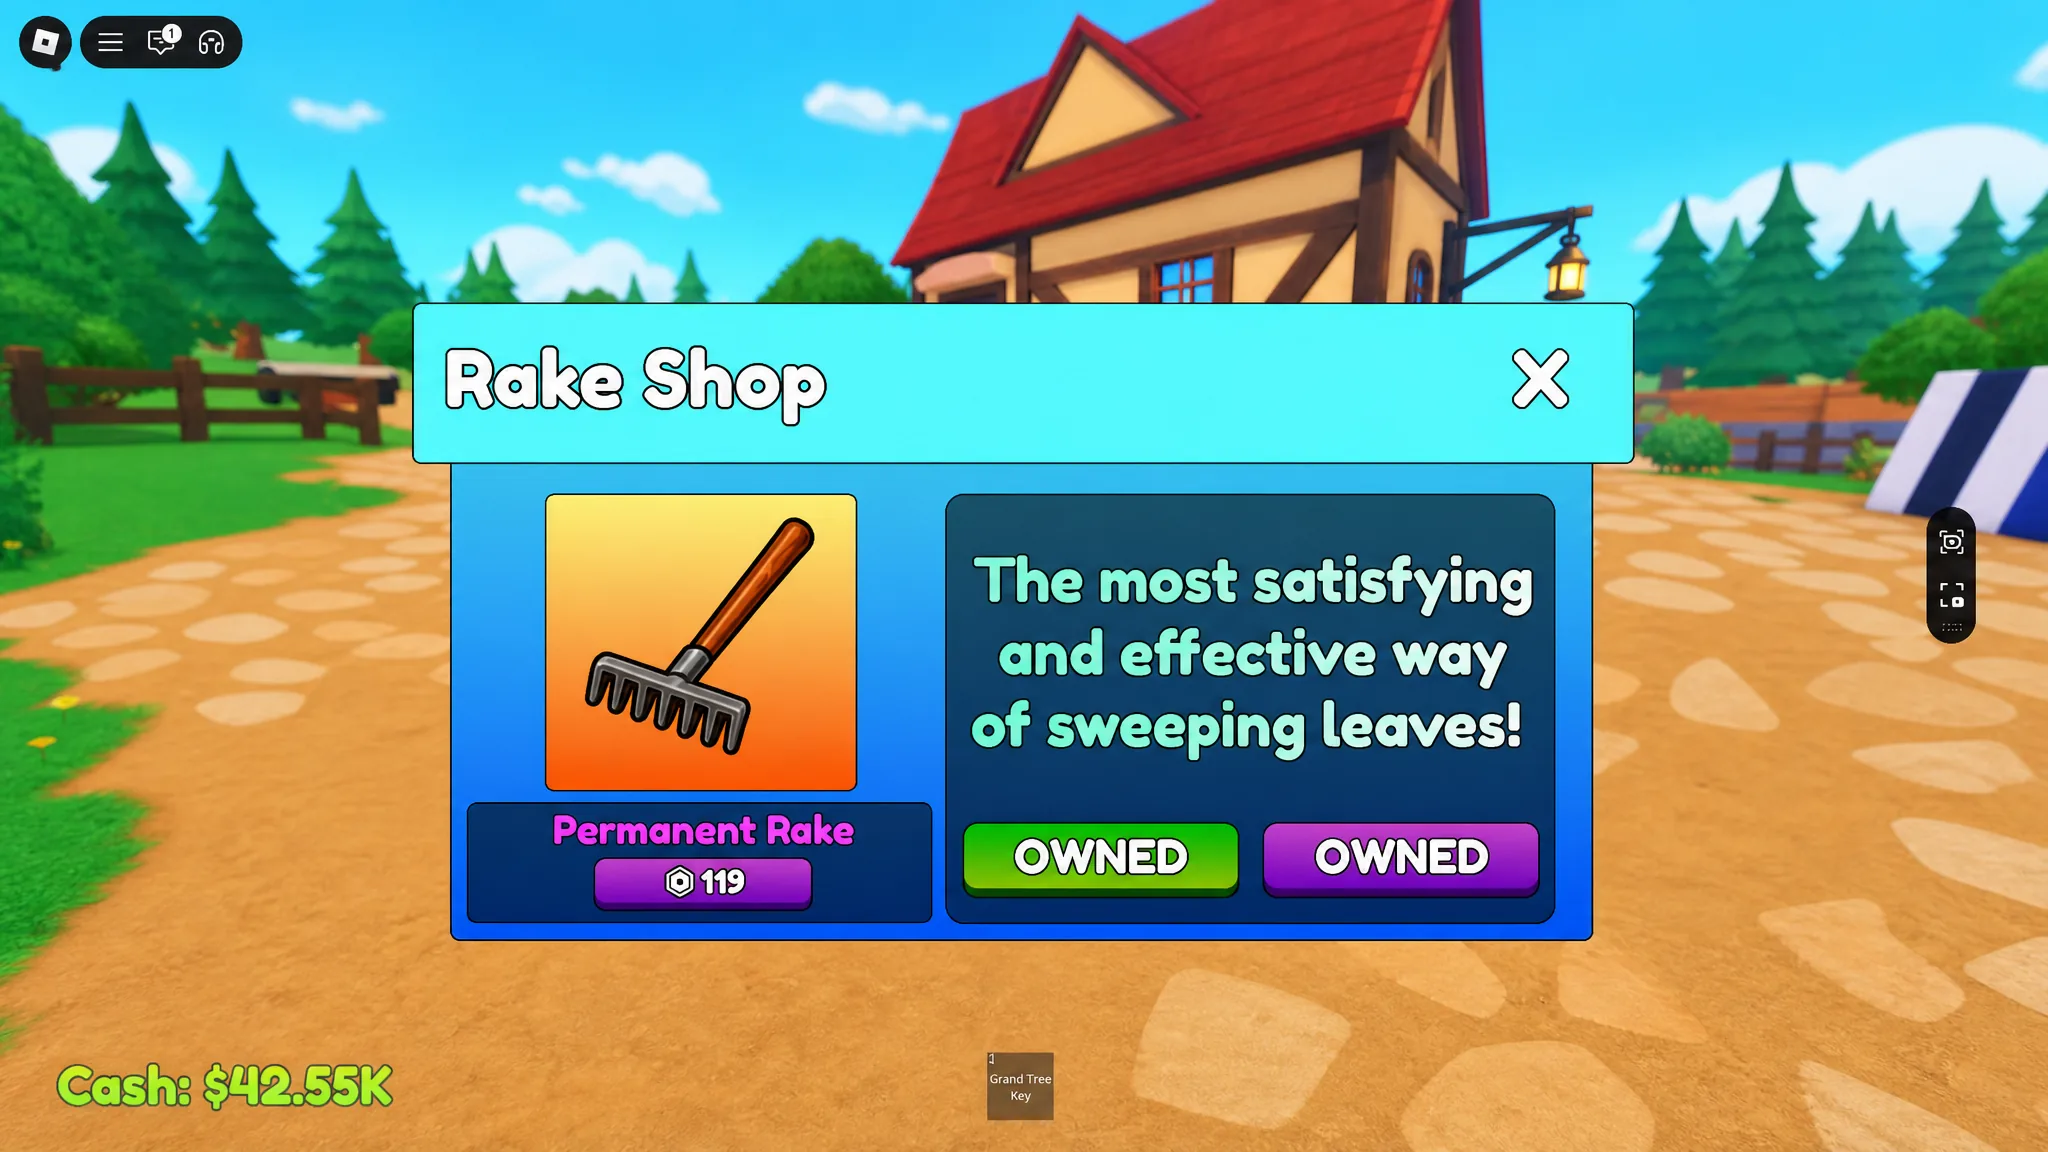
There are two ways to get it. The first is buying it from the Shed with Cash or Robux. A Cash-bought Rake is lost when you Rebirth, while the Robux version at 119 Robux is permanent. The second way is redeeming a code that grants a free Rake, which can only be claimed once and is enough to carry you through Rebirth 1. That code Rake is also lost when you complete the Rebirth.
Unlock the Garage and buy the Leafblower
The Leafblower is the stronger tool, and reaching it takes a short chain of steps. Clear the starting area to unlock the Garden, then clean the Greenhouse to earn the Garage Key. With the key, open the Garage to buy the Leafblower.
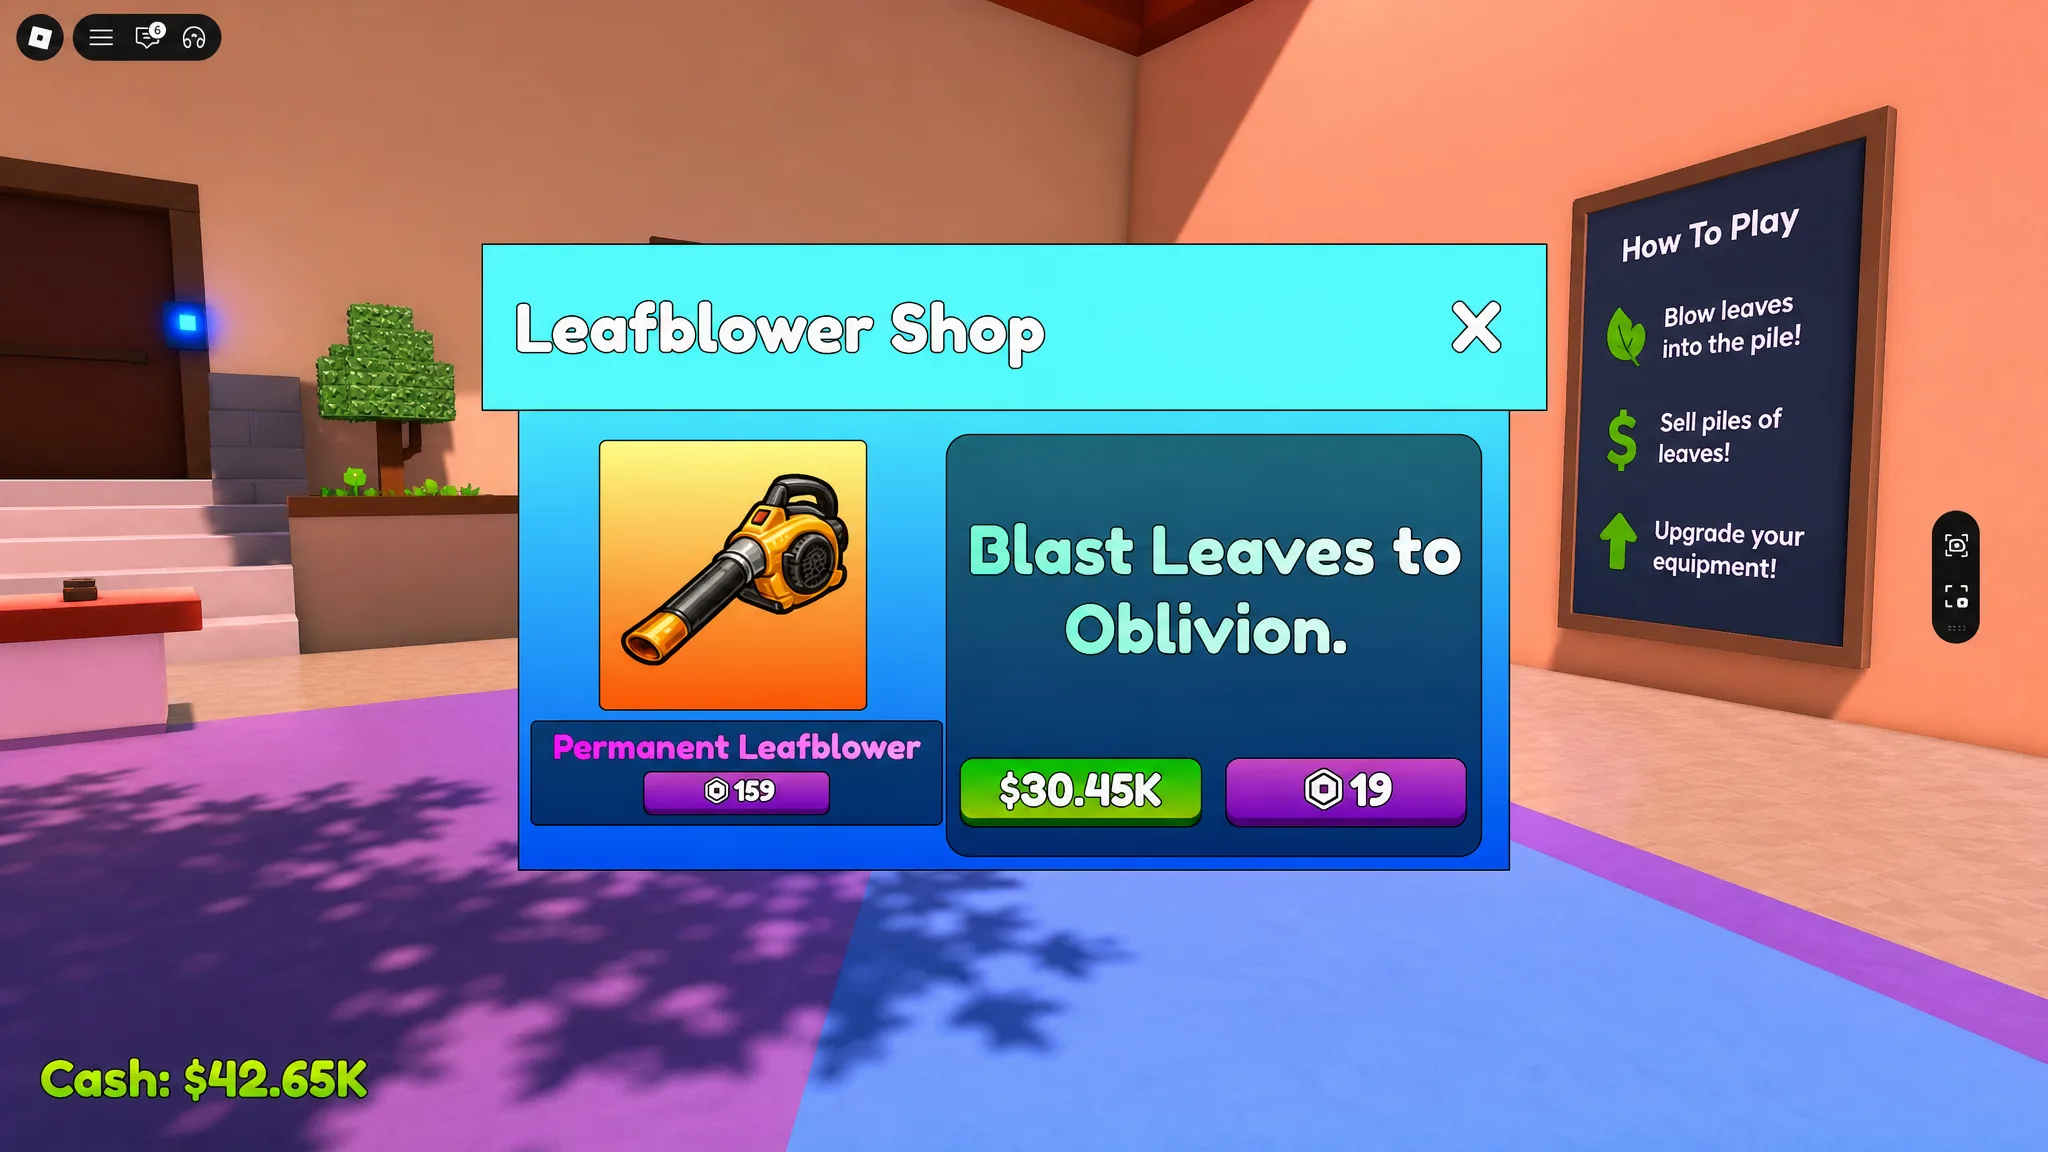
The purchase choices mirror the Rake. A Cash version is lost after Rebirth, while the permanent Robux version costs 159 Robux. A one-time code also grants a free Leafblower, and like the code Rake, that free version disappears when you Rebirth.
Tip: After a few Rebirths, skip the Rake entirely. Go straight for the Leafblower and pour upgrades into its battery for the fastest clears.
| Tool | Where to buy | Robux cost (permanent) | Cash version |
|---|---|---|---|
| Rake | Shed | 119 Robux | Lost on Rebirth |
| Leafblower | Garage (needs Garage Key) | 159 Robux | Lost on Rebirth |
Raise Leaf Capacity in the Shed and Basement
Leaf Capacity controls how many leaves you can hold and sell in one trip. Higher capacity means fewer runs back to sell, which directly speeds up your cash income. You buy Capacity Upgrades from two places.
Clearing the starting area unlocks the Shed, where capacity tops out at 3.75K Leaves. To push past that limit, complete Rebirth 1 to open the Basement, whose entrance sits in the Garden area. The Basement sells further Capacity Upgrades, and its cap increases each time you Rebirth.
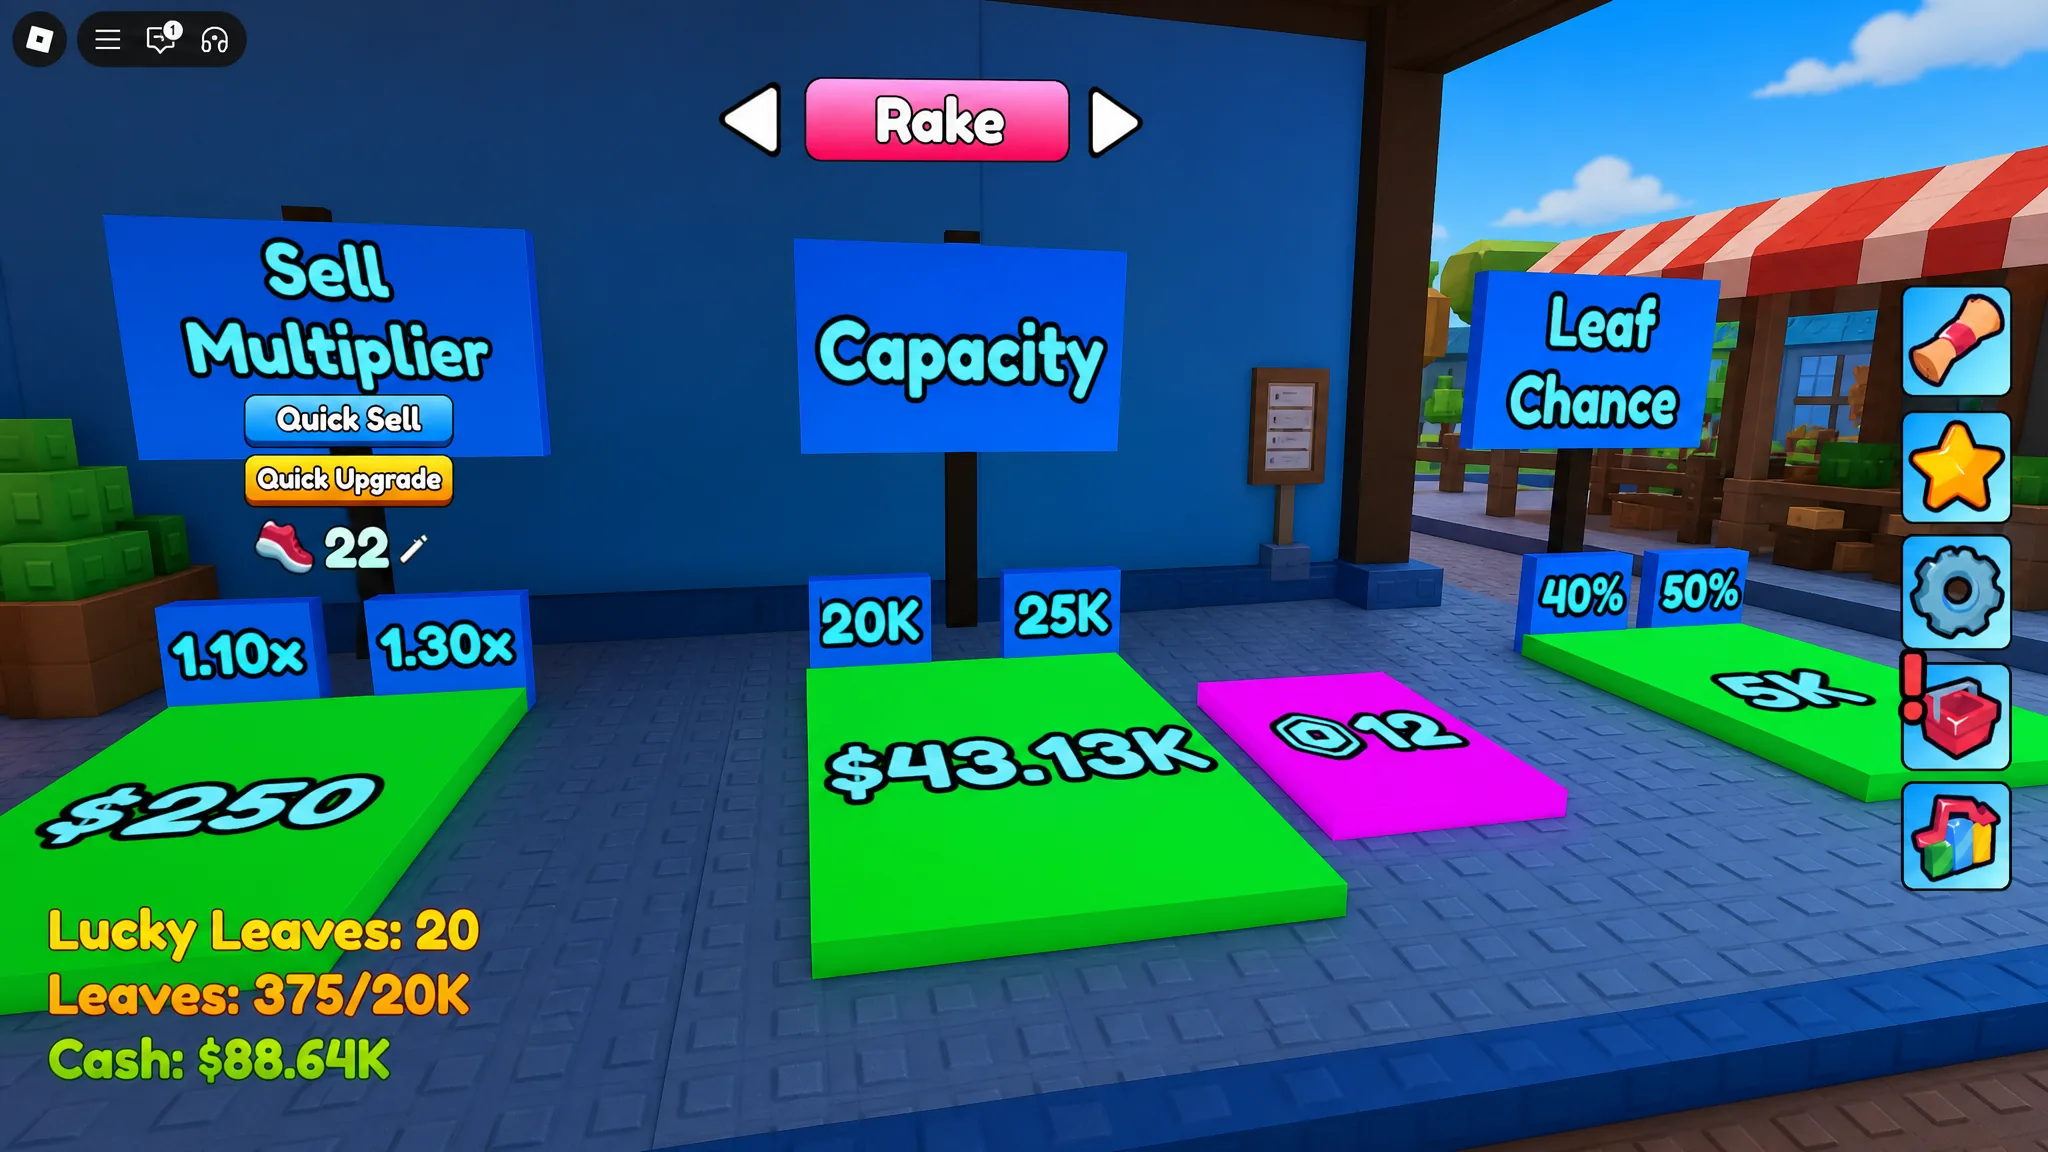
Note: Leaf Capacity upgrades are the one thing you keep through every Rebirth, so investing in them is never wasted.
How Rebirth works and what it takes
Rebirth is how you unlock more areas and access bigger upgrades. To trigger it, you must max out all upgrades (Grab, Rake, and Leafblower) and fully clean every unlocked area. Once both conditions are met, head to the Fountain to perform the Rebirth.
The Fountain sits on the far side of the Hedge Maze. Reach the Grand Tree area, move to the Pool, then navigate the Hedge Maze to find it. Interacting with the Fountain shows the exact requirements for your current Rebirth.
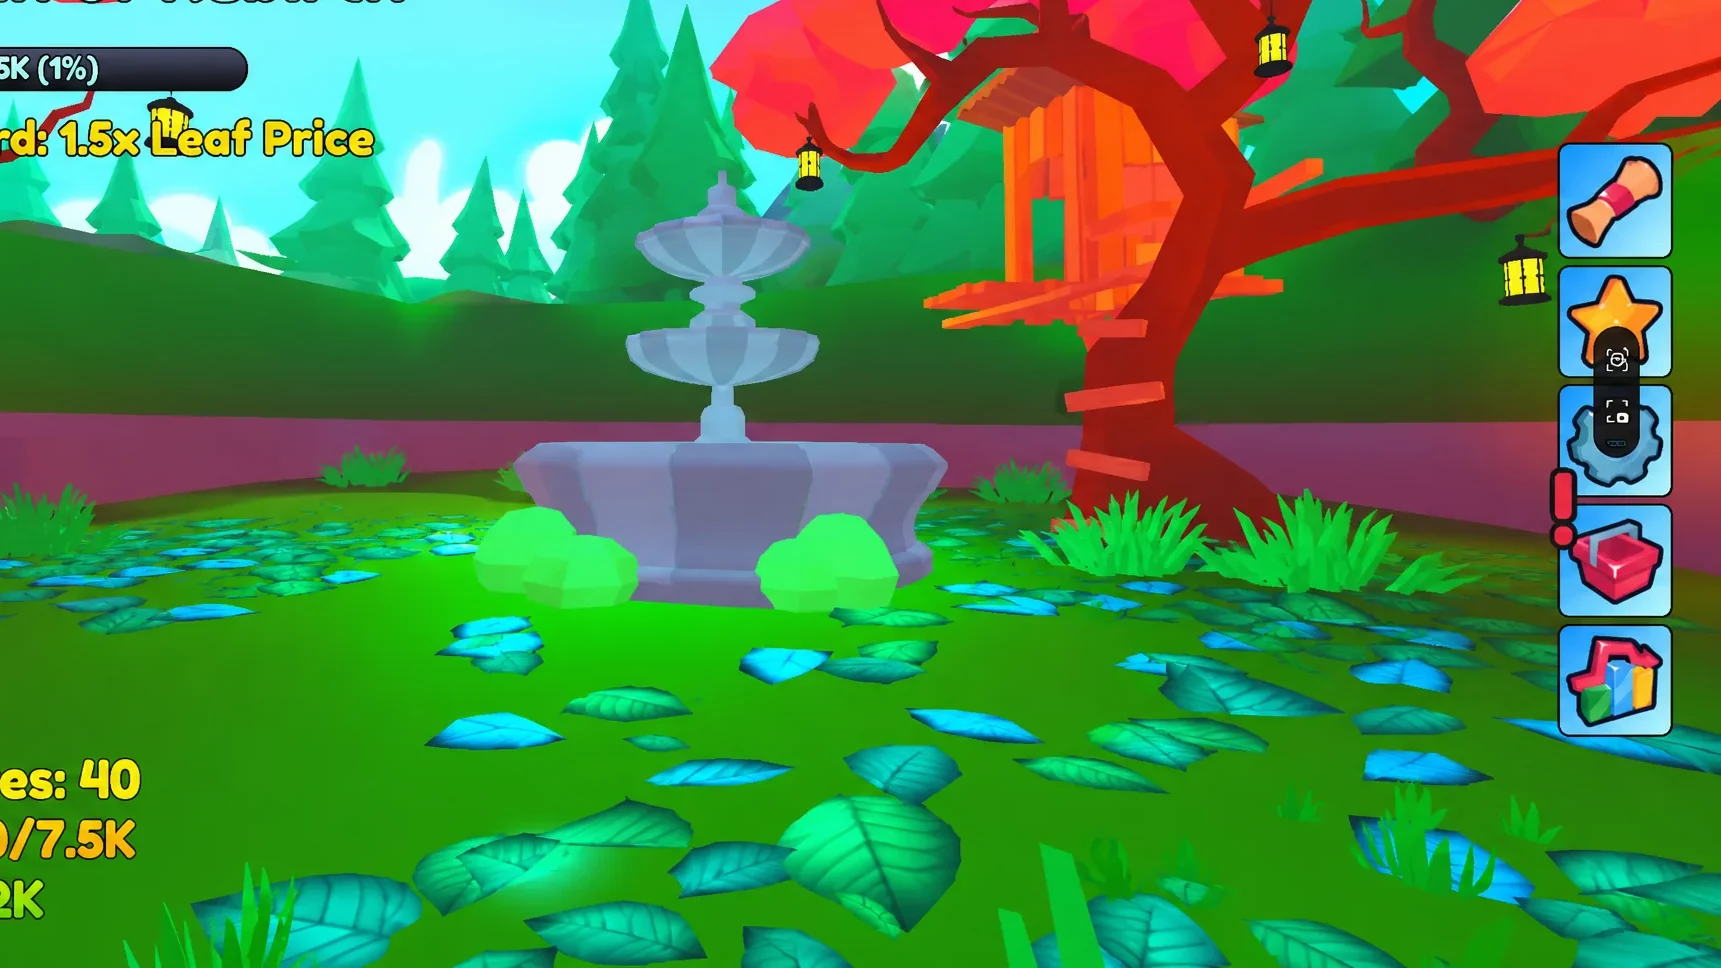
Each Rebirth resets your plot completely. You lose your Cash, Tools, and Upgrades along with access to areas you had unlocked. In return, leaves sell for more after every Rebirth, though Tools and Upgrades also cost more to match. Leaf Capacity upgrades are the exception and always carry over.
| Rebirth stage | Capacity requirement |
|---|---|
| Rebirth 1 | Max out the Shed’s Leaf Capacity Upgrades |
| Rebirth 2 and later | Max out the Basement’s Leaf Capacity Upgrades (cap rises each time) |
There is no maximum Rebirth. You can keep resetting to open every area and reach larger upgrades. Unlocking all areas currently in the game requires at least 25 Rebirths.
Use the Time Crystal when you run short on Cash
Sometimes you clean every area but still lack the Cash to max the Basement’s Capacity Upgrades. The Time Crystal solves this by resetting the leaves across your plot, bringing back everything you already cleared so you can pick it up and sell it again for more money.
To use it, you must have unlocked the Greenhouse, and you can only trigger the reset after cleaning 100% of all unlocked areas.
Lucky Leaves and how to spawn more of them
Lucky Leaves are a higher-value variant that sells for 5x the money of a normal leaf. They have a random chance to appear in every area of the map, so you will collect them naturally as you clean.
To see them more often, complete Rebirth 1 to open the Basement, then buy Lucky Chance Upgrades there. Each upgrade raises the spawn rate, which steadily increases your income per clear.
Secret Stars and the Stargazer title
While cleaning, you will spot yellow stars tucked into certain locations. These are Secret Stars, and claiming them advances a quest that unlocks the Stargazer title. There are five to find and claim in total.
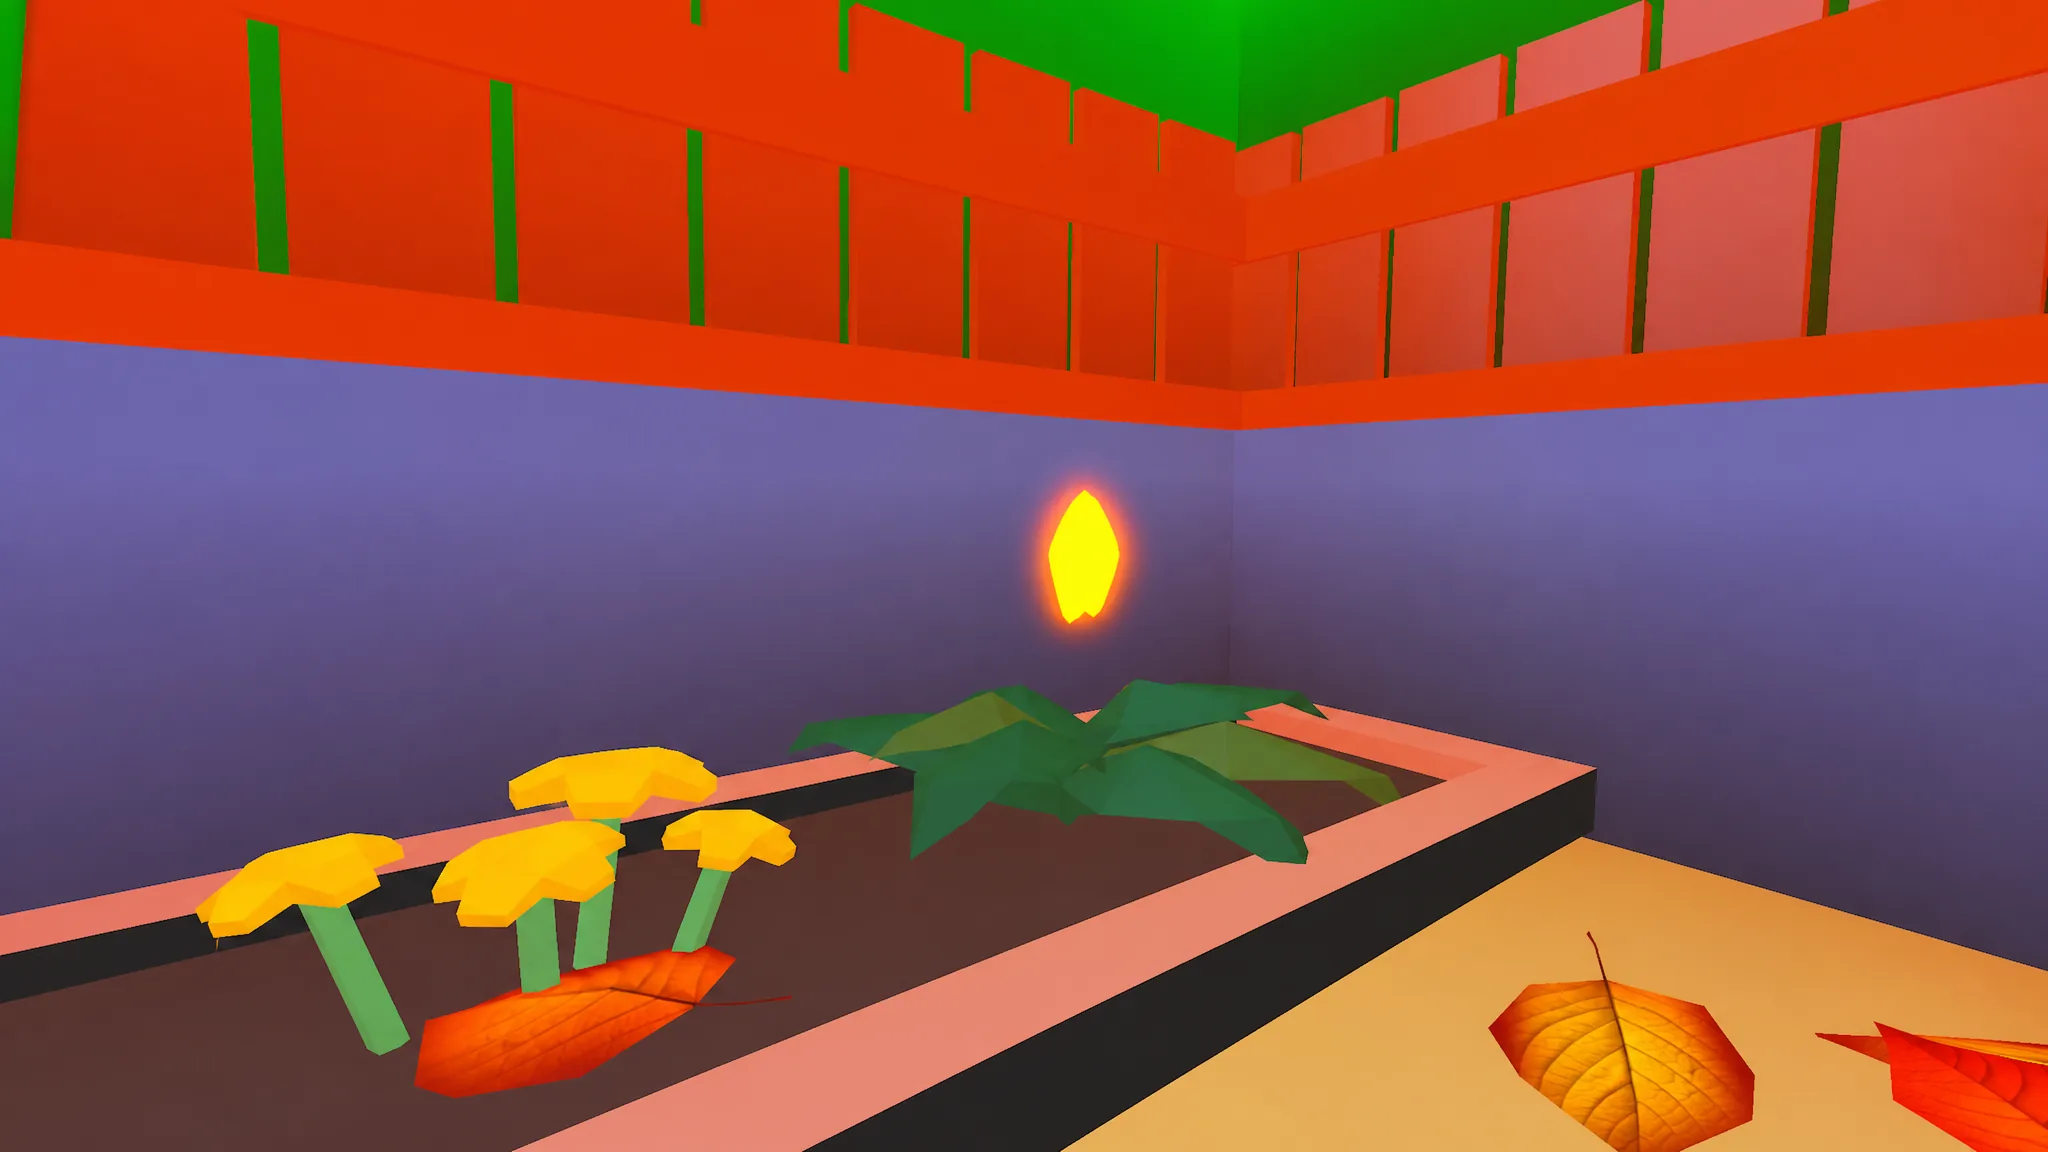
Titles like Stargazer are purely cosmetic and grant no buffs. To equip or switch your active title, click the Star icon on the right side of the screen.
Work the loop in order and progress compounds fast. Upgrade your Grab and Rake early, chain into the Leafblower once the Garage opens, keep pouring Cash into Leaf Capacity since it survives every reset, and treat Rebirth as a timing decision rather than a panic button. Once you understand what resets and what stays, each new run clears the map quicker than the last.