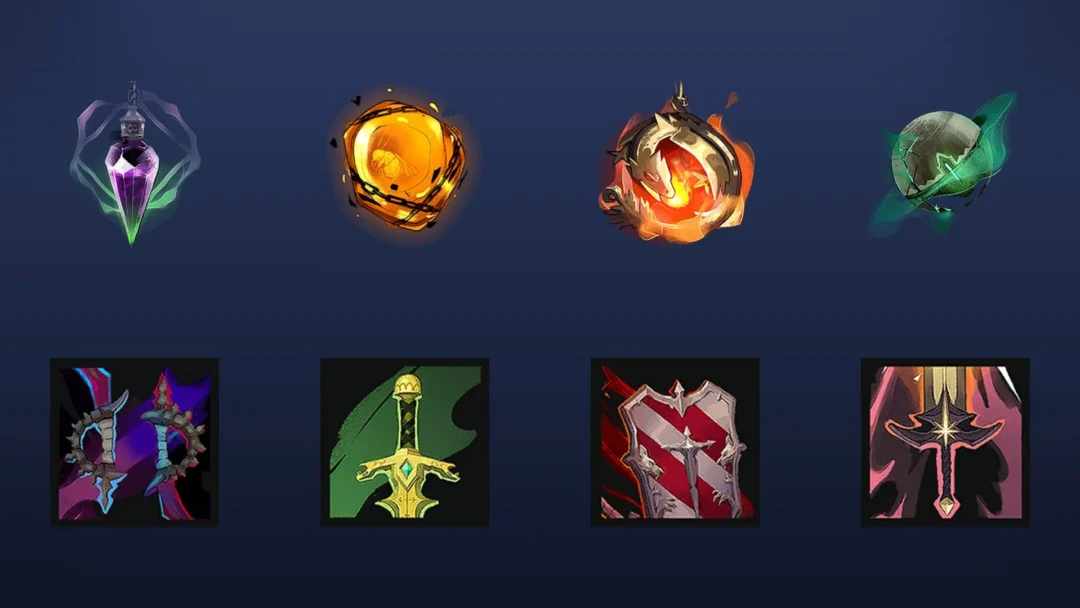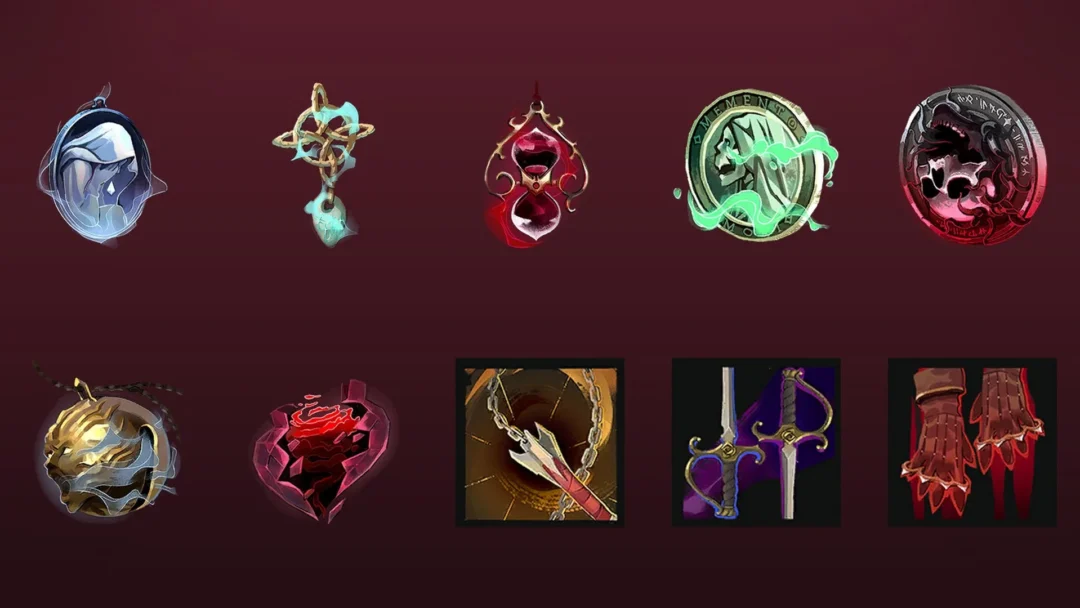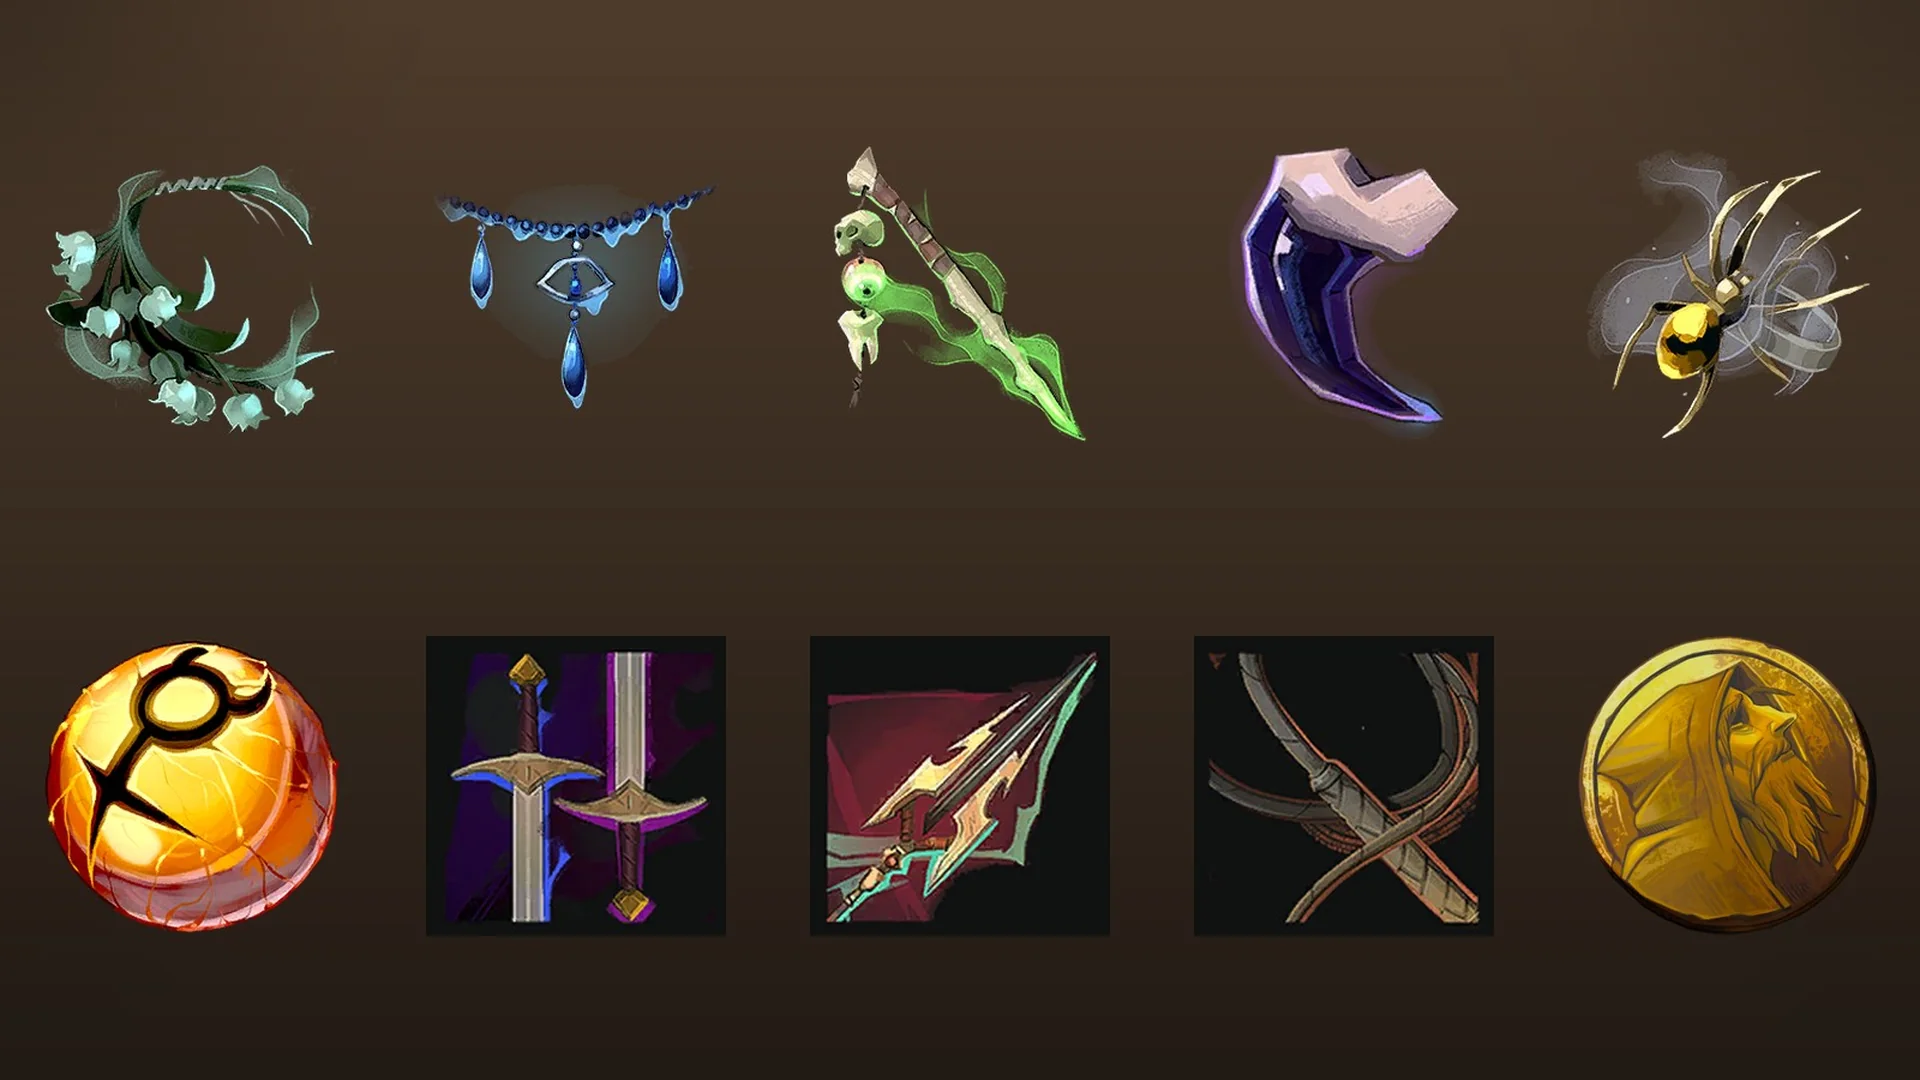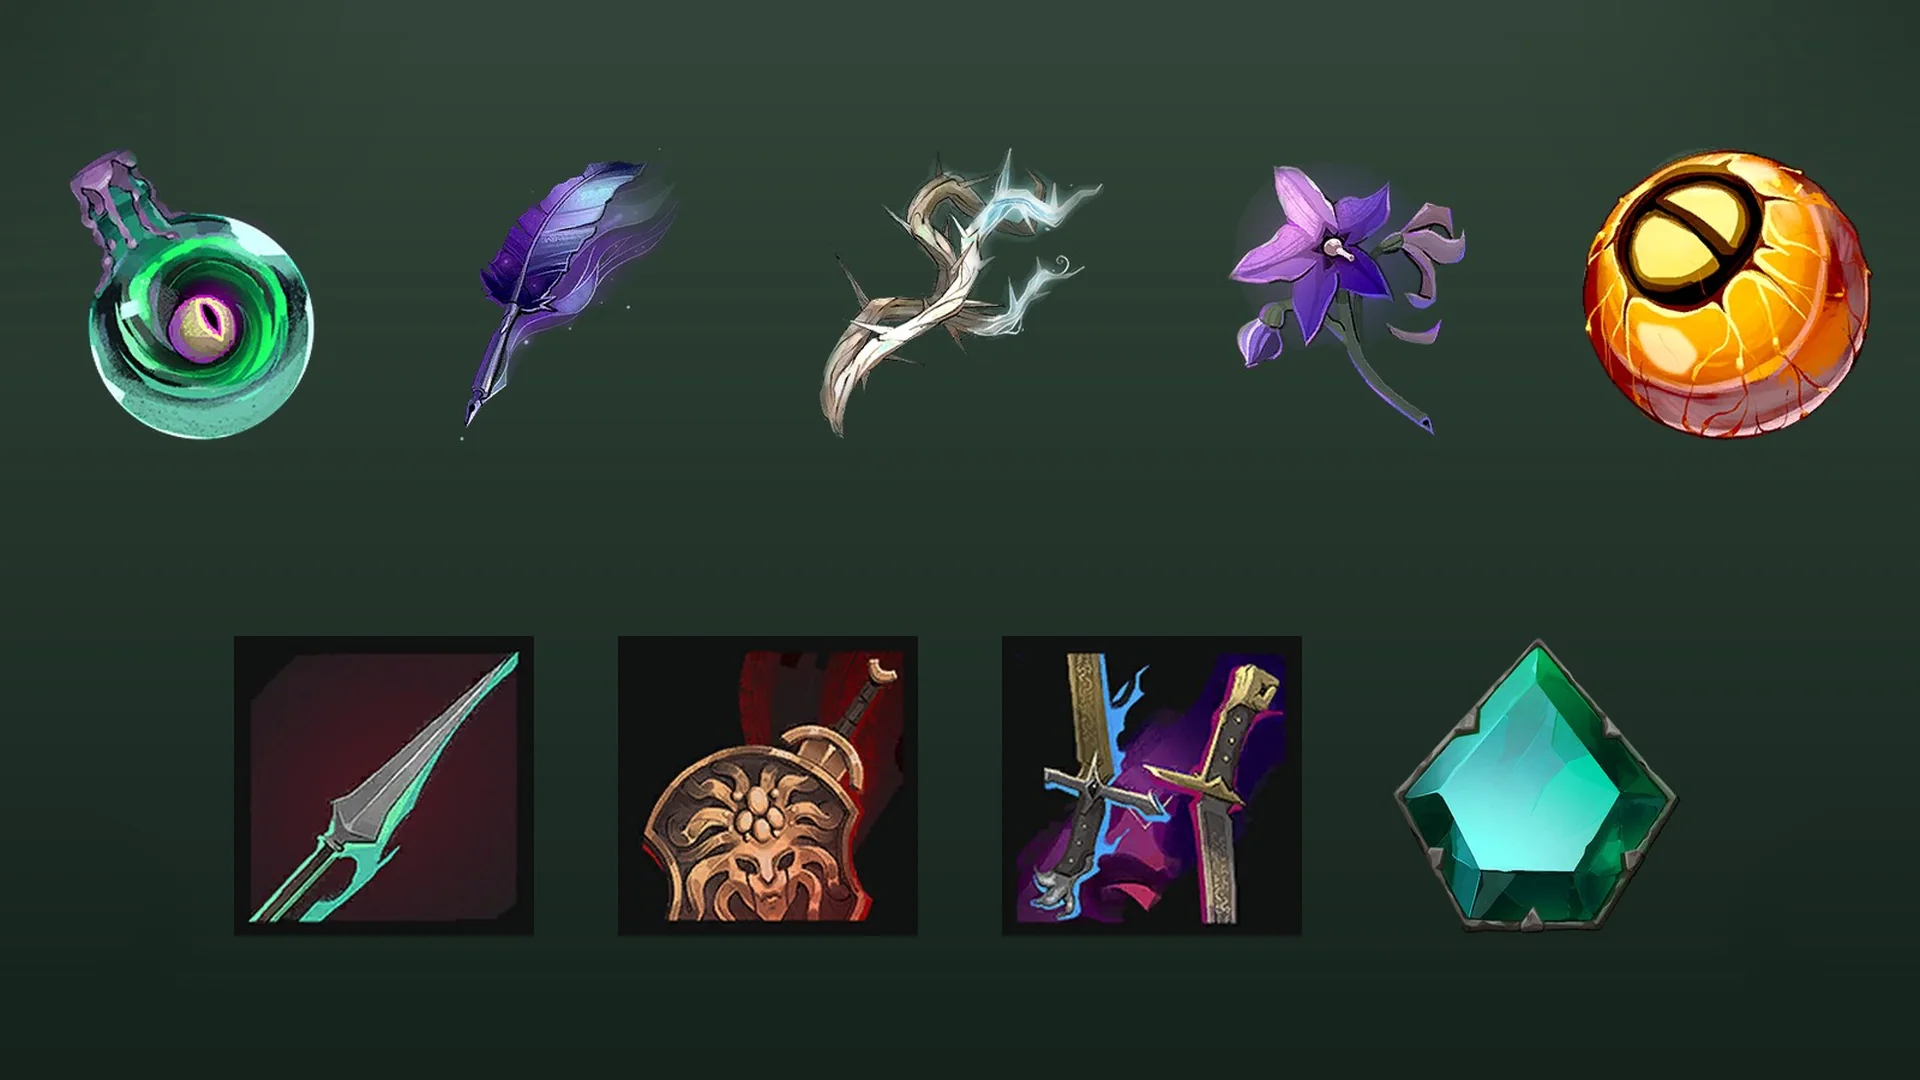
Your sword decides how fights play out in Beast of Reincarnation, but not in the way most action RPGs work. Raw numbers barely separate one blade from the next, so the real choice comes down to the special ability attached to each weapon and the element it applies. Pick the right effect for the fight in front of you and Emma clears rooms faster, survives longer, or melts bosses that resist everything else.
Quick answer: Take Purity for survivability, Shark Cutter for pure critical damage, and swap between Thunderwave Sword, Sunrise Sword, and Hunter’s Sword to hit boss elemental weaknesses. Cirrus Sword carries you through the early chapters.
Why sword abilities matter more than base damage
Every sword in the game starts from the same base damage, and the resources and Amber you collect let you upgrade almost all of them as you go. That design means there is no single “strongest” number to chase. Instead, the weapon’s passive effect and its element are what set the best blades apart.
Each ability triggers when Emma lands a perfect parry, and the effect runs for a short window, usually five seconds. During that window you can stack elemental buildup, restore health, or crit for huge chunks. Because switching weapons between fights is encouraged, the smart approach is to keep two or three upgraded swords ready and change loadouts based on what you are about to face.
Best swords at a reference glance
| Sword | Effect and role | Where to find it |
|---|---|---|
| Purity | Vampiric Blade heals Emma based on damage dealt | Bought from the Ancient Golem merchant in the Ancient Civilization Zone (Ch. 2), or from Brad in Chapter 3 onward |
| Shark Cutter | Boosts critical chance for Emma and Koo | Beside the Bridge Control Room: Approach campsite in the Fuji Frontier Zone (Ch. 6) |
| Cirrus Sword | Clear Skies raises both Emma’s and Koo’s damage | Given by the golem holding the Red Key in Chapter 1 |
| Sunrise Sword | Casts flames and builds Flame | Near the broken golems at the start of Chapter 4 |
| Thunderwave Sword | Tempest calls down lightning on nearby foes, builds Lightning | Earned with the Lightning Stone after the elite golem near the end of Chapter 2 |
| Fall Thunder | Higher single-target Lightning and damage | Carried by a required enemy in the Giant Tree Zone (Ch. 7) |
| Hunter’s Sword | Envenomed applies Poison buildup | From the Storyteller Golem by the Great Forest: Entrance campsite in Chapter 3 |
| Hazebringer | Caustic Touch inflicts Acid and Corrosion | Inside the giant cube in the Matsukawa Zone (Ch. 5) |
Purity: the best sword for staying alive
Purity is the only sword that grants lifesteal, and that makes it the strongest all-round pick. Its Vampiric Blade ability lets Emma recover a slice of the damage she deals for a few seconds after the effect activates, so you can heal mid-fight instead of burning a Stimpack.
To get the most out of it, unlock the Battleborn mod in your skill tree and apply it to one of Koo’s Bloom Arts, ideally one that inflicts Bind. Trigger that Bloom Art to switch the effect on, then keep Emma swinging while the enemy is bound or staggered. The trade-off is that Purity does not apply any element, so you lean on your Blade Arts and Bloom Arts for status buildup instead.
You can buy it from the Ancient Golem merchant in the Ancient Civilization Zone during Chapter 2, or from Brad in Chapter 3 onward, for 4,390 Amber. It is worth picking up as soon as you can afford it.
Shark Cutter: the pick for raw critical damage
Shark Cutter has no element at all, and it does not need one. Whenever Emma and Koo attack, it raises their critical chance for a short time, which scales into serious damage as you invest in crit-focused skills.
Pair it with the Critical Chance skill on Emma’s tree and the Full Bloom Crit mod on Koo’s, which turns every hit into a critical as long as Koo’s FP bar stays full. Once you are confident throwing out Blade Arts without dropping your own health bar, this becomes one of the best weapons for shredding elite enemies and bosses.
Find it in the Fuji Frontier Zone during Chapter 6, sticking out of the ground in front of a painting right next to the Bridge Control Room: Approach campsite, just before the chapter’s first boss. You cannot miss it.
Cirrus Sword: the reliable early-game blade
The Cirrus Sword is the first strong weapon you get, handed over by the golem holding the Red Key in Chapter 1. Its Clear Skies ability boosts both Emma’s and Koo’s damage for the effect’s duration, which stretches to 15 seconds at max level.
That flat damage bump works in almost every encounter and teaches you how Emma and Koo’s attacks feed into each other. It stays useful well past its home chapter, so keep it as a default until you have an elemental sword built up.
Elemental swords for boss weaknesses
Fire and Lightning are two of the most widely effective elements in the game, since a large share of enemies are weak to one or the other. Two swords cover this ground, and a third gives you a heavier single-target Lightning option later on.
Sunrise Sword (Fire)
The Sunrise Sword’s Light of Dawn ability makes each swing send out flames and build Flame status. Because Burn spreads to nearby foes and few enemies resist Fire, it stays reliable across most of the game and shines against agile bosses like Taurus and Corvus. Combine it with Koo’s Higanbana Bloom Arts and the Burning Fang Skill Amber from Chapter 7 to stack Flame quickly. You will find the sword at the very start of Chapter 4, near the broken golems after activating the Scorched Grasslands camp.
Thunderwave Sword (Lightning)
The Thunderwave Sword’s Tempest ability drops lightning on nearby enemies with every slash while stacking Lightning buildup. It is one of the weaker weapons on raw damage, but the area effect makes it excellent against packs of enemies, since Shock keeps them from swarming you. Feed it with Emma and Koo’s Sakura skills, the Shocking Fang Skill Amber on Koo, and Lightning Arrows on Emma. You earn it automatically alongside the Lightning Stone after beating the elite golem attacking Mikoto near the end of Chapter 2.
Fall Thunder (Lightning, single target)
Fall Thunder trades the flashy lightning strikes for higher base damage and stronger Shock buildup, which makes it the better choice for one-on-one boss fights than the Thunderwave Sword. It comes from an enemy you must defeat to continue in the Giant Tree Zone during Chapter 7, so you cannot skip past it.
Status-effect swords: Poison and Acid
If you want enemies to bleed health passively, two blades cover damage over time. Both reward builds that reapply their status often.
Hunter’s Sword (Poison)
The Hunter’s Sword is the only weapon that applies Poison, and nearly every enemy is vulnerable to it. Its Envenomed ability builds Poison the more you upgrade the sword, and pairing it with Koo’s Dokuzeri: Fang Bloom Art keeps the status ticking. It is a strong answer to the Chapter 3 boss, Nue Malefact, who is weak to Poison, and to his commander, the Male Purifier.
Grab it early in Chapter 3 in The Great Wall Terraces. Speak to the Storyteller Golem sitting next to the Great Forest: Entrance campsite and you can collect the sword from the shrine.
Hazebringer (Acid)
The Hazebringer is the game’s Acid sword, inflicting Corrosion through its Caustic Touch ability. Corrosion hits harder and faster than Poison and tears through the defenses of armored foes, making it devastating when your whole build supports it. The catch is that it arrives later and its visual effects can blend into some environments. Find it in the Matsukawa Zone during Chapter 5, deep inside the giant cube. Descend to the lowest levels and look for it poking out of a plant on the wall in a lab-like area.
How to build around your sword
The elemental swords work best when your other gear matches. Line up the sword’s element with your Arrows and Bolts, Koo’s Bloom Arts, and Koo’s Charm so the same affliction stacks from every angle. A Lightning setup, for example, wants the Thunderwave Sword or Fall Thunder, Lightning Arrows and Bolts, Koo’s Javelin Art, and a Charm with the Shock ability. Poison and Acid builds follow the same logic with their matching blade, ammo, and Koo abilities.
You can switch swords freely from the equipment menu outside combat, so carrying a few upgraded blades beats sinking everything into one. Keep Purity and Shark Cutter as your two staples, then rotate the Sunrise Sword, Thunderwave Sword, Fall Thunder, Hunter’s Sword, and Hazebringer to counter whatever a boss is weak to. Even when you are not matching a weakness, your skills often cover it, so you can slash with whichever weapon feels best and still come out ahead.