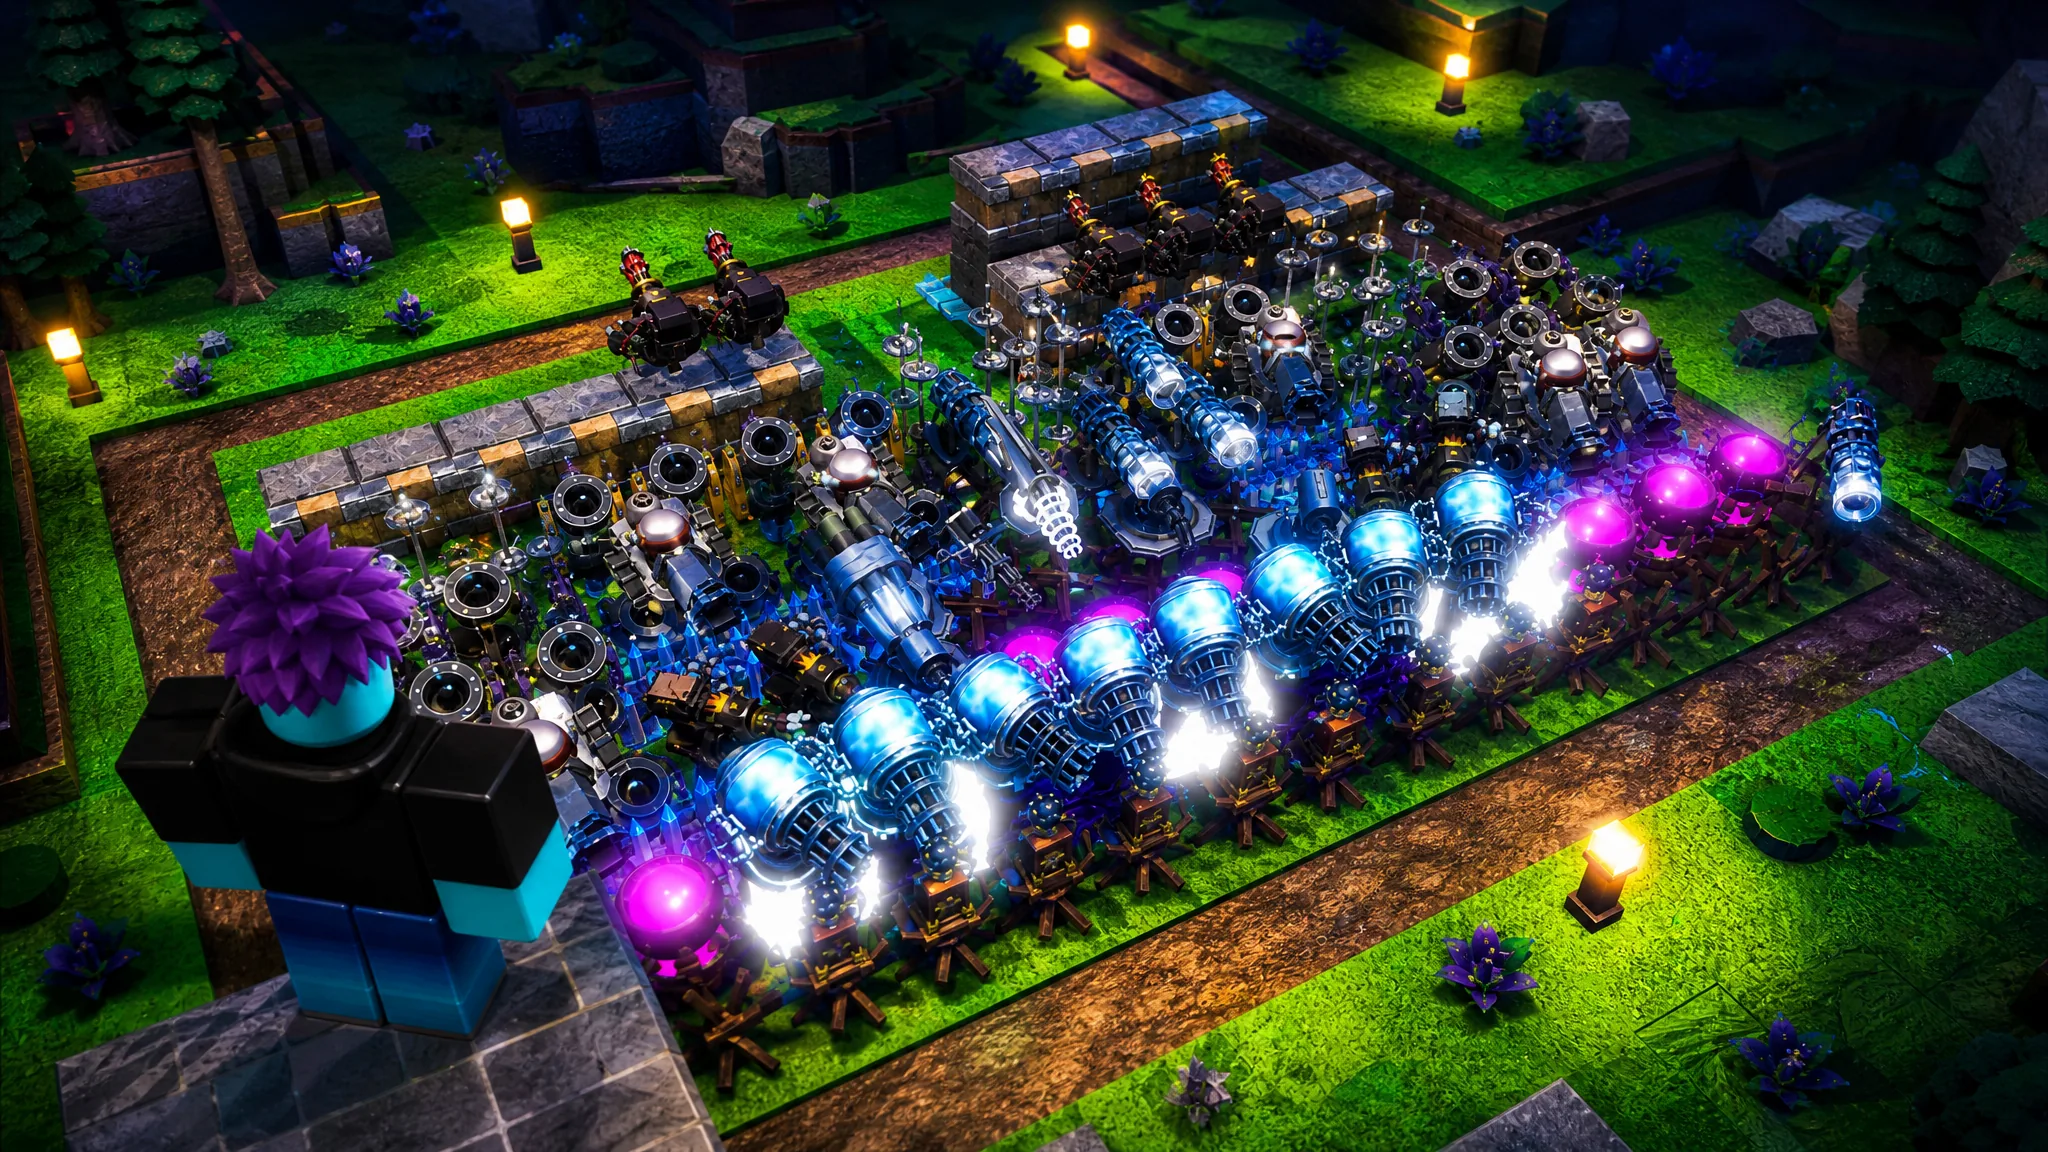
A base that survives deep into Build a Base RNG comes down to one shape and one placement rule. Force enemies through a narrow funnel, then let your walls tank hits while your damage fires from safety behind them. Random rolls decide which items you own, but the geometry that keeps your core alive stays the same no matter what you pull.
Quick answer: Build a U-shaped wall of your highest-HP blocks facing the enemy spawn, leave a single funneled entrance, place slowing traps at the mouth, put rapid-fire weapons in the middle, and keep Mortars and other high-DPS turrets in the back row where enemies never reach them.
The funnel layout that carries every run
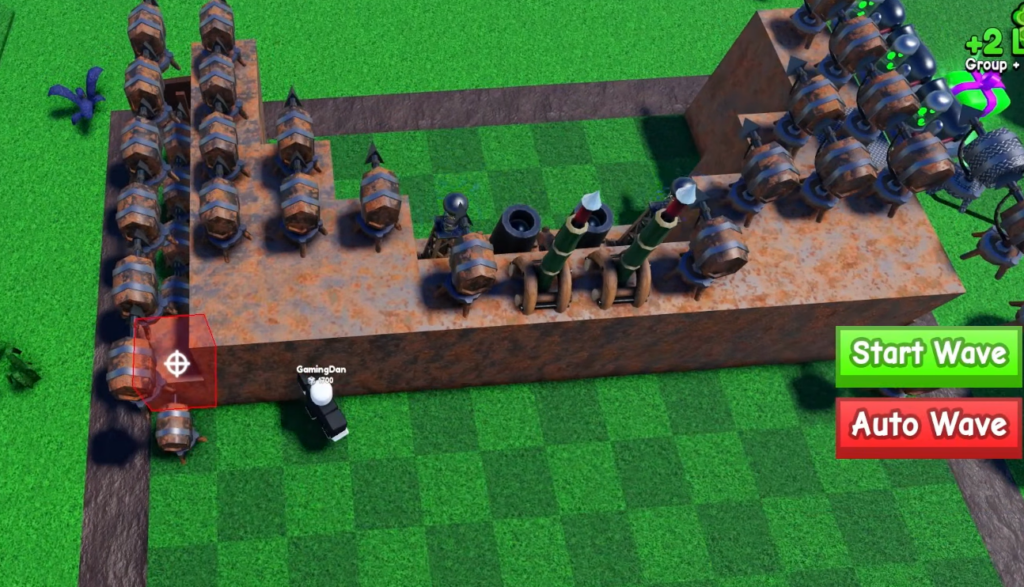
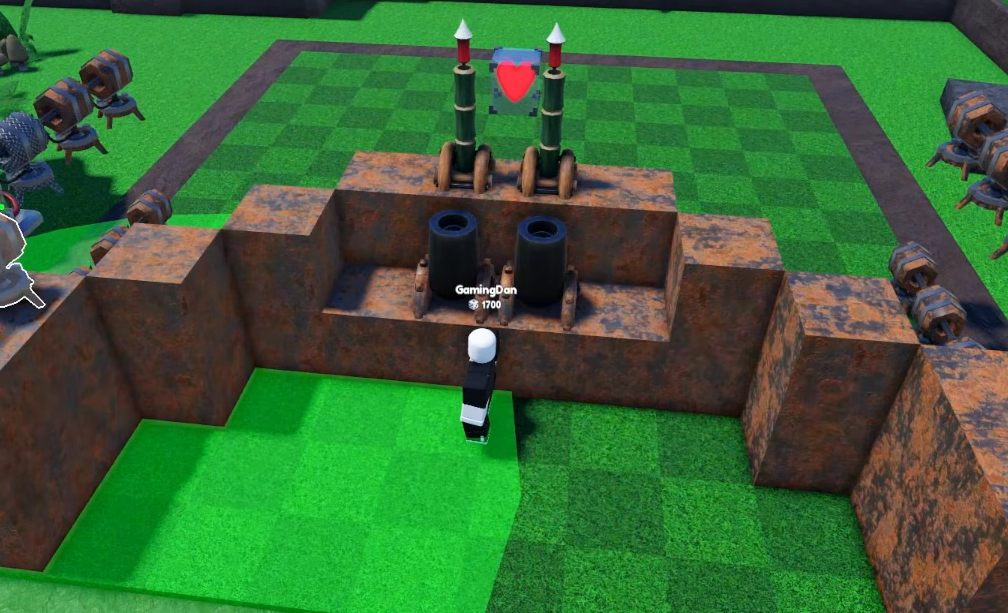
The core structure is a U-shaped or V-shaped wall of blocks aimed at the enemy spawn. Enemies always take the shortest path to your core, so a wall with a single controlled opening pushes the whole wave into one lane you can concentrate fire on. Leaving a stray gap anywhere else exposes your turrets and gets them destroyed in seconds.
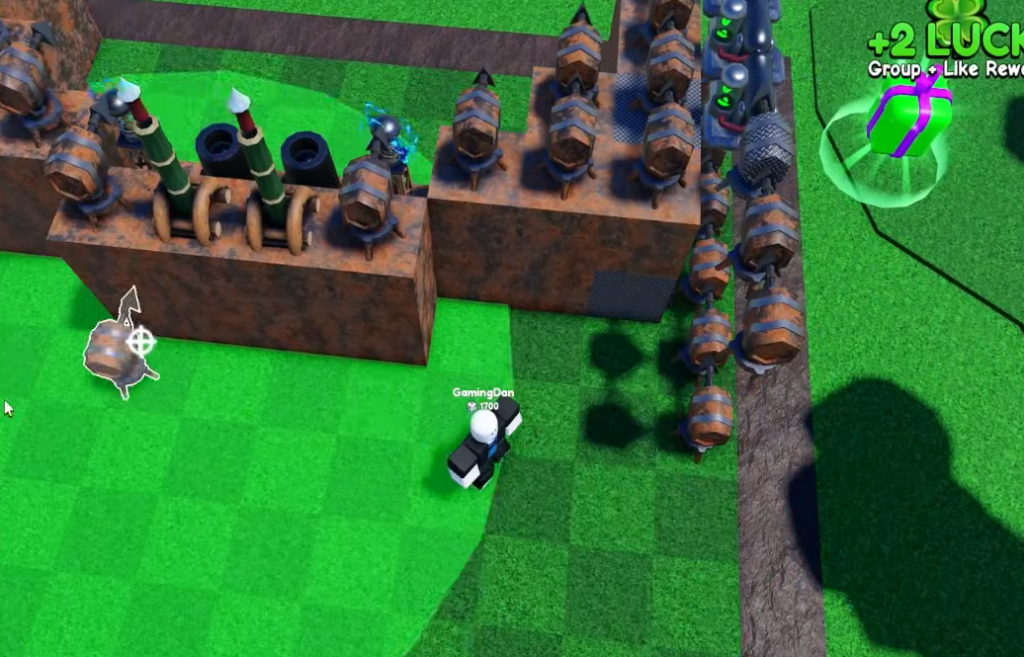
Build backward from the entrance toward your hut in distinct rows, spaced slightly apart rather than packed into one cluster. When an enemy destroys a block in the front row, it has to re-target and move to the next row. That pathing reset buys your turrets free damage every time a layer falls, which is the whole point of layering instead of stacking everything in a single wall.
Build wide instead of deep. A wide, multi-layered perimeter with a straight central pathway to the core beats a single narrow tunnel, and it gives you room to reinforce weak spots without tearing the whole base down.
Where each weapon type belongs
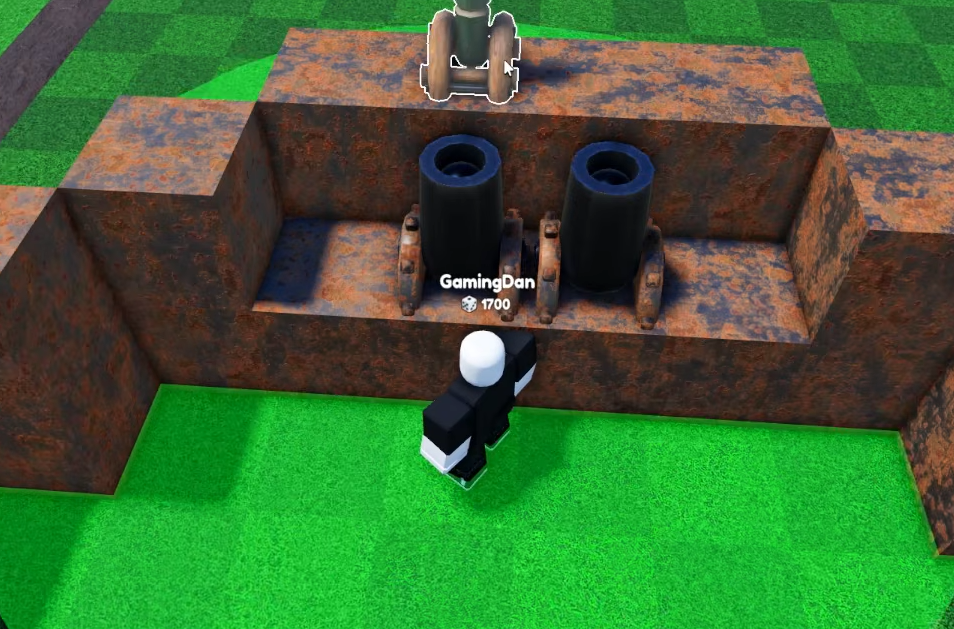
Placement is decided by range and role. High-damage, long-range weapons go where enemies can’t touch them, slowing effects go where enemies arrive first, and everything else fills the space between. Follow the roles below and the same items outperform a random spread by a wide margin.
| Position | Role | What to place |
|---|---|---|
| Front entrance | Slow and crowd control | Teslas, Ice Spheres, Spikes, Golden Traps |
| Middle rows | Wave clearing | Witch Brews, Galaxy Brews, rapid-fire and medium-range turrets |
| Back row | Protected high DPS | Mortars, Cannons, Robust Teslas for stragglers |
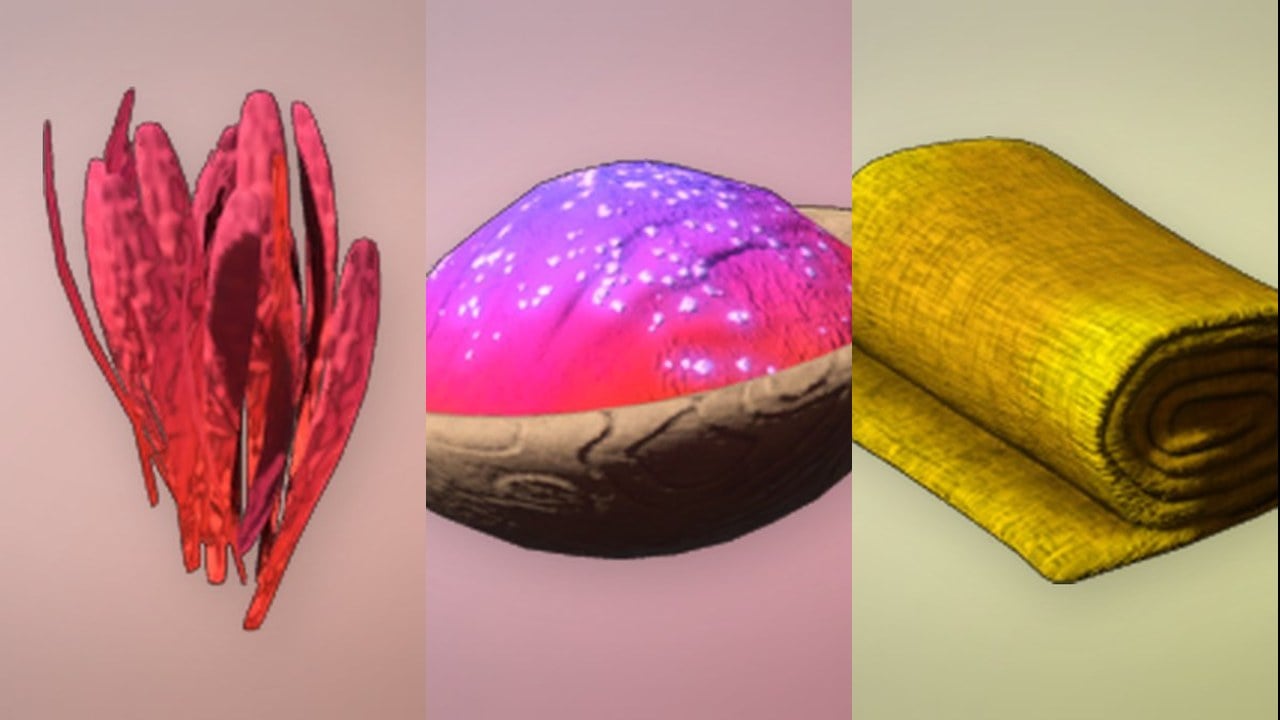
Mortars belong in the dead center or back of the layout, roughly halfway between the entrance and the hut, so they cover both the first breach and the final stand while staying out of melee range. Witch Brews are the strongest wave-clearers right now thanks to their splash and damage over time. Stack them around three rows behind your first line of blocks so the splash lands on the maximum number of enemies chewing your front wall. If you roll Galaxy Brews, swap standard Witch Brews out for them, since their lingering cloud lasts longer.
Ice Spheres placed every couple of rows slow enemies by about 40 percent, which lets Mortars land far more shots per wave. Golden Traps and Spikes sit on the floor between block rows for passive damage and don’t compete with your block placement limit in the same way, so fill empty floor tiles with them.
Never place a Tesla or any damage turret out in front of your wall. Behind a block it fires for the entire wave; exposed, it gets focused and dies before it earns its slot.
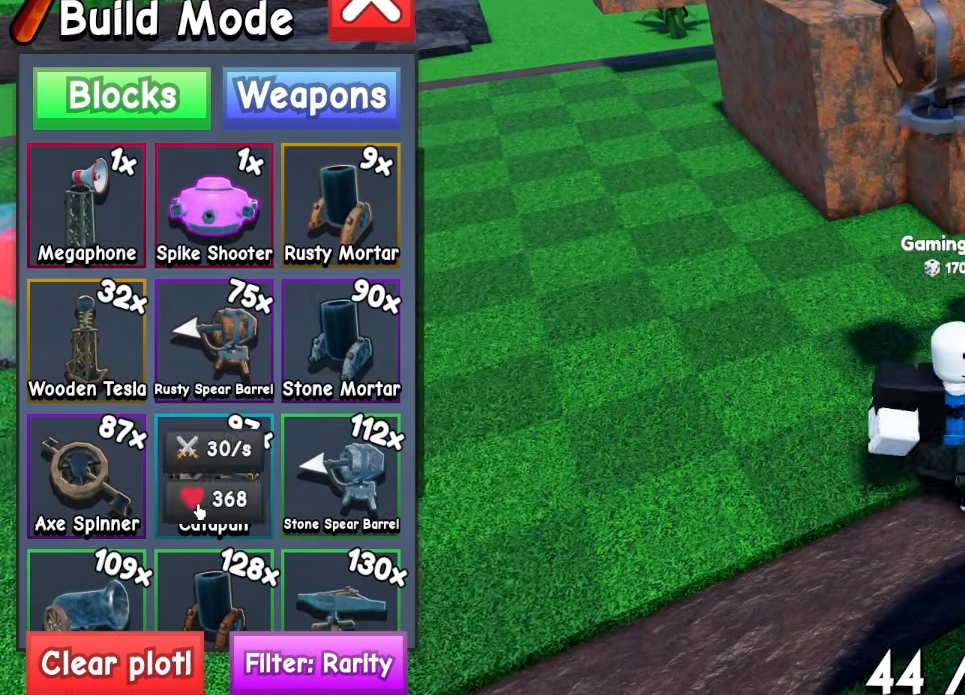
Blocks to prioritize for the front line
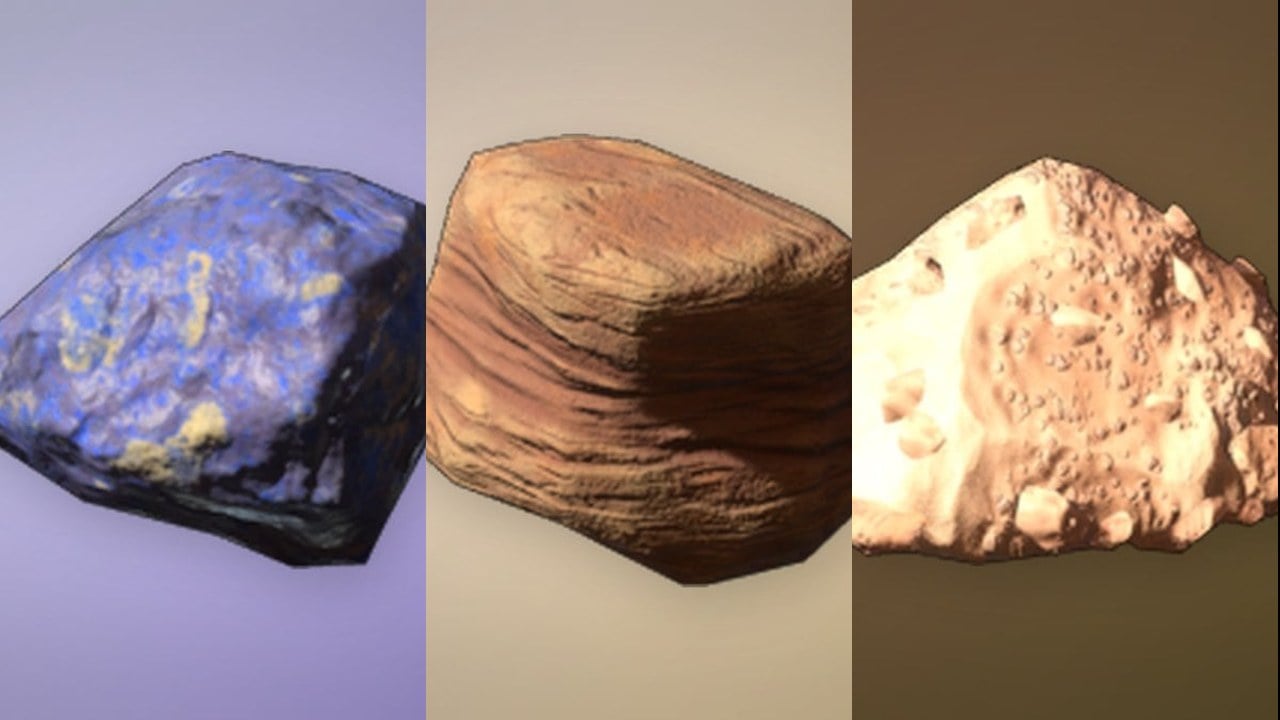
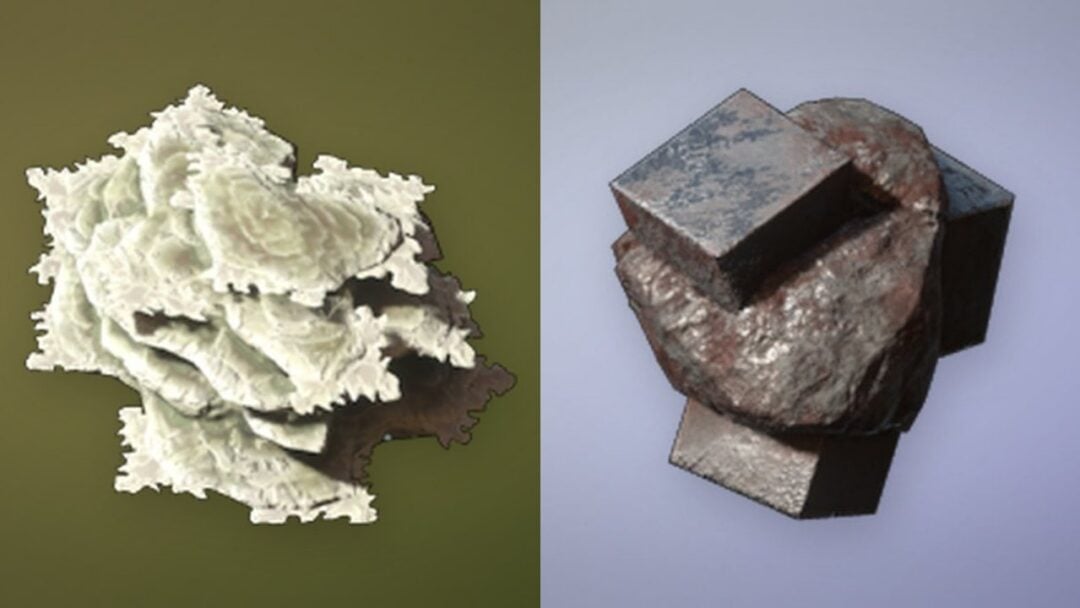
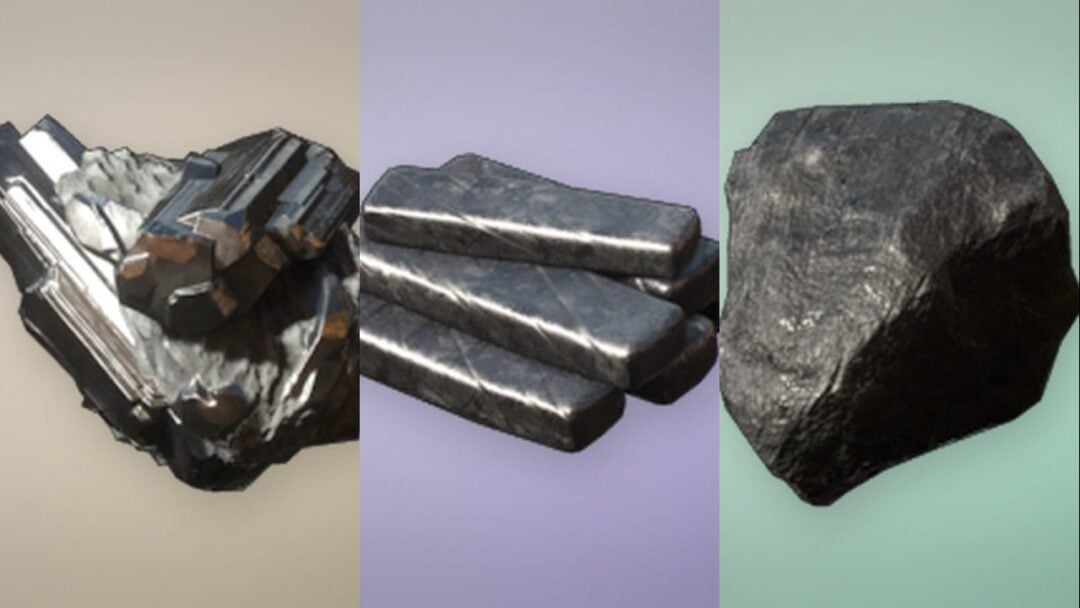
Your walls decide how long your damage gets to fire, so upgraded high-HP blocks are the foundation of any high-wave base. Metal Blockades are the workhorse frontline tank, and a fully leveled one holds off waves past 100 without breaking. Golden Blocks carry more base health and work well as a final defensive layer or on the outer flanks.
| Block | Base HP | Role |
|---|---|---|
| Metal Blockade | 25,000 | Primary frontline tank, scales to 150,000+ upgraded |
| Golden Block | 50,000 | Final layer and reinforced flanks |
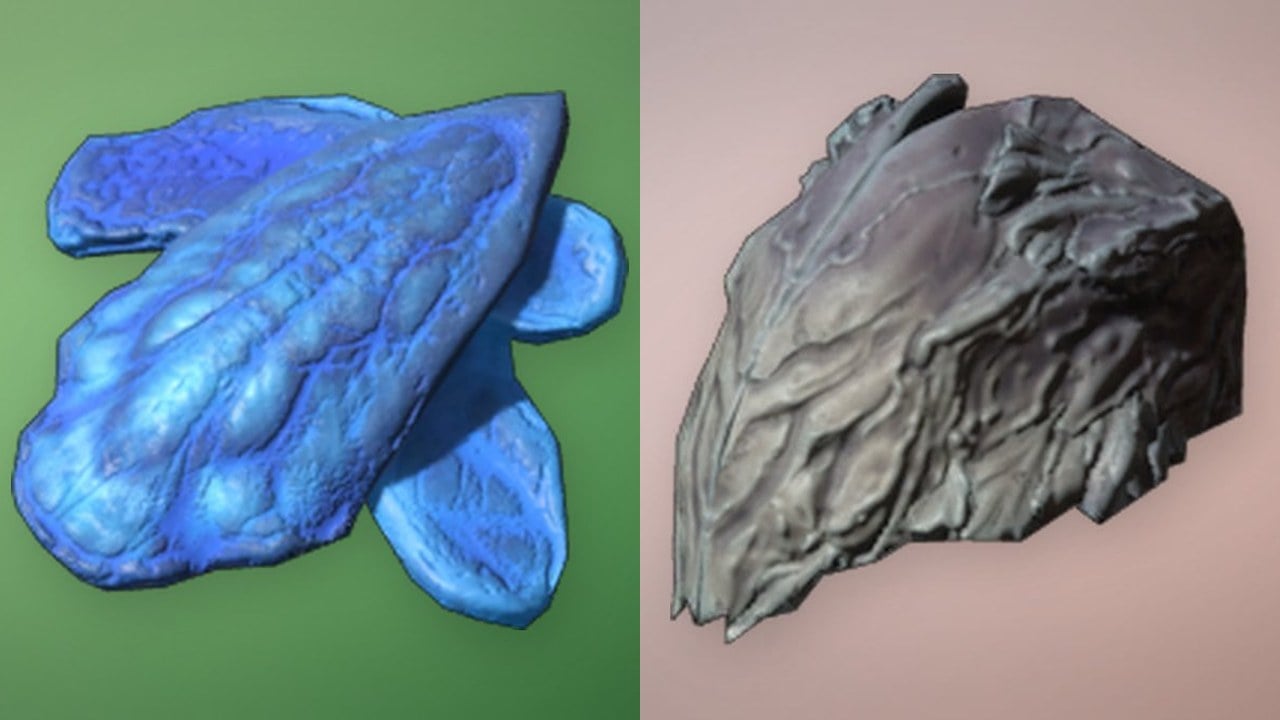
For pushing toward wave 1,000 and beyond, aim to roll top-tier gear like Shiny Space Blocks, Space Blocks, Galaxy Pistons, and Neon Spikes. A level 1 Metal Blockade crumbles instantly against wave 80 enemies, so upgrade blocks in the Index menu constantly rather than relying on the raw roll. Late-game enemies also tend to hit the sides of a base more than the center, so put your highest-level blocks on the outer edges of your rows.
Unlock the placement limit first
None of the layout above works if you can’t place enough items. The row-by-row strategy needs a high placement cap, and many players stall out before wave 200 simply because they never unlocked the nodes that raise it. Prioritize expansion over raw damage early.
- Unlock the Place More Items nodes in the Skill Tree, along with Plot Size, to expand how much defense you can fit.
- Max the Block Health Multiplier so Metal Blockades and Golden Blocks scale into the millions of combined HP.
- Invest in Splash Radius to widen Witch Brew coverage.
- Upgrade Trap Reload Speed to squeeze more damage out of Golden Traps.
- Grab Place More IV once you can afford it (200,000 coins) for the largest layouts.
A bigger plot covered in weak, unleveled objects still folds, so lock in your roll economy and block upgrades before you chase the largest placement caps.
Building the base, entrance to hut
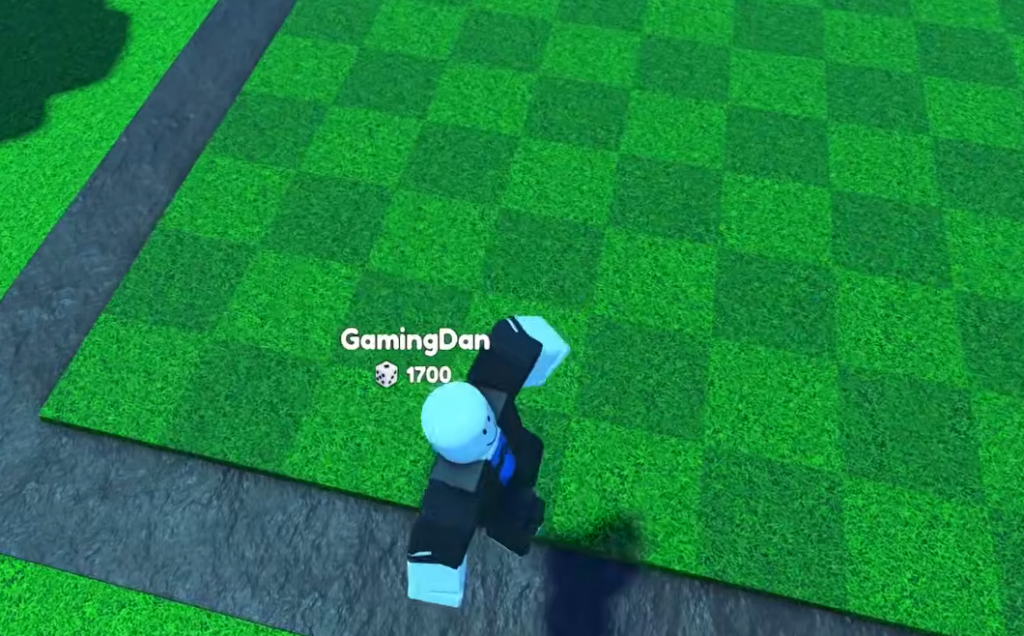
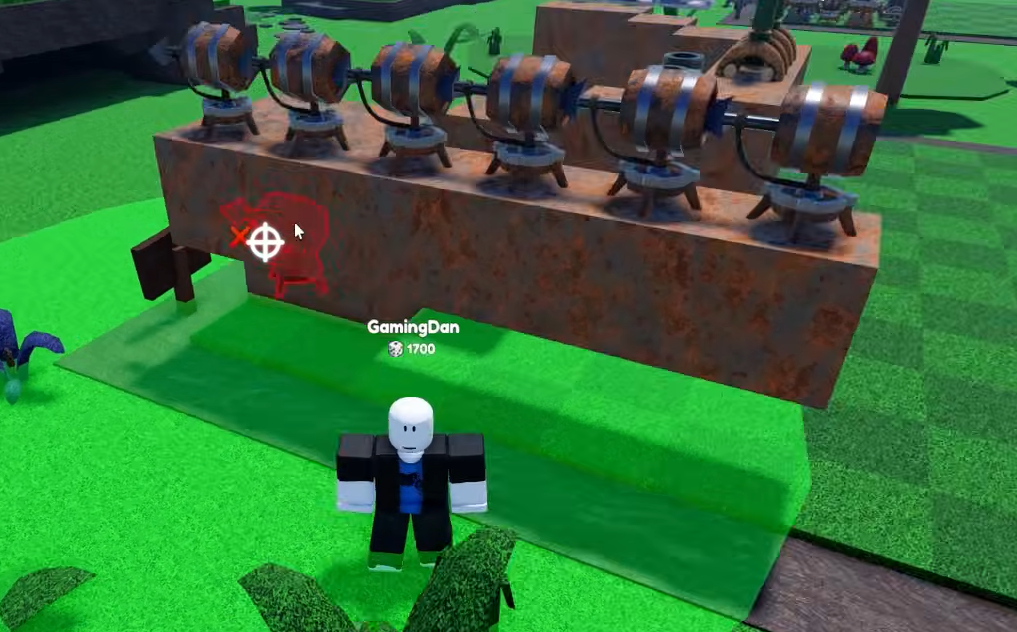
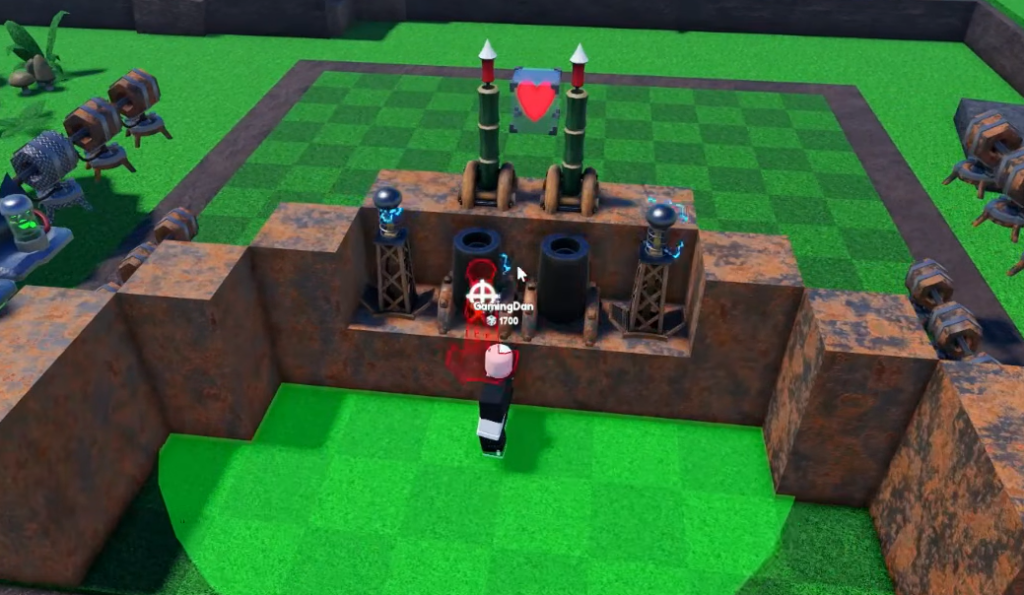
Leave the space right around the hut clear of blocks but packed with high-DPS Teslas. That turns the final approach into a kill box where enemies have no cover before they reach your core.
How to tell the layout is working
Run the first 10 waves and watch the funnel closely. A working base clears each wave with your core still at full HP and no enemy slipping past the entrance. If one breaks through, note the exact spot that failed and ask whether it lacked health or lacked damage, then fix only that position instead of rebuilding the whole base. The rest was already holding.
Because your base keeps fighting and earning while you’re logged off, leave a tested, stable layout running before you close the game. An experimental setup can fail while you’re away and stall your progress for hours, so save the risky reworks for when you’re online to watch them.
Why bases fail early
| Problem | Cause and fix |
|---|---|
| Enemies reach the core fast | A gap in the wall gives them a shortcut. Seal every opening except the funnel mouth. |
| Turrets die instantly | Damage placed in front of blocks gets focused. Move Teslas and Mortars behind the wall. |
| Walls crumble by wave 80 | Blocks are underleveled. Upgrade Metal Blockades in the Index menu. |
| Can’t finish a row | Placement limit is too low. Buy the Place More Items nodes in the Skill Tree. |
| Side walls break first | Flanks are weaker than the center. Reinforce the outer edges with Golden Blocks. |
| Jumpers reach the hut | Add a rear row of Ice Spheres to slow jumpers so back Teslas kill them. |
The strongest bases pair huge block health with concentrated damage in one funnel, then scale both through Index upgrades and Skill Tree nodes as better rolls arrive. Copy a proven high-wave layout to start, adapt it to whatever your rolls hand you, and the randomness in Build a Base RNG stops deciding your runs.