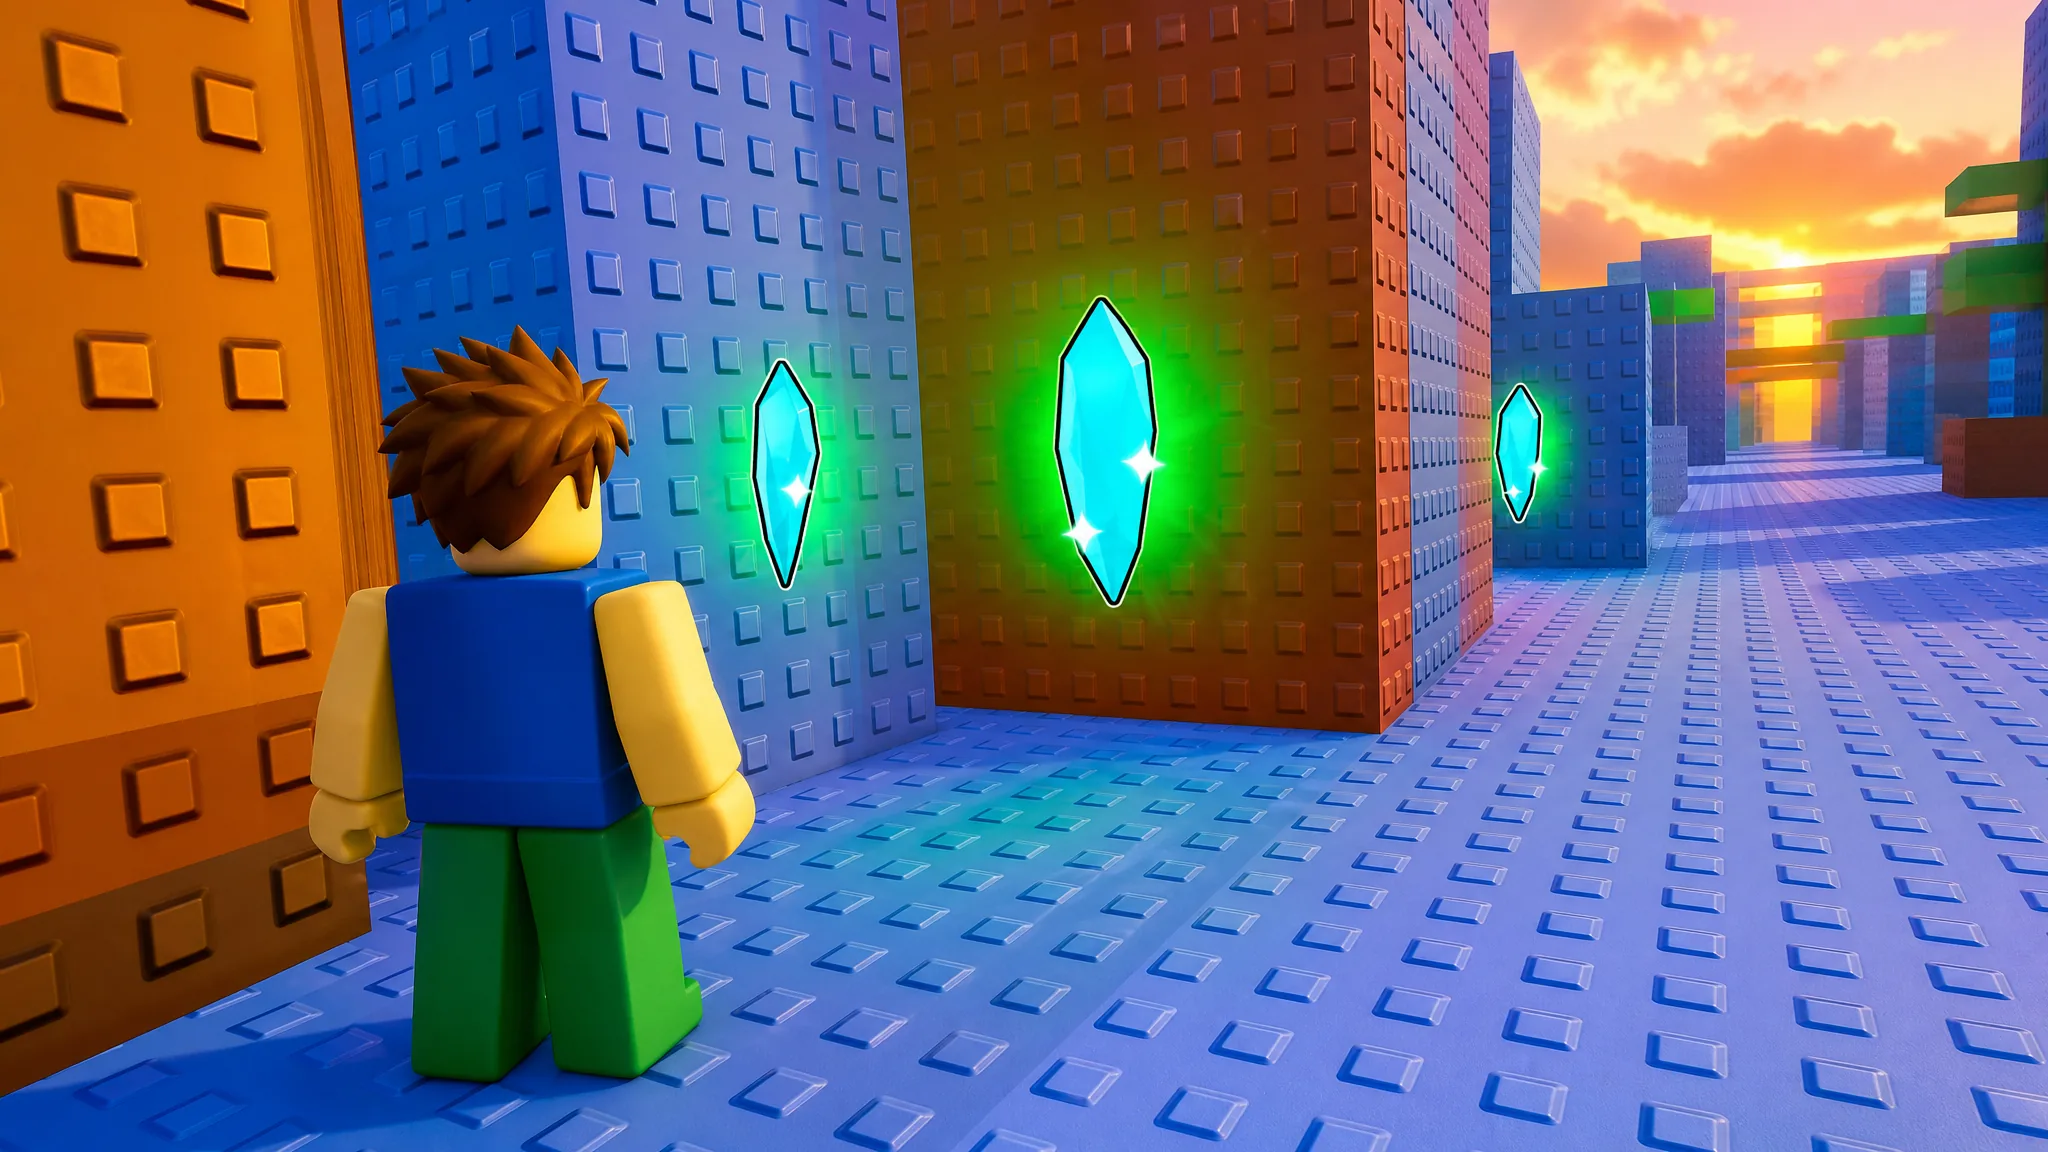
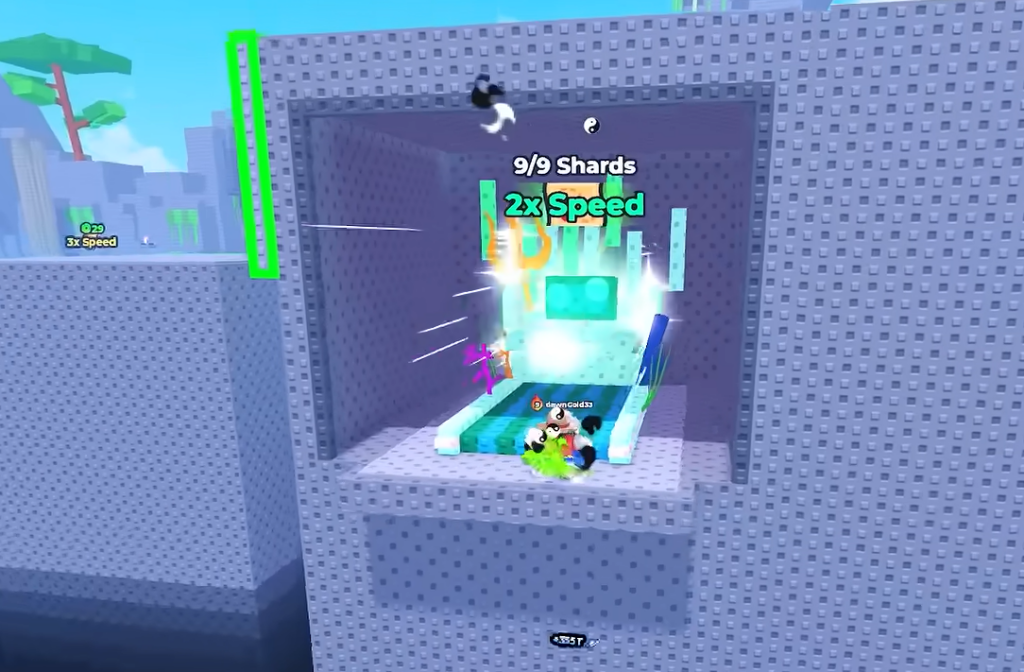
The nine Sunken Shards in +1 Speed Monkey Escape are scattered from the main lobby all the way through Stage 9, and grabbing every one rewards a free x2 Speed Treadmill for training. A few sit in plain sight, but most are tucked behind walls, under platforms, or off the main path, so you usually have to make a risky jump or drop to reach them.
Quick answer: Collect all 9 Sunken Shards, one behind the Top Robux leaderboard in the lobby, one on a lobby ledge, and the rest across Stages 2, 3, 4, 6, 7 (two here), and 9. When the counter reads Collected 9/9 Sunken Shards!, the x2 Speed Treadmill is yours.
What you get for all 9 Sunken Shards
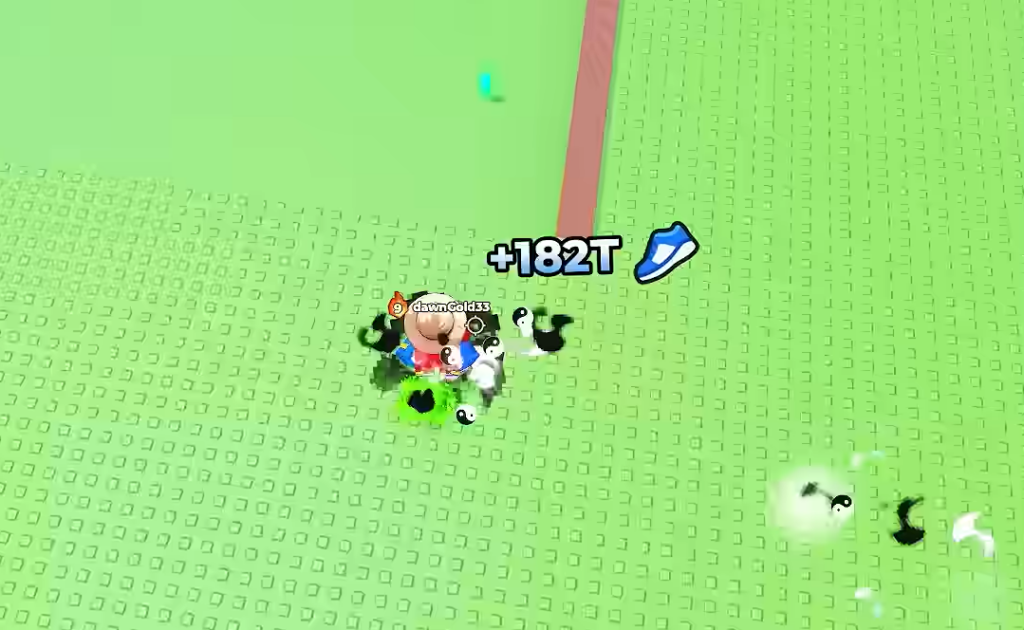
The reward for collecting every Sunken Shard is a permanent x2 Speed Treadmill you can use for free training. It doubles the speed you build while standing on it, which speeds up your climb toward tougher stages and rebirths. You do not need to buy anything; the treadmill unlocks once the shard count hits 9 out of 9.
Once a shard is collected on your account, it stops appearing for you. If you are checking a location and see nothing there, you may have already picked it up.
All 9 Sunken Shard locations
Here is every shard, where it sits, and the quickest way to reach it. Stages line up with the recommended level gates, so build enough speed before attempting the later drops.
| Shard | Area | Where to find it |
|---|---|---|
| 1 | Main lobby | Behind the Top Robux leaderboard on the left side after you spawn. |
| 2 | Main lobby | Use the large vertical jump booster on your left to reach the ledge, then check the corner. |
| 3 | Stage 2 | At the center, look at the small pillar/cube on the left and dive down to grab it as you fall. |
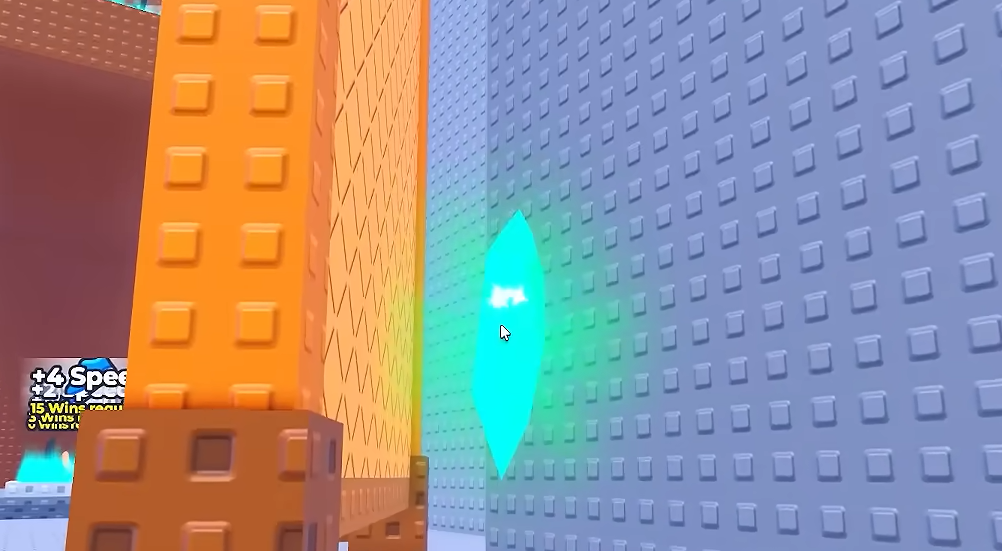
| 4 | Stage 3 | At the end, climb over the right-side booster with high speed and drop behind the large wooden block. |
| 5 | Stage 4 | Ride the vertical boosters to the top, then head left to the end of the platform before Stage 5. |
| 6 | Stage 6 | Jump to the second central platform and check its edge; the shard sits on the side of the middle cube. |
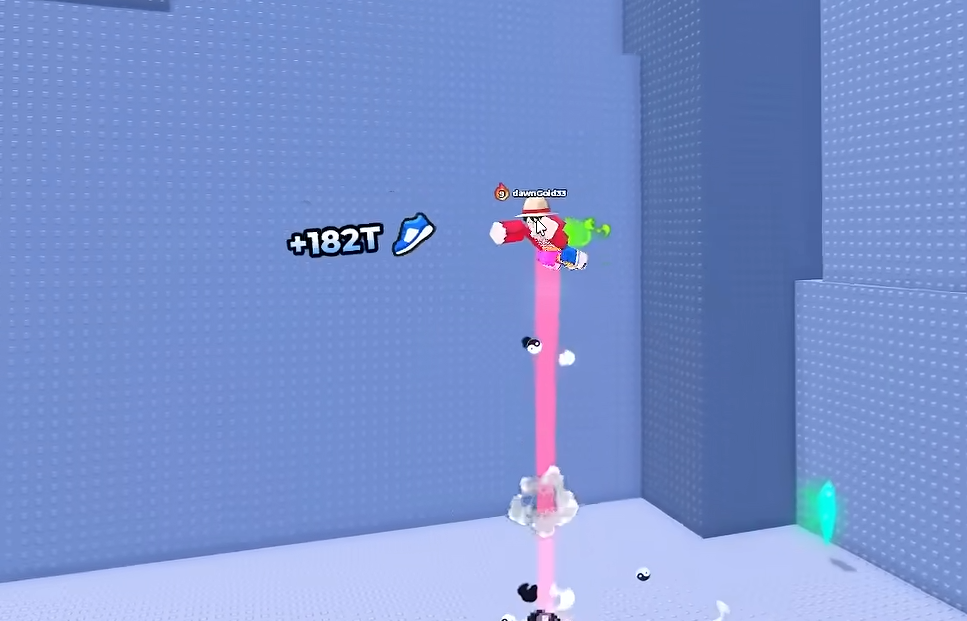
| 7 | Stage 7 | On the three green platforms at the end, check the central platform. |
| 8 | Stage 7 | Right beside the last green platform, on the small side ledge. |
| 9 | Stage 9 | Cross to the third central platform while dodging the tsunami waves, then look in the right-side corner. |
The two lobby shards (Shards 1 and 2)
Stage shards that need a drop (Shards 3 to 6)
Two shards on Stage 7 (Shards 7 and 8)
The final shard on Stage 9
How to confirm you collected all 9
Each pickup updates your shard counter, so you will see the total tick up as you go. When it reads Collected 9/9 Sunken Shards!, you have them all and the x2 Speed Treadmill unlocks for training.
If a shard seems to be missing, the most common reasons are simple. You may have already collected it, in which case it will not render for you anymore. You may also lack the speed needed to clear the boosters on Stages 3 and 9, which sends you into the lava or off the course before you reach the shard. Build up more speed, respawn, and run the stage again to line up the jump.